How to Fix Battlefield 2042 Error ‘1:4688822970:100J:1004G’ on PC?
The Battlefield 2042 error ‘1:4688822970:100J:1004G‘ stops the game from loading into a match. This error usually means the game can’t connect properly to EA’s servers. Common reasons are account login problems—like an old password, logging in on different devices, or your login session expiring.
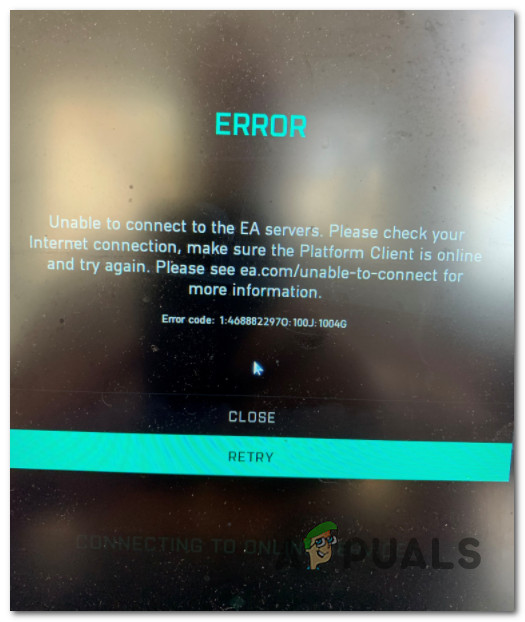
Sometimes, the error happens because EA’s servers are down, your game’s cache is corrupted, or your internet connection is unstable.
In this article, we will discuss how to solve this error.
1. Check for Ongoing Server Issues
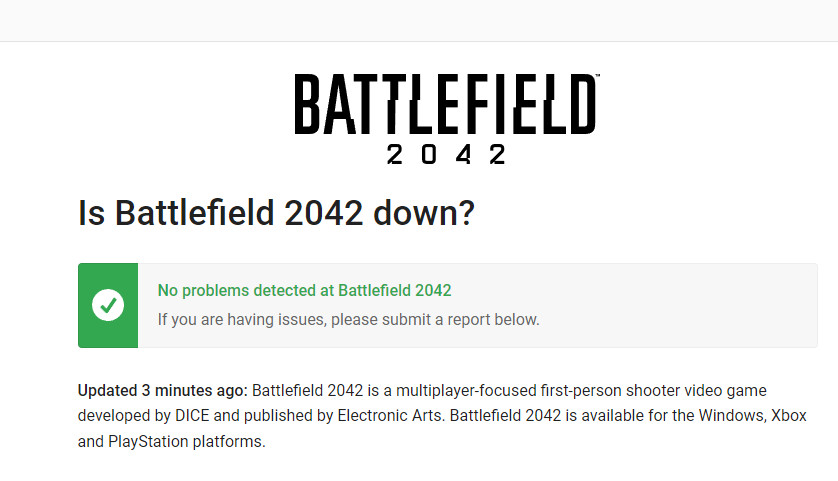
Since error 1:4688822970:100J:1004G is often related to server problems, let’s start by checking if DICE is currently dealing with a server outage or performing scheduled maintenance.
Check if this applies to you by going to a site like Down Detector or Is the Service Down to see if others in your area are reporting similar problems.
Note: For a better understanding of the issue, scroll down to the comments section and see if other players are reporting the same error.
If you discover that Battlefield 2042 is experiencing server issues, there is nothing to do except wait for DICE and EA to fix it.
2. Change Your DNS to Google’s Public DNS
If the servers are working fine, the next step is to look at your DNS settings as they sometimes cause connection errors like Unable to connect to the EA server (1:4688822970:100J:1004G).
If your DNS is the problem, switching to Google’s DNS servers can help. This is especially useful if your Internet Service Provider (ISP) uses Level 3 nodes that can interfere with connections.
To change your PC’s DNS, open the Network Connections window in the Control Panel and set a custom DNS for your current network.
- Open a Run dialog box by pressing Windows key + R.
- Type ‘ncpa.cpl’ and hit Enter to open the Network Connections window.
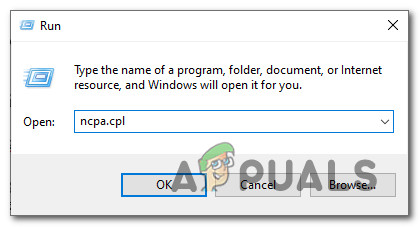
Open up the Network Connections menu - If prompted by User Account Control (UAC), click Yes to allow changes.
- In the Network Connections tab, find the connection you’re using for Internet access. Right-click on it and choose Properties.
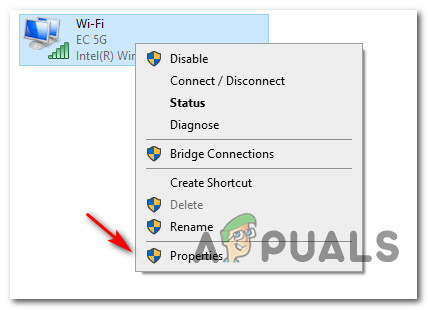
Accessing the Properties menu - In the Properties window for your Wi-Fi or Ethernet connection, go to the Networking tab and look for Internet Protocol Version 4 (TCP/IPv4). Select it and click Properties.
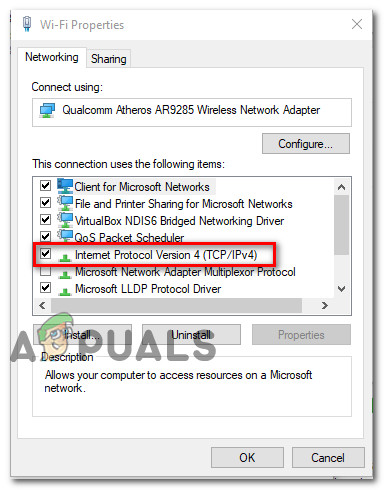
Modifying the IPV4 settings - In the General tab, choose Use the following DNS server addresses.
- Enter:
Preferred DNS server: 8.8.8.8
Alternate DNS server: 8.8.4.4
- Now set the values for IPv6 by going back and selecting Internet Protocol Version 6 (TCP/IPv6).
- Enter:
Preferred DNS server: 2001:4860:4860::8888
Alternate DNS server: 2001:4860:4860::8844
- Save your changes, then restart your PC and router. Launch Battlefield 2042 to check if the problem is solved.
If the error still appears, continue to the next solution.
3. Switch to a Wired Connection
If you are playing Battlefield 2042 over Wi-Fi, make sure you have enough bandwidth to play smoothly.
If you must use Wi-Fi, try to connect to a 5 GHz network, as this can reduce the chances of running into error 1:4688822970:100J:1004G.
Note: DICE recommends a minimum internet speed of 512 Kbps, but for a better experience, you should have at least 5 Mbps upload and download speeds.
- Close any non-essential programs that might use your network.
- Go to SpeedTest.net and let the speed test load.
- Click Go to begin the test.
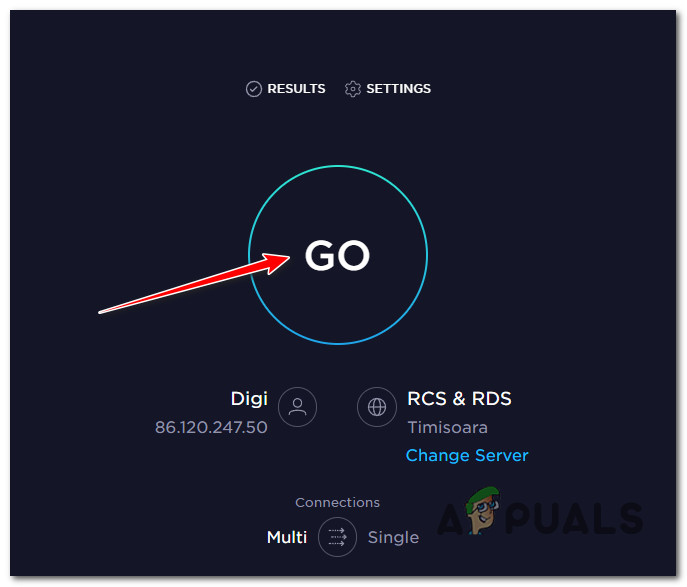
Testing the local network - After the test finishes, check if both Upload and Download speeds are above 5 Mbps.
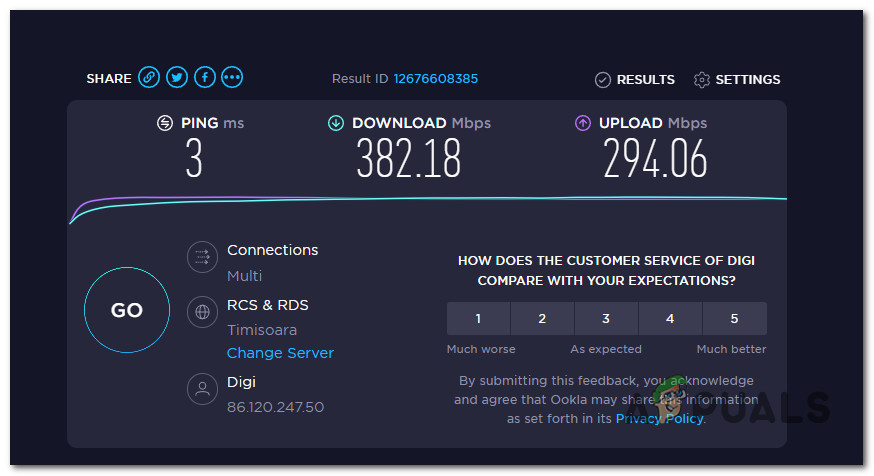
Test Internet speed
Note: Run the test a few times to make sure your speeds are stable.
If your speeds are good and the error remains, try switching to a wired (LAN) connection. A wired connection is always more stable for gaming and can fix many connectivity issues.
4. Restart or Reset Your Router
Many Battlefield 2042 players have fixed this issue by giving their router a fresh start.
First, try a simple router reboot, which removes temporary network data without losing your custom settings.
To reboot your router, turn it off using the physical button, unplug it from the power socket, and wait at least 30 seconds to make sure it fully resets.
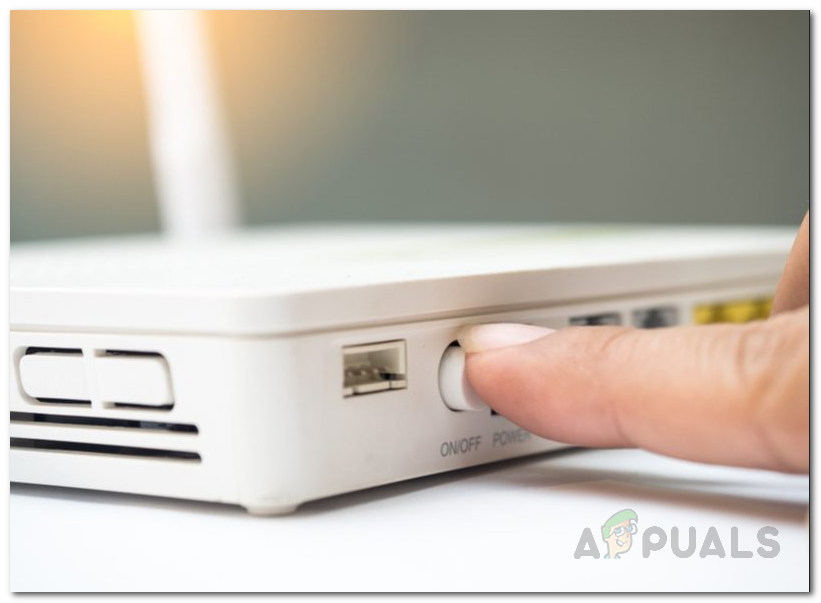
After 30 seconds, plug your router back in, wait for the Internet to reconnect, and see if you can get past the start screen in Battlefield 2042 without getting the error.
If this doesn’t work, your next step is to reset your router. Press and hold the RESET button on your router for at least 10 seconds (usually located on the back). You’ll know it’s working when all the front LEDs flash at once.
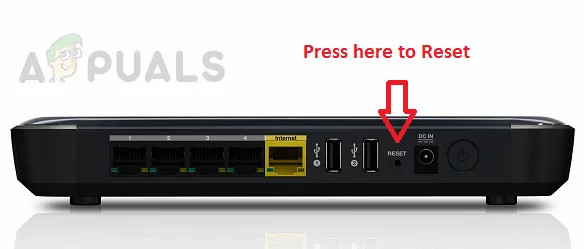
IMPORTANT: This will erase any custom settings, login details, and port forwarding you have previously set up.
5. Change Your Wi-Fi Channel
If you’re playing in an area with lots of Wi-Fi networks, signal interference could trigger errors like ‘Unable to connect to the EA server (1:4688822970:100J:1004G)’. Changing to a less crowded Wi-Fi channel can help.
Modern routers use either 2.4 GHz or 5 GHz Wi-Fi bands. These bands are split into channels for data transmission:
- On 2.4 GHz: Choose channels 1, 6, or 11, as they’re less likely to overlap with other networks.
- On 5 GHz: There are many non-overlapping channels, so you have more flexibility and interference is less likely.
Note: Most routers default to the same channels. If everyone nearby is on the same channel it can cause connection problems.
- On your PC, open a browser and enter either 192.168.0.1 or 192.168.1.1 into the address bar to reach your router settings.
192.168.0.1 or 192.168.1.1
- Log in using your router credentials.
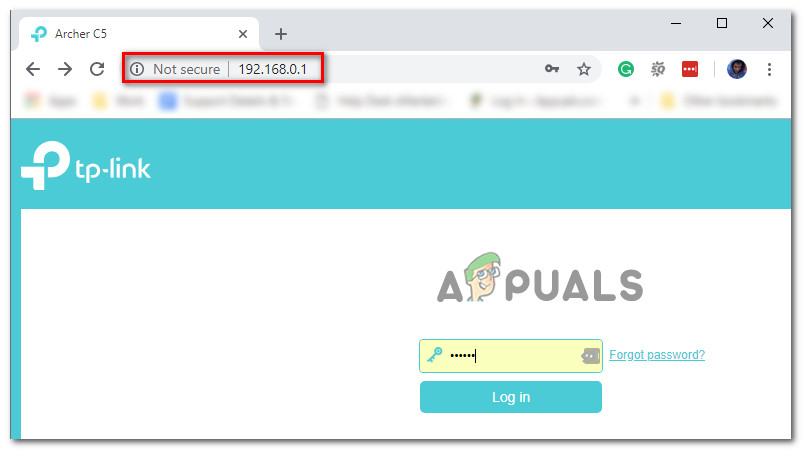
Access the router settings Note: If you never changed your login, try “admin” or “1234” as the username and password. If this doesn’t work, look up your router’s default login online.
- Once logged in, go to the Advanced settings menu.
- From the menu, select Wireless > Wireless Settings.
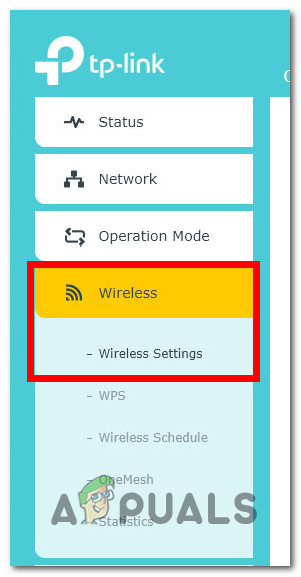
Access the Wireless Settings Note: The location of these settings may vary based on your router model.
- If your router supports Smart Connect, disable it to stop your router from auto-selecting the Wi-Fi band.
- In Wireless settings, choose either 2.4 GHz or 5 GHz (depending on your connection) and select an appropriate Wi-Fi channel as mentioned above.
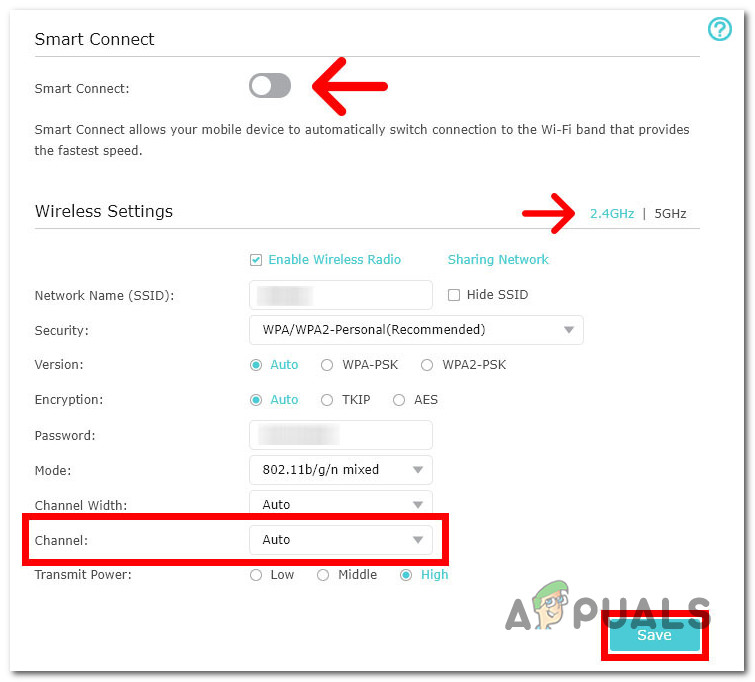
Change the WiFi channel - Click Save and reboot your network to apply the changes, then try launching the game again.
If you still can’t connect after changing your Wi-Fi channel, move on to the next solution.
6. Add the Launcher to Your Windows Firewall Exception List
Sometimes, your antivirus or firewall might block the Battlefield 2042 game launcher (Steam or Origin) from connecting to the server and cause the error 1:4688822970:100J:1004G.
Note: If whitelisting does not help, consider uninstalling your third-party antivirus to be sure it isn’t interfering with your connection.
6.1. How to Whitelist with Windows Firewall
- Press Windows key + R to open a Run box. Type control firewall.cpl and press Enter.
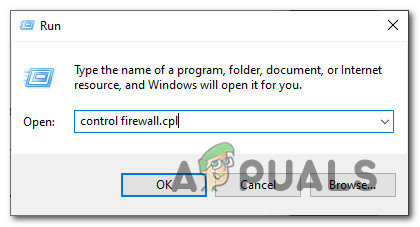
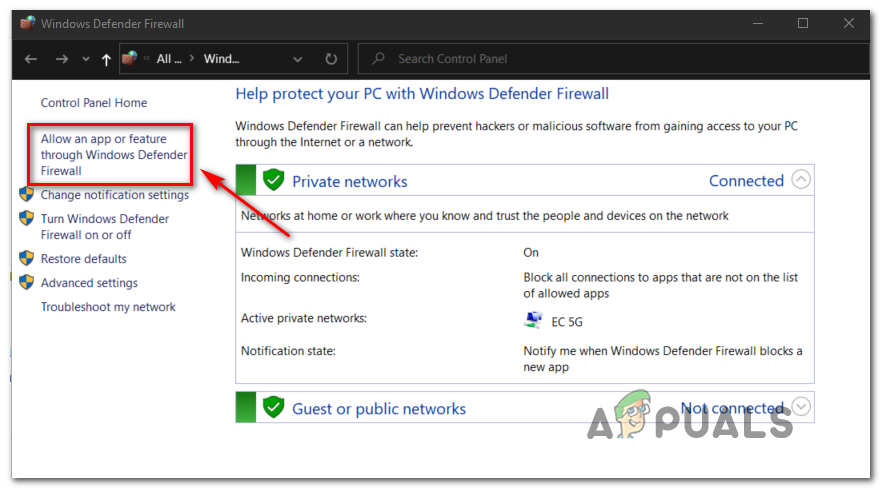
Access the Firewall settings - In Windows Defender Firewall, click Allow an app or feature through Windows Defender Firewall.
Allowing an app through the Windows Firewall program - Click Change settings and, if prompted, confirm by clicking Yes at the UAC prompt.
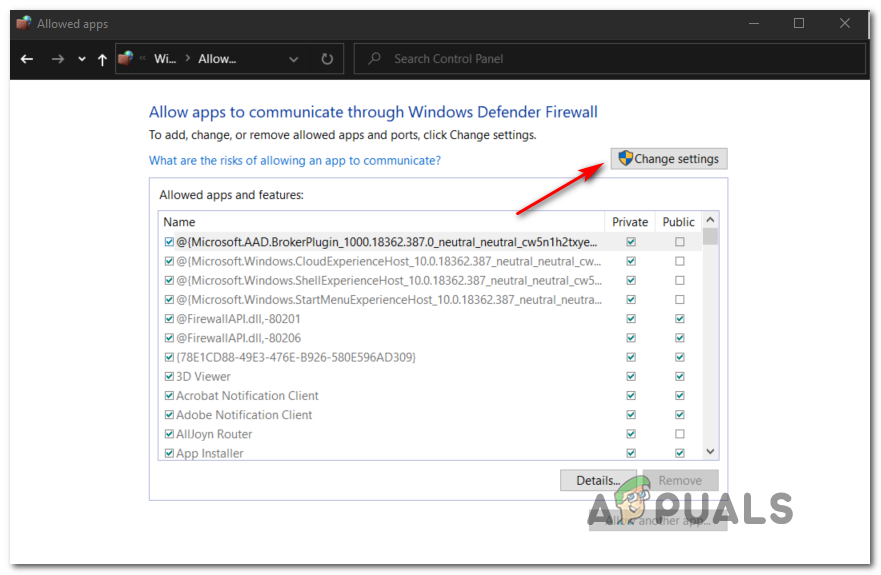
Changing the firewall settings - Scroll down to find Battlefield 2042 and Origin or Steam. If missing, click Allow another app, then Browse and add the appropriate executables.
- Make sure the boxes for Private and Public are checked for both entries. Click OK to save.
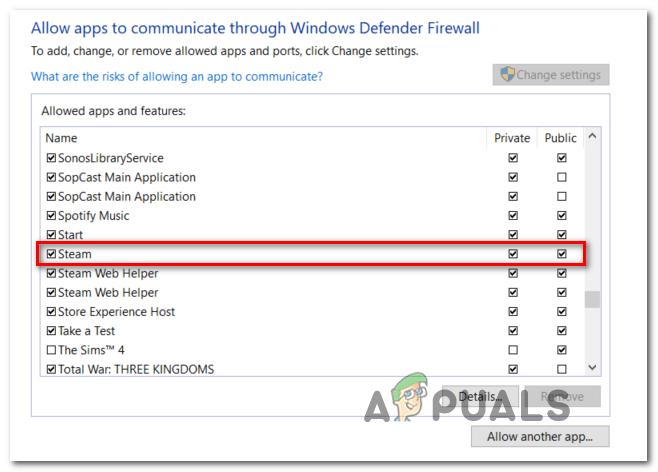
Whitelisting Steam - Restart the launcher (Origin or Steam), run Battlefield 2042, and check if the issue is resolved.
7. Uninstall 3rd Party Antivirus (If Needed)
If your third-party antivirus does not allow you to whitelist apps, or if you suspect it is causing the problem, you can uninstall it:
Note: If the above steps didn’t work, try disabling Windows Defender while playing.
- Press Windows key + R and type ‘appwiz.cpl’, then hit Enter to open Programs and Features.
Open up the Programs and Features menu - In Programs and Features, look through the installed programs list and find your antivirus.
- Right-click it and choose Uninstall.
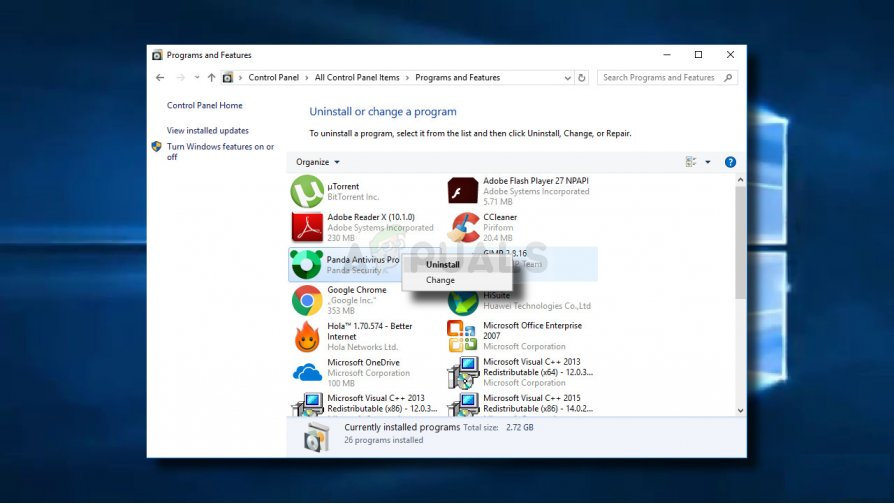
Uninstalling Antivirus - Follow the instructions to complete uninstallation.
- Restart your computer, then try launching Battlefield 2042 to see if the ‘Unable to connect to the EA server (1:4688822970:100J:1004G)’ error has been fixed.


