How to Fix Error Code: BLZBNTAGT00000BB8 on Battle Net Launcher
Game updates in Battle.net might suddenly stop while downloading or scanning, showing the message: “Whoops! Looks like something broke” and the error code BLZBNTAGT00000BB8. This error means the launcher (the program that runs the game) couldn’t download or save important update files to your computer.
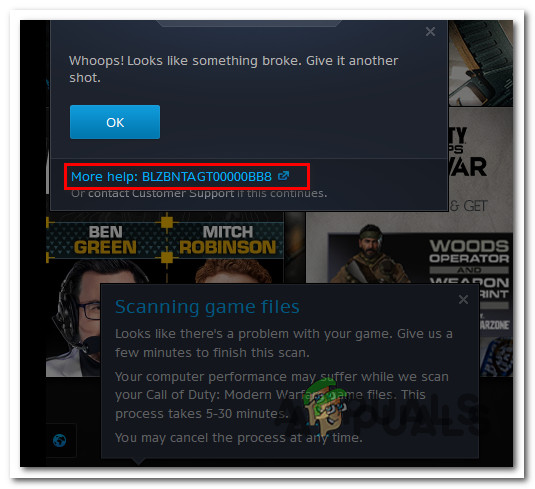
The most common cause is damaged files on your computer that the launcher can’t fix by itself. Other reasons might be problems with your antivirus, network issues, or not having permission to save files.
Now that you know the main possible causes, let’s look at the proven solutions other Battle.net users have used to fix the BLZBNTAGT00000BB8 error.
1. Delete Everything Except the data folder (COD titles ONLY)
If you’re getting this error with a Call of Duty: Modern Warfare title, try this widely recommended fix. You’ll delete certain game files, which makes Battle.net check your game files and replace any missing ones. This method is helpful because it prevents you from needing to re-download the entire game, which saves time and your internet bandwidth.
Note: These instructions work on all recent Windows versions.
- Open Battle.net and select your Call of Duty game from the library.
- Click the settings (gear icon) next to the play button for the game. Choose Show in Explorer.
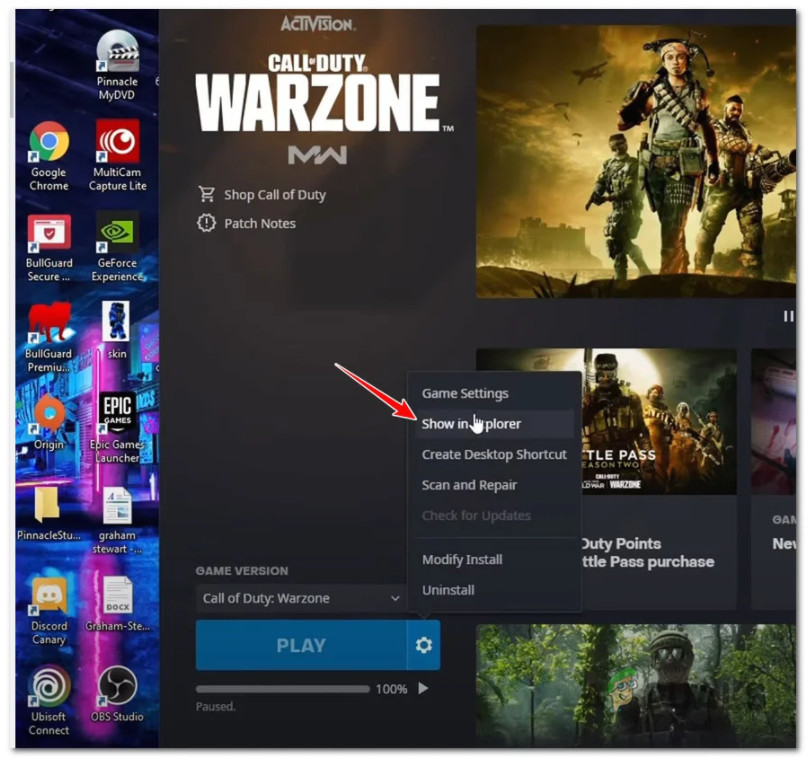
Access the game installation folder Note: This will take you straight to the game’s installation folder.
- Close the Battle.net app and make sure it’s not running in the background (check your taskbar).
- Inside the Call of Duty installation folder, delete every folder except data.
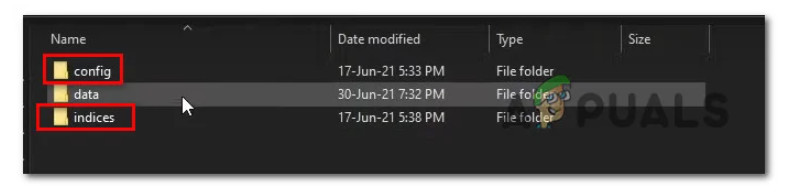
Delete every other folder except data - Open the data folder, use the search at the top to find files ending with .idx, then select and delete all .idx files.
- Next, find all small-sized data folders (usually just a few kilobytes) inside the data folder and delete them as well.
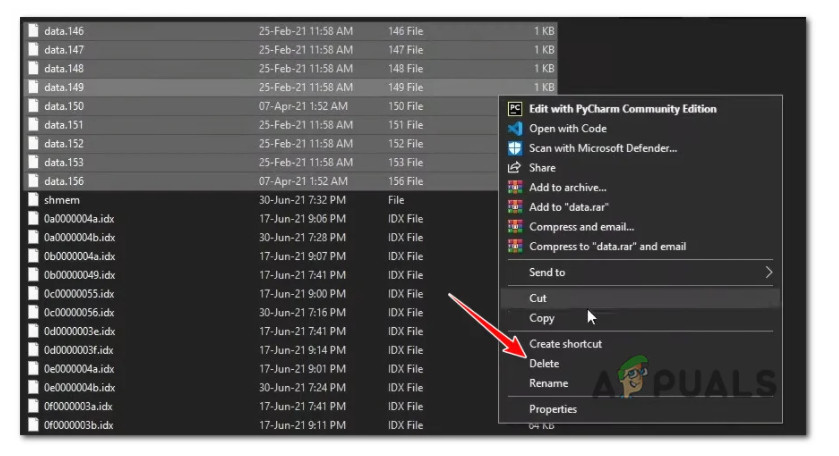
Delete the small data files Note: You can sort files by size to make small files easier to find and remove.
- Once you’ve cleaned up these files, open Battle.net again and click Update or Install for the Call of Duty game.
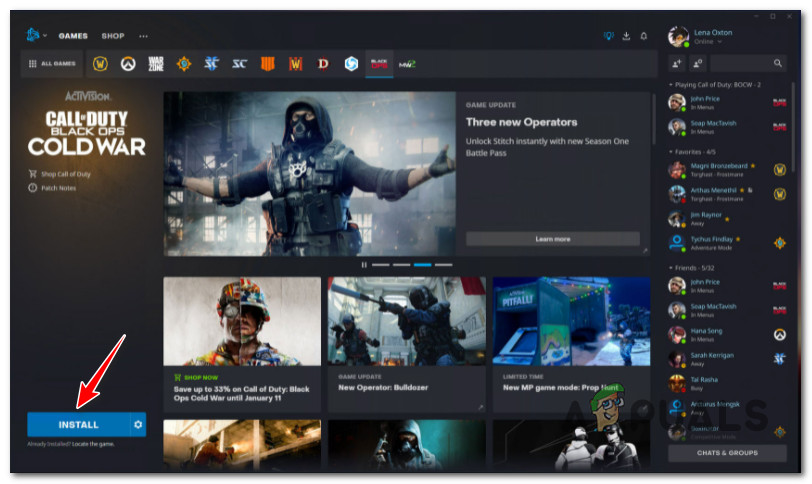
Forcing Battle.net to trigger an integrity check Note: Battle.net will recognize the remaining files and only download what’s missing.
If this method didn’t solve your problem or your error wasn’t related to a Call of Duty game, move on to the next fix.
2. Update or Uninstall Your Third-Party Antivirus (if applicable)
This error can also be caused by your antivirus program wrongly blocking Battle.net files. If you use Windows Security (the default antivirus), you can skip this method. However, programs like Comodo Antivirus and Avast are known to cause problems with Battle.net.
- Update your antivirus to make sure it has the latest virus definitions. You’ll usually find this option by right-clicking the antivirus icon on your taskbar or opening its main settings menu.
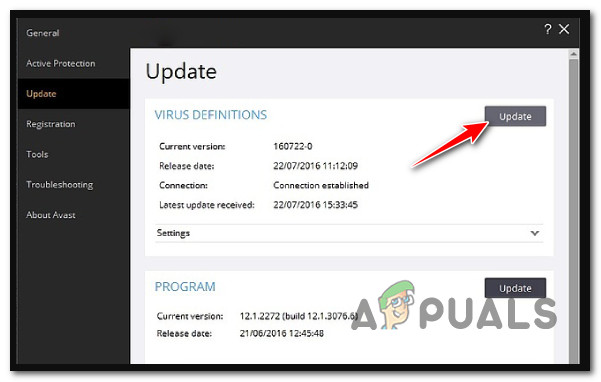
After updating, restart your PC and try updating or installing your game again.
If the error persists, try uninstalling your third-party antivirus:
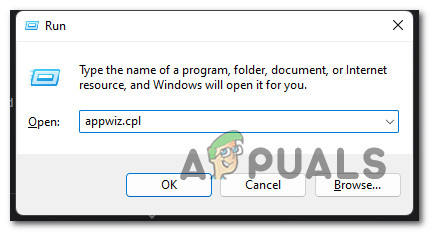
- Press Windows key + R to open Run. Type appwiz.cpl and press Enter.
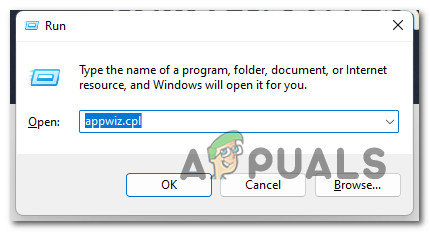
Open up the Programs and Features menu - If you see a User Account Control (UAC) prompt, click Yes.
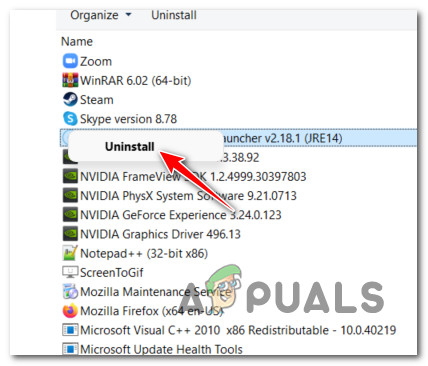
- Find your antivirus in the list, right-click it, and choose Uninstall.

Uninstall the antivirus suite - Follow the prompts to finish uninstalling, then restart your PC.
- After restarting, Battle.net should now work with Windows Security.
Try downloading your game again. If you still get the error, move to the next solution.
3. Check and Optimize Your Internet Connection
Sometimes, a weak or busy internet connection can cause this error. Here’s how to ensure the best possible connection for Battle.net downloads:
- If possible, connect your computer directly to your modem or router with an Ethernet cable instead of Wi-Fi.
- Close any programs that are using a lot of bandwidth, like file downloads or streaming apps.
- Try to avoid using mobile data, satellite, or WiMAX internet, as these are often unstable for large downloads.
After following these tips, try installing or updating your game again.
4. Flush Your DNS
If connection tweaks haven’t helped, your DNS (Domain Name System) settings might be causing issues with Battle.net servers. Flushing your DNS clears out old, possibly problematic data that might be blocking your connection.
Note: This method works on both Windows 10 and 11.
- Press Windows key + R to open Run. Type cmd, then press Ctrl + Shift + Enter to open the Command Prompt as an administrator.
Open up an elevated command prompt - If prompted by User Account Control (UAC), click Yes.
- Type the following command and hit Enter:
ipconfig /flushdns
Note: This command clears the DNS cache for your computer.
- Close the Command Prompt and restart Battle.net. Now try updating or installing your game again.
If the problem still exists, proceed to the next method.
5. Disable Any Proxies or VPNs
Proxies and VPNs can sometimes block Battle.net from connecting properly. Disabling them often resolves this issue.
- You’re using a proxy server (see 5.1 below)
- You’ve set up a VPN connection in Windows (see 5.2)
- You use a separate VPN app (see 5.3)
5.1. Disable a Proxy Server
- Press Windows key + R, type ms-settings:network-proxy, and hit Enter.
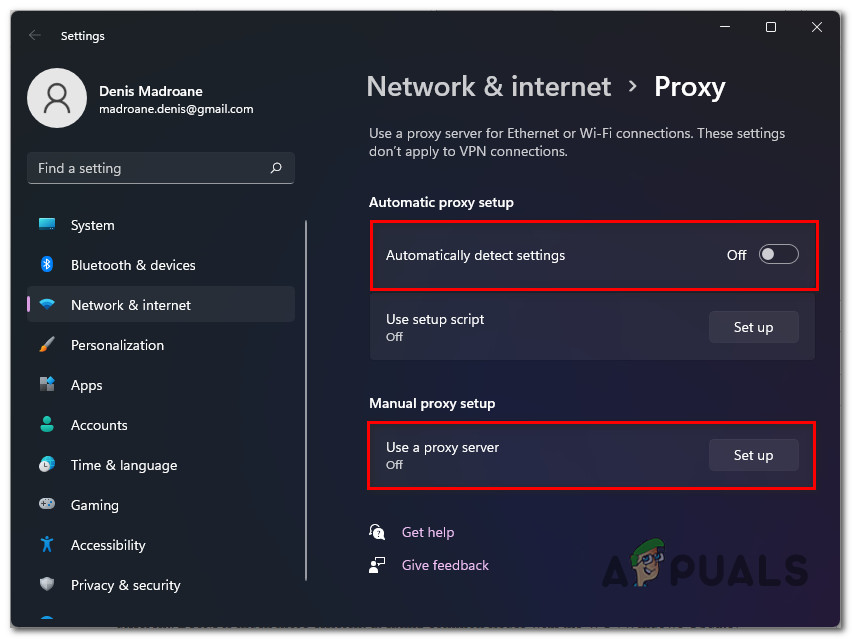
Access the Proxy settings menu - If prompted, choose Yes at User Account Control.
- In the Proxy section, turn off both Automatic proxy setup and Manual proxy setup if they are enabled.
Disable the Proxy server - Restart your computer, then try Battle.net again.
5.2. Disable a Native VPN Connection
- Press Windows key + R, type ms-settings:network-vpn, and hit Enter.
Accessing the VPN tab of the settings menu - Find your VPN connection, click on it, and remove or disconnect it.
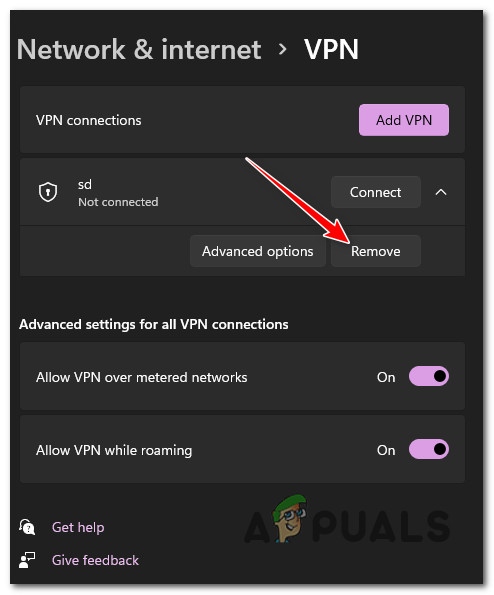
Remove the VPN connection - Confirm if needed, then reboot your PC and try Battle.net again.
5.3. Uninstall a VPN App
- Press Windows key + R, type appwiz.cpl and press Ctrl + Shift + Enter.
Open up the Programs and Features menu - Click Yes at the prompt.
- Find your VPN app, right-click it, and select Uninstall.
Uninstall the VPN suite - Finish the uninstall and restart your computer.
Once you’ve done this, try to download or update your game again.
6. Reinstall the Problematic Game
If all else fails, your game files may be corrupted. Try uninstalling and reinstalling the game through Battle.net.
- In Battle.net, select the problem game. Click the gear icon next to Play/Update/Install, then choose Uninstall.
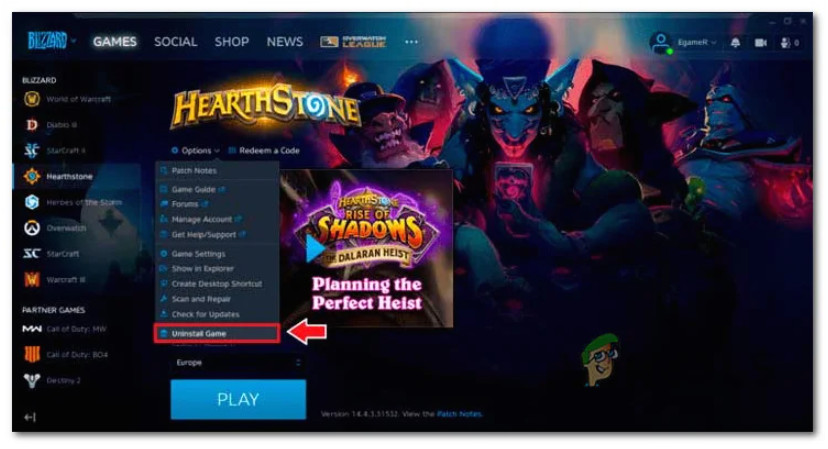 Uninstall the problematic game via Battle.Net
 - Follow the on-screen instructions and reboot your PC afterward.
- Reinstall the game in Battle.net.
If you can’t uninstall the game through Battle.net, do it manually:
- Press Windows key + R, type appwiz.cpl and press Ctrl + Shift + Enter.
Open up the Programs and Features menu - Find your game and uninstall it from the list.

Uninstall the game - Follow the prompts to finish uninstalling, then restart your PC and reinstall the game.
Try again. If the error still comes up, move to the final fix.
7. Reinstall Battle.net After Deleting Leftover Files
If none of the other steps have worked, your Battle.net app itself may be corrupted. Reinstalling it after cleaning up old data can resolve deeper issues.
- Press Windows key + R, type %LOCALAPPDATA%, and press Enter.
Accessing the Local App Data folder - Delete any folders named Battle.net, Blizzard, or Blizzard Entertainment.
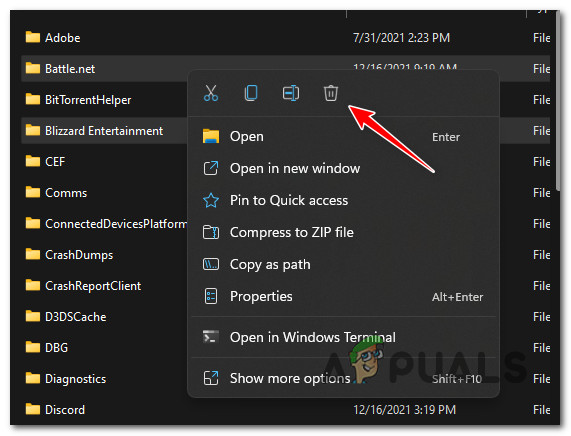
Delete the Battle.Net related folders - Next, repeat these steps with these folders: %APPDATA%, %TEMP%, and %PROGRAMDATA%. Delete any Blizzard or Battle.net folders inside.
- Restart your computer.
- Download and install the latest version of Battle.net from the official website.

Downloading the latest version of Battle.Net - Try installing your game again.