Fix: “This app package is not supported for installation by App Installer” Error
Attempting to install an .appx or .msix file using App Installer often leads to a blank screen or a failed launch with the message: “This app package is not supported for installation by App Installer.” This error means App Installer has stopped the installation because the package contains settings or features it can’t handle.

The most common reason is that the app uses special features that App Installer isn’t allowed to support. Other possible reasons include not having Developer Mode turned on, using an outdated version of App Installer, or issues with how the app was signed.
Here are a few simple steps you can try to fix this problem in Windows 11:
1. Enable Developer Mode in Windows
To install the app package, you first need to enable Developer Mode. This setting gives your PC permission to run additional development tasks, including installing apps from any source.
Following these steps should allow the app package to be installed successfully.
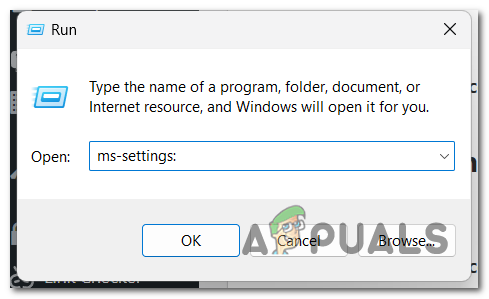
- Press the Windows key + R to open the Run dialog box.
- Type “ms-settings:” and press Enter to open Windows Settings.
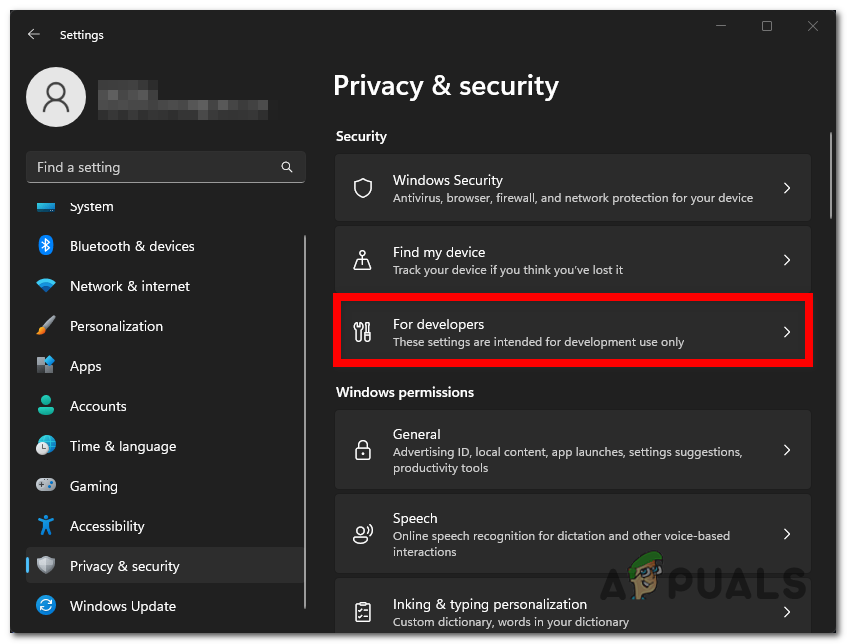
Opening the Windows Settings - Go to the Privacy & security section.
- Click on the For developers option.
Selecting the For developers button - Find the Developer Mode setting and switch it on.
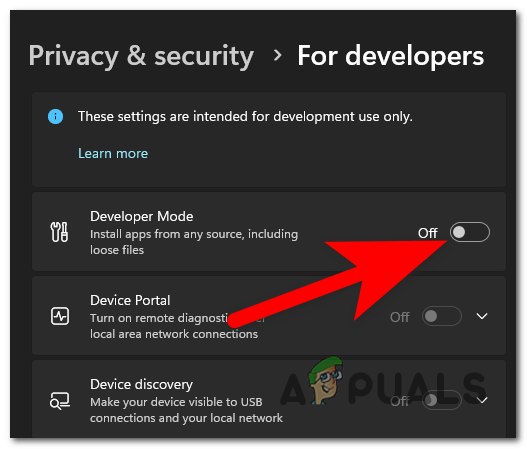
Enabling the Developer mode - Close Settings and try to install the app package again. Check if the “This app package is not supported for installation by App Installer” error is resolved.
2. Install the App Package Using PowerShell
If the regular installer still doesn’t work, you can try installing the app package using PowerShell. Sometimes, the App Installer cannot find the package file, but using PowerShell lets you provide the correct file path directly.
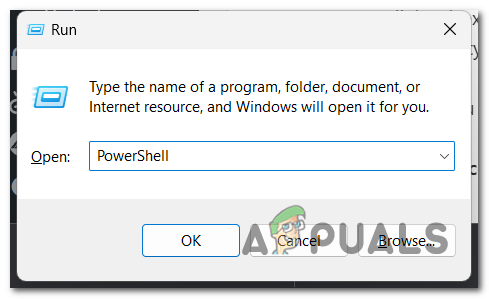
- Press Windows key + R to open the Run dialog box.
- Type ‘PowerShell‘, then press CTRL + Shift + Enter to launch it as an administrator.
Opening PowerShell - If prompted by User Account Control (UAC), click ‘Yes‘.
- Now, locate the app package file you want to install. Right-click it and select “Copy as path“.
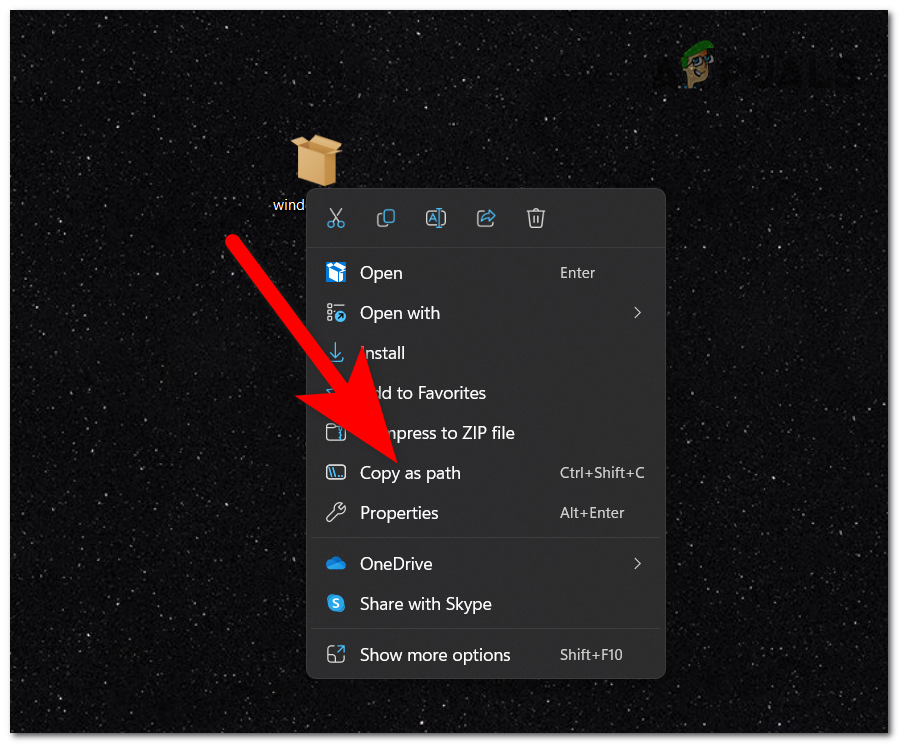
Copying the app package’s path - Back in PowerShell, type the following command, replacing (path) with the path you just copied:
Add-AppxPackage (path)
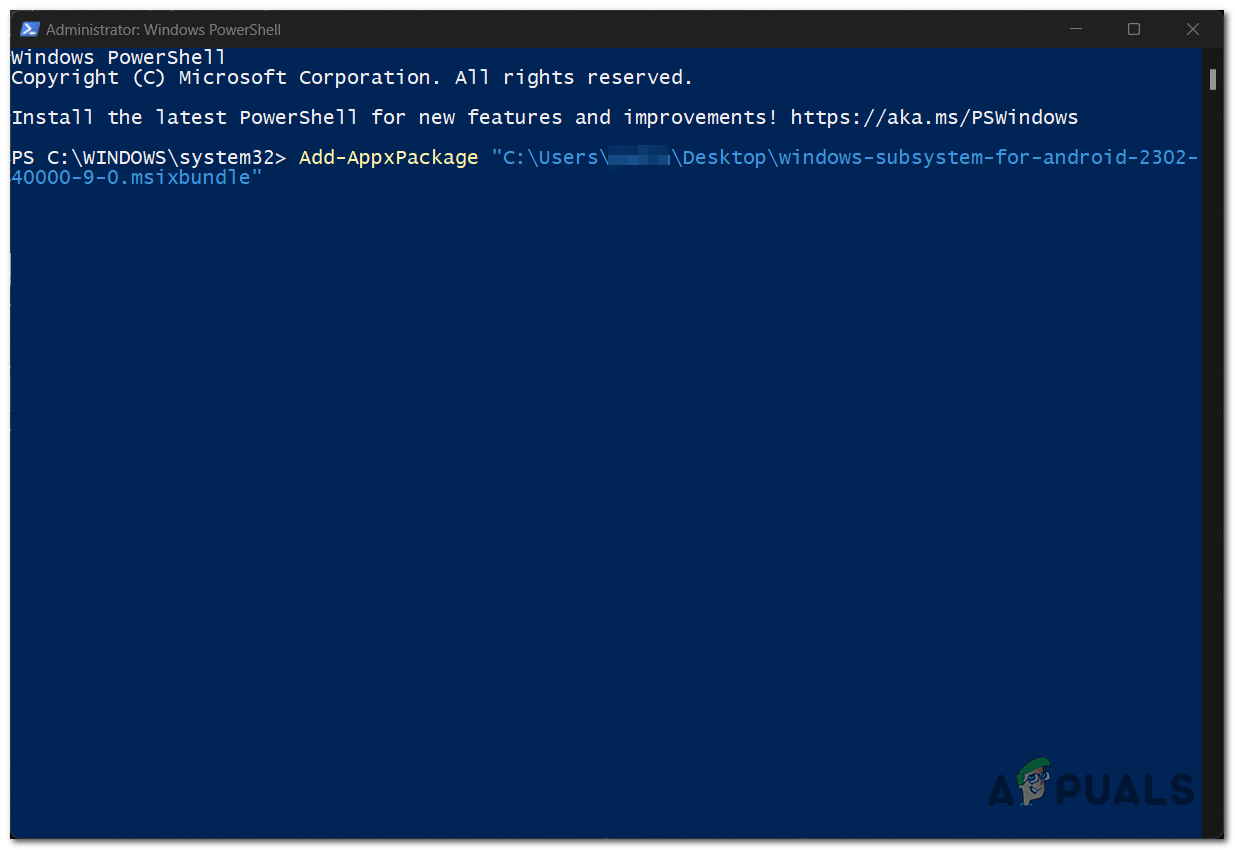
Installing the app package in PowerShell - Press Enter and wait for the installation to finish.
- Once done, search for the app in your taskbar to see if it installed properly and the error is gone.


