How to Fix “Error Code: c0000005” on Apex Legends?
Apex Legends can suddenly crash and close itself with no warning, or it may show a crash report window with “Error Code: c0000005“. This error means the game tried to use memory it shouldn’t have. The most common reason is interference from antivirus programs or overlay software like Discord or NVIDIA GeForce Experience. Other possible causes include old GPU drivers, unstable RAM, or damaged game files.

Now, let’s get into the step-by-step solutions you can try to fix this problem.
1. Run Apex Legends as an Administrator
The first thing you should try is running the game as an administrator. This gives the game all the permissions it needs and can resolve permission-related crashes.
To do this, open the Start Menu and search for either Origin or Apex Legends. Next to the app, click “Run as administrator” and then see if the game still crashes.
2. Limit In-Game FPS
Limiting your in-game FPS (frames per second) can also help. Many users have fixed random crashes by setting a maximum FPS limit.
- Open the Origin client.
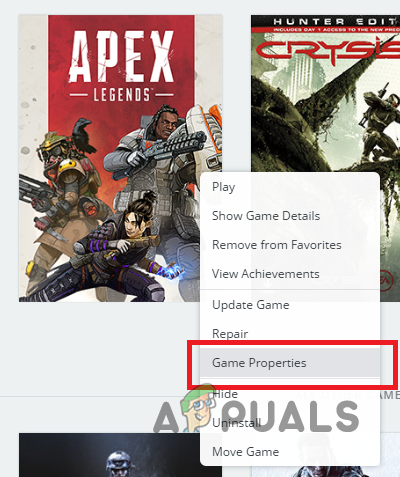
- Go to your game library, right-click Apex Legends, and choose Game Properties.
- Switch to the Advanced Launch Options tab.
- Under Command line arguments, enter +fps_max 75 (without quotes).
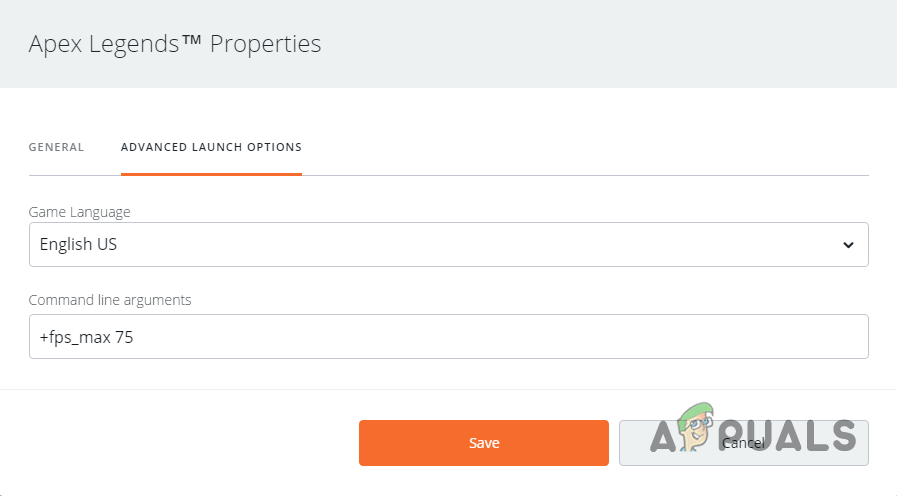
- Click Save and launch the game. In the settings menu, turn off VSync.
- Check if this fixes your issue. If it does, you can carefully try increasing the FPS limit to see if higher settings work as well.
3. Use Windowed Mode
If limiting FPS doesn’t help, try switching from fullscreen to windowed mode. Some players have fixed crashes this way.
Start Apex Legends and go to settings. In video settings, set the display mode to windowed. See if your game works properly now.
4. Disable Origin Overlay
The Origin overlay is useful for chatting with friends but can sometimes cause crashes.
- Open the Origin client.
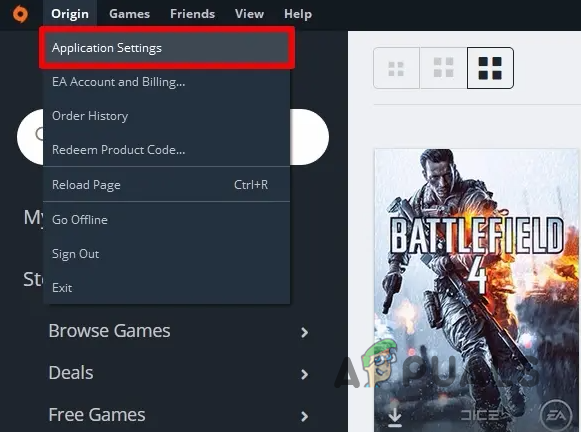
- Click the Origin menu in the top-left, then select Application Settings.
- Click the More drop-down menu to the right and go to Origin In-Game.
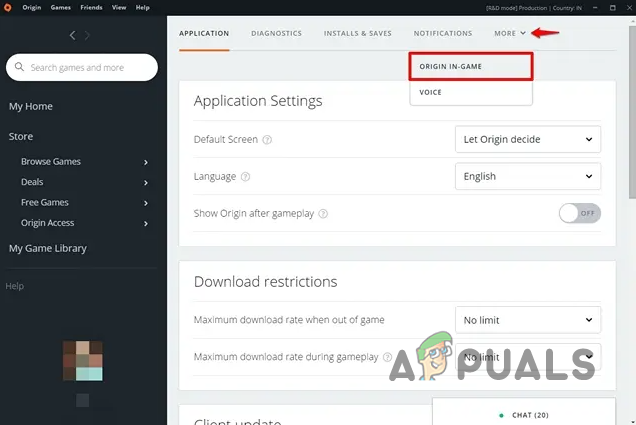
- Turn off the Origin in-game overlay with the slider.
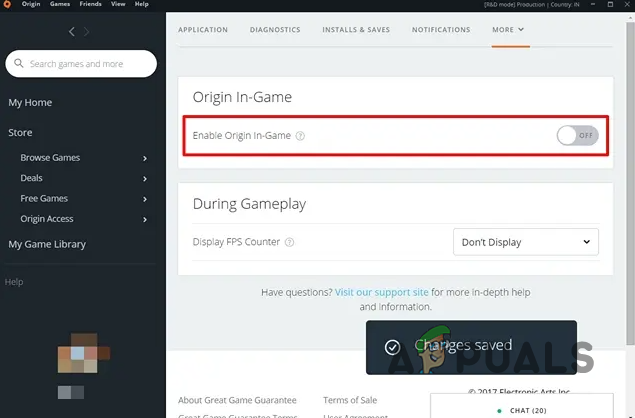
- Restart Apex Legends and see if the problem is resolved.
5. Lower EasyAntiCheat Process Priority
Some players have fixed this problem by lowering the priority of the EasyAntiCheat process in Task Manager.
- Open Task Manager (right-click taskbar on Windows 10, or Start button on Windows 11).
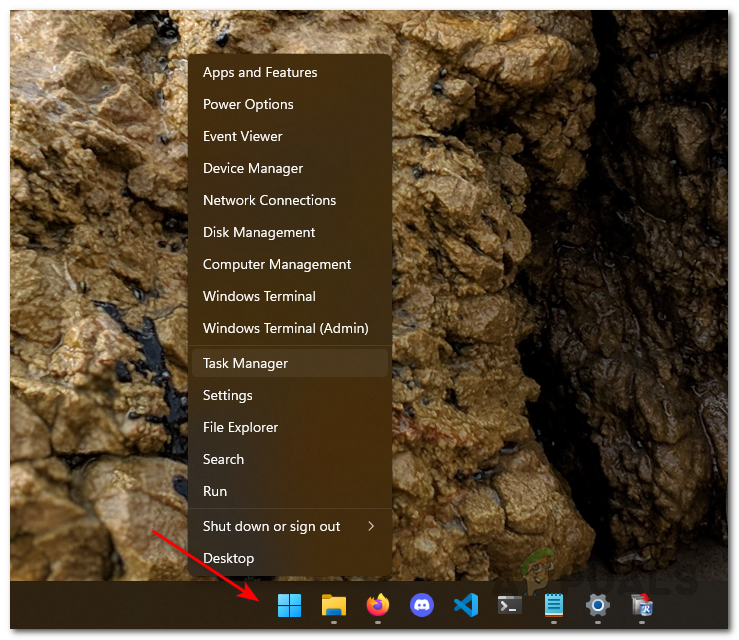
Opening up Task Manager
- Go to the Details tab.
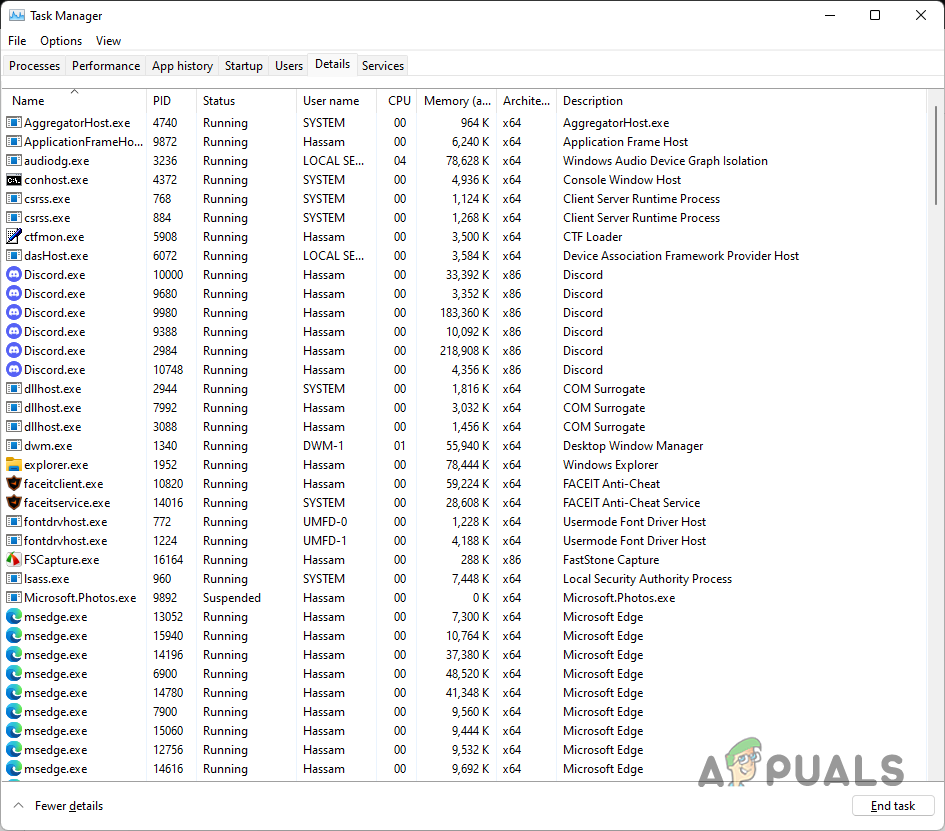
Task Manager Details Tab
- Find the EasyAntiCheat process (launch Apex Legends first if you don’t see it).
- Right-click it, choose Set priority, and select Low.
- See if Apex Legends still crashes.
6. Repair EasyAntiCheat
If EasyAntiCheat is not working properly or is corrupted, repairing it may help.
- Open File Explorer.

Opening up File Explorer
- Navigate to where Apex Legends is installed.
- Find and run the EasyAntiCheat_Setup.exe file.
- Select Respawn Demo from the drop-down.
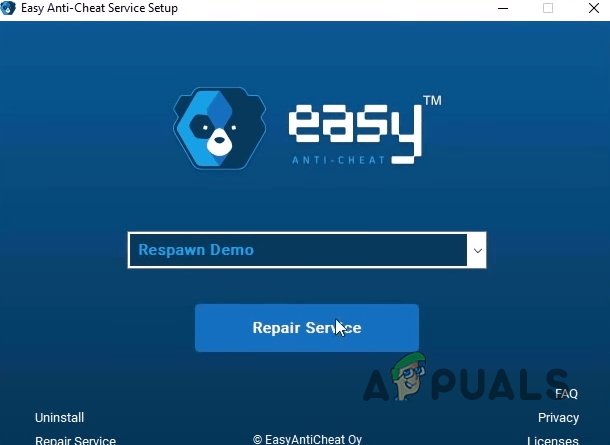
Repairing EasyAnticheat
- Click Repair in the setup window.
- Try launching the game again.
7. Perform a Clean Boot
If none of the above steps work, a background program could be the problem. Performing a clean boot will start Windows with only essential services, helping you find out if something else is interfering.
If the game works after a clean boot, something in your startup programs or services is causing the crash.
- Press Windows key + R to open Run.
- Type msconfig and press Enter.

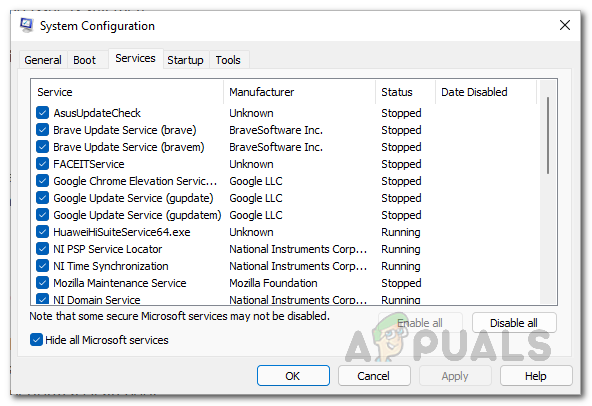
- Go to the Services tab.
- Check Hide all Microsoft services.
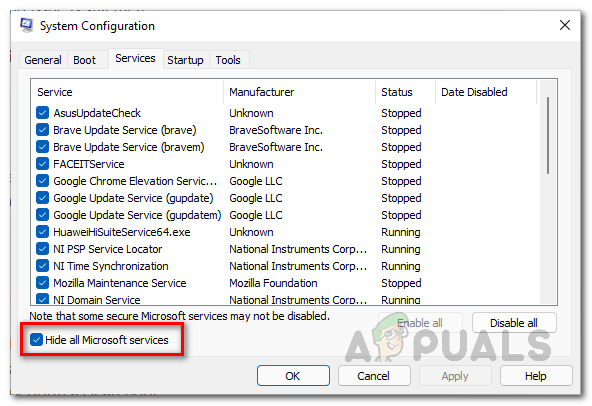
- Click Disable all and then Apply.
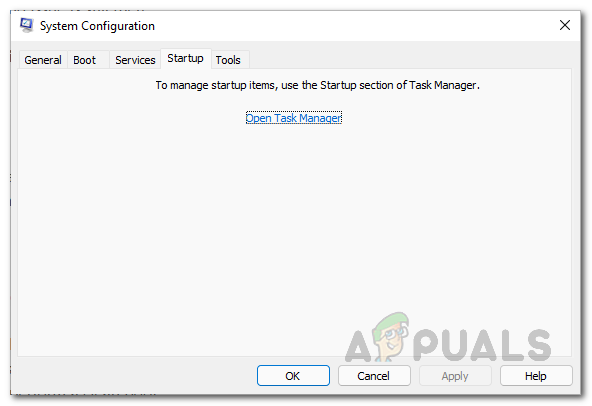
- Go to the Startup tab and click Open Task Manager.
- Disable all startup apps by selecting each one and clicking Disable.
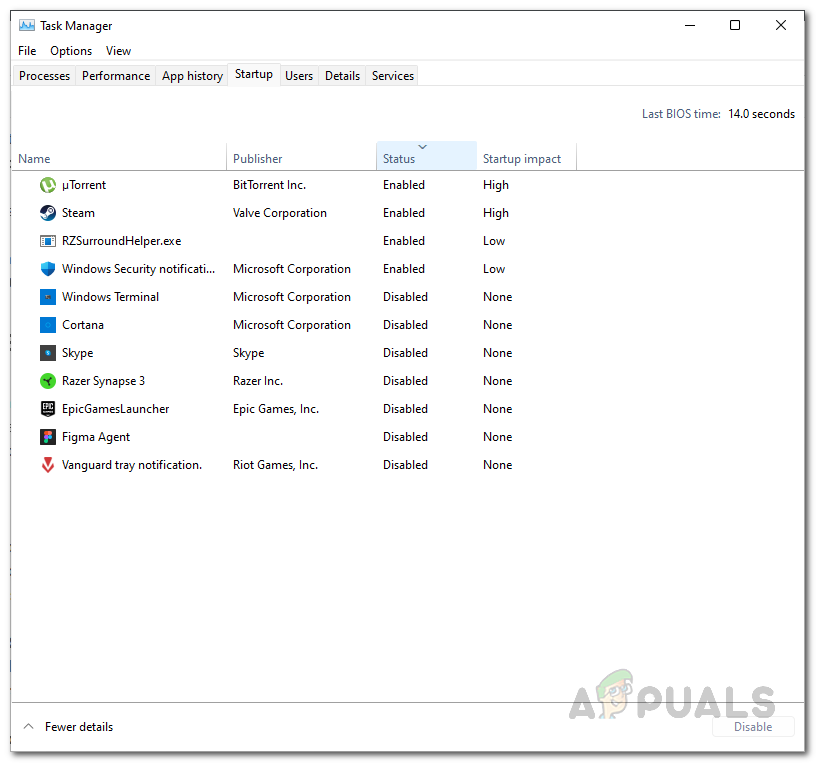 Disabling Third-Party Programs
- Restart your computer and check if Apex Legends is working again.


