How to Fix “Module Not Specified” Error in Android Studio
Module is a collection of run/build settings and source files that help you divide your project into individual units. Errors like Module Not Specified usually occur when Android Studio fails to locate the specified module during the build process.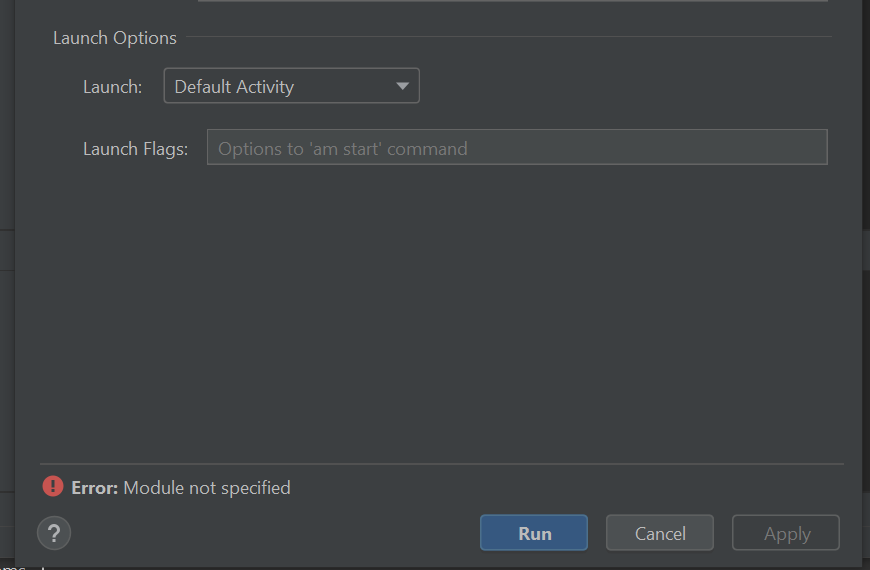
If Android Studio doesn’t know which module to use, it will display this error. The most confirmed causes include missing or incorrect Gradle files, improper project structure, or issues with the build/run configuration. Now that you understand the causes, let’s move on to the solutions.
1. Specify the Module(s) in the Gradle File
An Android Studio project can contain multiple modules, and it’s important to declare them all in the settings.gradle file. Each part of the project may depend on a different module to function properly.
By including all modules in the Gradle file, both the IDE and build system can correctly identify and use the necessary modules especially in multi-module projects.
- Open your project in Android Studio.
- Check if the project contains multiple modules besides the app module in the file explorer.
- Locate and open the settings.gradle file.
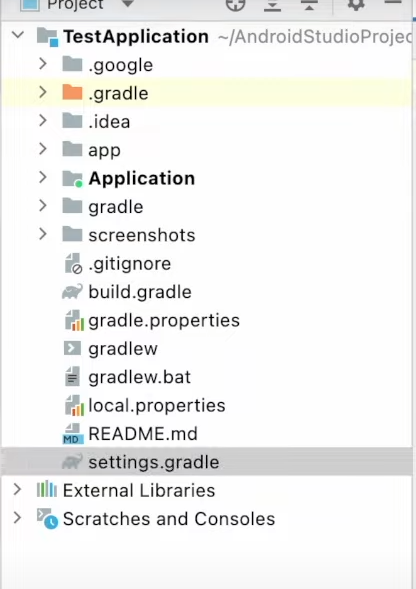
- Add the line include ‘Application’, ‘app’ (separate module names with a comma).

- After adding all necessary modules, click on Sync Now.
- Once syncing is complete, go to the “Edit Run/Debug Configuration” dialog.
- Select the appropriate module and Run the project.
2. Disable Antivirus and Manually Sync the Gradle File
Some antivirus software can interfere with the build process by blocking file access or restricting Gradle’s network activity, which is essential for updating the build system or downloading dependencies. Temporarily disabling the antivirus may help Android Studio perform a smooth sync.
Disable the Antivirus:
Start by temporarily disabling your antivirus software (typically Windows Defender).
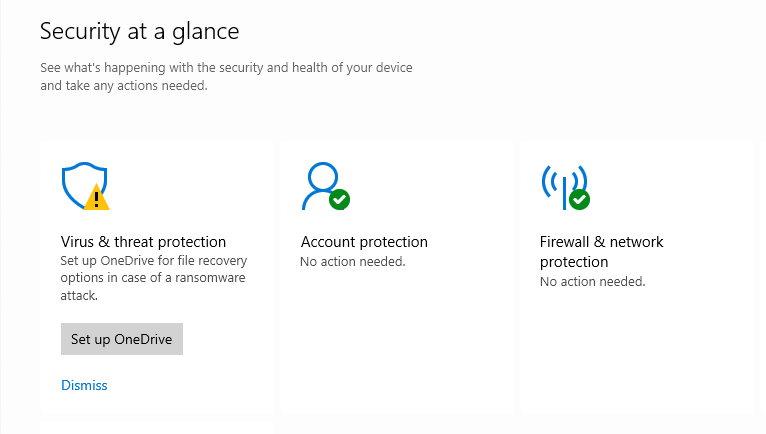
- Double-click the Windows Security icon in the taskbar.

- In Windows Security, go to Virus & threat protection.
- Scroll down and click on Manage settings under Virus & threat protection settings.
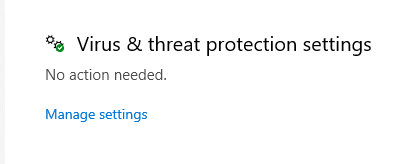
- Turn off Real-time protection.
Syncing the Gradle file manually:
After disabling your antivirus, manually sync the Gradle file to allow Android Studio to reconfigure the build process.
- Open your project in Android Studio.
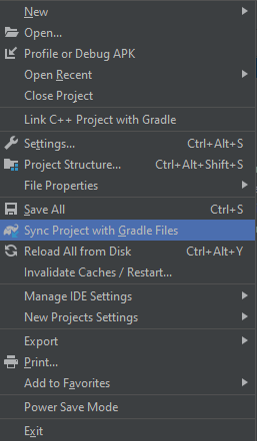
- Click on File in the top menu bar.
- Select Sync Project with Gradle Files.
- After syncing completes, run the project again.
3. Delete the .idea Folder
The .idea folder stores essential Android Studio settings, such as project structure and Gradle configurations. If this folder becomes corrupted or out of sync with the project, it may trigger the error.
Deleting the .idea folder and reopening the project forces Android Studio to regenerate the folder with fresh settings. This can help resolve any misconfigurations and correctly identify the module.
- Right-click on the .idea folder in the project directory and delete it.
- Close Android Studio and reopen it.
- A notification saying “Load Gradle Project” will appear at the bottom.
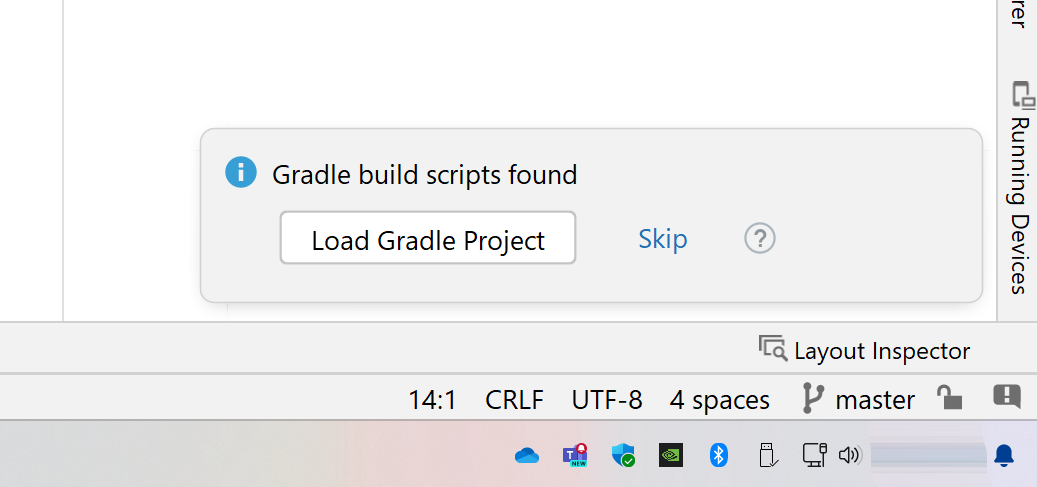
- Click on the notification and wait for the sync to complete.
- Once the sync is finished, run your project again.


