Fix: ‘The Emulator Process for AVD Has Terminated’ Error in Android Studio
The “The emulator process for AVD has terminated” error in Android Studio means the Android emulator could not start or run correctly. This issue prevents developers from using a virtual device to test their apps.

The most common reasons for this error include low storage space, missing Microsoft Visual C++ Redistributables, or outdated / missing tools and drivers in Android Studio. These problems can prevent the emulator from functioning properly and cause the error.
Now that you know what causes the issue, let’s go through the solutions.
1. Clean Up Your Storage Device:
The Android Emulator creates and runs virtual devices (AVDs), which require sufficient free disk space to store temporary data, system files, snapshots, cache, and logs. These virtual devices simulate a real Android phone or tablet and need enough space to function properly.
When your storage is nearly full, the emulator cannot allocate the required resources, leading to this error. By freeing up space, you allow the emulator to manage virtual device files without issues.
Here are some common tips to free up disk space. We also have a comprehensive guide on this topic — you can check it out here: How to Remove Junk Files on a Windows Computer.
Empty the Recycle Bin:
- Right-click the Recycle Bin on your desktop.
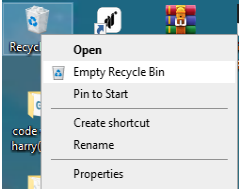
- Click Empty Recycle Bin.
- Confirm when prompted.
Use Disk Cleanup Tool:
- Press Windows + S, type “Disk Cleanup,” and open it.
- Select the drive where Android Studio is installed (usually C:).
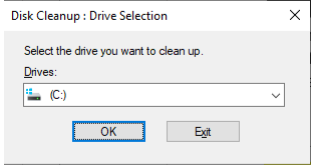
- Click OK and wait for it to scan.
- Select items like temporary files and Windows Error Reports.
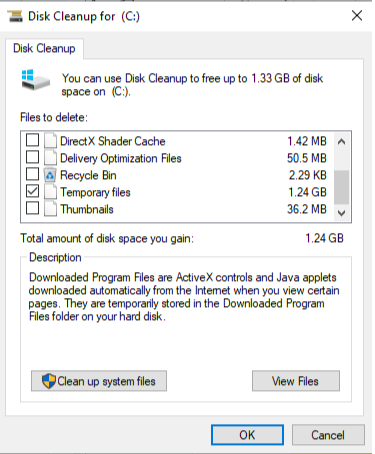
- Click OK, then choose Delete Files.
Delete Temporary Files:
- Press Windows + R, type %temp%, and press Enter.
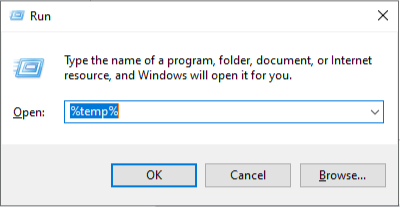
- Press Ctrl + A to select all files.
- Press Delete (skip any files currently in use).
2. Installing the Latest Version of Visual C++ Redistributable:
Installing the latest version of the Microsoft Visual C++ Redistributable can also help fix this Android Studio error. The emulator requires specific files from these packages to run properly.
If these files are outdated or missing, the emulator may crash when launched. Installing or repairing the latest Visual C++ Redistributables restores these required files and can resolve the issue. It’s recommended to install both the x86 and x64 versions for full compatibility.
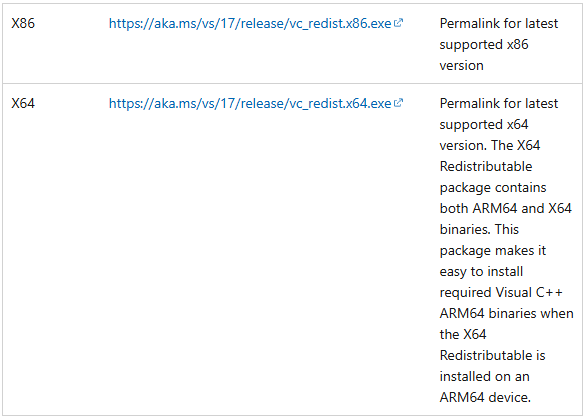
- Go to the official Microsoft Download Page.
- Scroll down to the “Visual Studio 2015, 2017, 2019, and 2022” section.
- Download both vc_redist.x64.exe and vc_redist.x86.exe.
- Run the installers by double-clicking the downloaded .exe files one at a time.
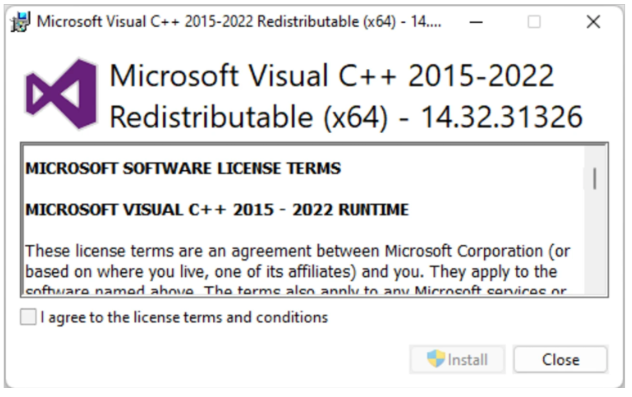
- Accept the license terms and click Install. If the software is already installed, click Repair if that option appears.
- Restart your computer.
3. Updating IDE’s Drivers:
Updating the Android Emulator, Android SDK Build-Tools 34, Android SDK Command Line Tools (latest), and installing the Android Emulator Hypervisor Driver can help resolve the error. These tools are essential for running virtual devices smoothly in Android Studio.
If any of these components are outdated or missing, the emulator may crash or fail to start. Keeping everything up to date improves stability and ensures the emulator runs correctly.
- Open Android Studio.
- Delete any currently running virtual devices from the Device Manager (if any).
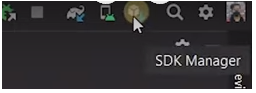
- Click on “SDK Manager” at the top-right corner of Android Studio.
- Go to the “SDK Tools” tab.
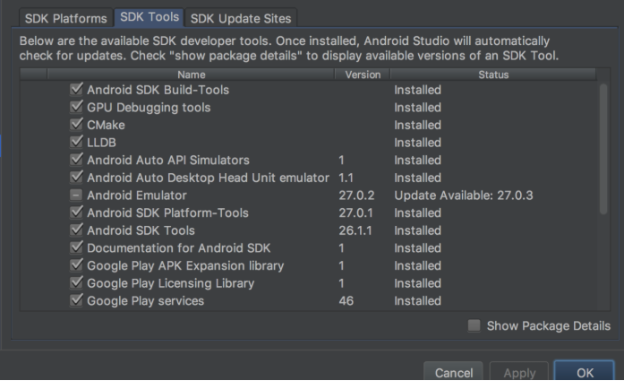
- Check and install or update the following components:
- Android Emulator
- Android SDK Build-Tools 34
- Android SDK Command Line Tools (latest)
- Android Emulator Hypervisor Driver
- Click “Apply” or “OK” to download and install the selected tools.
- Close Android Studio after the installation completes.
- Restart your computer to apply the changes.
- After restarting, open Android Studio, create a new project, and run it to see if the error is resolved.
4. Changing the GPU Mode:
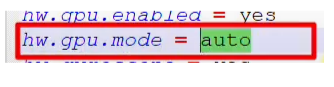
Changing the GPU mode in the config.ini file of your current virtual device may fix the error. Sometimes the GPU mode is set to “auto,” which might not be compatible with certain graphics drivers or hardware, causing the emulator to fail.
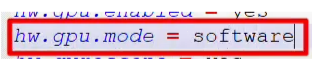
Switching to “software” forces the emulator to use software-based rendering instead of relying on your system’s GPU. This can increase compatibility, especially on older machines or systems with unstable or unsupported graphics drivers.
Note: This will reduce performance but ensure stability.
- Open Device Manager in Android Studio.
- Click the three dots (⋮) next to your virtual device.

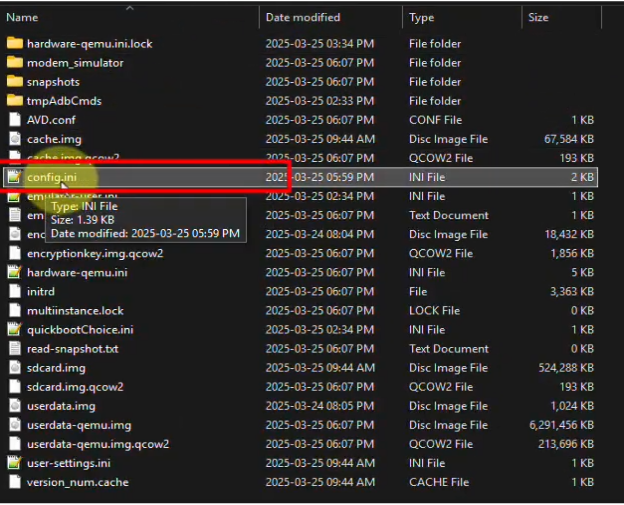
- Select “Show on Disk” from the menu.
- In the opened folder, double-click config.ini to open it.
- Find the line: hw.gpu.mode=auto
- Change auto to software. It should now look like: hw.gpu.mode=software
- Save the file and close the editor.
- Restart Android Studio.
- Run your project again.


