[FIX] ‘Error Occurred Trying To Copy a File’ Filmora Installation
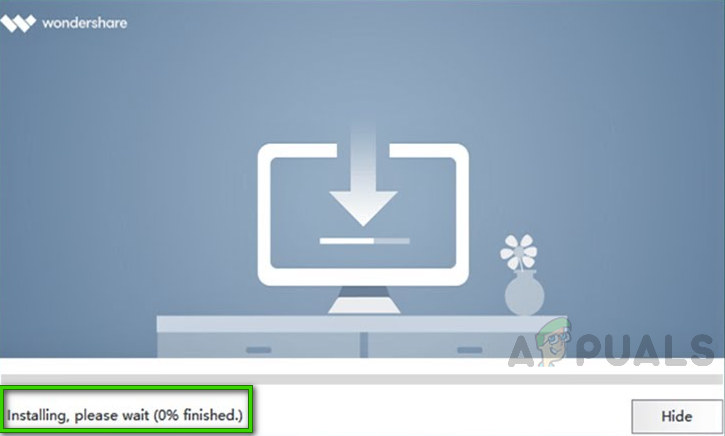
The Filmora installation process can suddenly stop at around 70–80% complete, showing the message “An error occurred while trying to copy a file: The source file is corrupted.” This error means the installer is having trouble copying an important file, usually because the installer itself or one of its needed files is damaged or incomplete.
The most common reason for this problem, according to public forums, is that the installer download did not finish properly or was faulty. Other possible reasons include changes made to your hosts file, antivirus programs blocking the process, problems with temporary files, not enough free space on your computer, or not having the right permissions to install the program.
In this article, we will discuss different ways to solve this error.
Basic Troubleshooting
Before moving on to advanced solutions, try these simple tips. Many users have found these steps helpful. If you’re still having trouble after trying these, continue to the more detailed fixes below:
- Disable Third-party Software: Sometimes, antivirus programs block new software installations because they think they are unsafe. Temporarily disable your antivirus software before installing new programs like Filmora.
- Check Hard Drive Space: Make sure your computer has enough free space to install Filmora. If your drive is full, try deleting unused files first.
- Use Administrator Privileges: Make sure you are logged in as an administrator. To check, open Control Panel > User Accounts, and confirm your account shows “Administrator” underneath your name.
1. Edit the Host File
The hosts file on your computer links website names (like filmora.wondershare.com) to their IP addresses. If this file has been changed by mistake, you may run into installation problems.
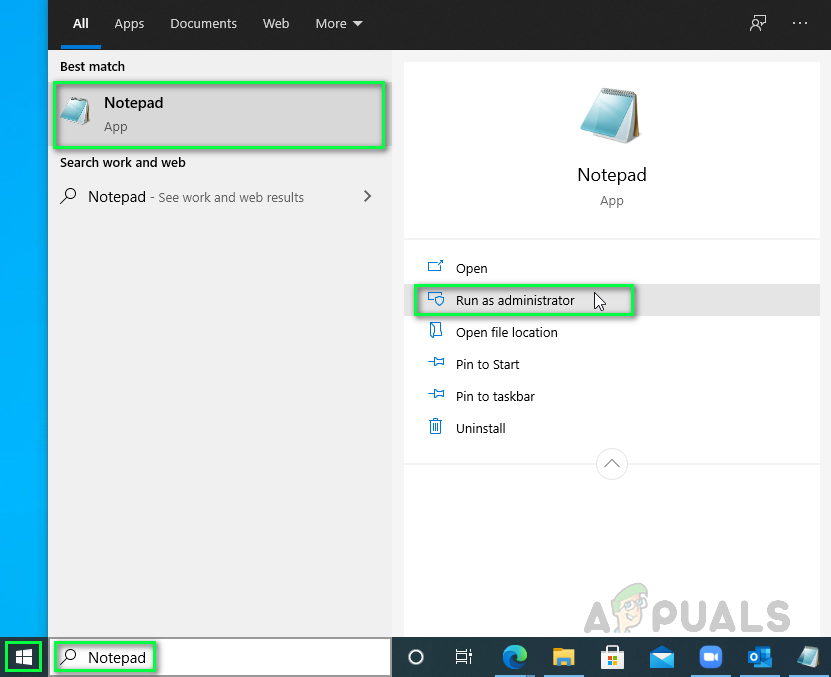
- Click Start, type Notepad, right-click it, and choose Run as administrator.
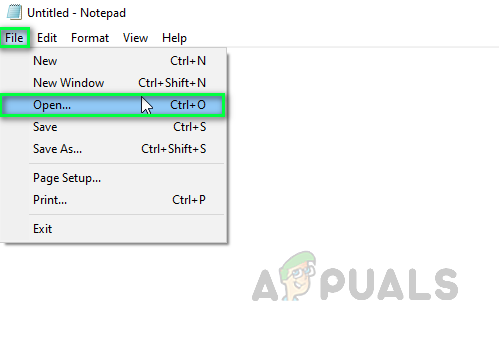
Running Notepad as Administrator - Go to File > Open. A file explorer window will appear.
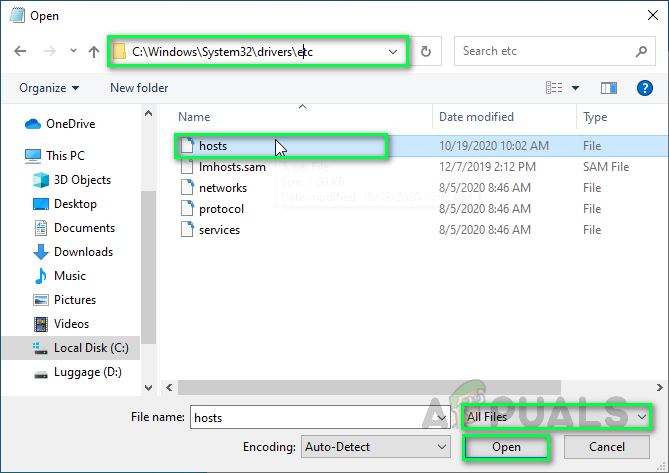
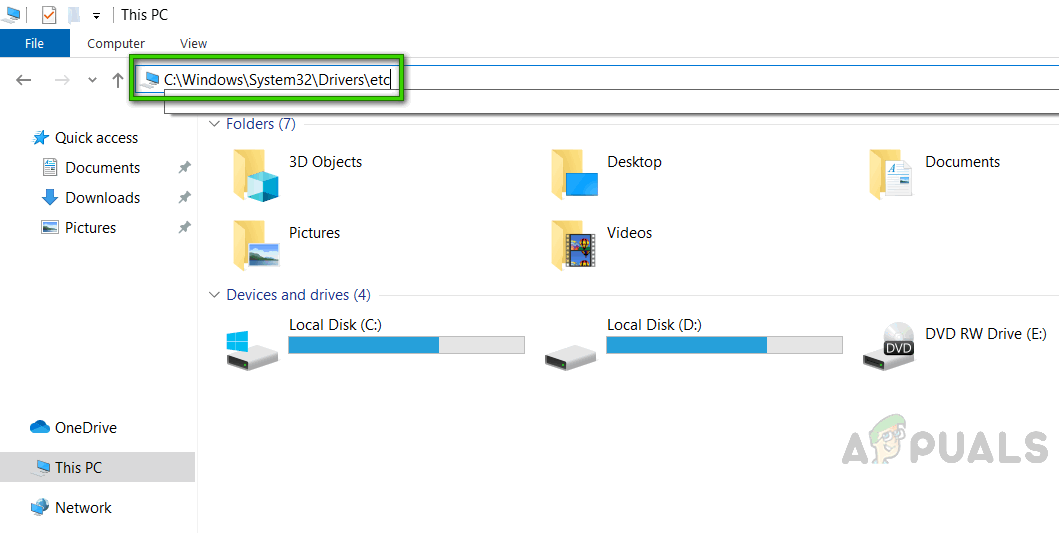
Opening File Explorer Window - Navigate to C:\Windows\System32\drivers\etc. In this folder, change the file type at the bottom right from “Text Documents” to “All Files” so you can see the hosts file. Select hosts and click Open.
Opening Host File in Notepad - Delete everything in the file, then copy and paste the following line (and nothing else):
127.0.0.1 localhost
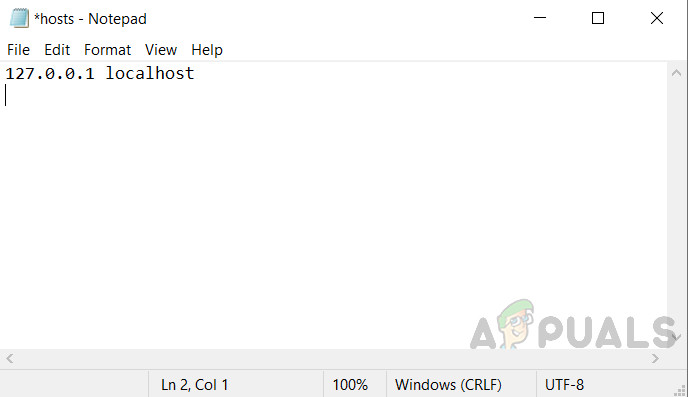
Writing Text in Host File - Save the file by pressing Ctrl + S.
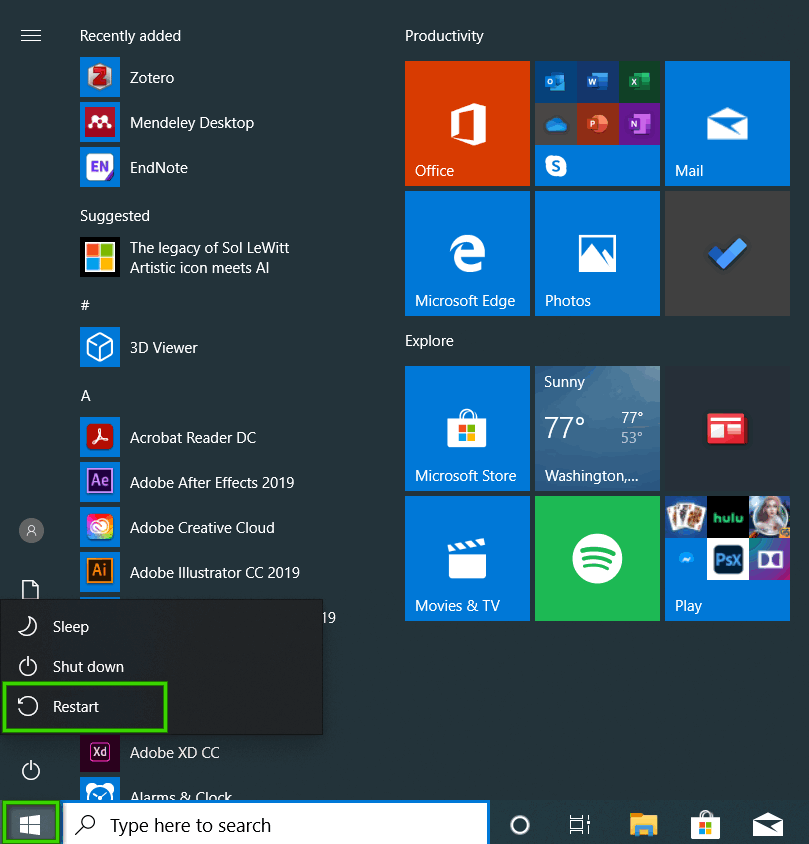
- Restart your PC to apply the changes. Then try to install Wondershare Filmora again.
2. Delete the Host File
If editing the host file didn’t solve the issue, try deleting it. Your system will either recreate a new one automatically or allow you to start fresh.
- Open This PC from the Start menu.
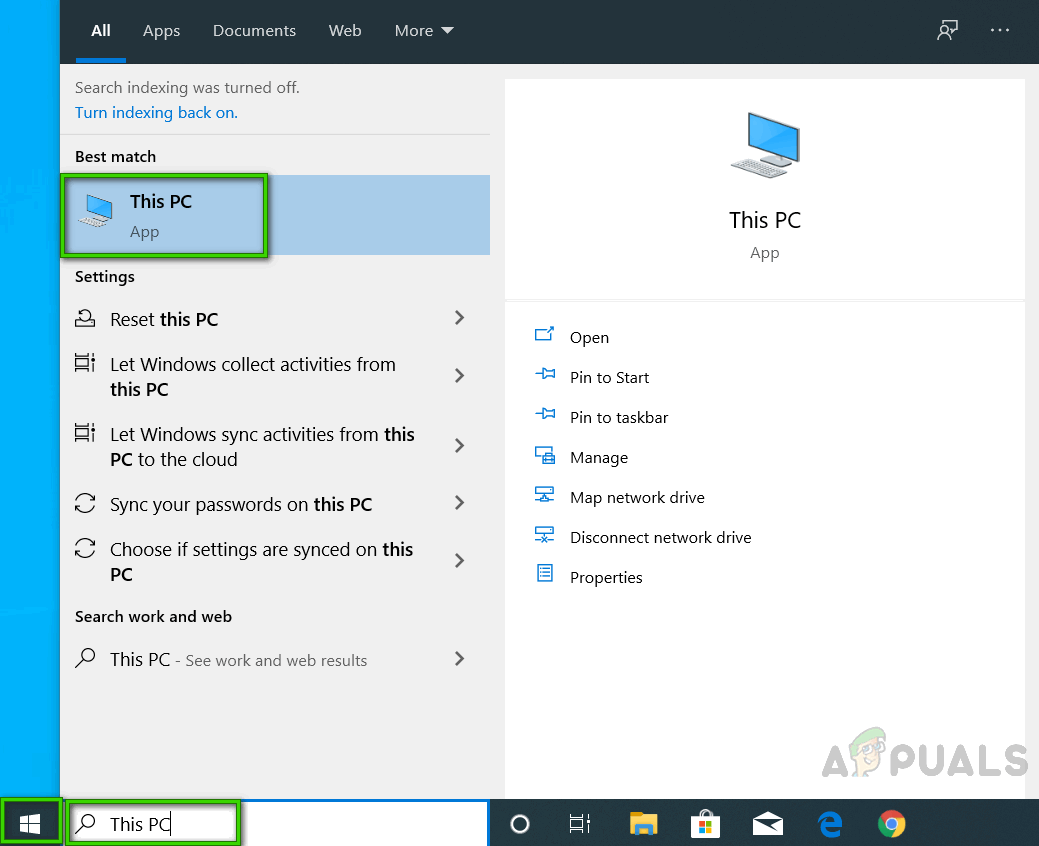
Opening This PC - Go to C:\Windows\System32\Drivers\etc by pasting this location into the address bar.
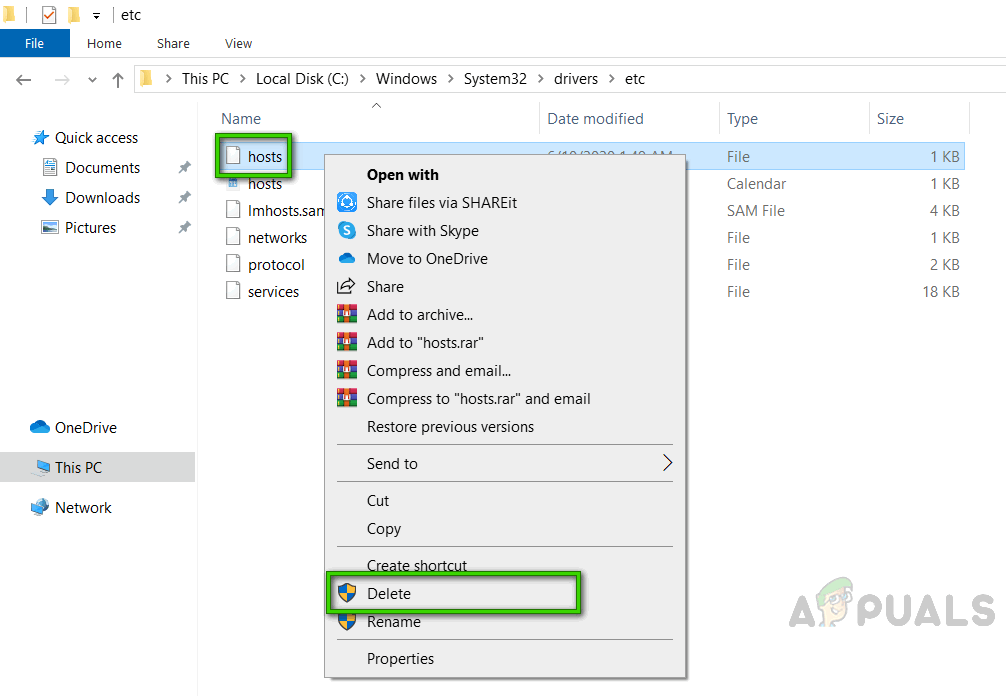
Opening File Destination - Right-click the hosts file and choose Delete. Confirm the action if prompted.
Deleting Host File - Restart your computer.
Restarting PC - Try to install Wondershare Filmora again.
3. Clean Uninstall & Reinstall Filmora
If your previous Filmora install was corrupted, it’s best to completely uninstall it before trying again.
- Open the Control Panel by searching for it in the Start menu.
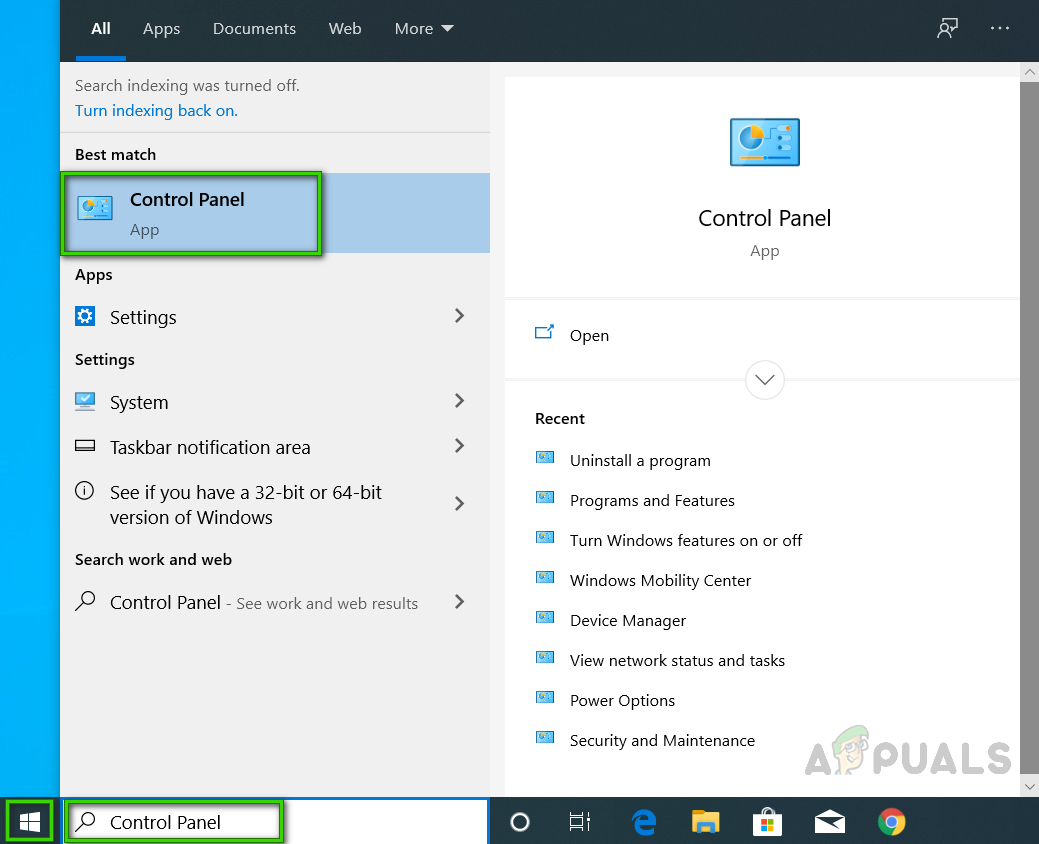
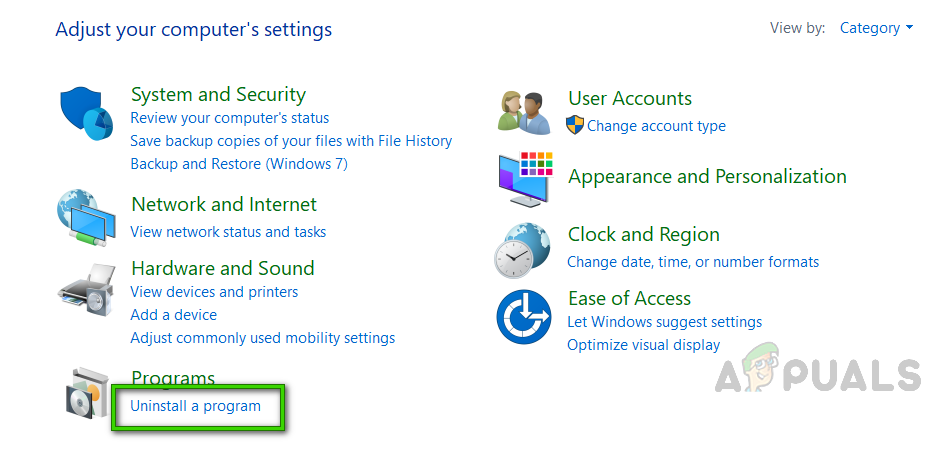
Opening Control Panel - Click Uninstall a Program under Programs to see a list of all installed software.
Opening Installed Programs List - Find Wondershare Filmora, right-click it, and choose Uninstall. Wait for the process to finish.

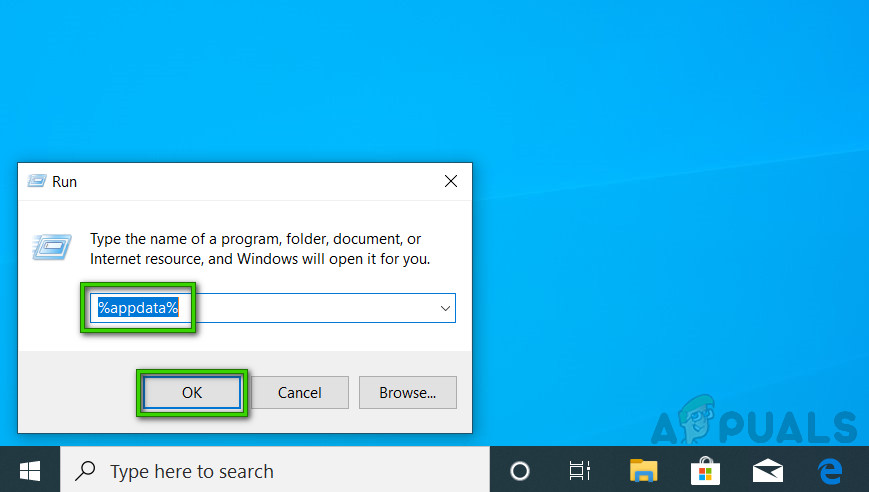
Uninstalling Wondershare Filmora - Press Windows + R, type %appdata%, and press OK to open the AppData folder.
Opening AppData Folder - Find and delete the Wondershare folder if it exists.
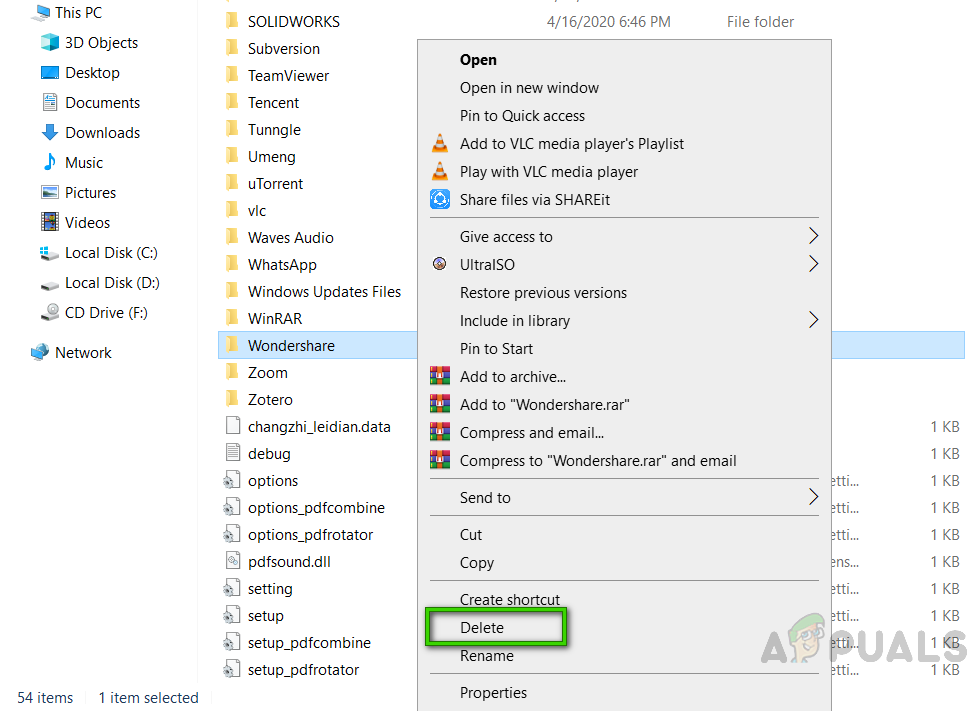
Deleting Wondershare Filmora Folder - Next, press Windows + R again, enter %Programdata%, and press OK to open the ProgramData folder.
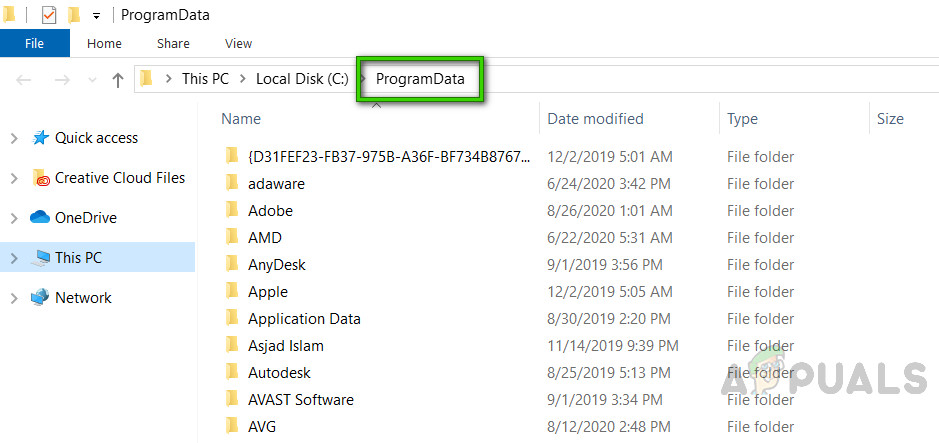
Opening ProgramData Folder - Repeat the previous step for any Wondershare folders here as well. Now Filmora should be completely removed from your system.
- Now download a fresh, updated copy of the Filmora setup from the Official Wondershare Download Webpage and install it again.


