Fix: Always on Display not Working on Samsung Galaxy
The Always On Display (AOD) not working on Samsung Galaxy phones usually means you’re left with a blank screen or you don’t see the clock, notifications, or widgets, even though you turned this feature on in your settings. In this situation, the AOD is not showing up as it should, even if it’s set to stay active or appear when you tap the screen.
The most common reason for this problem is that the display mode might be set to “Tap to show” instead of “Always on.” Another frequent cause is having power-saving mode turned on, which can quietly turn off AOD in the background to save battery. Sometimes, after a software update, your AOD settings can get reset, brightness controls may disappear, or new bugs might show up that prevent AOD from working properly.
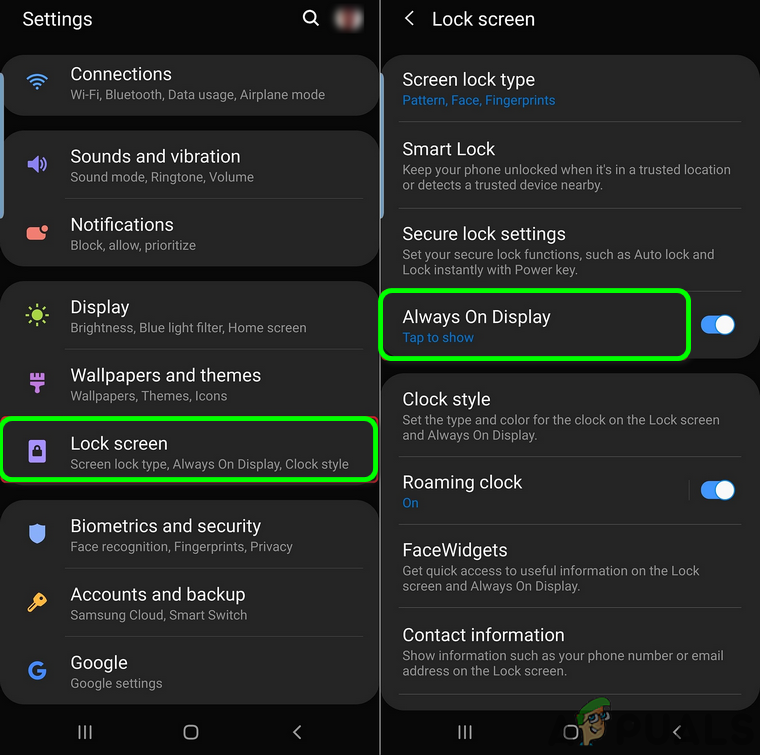
Before you start following the solutions below, restart your phone to see if the issue is just a temporary glitch. Also, check to make sure Do Not Disturb mode isn’t enabled, and that Always On Display is turned on in your phone’s settings. Set the AOD Display Mode to Show Always (Settings > Lock Screen > Always On Display > Display Mode). If Display Mode is set to a schedule, check and adjust the schedule as needed.
Try enabling the Smart Lock feature (Settings > Lock Screen and Security > Secure Lock Settings > Smart Lock), then see if AOD works as expected. Also, try changing the AOD clock style if the current one seems to cause a black screen (Settings > Lock Screen > Clock Style > Always on Display).
1. Turn Off Power Saving Mode
Power Saving mode helps extend your battery life, but it can also turn off AOD to save energy. Disabling Power Saving mode may fix your problem.
- Swipe down from the top of your screen to open the notifications panel.
- Tap Turn Off Battery Saver (if you see “Battery saver is on”), then check if Always On Display is working.
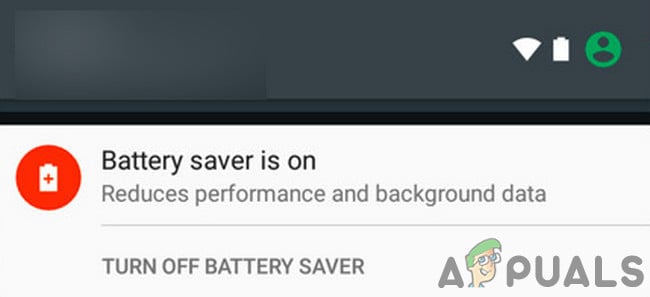
Turn Off Battery Saver
2. Turn Off the Screen Saver
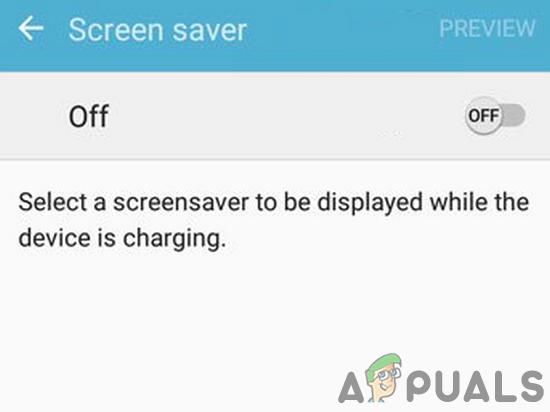
Screen Saver is designed to prevent screen burn-in, but if enabled, it may override AOD and display itself instead. Turning off Screen Saver may solve the problem.
- Open your phone’s Settings and tap Display.
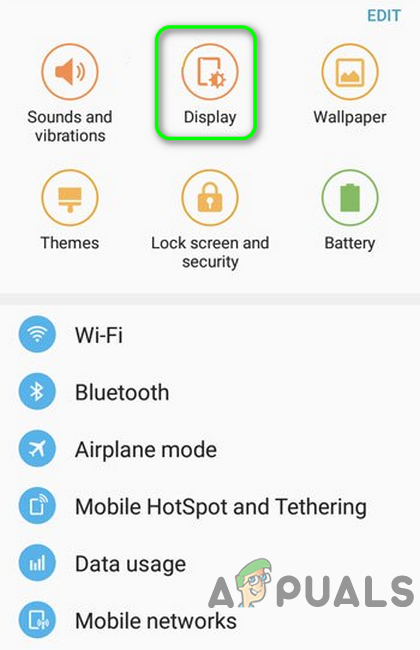
Open Display in Your Phone’s Settings - Scroll down and tap Screen Saver.
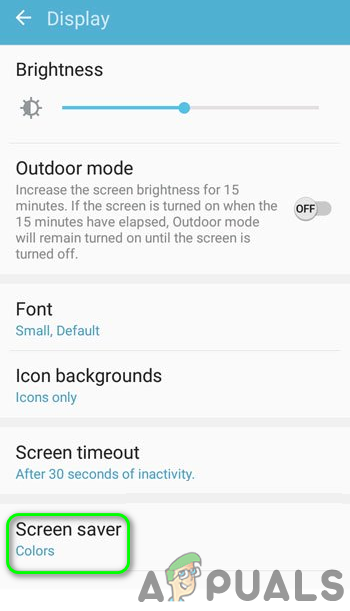
Tap on Screen Saver in the Display Settings - Turn off Screen Saver by toggling the switch to the off position.
Disable the Screen Saver of Your Phone - Restart your phone and see if AOD works afterwards.
3. Disable Lift to Wake
The ‘Lift to Wake’ feature turns on your display whenever you pick up your phone. Sometimes, this may interfere with AOD. Disabling Lift to Wake could fix the issue.
- Go to Settings and tap Advanced Features.

Open Advanced Features of Samsung Galaxy - Tap Motion and Gestures and turn off Lift to Wake.
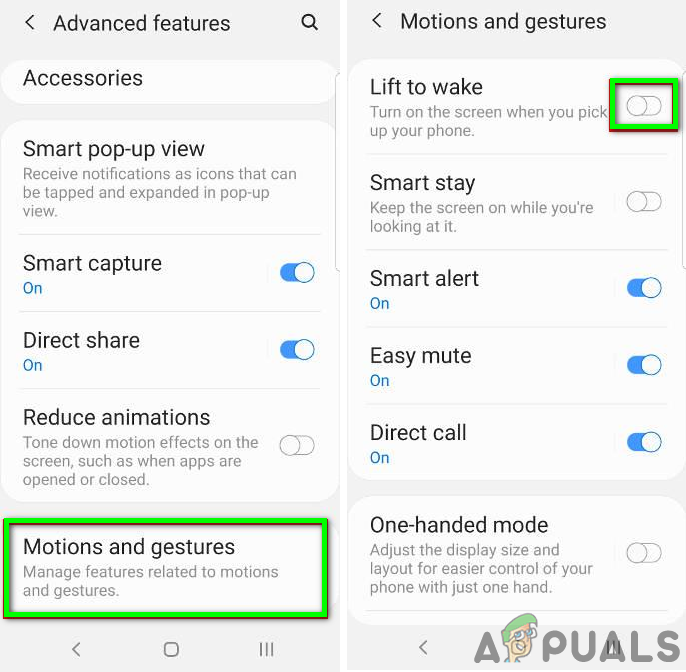
Disable Lift To Wake - Restart your phone and check if Always On Display is working.
4. Turn Off Roaming Clock
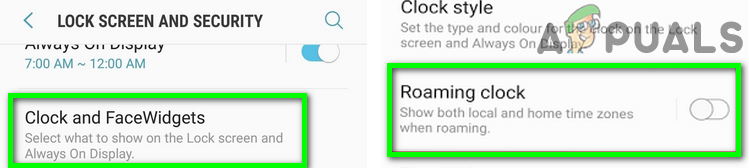
The Roaming Clock feature shows two clocks when you’re in a different time zone, but it can interfere with AOD. Turning off Roaming Clock may help.
- Open Settings and tap Lock Screen & Security.
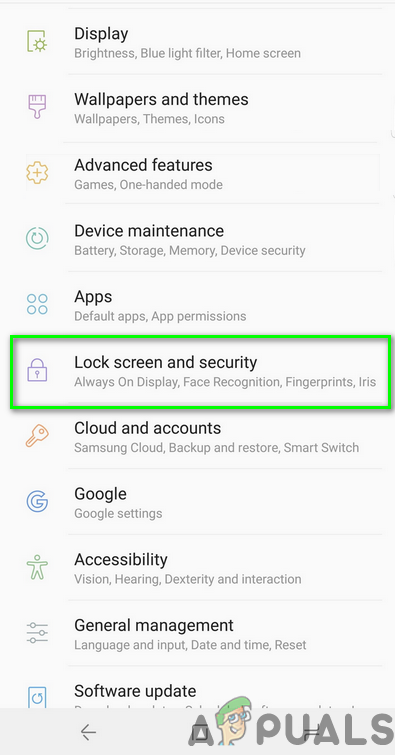
Open Lock Screen & Security in the Settings of Your Phone - Tap Clock and FaceWidgets, then turn off Roaming Clock.
Disable Roaming Clock - Restart your phone and test AOD.
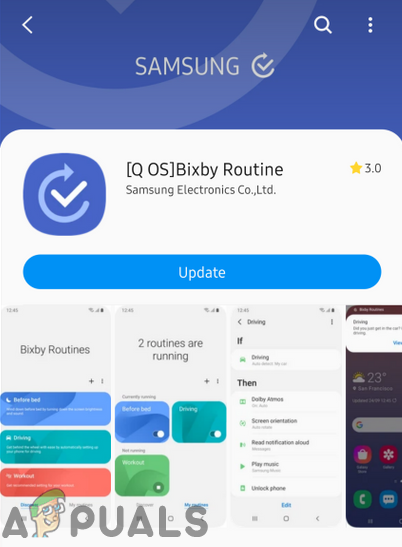
5. Update Bixby Routines
Bixby Routines manage many automated tasks on your phone, including AOD. If this app is out of date, AOD may not work properly. Update Bixby Routines if you’re using a newer Samsung phone (such as the Galaxy S10, S20, Note10, Z Flip, or Fold series).
- Swipe down (with two fingers) from the top of the screen to open Quick Settings.
- Swipe left, then tap and hold the Bixby Routines icon.

Tap and Hold Bixby Routines - Tap the three dots (vertical ellipsis), then select Settings.
- Go to About Bixby Routines.
- If an update is available, update Bixby Routines.
Update Bixby Routines - Restart your phone and check if AOD is functioning correctly.
6. Clear Always On Display Data
Corrupted data in the Always On Display app can stop it from working. Clearing the app’s data can resolve this.
- Open Settings and tap Applications/Apps.
- Tap the three dots (vertical ellipsis, usually top right or bottom), then select Show System Apps.
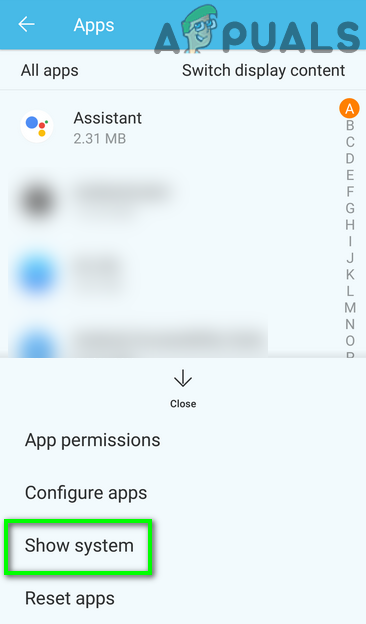
Show System in Apps Settings - Select Always On Display and tap Force Stop.
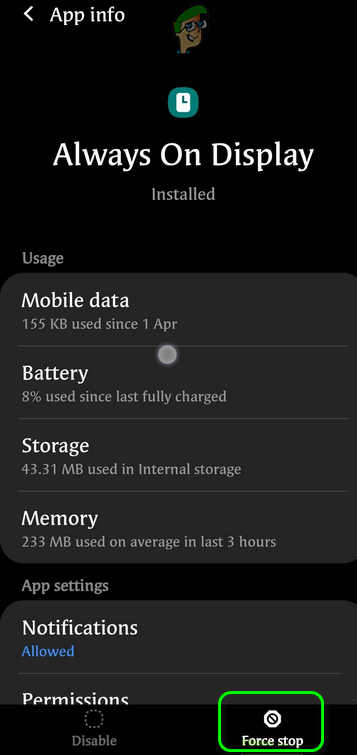
Force Stop Always on Display - Tap Storage, then select Clear Cache.
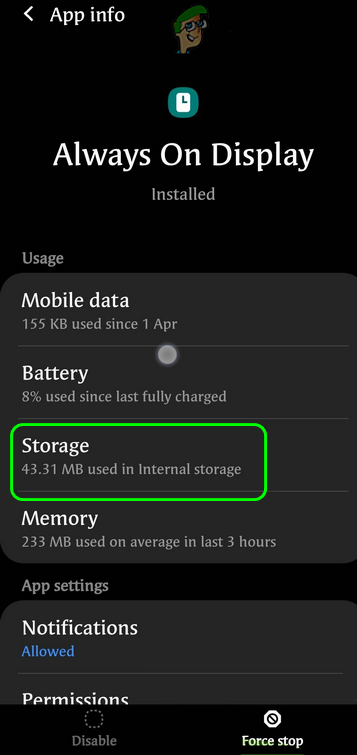
Tap on Storage in Always on Display Settings - Tap Clear Data and confirm. (You may need to set up AOD again after this.)
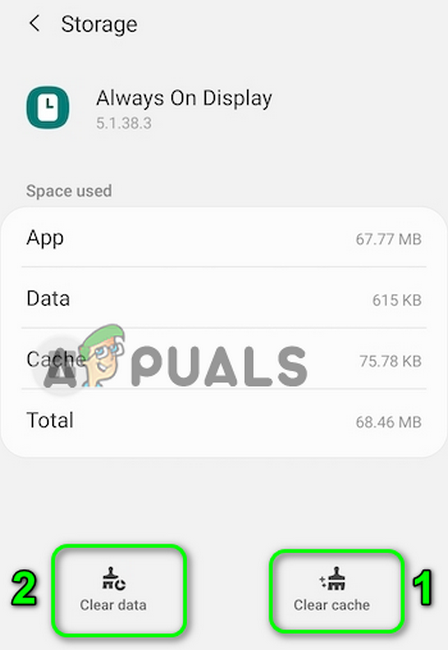
Clear Cache and Data of Always on Display - Finally, restart your phone and check if AOD is now working.
7. Uninstall the Google Play Store Version of ‘Always On Display’
Always On Display is built into Samsung phones, but there is also an app version available on Google Play Store. Using the app version instead of your phone’s built-in feature can cause conflicts. Uninstall the Play Store version and use the one in your phone’s settings.
- Open Settings and go to Application Manager or Apps.
- Find and select Always On Display.

Open Always on Display in the Application Manager - Tap Uninstall.
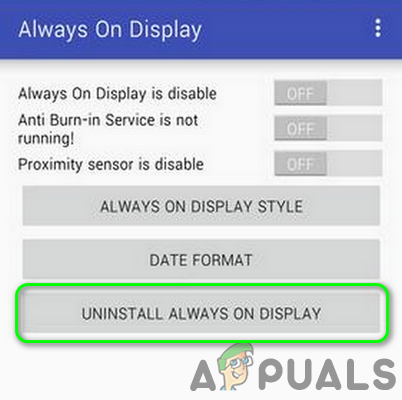
Uninstall Always on Display - Restart your phone, then open Settings again.
- Go to Lock Screen settings and select Always On Display.
- Enable Always On Display and check if it works.
- If it still doesn’t work, open Galaxy Store (or Galaxy Apps) and see if there’s an update for AOD. Update if available and test again.
8. Uninstall Updates for Always On Display
Sometimes, a recent AOD update from Samsung can cause unexpected bugs. Uninstalling AOD updates can bring the app back to its original working version.
- Open Settings and go to Applications/Apps.
- Tap the three dots and select Show System Apps.
Show System in Apps Settings - Select Always On Display, then tap the three dots again.
- Tap Uninstall Updates and restart your device.
- If AOD works now, great! If not, check for an update to AOD in Galaxy Store and install it if available. Then test AOD again.
9. Reset Always On Display to Factory Defaults
If AOD’s settings or files are corrupted, resetting it to default may resolve your issue.
- Open Settings and go to Lock Screen.
- Tap Always On Display, then tap the “i” icon.
Open Always on Display in the Lock Screen Settings - Tap Version at the bottom, then select Reset to Factory.
- Restart your phone and check AOD.
10. Update Your Phone’s OS
Samsung updates its operating system to fix bugs and improve compatibility. Not updating your phone can sometimes cause AOD to stop working. Updating your phone may fix the issue.
- Back up all important data, connect to WiFi, and make sure your phone is fully charged.
- Go to Settings and tap About Phone.
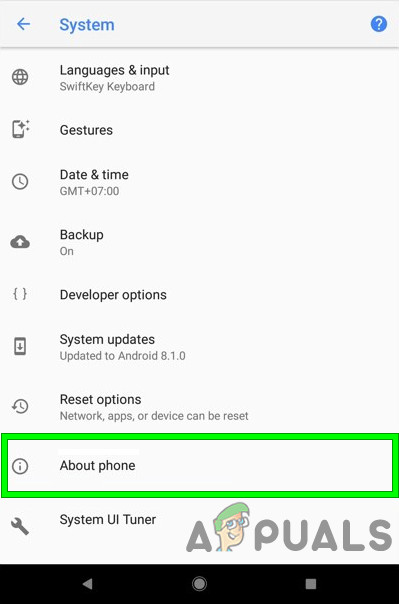
About Phone - Tap Check for Updates, then tap Update if an update is available.
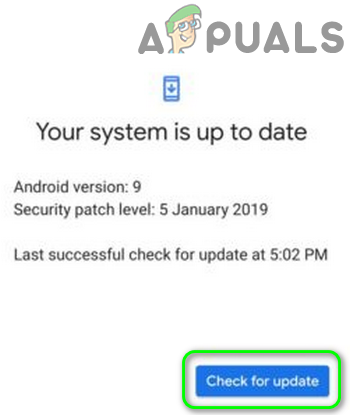
Check for Updates - After the update, restart your phone.
- Check if Always On Display is now working.
11. Uninstall Conflicting Apps
Some third-party apps may conflict with Always On Display. If you installed any new apps around the time AOD stopped working, try uninstalling them to fix the issue.
- Open Settings and go to Application Manager/Apps.
- Look for any apps known to interfere with AOD, such as Holey Light, Notification Light/LED AOD Notify, Bixby Button Remapper, Good Lock, AODNOTIFY Pro, etc.
- Tap on the problematic app and select Uninstall.
- Repeat this for all recently installed or suspicious apps, then restart your phone.
- Check if AOD is working properly.
12. Reset Your Device to Factory Defaults
If none of the above solutions help, your phone’s operating system may be corrupted. Resetting your device to factory settings can often solve deep-level issues with AOD. Warning: This will erase all your data, so make sure to back up everything important and decrypt your SD card if necessary.
- Back up your phone using Smart Switch, and make sure your phone is 100% charged.
- Go to Settings and tap Backup and Reset.
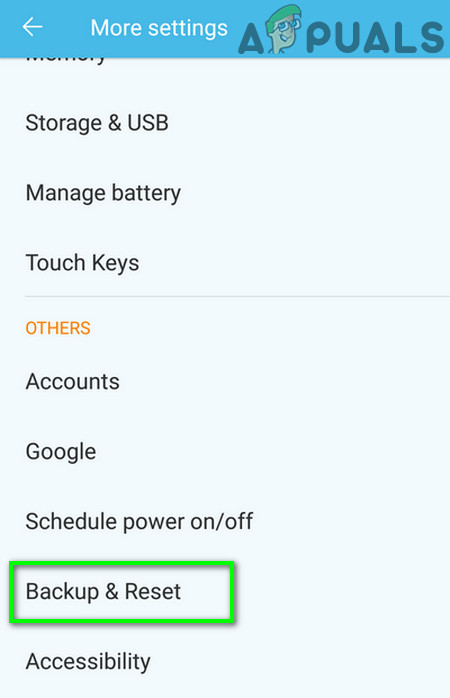
Tap on Backup and Reset - Tap Factory Data Reset, then tap Reset Device.
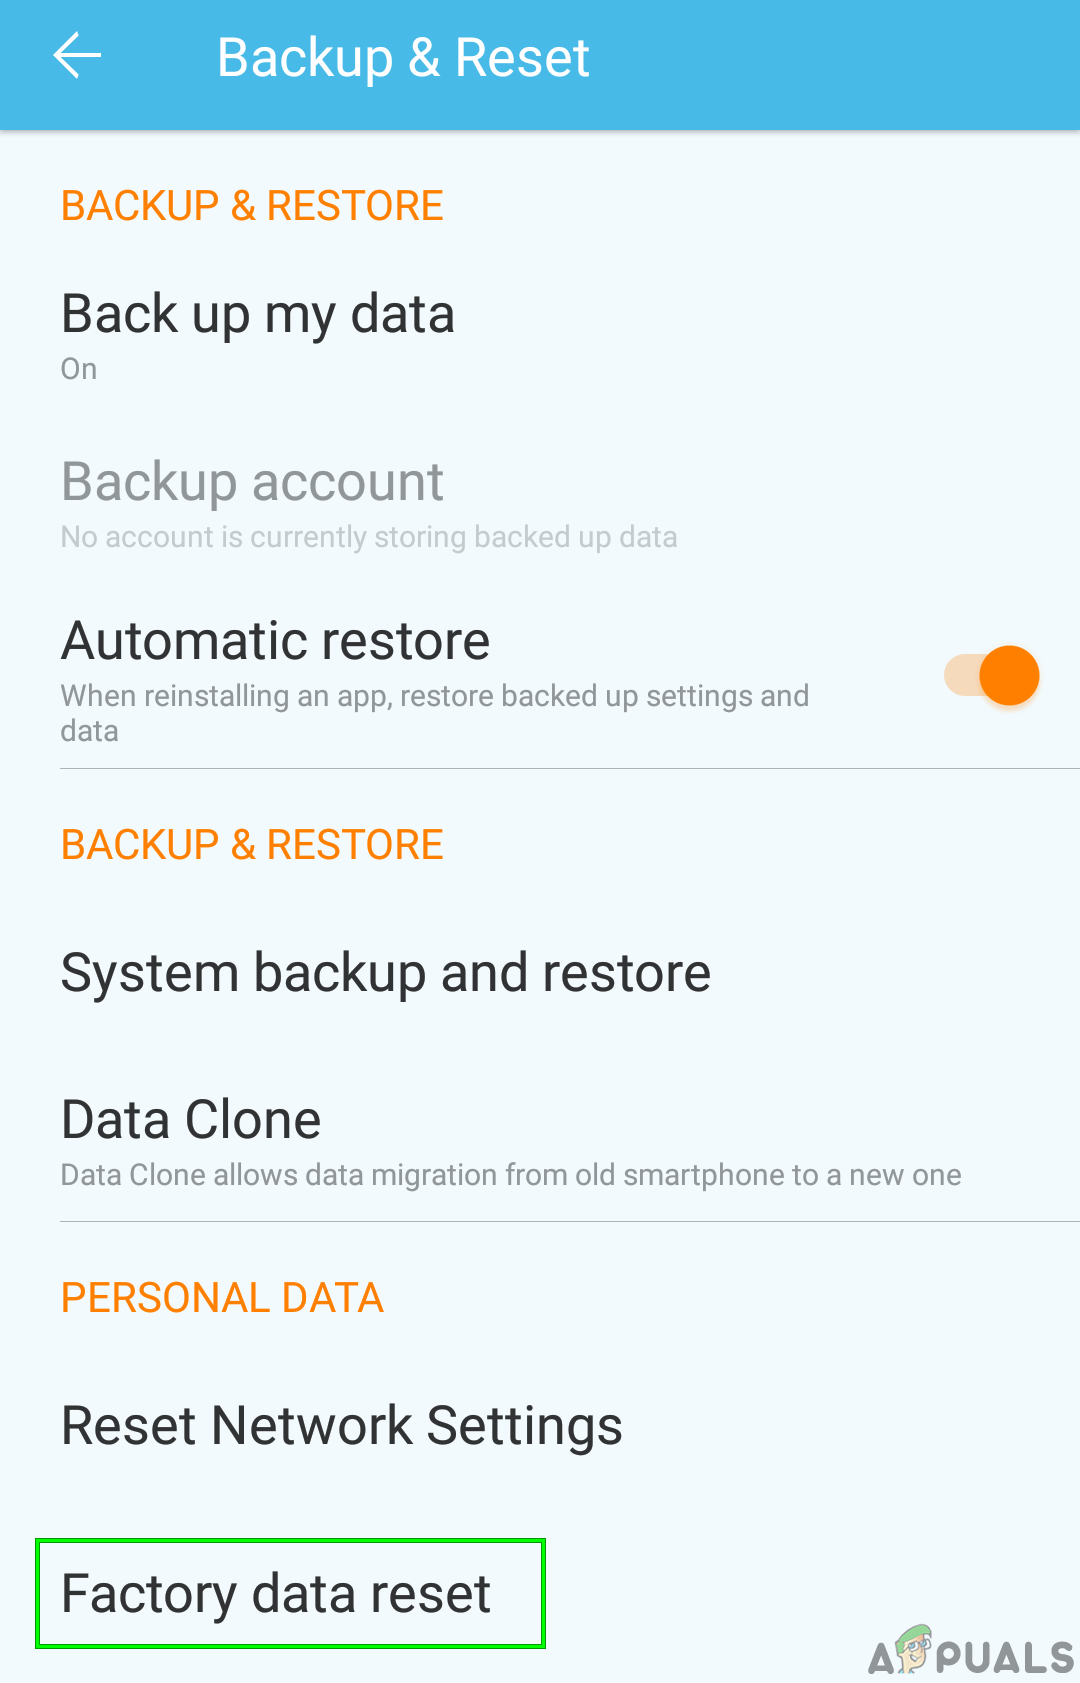
Factory Data Reset - Confirm the reset by tapping Delete All.
- Wait for your phone to complete the reset. Hopefully, this will solve the Always On Display issue.


I didn’t know where to post this issue I am having with an LG phoneI copied this from an old post on Android Central because I am having the identical issue with a Stylo 6. Is this a normal quirk of the device or a defect? There was no worthwhile response to it on there so I thought I’d ask here… “This is the strangest thing I’ve ever experienced in six years of owning Android phones. I’ve had devices from nearly every big manufacturer and even with all of that never have I experienced something like this. The other day I purchased an LG K8V on Verizon’s prepaid network. It’s a nice device, but I’ve since noticed one little quirk with it. Sometimes it won’t wake up when I press the power button. I tried for a day to figure out the reason for this, but I finally rooted it down to one main culprit.The screen won’t wake up when the phone is face down.Waking your phone up when face down might seem strange, but it’s a habit of mine.
I sometimes have the phone face down and then press the rear button to wake it up and then lift it, but I’ve ran into a bit of an issue with this phone. This…is strange. Is it a feature? A defect in the device somehow? If I press the button again shortly after the first time it will wake up, but if it’s face down the first press never works to wake the phone up. It works the first time every other time.”