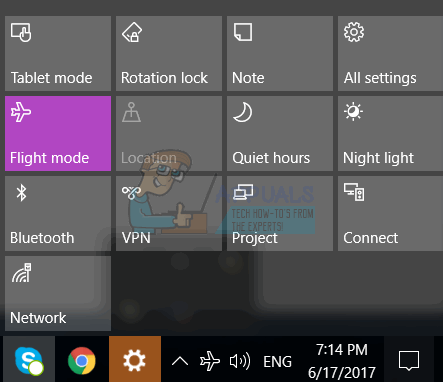
Fix: Airplane/Flight Mode Will Not Turn Off on Windows 10 Creators Update
Airplane Mode being stuck in the “On” position stops all kinds of wireless connections, like Wi-Fi and Bluetooth, even if you try to turn them back on from the Action Center or Settings. When this happens, the system has basically locked all wireless features, so you can’t connect to any networks no matter what you do.

The most common reason for this problem is a hardware switch—like a physical wireless button on your laptop, or a function key combo (such as Fn + PrtScr)—that shuts off network adapters on its own, separate from what you set in Windows. Other possible causes include old or broken network drivers, issues with the Radio Management Service, or problems with power settings.
1. Update the Driver from Device Manager
- Right-click the Start Menu button or press Windows Logo key + X to open the WinX Menu, and then click on Device Manager.
- In Device Manager, double-click the Network adapters section to expand it.
- Right-click the first adapter listed under Network adapters, click Update Driver Software…, select Search automatically for updated driver software, and let Windows search for updates. If new drivers are found, Windows will automatically download and install them.
- If there’s more than one network adapter listed, repeat the previous step for each adapter.
- When you’re finished, restart your computer and check if the issue is resolved after it restarts.
2. Install Updated Drivers from the Manufacturer’s Website
If Windows is unable to find updated drivers or if you want to update the driver manually, you can download the latest drivers directly from the manufacturer’s website.
- Go to the Downloads section of your computer manufacturer’s official website, or the website of the network adapter’s manufacturer. The correct driver software should be available on either site.
- Search for drivers that match your computer model and operating system. Look for a version newer than the one currently installed.
- If a newer driver is available, download the installation package.
- After downloading the package, navigate to where it’s saved on your computer. Open the installation file and follow the prompts to install the updated driver for your network adapter.
- Once the installation is complete, disconnect the Ethernet cable, restart your computer, and check to see if Airplane Mode is now turned off and your wireless connection works.
If your computer can’t connect to the internet even via an Ethernet cable, don’t worry. Use another computer with internet access to download the updated drivers by repeating steps 1–3 from Method 2. Once the driver package is downloaded, copy it to a USB drive or other portable storage device. Plug the storage device into the affected computer, transfer the installation file, and run it to install the new drivers. After the update, restart the computer to see if the problem is fixed.
If you still cannot update the drivers for your network adapter, or if no new drivers are available, or if updating does not resolve the issue, there is another solution that has worked for many users—starting the Radio Management Service. To do this, follow these steps:
- Press Windows Logo key + R to open the Run dialog.
- Type services.msc into the Run box and press Enter.
- In the Services window, scroll down to find the service named Radio Management.
- Double-click on Radio Management service.
- For Startup type, select Automatic from the drop-down menu.
- If the Radio Management service is not running, click Start.
- Click Apply and then OK to save your changes.
- Close the Services window, restart your computer, and check if Airplane Mode is finally disabled when your computer starts up.