Adobe Reader Error 110 ‘The Document Could not Be Saved’
Adobe Reader Error 110 shows the message “The document could not be saved” and usually stops you when you try to save a PDF you have already opened. This error means there is a problem reading or saving the file, often because the PDF is damaged or has some parts that are not put together properly.
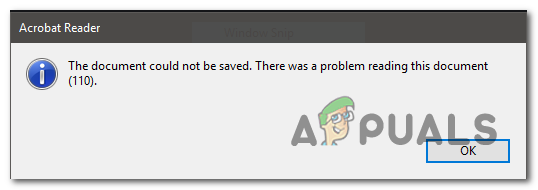
The most common reason is a broken or damaged page in the file, but it can also happen because of problems with the file’s reference list, faulty fonts, or unusual elements added by other software. Now that you know the causes, let’s discuss the solutions.
1. Use the Microsoft Print to PDF Feature
If the error is happening because the PDF file is partially corrupted and you got it from someone else, you may be able to avoid the ‘The Document Could Not Be Saved (110)’ error by using the Microsoft Print to PDF option.
This process bypasses some security checks that Acrobat’s usual save function performs, which means you might be able to save the file successfully.
However, be aware that this method may result in some data loss. For example, any bookmarks or comments you added earlier will not be included in the new file. The upside is that you’ll have a working PDF file you can continue to edit or save normally.
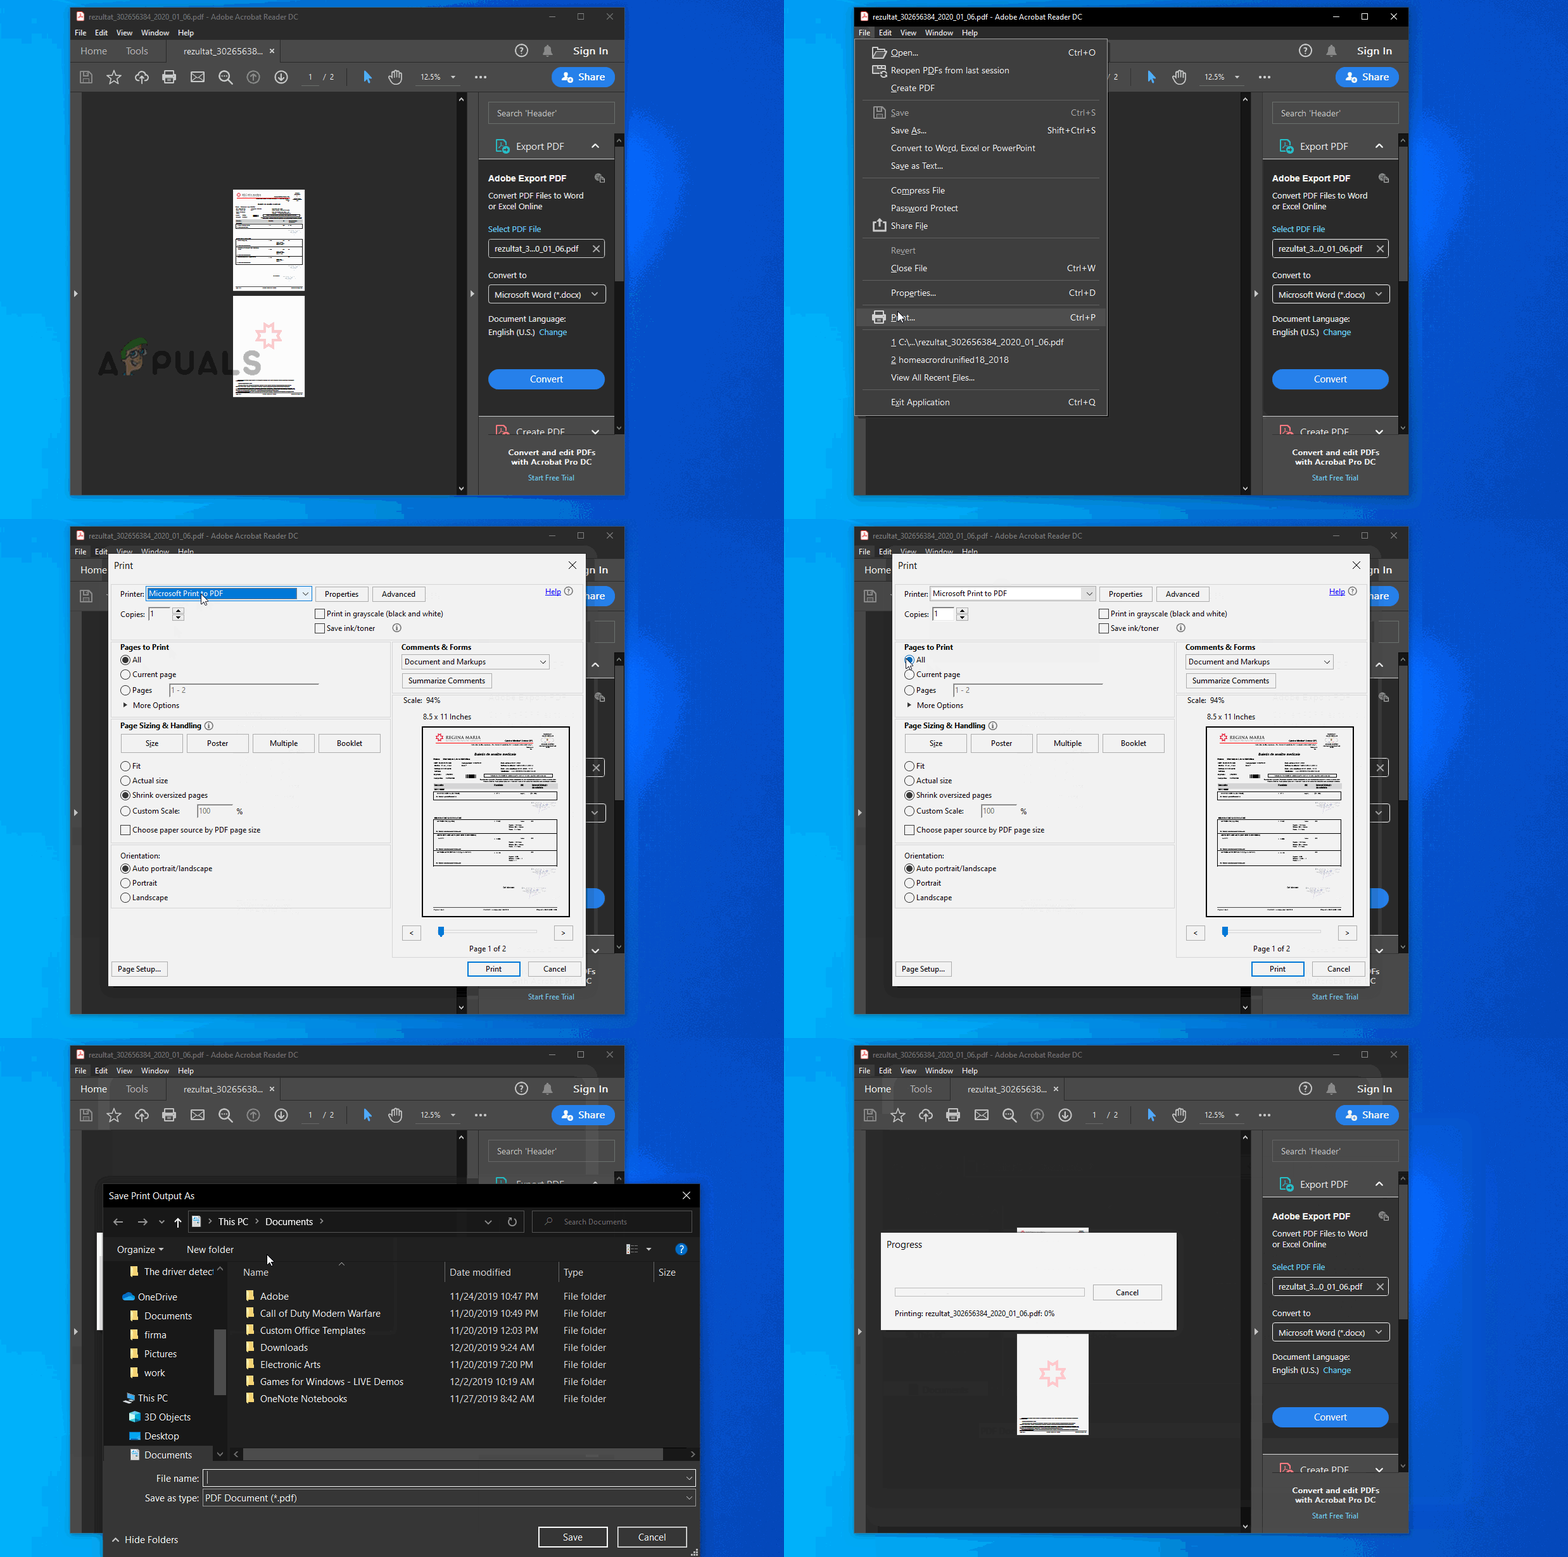
- Open Acrobat Reader and load the PDF file you’re having trouble saving.
- With the file open, go to the ribbon bar at the top and choose File > Print.
- In the Print menu, look for the Printer drop-down menu and select Microsoft Print to PDF.
- Make sure Pages to Print is set to All.
- Click the Print button to start the process.
- When the Save Print Output As window appears, pick a location to save the file and make sure the Save as type is set to PDF document.
- Click Save to finish.
Note: After this, you should be able to open and use your PDF file as expected.
2. Save the File with Foxit Reader
Many users have fixed the ‘The Document Could Not Be Saved (110)’ error by working with Foxit Reader—a free alternative to Acrobat Reader that can sometimes correct issues that stop you from saving the file.
Note: Learn more about how to fix a file that Acrobat can’t repair.
Foxit Reader can strip away properties within the PDF that may be preventing Adobe Reader from saving the document. Plenty of users have reported that after using Foxit Reader to save the PDF, they can once again save and edit it as usual in Adobe Reader.
- Go to this link in your browser. Click on Download for Free, scroll down to Foxit Reader, and then click the Free Download button.
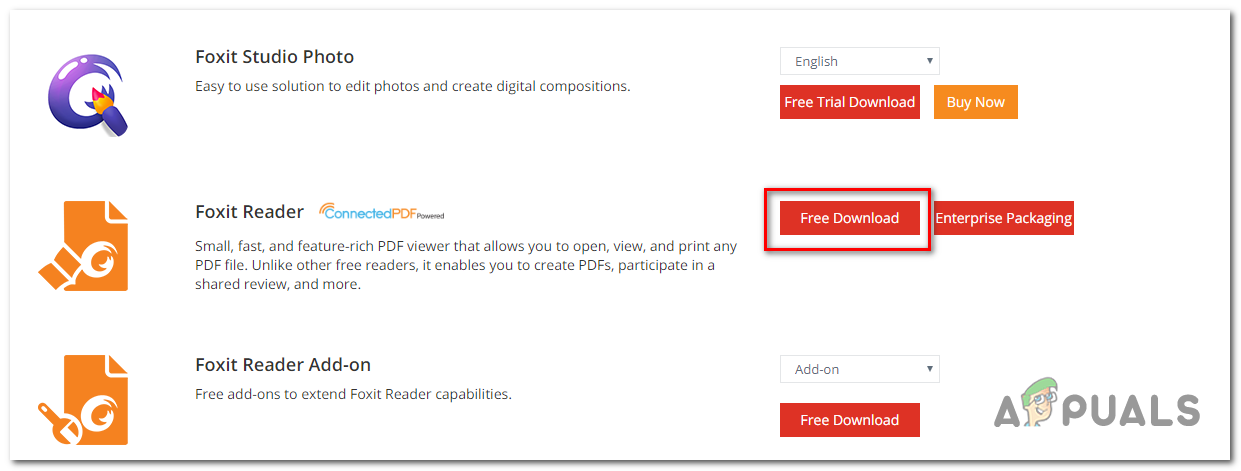
Downloading FoxIt Reader - Select your platform and language, then click Download.
- Once the download is finished, open the installer, accept the license agreement, and follow the instructions to install Foxit Reader.
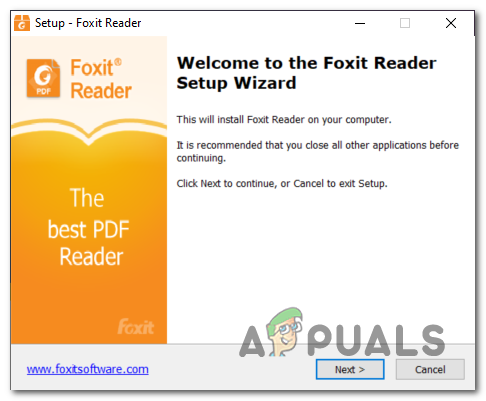
Installing Foxit Reader Note: Foxit might suggest installing extra trial software. Select ‘Don’t install a free 14 days trial of Foxit PhantomPDF’ if you want to skip these extra programs.
- When Foxit Reader is installed, open it and load the problem PDF by choosing File > Open.
- With your file open, go to File > Save As > Computer, then choose a place to save the new PDF.
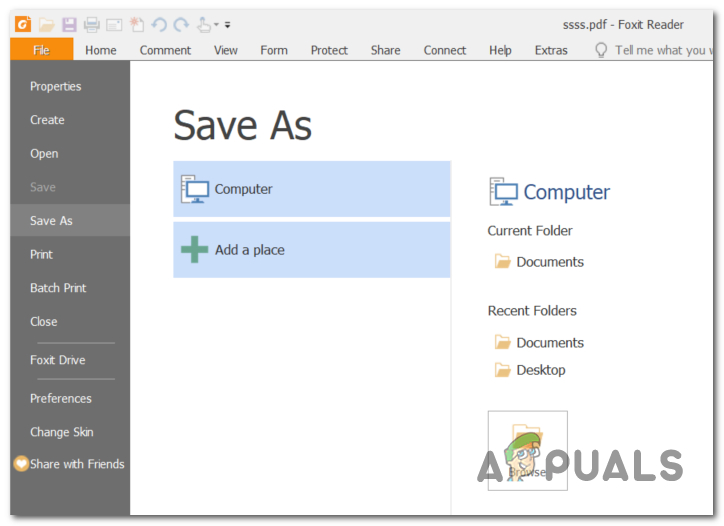
Using the Save As function of Foxit Reader Note: If you’re saving it in the same folder, make sure to use a different name for the new file.
- Once the new file is created, open it again with Acrobat Reader to check if the error is gone.
3. Repair the Document with Nitro Pro
If previous solutions didn’t help, the file is likely corrupted. In this situation, using software capable of repairing PDF files may be your best option.
Nitro Reader 2 is a free program with a strong PDF repair function. Many users have reported that repairing their PDF with Nitro Reader 2 allowed them to save a working file version, free from the ‘The Document Could Not Be Saved (110)’ error.
- Go to this link, enter your name and email, and click on Start your Free trial.
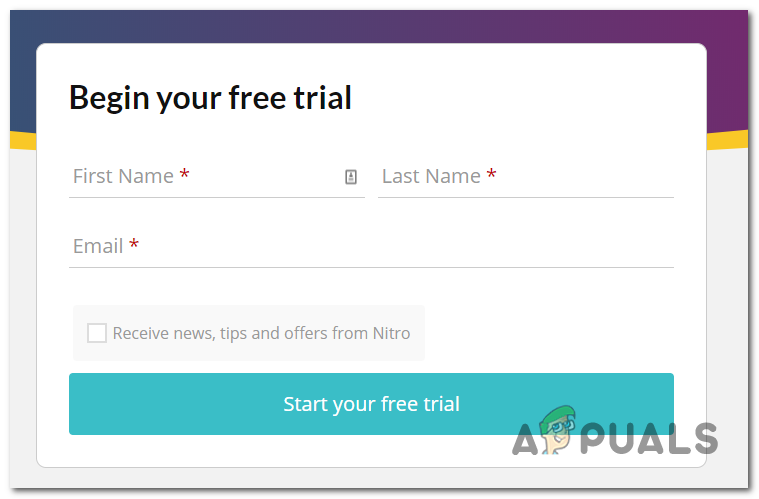
Start a free trial with Nitro Pro - Once the download finishes, open the installer and choose where to install Nitro Pro.

Installing the Nitro Pro - After installation, restart your computer if needed.
- Open Nitro Pro and use the Open feature to load your problem PDF.
- If an error is detected and repairable, Nitro will display a message like “This file was damaged (corrupted) and has been repaired.”
- If you see this, go to File > Save As > PDF Document and save the repaired version to a new location.
- Try opening the saved file with Acrobat Reader and check if the error is fixed.
4. Repair the File Online with Sejda
If you believe the problem is due to file corruption and Nitro couldn’t fix it, you can try an online PDF repair service, such as Sejda, to clean up the corrupted metadata. Many users have solved their issue with an online tool like this.
- Go to this link in your browser.
- Click the green Upload PDF Files button.
- Browse to where your PDF is saved, select it, and click Open.
- Once uploaded, click on Repair PDF and wait for the process to finish.
- If recovery succeeds, download the fixed file and see if the issue is resolved.
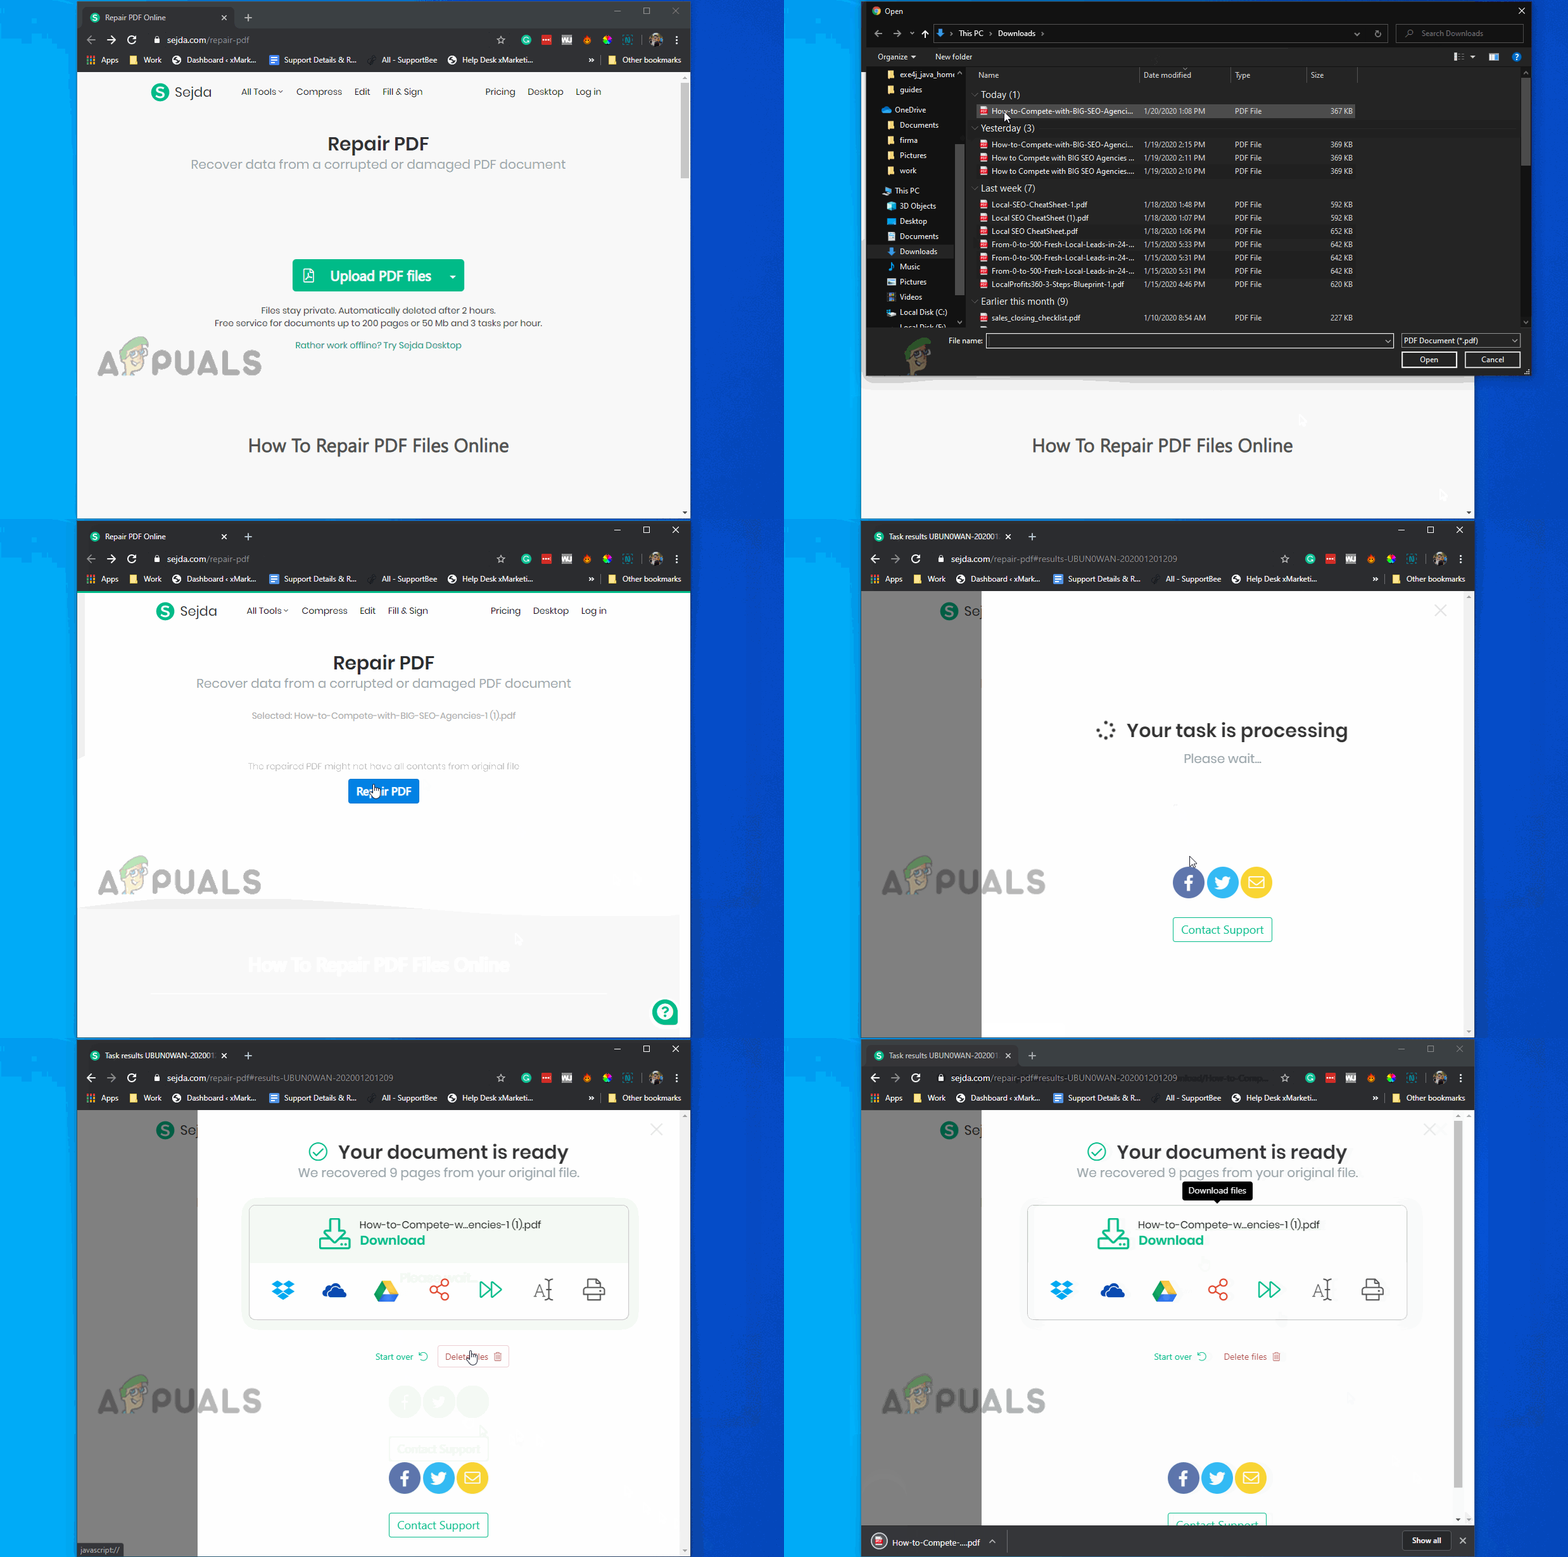
If the new version of your file still shows the ‘The Document Could Not Be Saved (110)’ error, move on to the next method.
5. Save the File Using Chrome
You don’t always need special PDF software to clear problematic metadata that might be causing the ‘The Document Could Not Be Saved (110)’ error. Sometimes, hidden special characters in the file are to blame.
It’s possible to clean this data simply by using Google Chrome. A user found you can open the PDF in Chrome and “save” it again through the Print function, which helps fix the issue.
- Open Chrome and go to this link to install the PDF Viewer extension.
- After the extension is installed, type chrome://extensions/ in the address bar and press Enter.
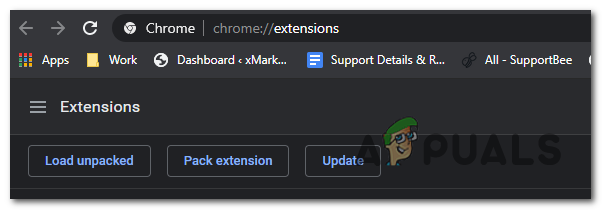
Accessing the extension menu - Find PDF Viewer in the list. Click its Details button.
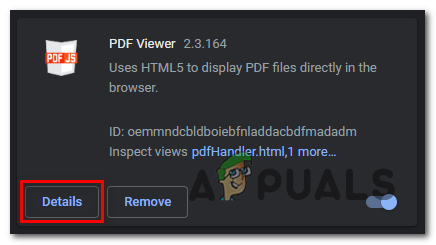
Accessing the Details menu of the PDF Viewer extension - Scroll through the settings and make sure Allow access to file URLs is turned on.
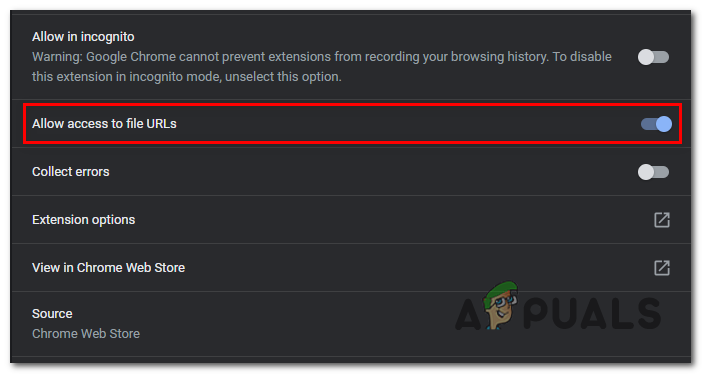
Allow access to URLs - Drag and drop your problematic PDF file into the Chrome window. The extension should open your file automatically.
- With the PDF open, click the Download button in the top-right corner.
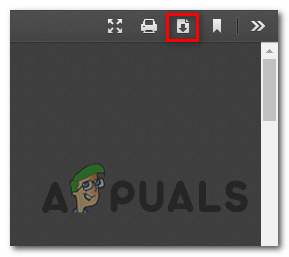
Downloading the PDF file Note: This process will remove any metadata that might be causing the problem.
6. Update to the Latest Version of Acrobat Reader
This error can sometimes be caused by a font-related issue, which Adobe has fixed in recent updates. Normally, Acrobat Reader updates itself automatically, but sometimes user settings or security software can block these updates.
Several users have reported that updating Acrobat Reader solved the problem right away.
- Open Acrobat Reader. If you have security software, consider disabling it temporarily for this step.
- Click on the ribbon bar at the top, then select Help > Check for Updates.

Checking for updates - Let Acrobat finish checking for updates. If there’s an update available, just follow the prompts to install it.
- Restart your computer and see if the problem is solved the next time you open Acrobat Reader.


