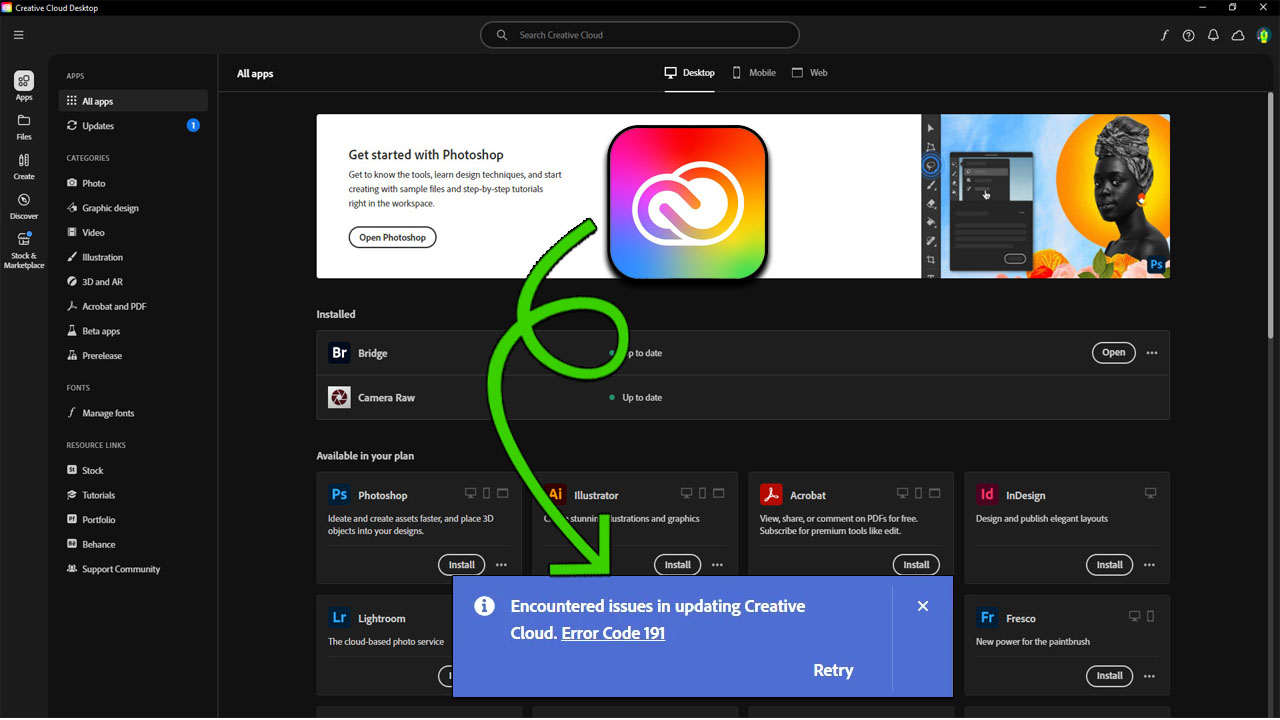
How to Fix Error Code 191 When Installing Adobe Apps?
Error Code 191 in the Adobe Creative Cloud App often occurs during the installation or update of Adobe applications. This error typically arises due to software conflicts—like antivirus programs or firewalls blocking Adobe’s installer from accessing system resources—or due to corrupted installation files from interrupted downloads, incomplete updates, or insufficient permissions.
Software conflicts function as “roadblocks,” preventing the installer from completing essential tasks like modifying registry entries or downloading components. Meanwhile, corrupted files leave the installation process in an unstable state because the Creative Cloud App can’t effectively use or validate damaged or partial files.
Basic Solutions:
- Free Up Disk Space: Insufficient disk space is a frequent cause of Error Code 191. The installation of Adobe requires temporary storage for downloads and unpacking files. Ensure your drive has at least 10–15 GB of free space to avoid interruptions.
- Restart Your PC: A simple restart can resolve the error by clearing temporary cache data and ending background processes that may conflict with the Creative Cloud installer. This removes software “hiccups” obstructing proper installation.
- Update Windows: Outdated system files or drivers can cause compatibility issues with Adobe apps. Ensure Windows is fully updated via Settings > Windows Update, since newer OS versions often include critical fixes improving stability and reducing errors.
- Run as Administrator: User account restrictions can prevent the Creative Cloud installer from accessing system resources. Right-click the Adobe installer or Creative Cloud app, select Run as Administrator, and confirm the prompt. This grants the installer elevated permissions needed for system modifications necessary for installation.
1. Reset the Microsoft Store Cache
The Microsoft Store is tightly integrated into Windows and shares core system components like the Delivery Optimization service and Windows Installer module. A corrupted Store cache or outdated data (such as expired app licenses) can disrupt these shared services, leading to installation issues for apps like Adobe Creative Cloud.
For instance, a corrupted cache might block the Store from verifying app permissions or downloading critical framework files, while outdated data can lead to version conflicts with Adobe’s installer. Resetting the Microsoft Store or clearing its cache usually resolves these issues by restoring its ability to interact seamlessly with Windows’ underlying systems.
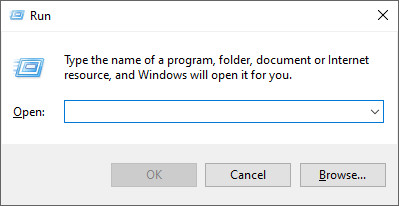
- Press Windows + R to open the Run dialog.
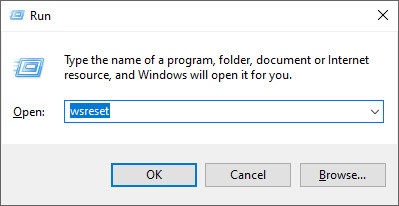
- Type wsreset and press Enter.
- Wait for it to complete, then automatically it will close.
- Once the process is done, the Microsoft Store will open.
2. Temporarily Disable Antivirus and Firewall
Security software like firewalls or antivirus programs can mistakenly flag Adobe’s installation files as threats, blocking them from running correctly. Temporarily disabling these tools during installation can resolve the conflict, allowing Adobe’s installer to proceed without interference.
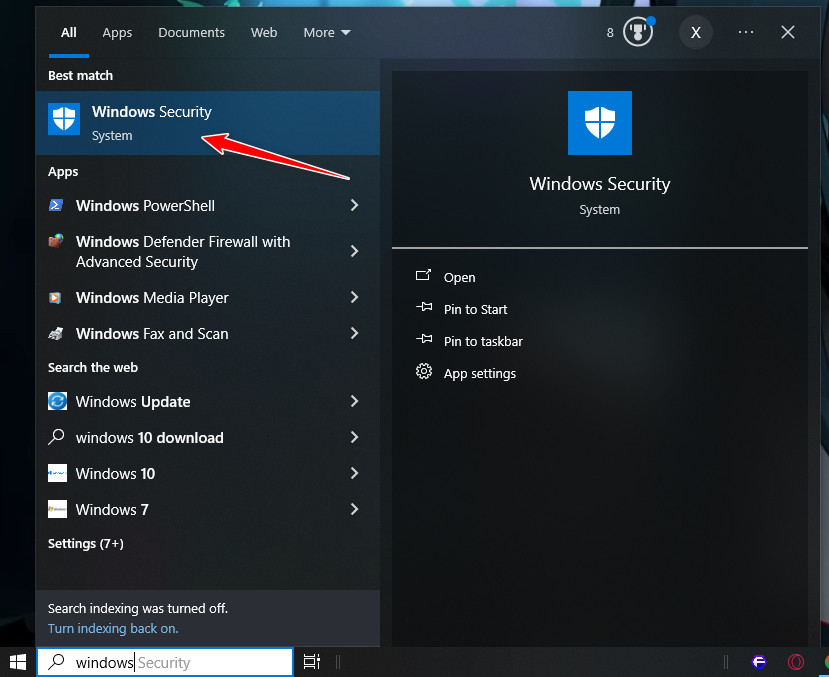
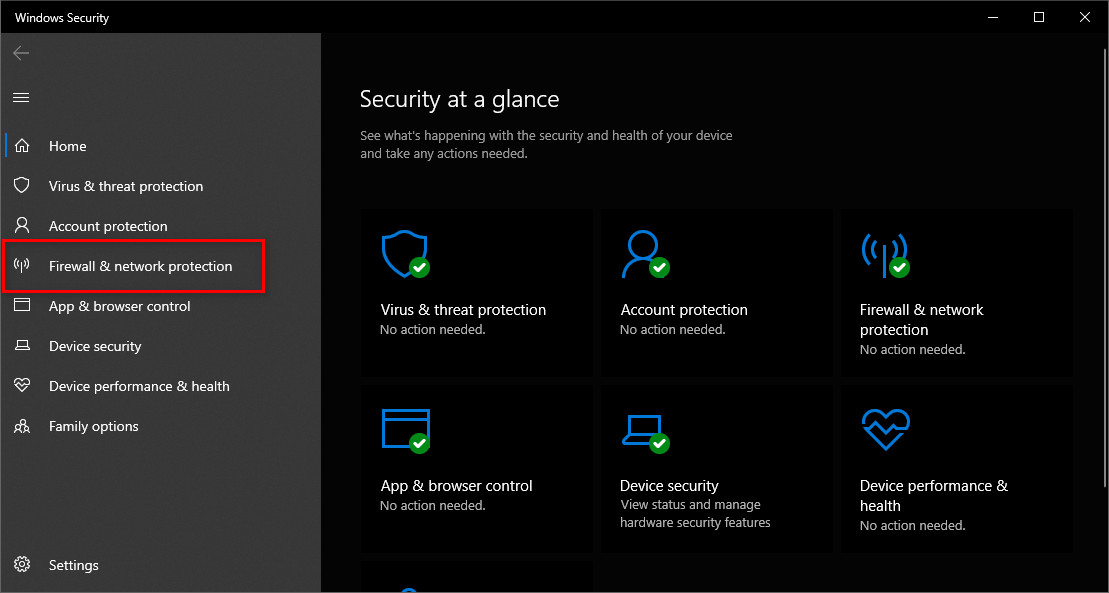
- Press Windows + S to search for Windows Security.
- Now, look for Firewall & network protection and click on it.
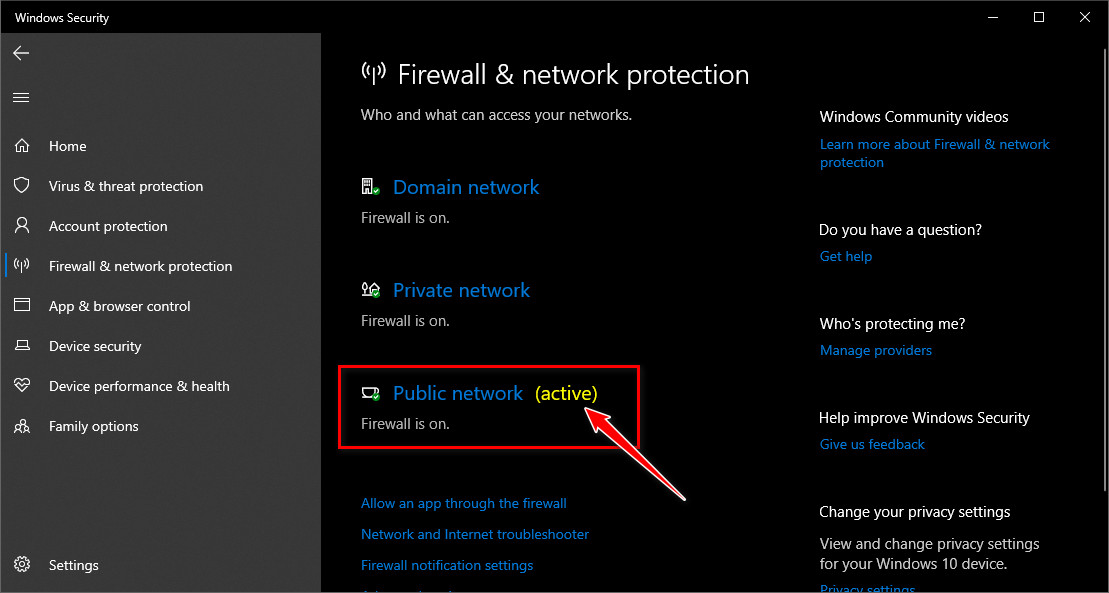
- In Firewall and network protection, click on the active Firewall profile.
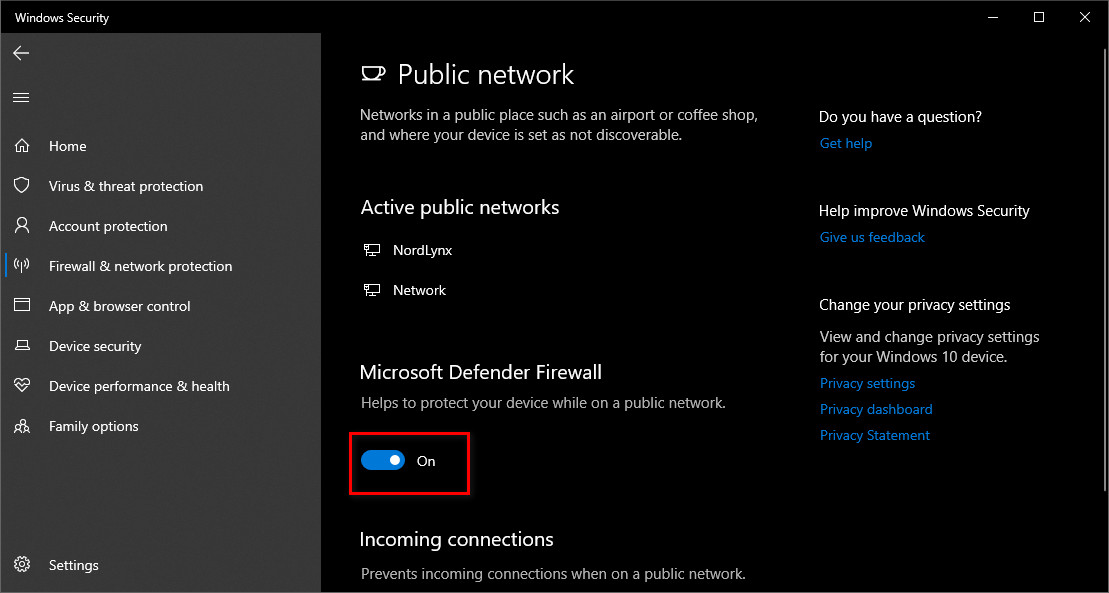
- Toggle off Microsoft Defender Firewall.
- Return to Windows Security.
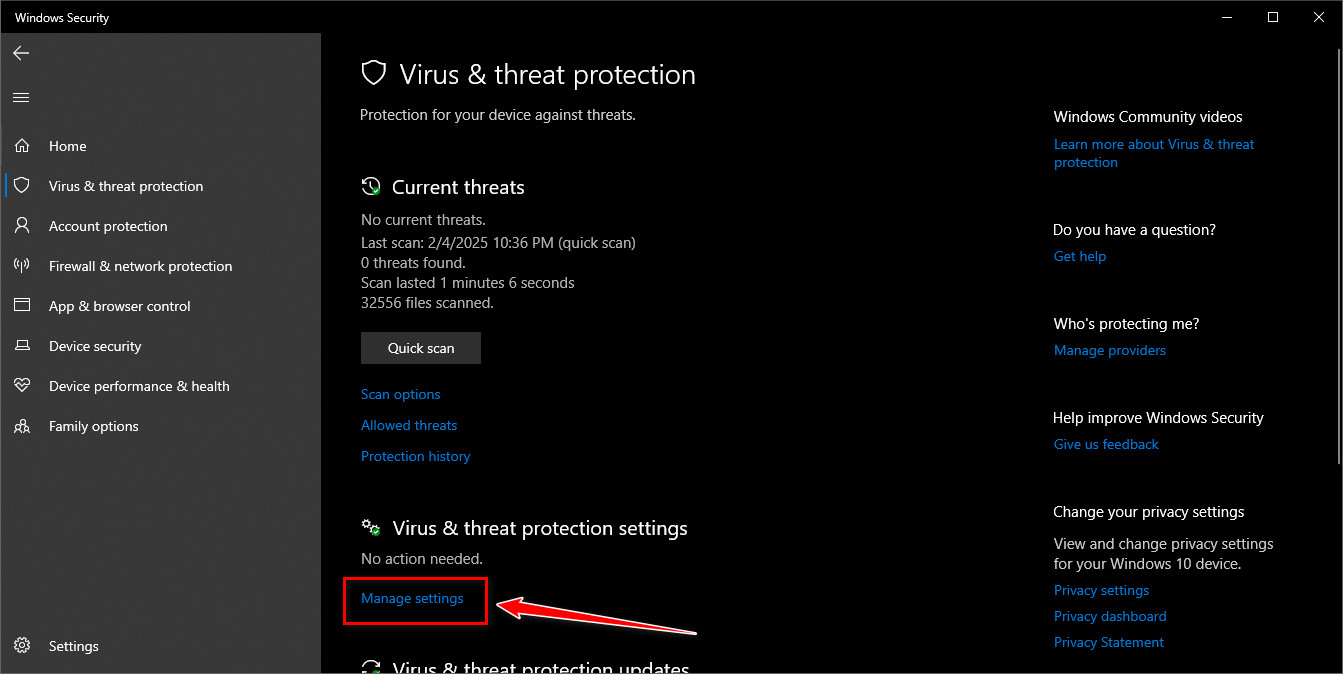
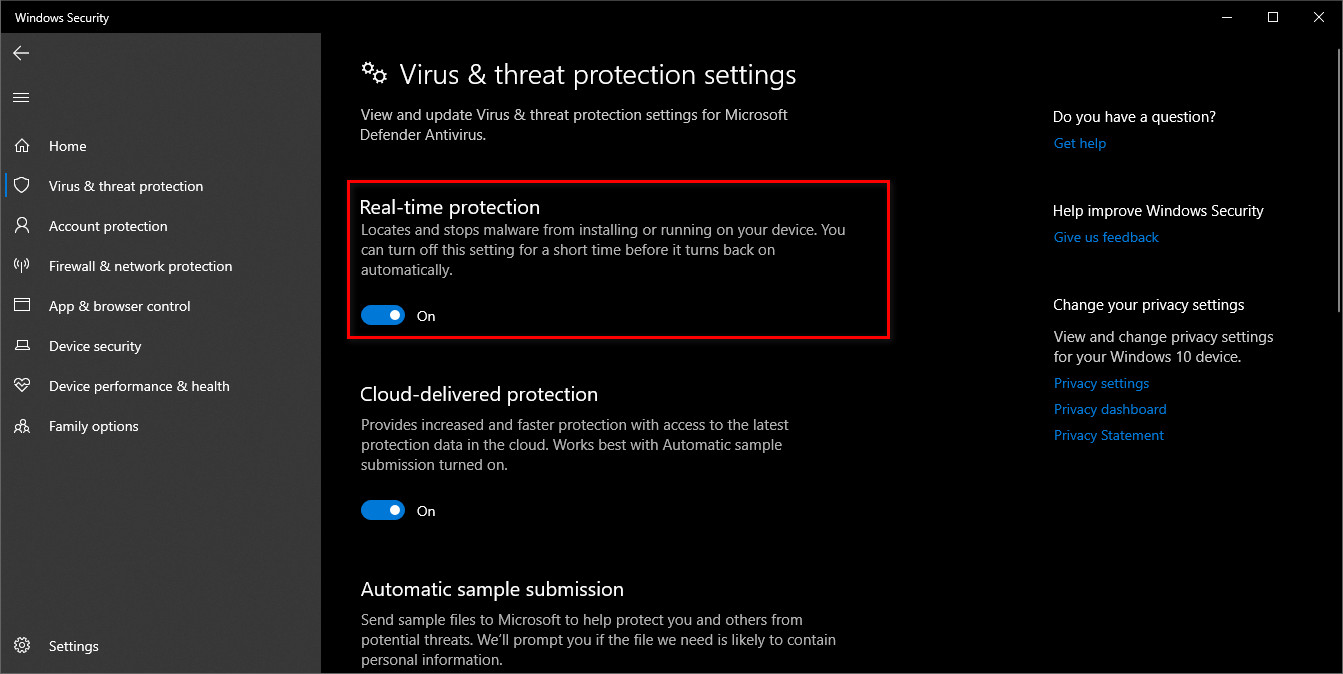
- Click on Virus and Threat Protection.

- Click on Manage Settings under Virus and Threat Protection.
- Toggle off real-time protection.
3. Adjust Folder Permissions
Improper folder permissions—whether caused by accidental user changes or malware tampering—can hinder Adobe’s installer from accessing critical directories. Ensure Adobe has full access permissions to essential folders (e.g., installation directories or temporary file locations), allowing the installer to modify, create, or delete necessary files.
Note these folders first:
C:\Windows\Temp
C:\Users\<YourUsername>\AppData\Local\Temp
C:\Users\<YourUsername>\AppData\Local\Packages
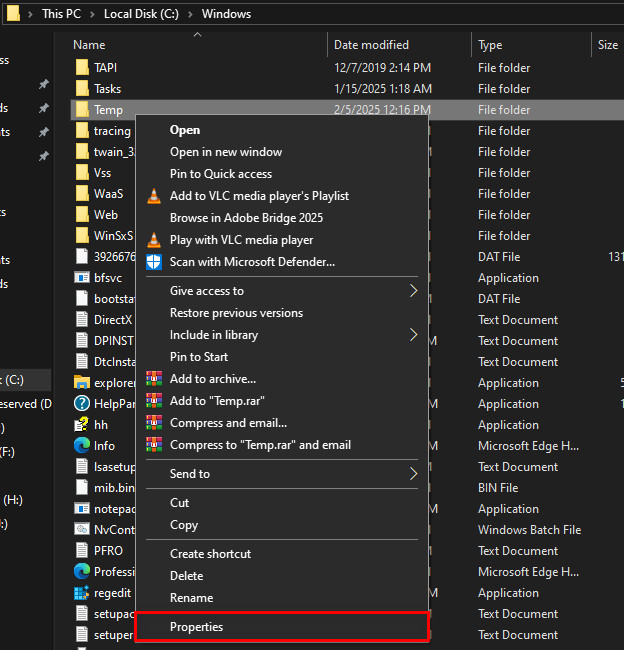
- Right-click the folder and select Properties.
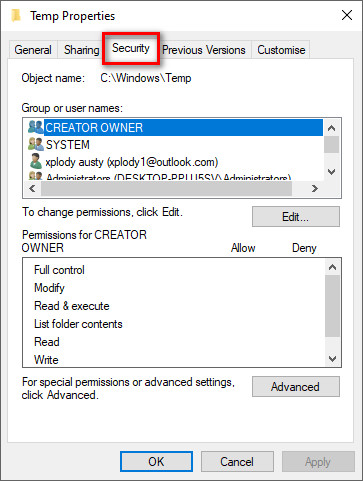
Go one by one through each folder’s properties. - Go to the Security tab.
- Click Edit, then select your account.
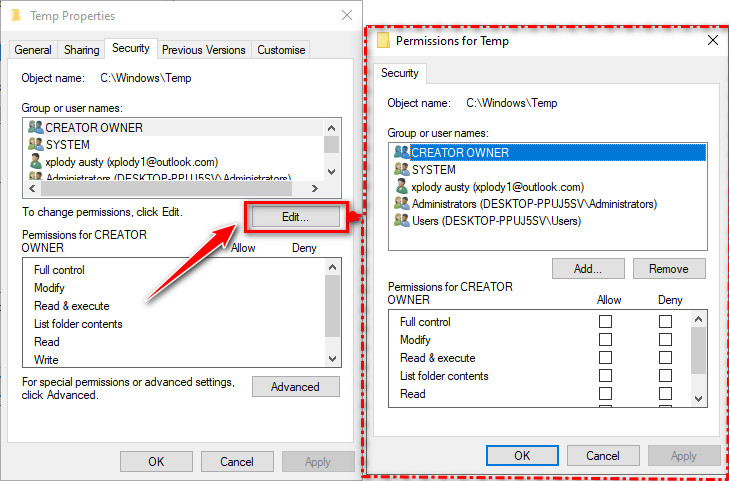
- Ensure Full Control is checked.
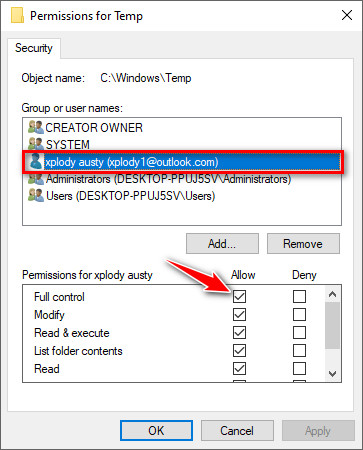
- Click Apply and then OK.
4. Enable Universal Windows Platform (UWP) and Microsoft Store
Some Adobe applications require Microsoft Store services and Windows components like Windows Update client or .NET Framework to install and run correctly. If these features are disabled—either manually or by third-party optimization tools—the installation may fail due to missing dependencies.
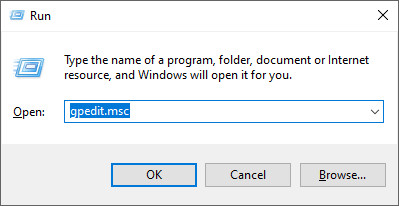
- Press Windows + R to open the Run dialog.
- Type gpedit.msc and press Enter.
- In the Group Policy Editor, navigate to: Computer Configuration → Administrative Templates → Windows Components → Store.
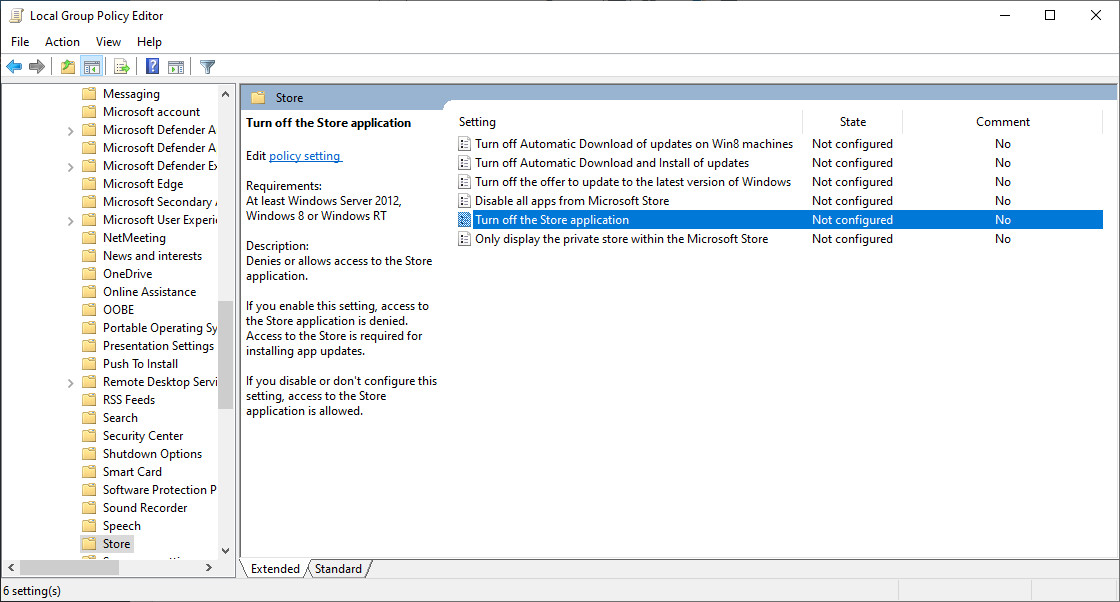
- Double-click Turn off the Store application.

- Set the policy to Not Configured or Disabled.
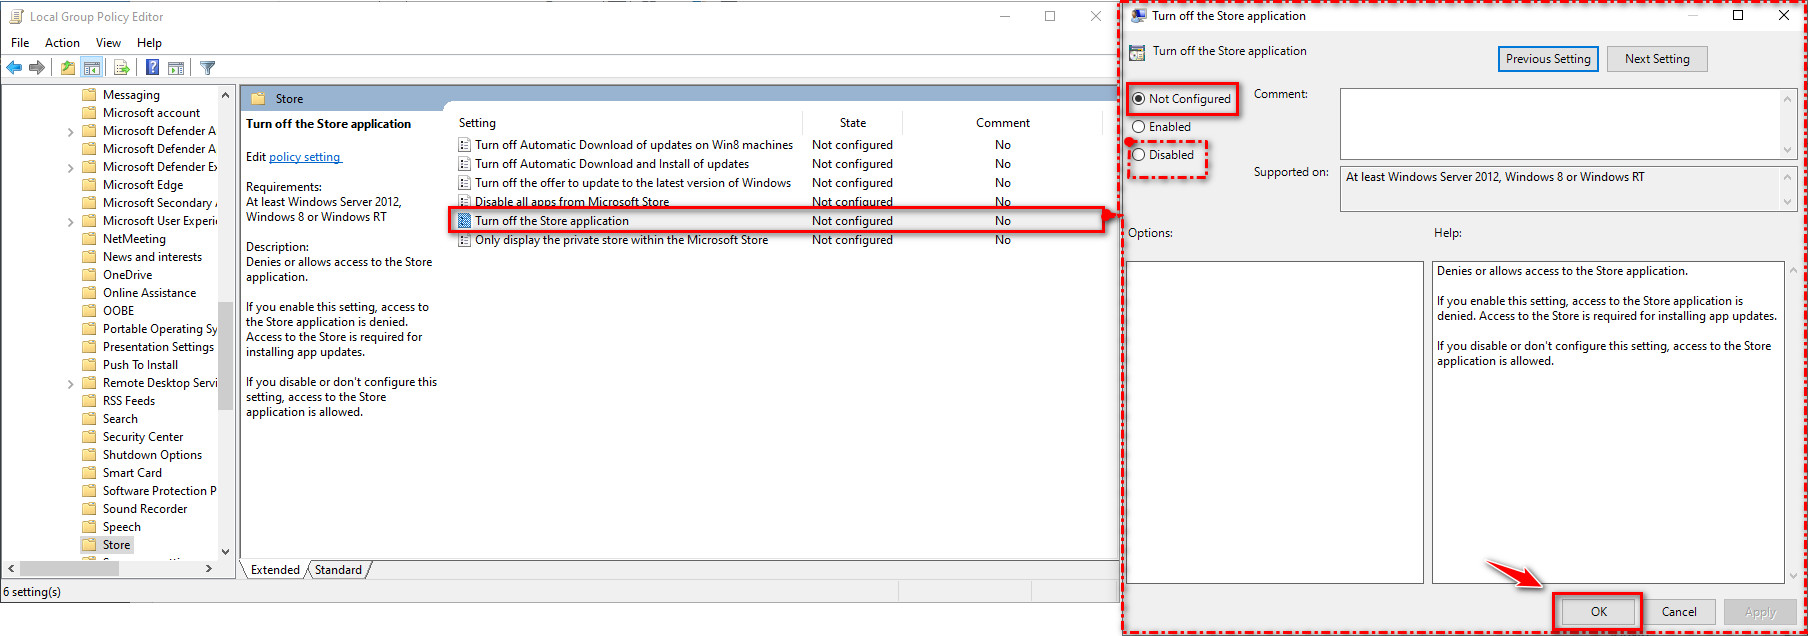
- Click Apply, then OK.
Re-register Microsoft Store (If Updates Fail)
If the Microsoft Store isn’t updating automatically, use PowerShell to refresh its components without reinstalling:
- Press Windows + S, type PowerShell, right-click it, and select Run as Administrator.
- Enter this command, it resets the Microsoft Store to its default state while preserving your installed apps and account data.
Get-AppxPackage -allusers Microsoft.WindowsStore | Foreach {Add-AppxPackage -DisableDevelopmentMode -Register "$($_.InstallLocation)\AppXManifest.xml"} 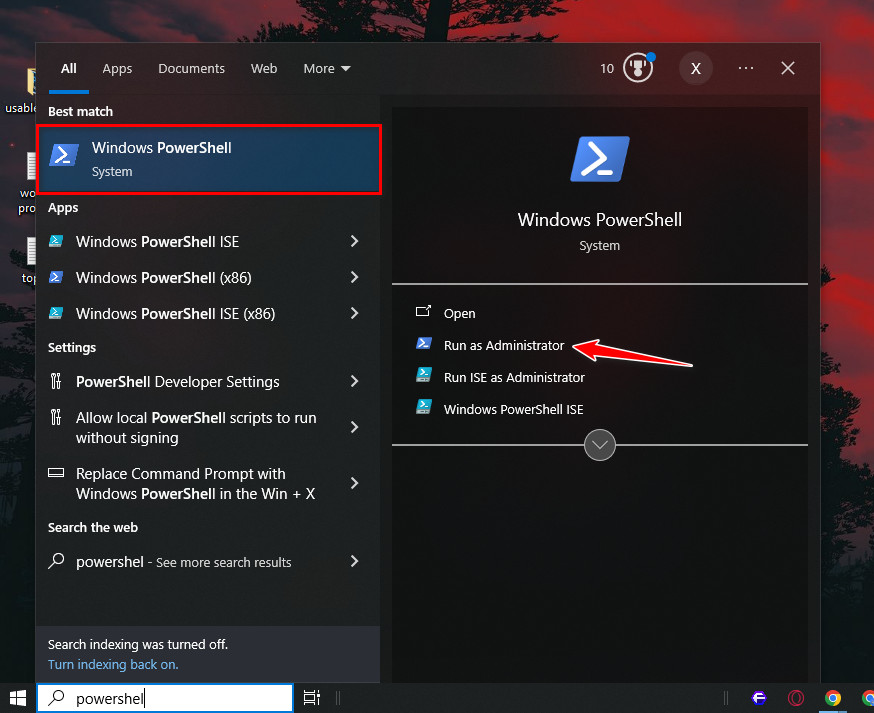
5. Repair/Reinstall Microsoft Visual C++ Redistributables
Microsoft Visual C++ Redistributables provide essential system resources that many Adobe applications rely on. Outdated, missing, or corrupted versions of these components can trigger Error 191 during installation. Reinstalling them ensures compatibility and resolves dependency issues.
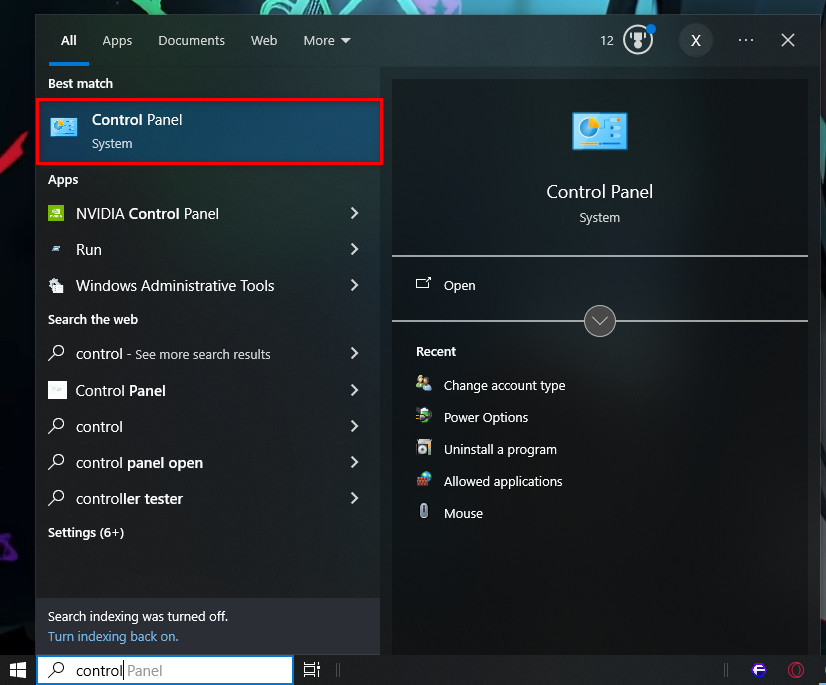
- Press Windows + S, type Control Panel, and open it.
- Click Uninstall a Program under the “Programs” section.

- Visit the official Microsoft Visual C++ Redistributables download page.
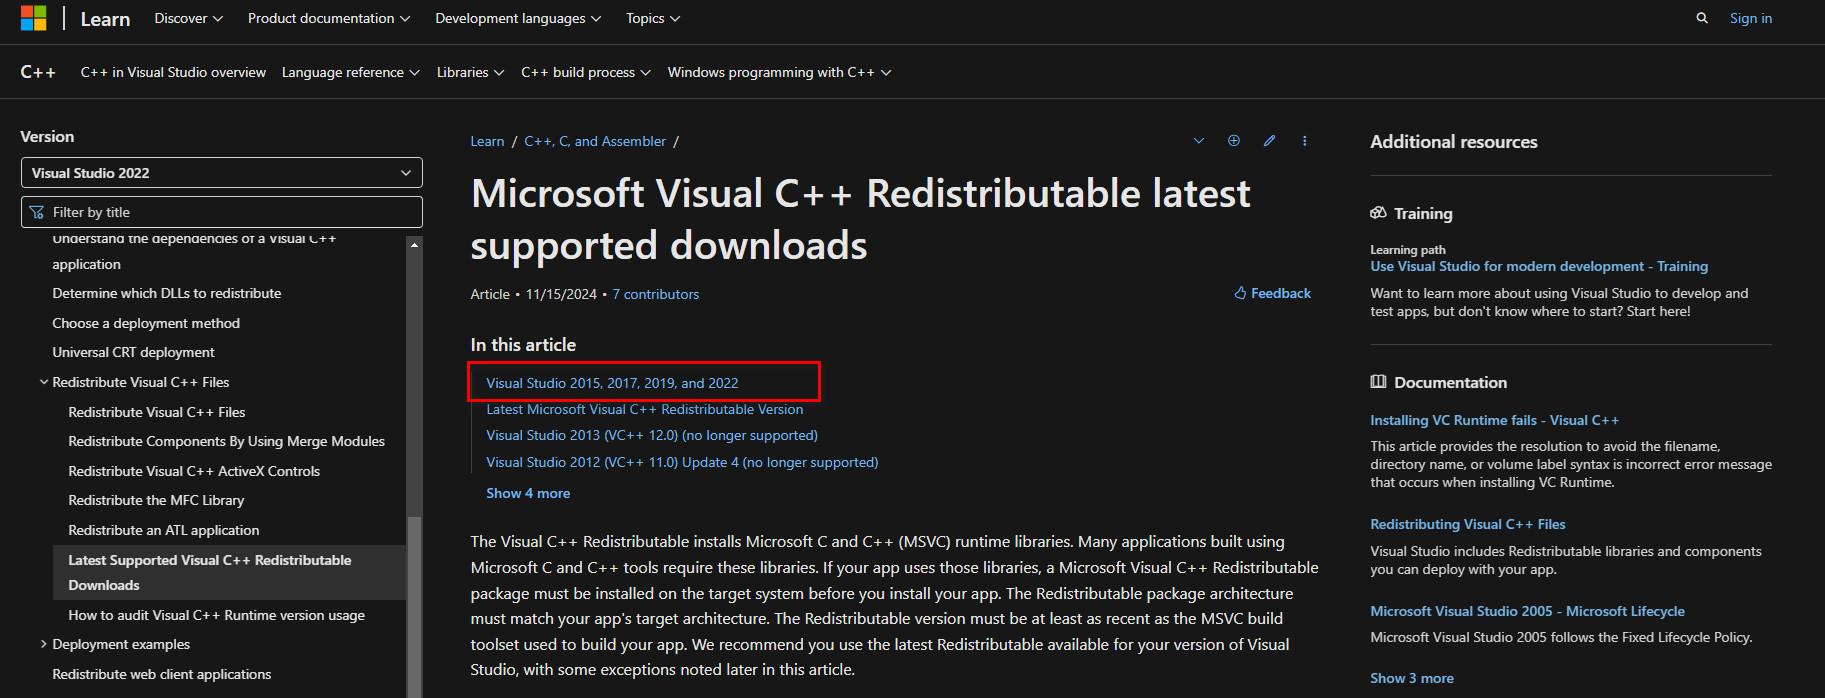
- Download and install the latest redistributable packages for your system (e.g., VC++ 2015–2022).
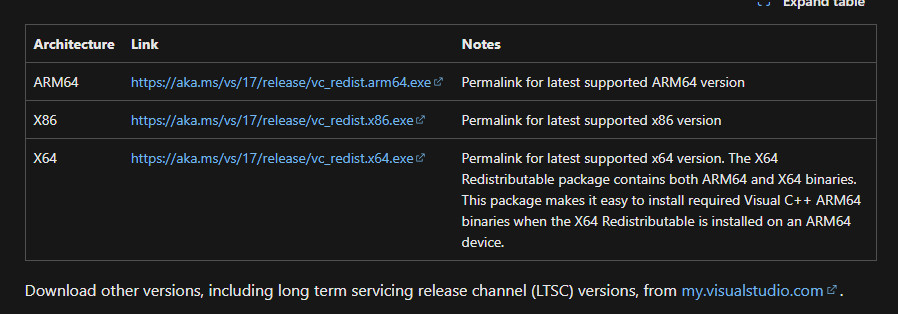
Select the version matching your operating system (e.g., x64 for 64-bit Windows).
6. Create a New User Account
Installation issues like Error 191 can occur if your current user profile is corrupted. This corruption might involve damaged system permissions, registry entries, or cached files that Adobe’s installer relies on to interact with your OS. Creating a new local administrator account provides a clean environment with default settings, bypassing any profile-specific conflicts, such as restrictive folder permissions or corrupted preferences, that could block Adobe’s access to critical resources. This ensures the installer operates without inheriting legacy issues from your original account.
- Press Windows + I to open Settings.
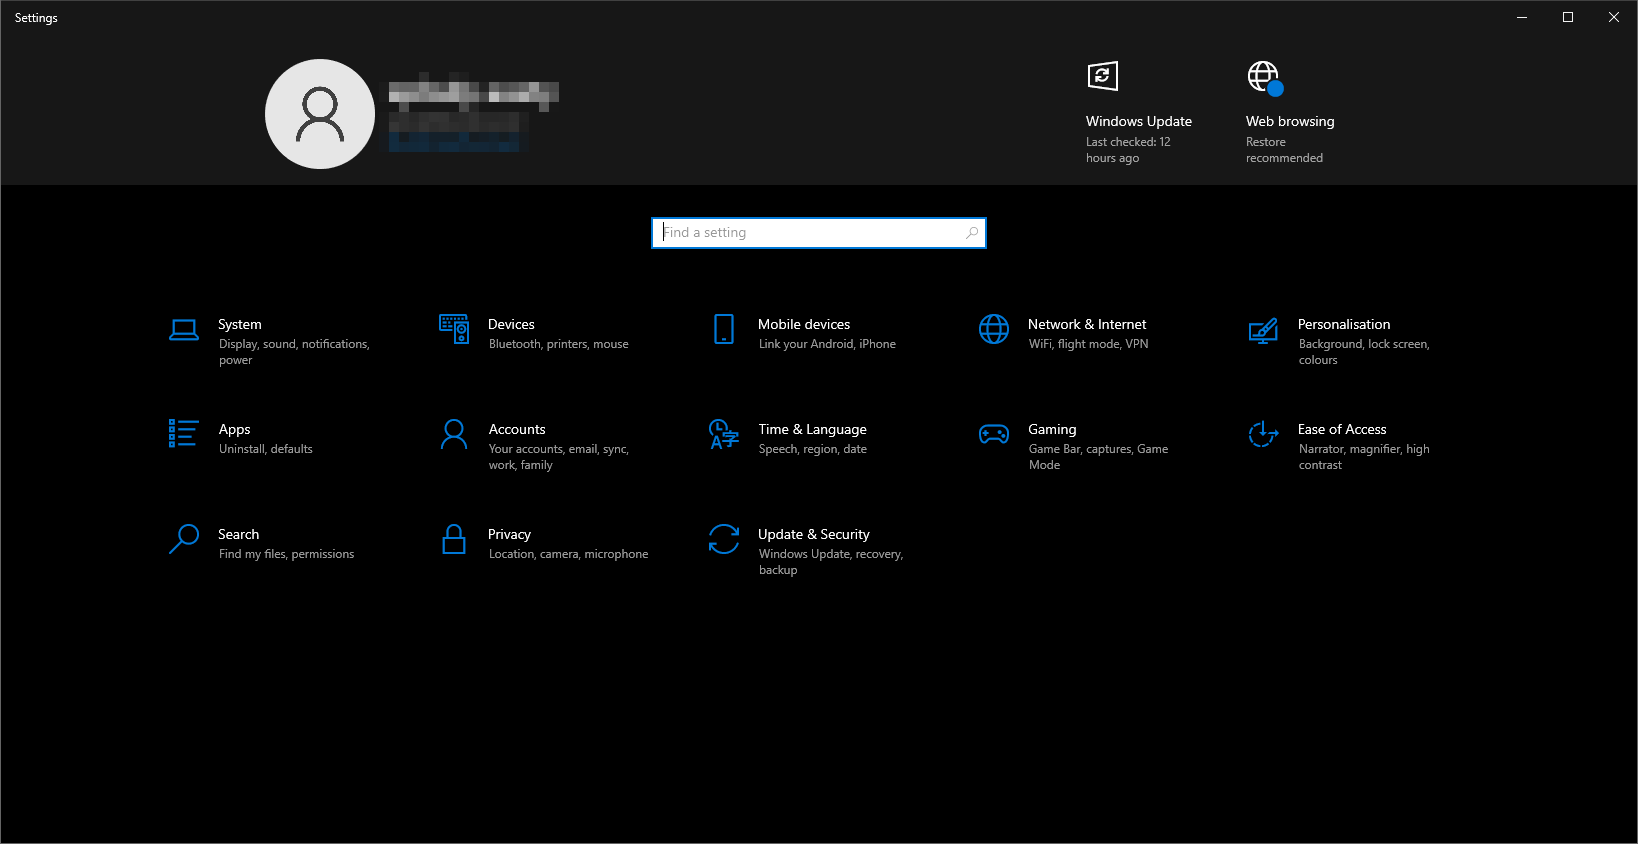
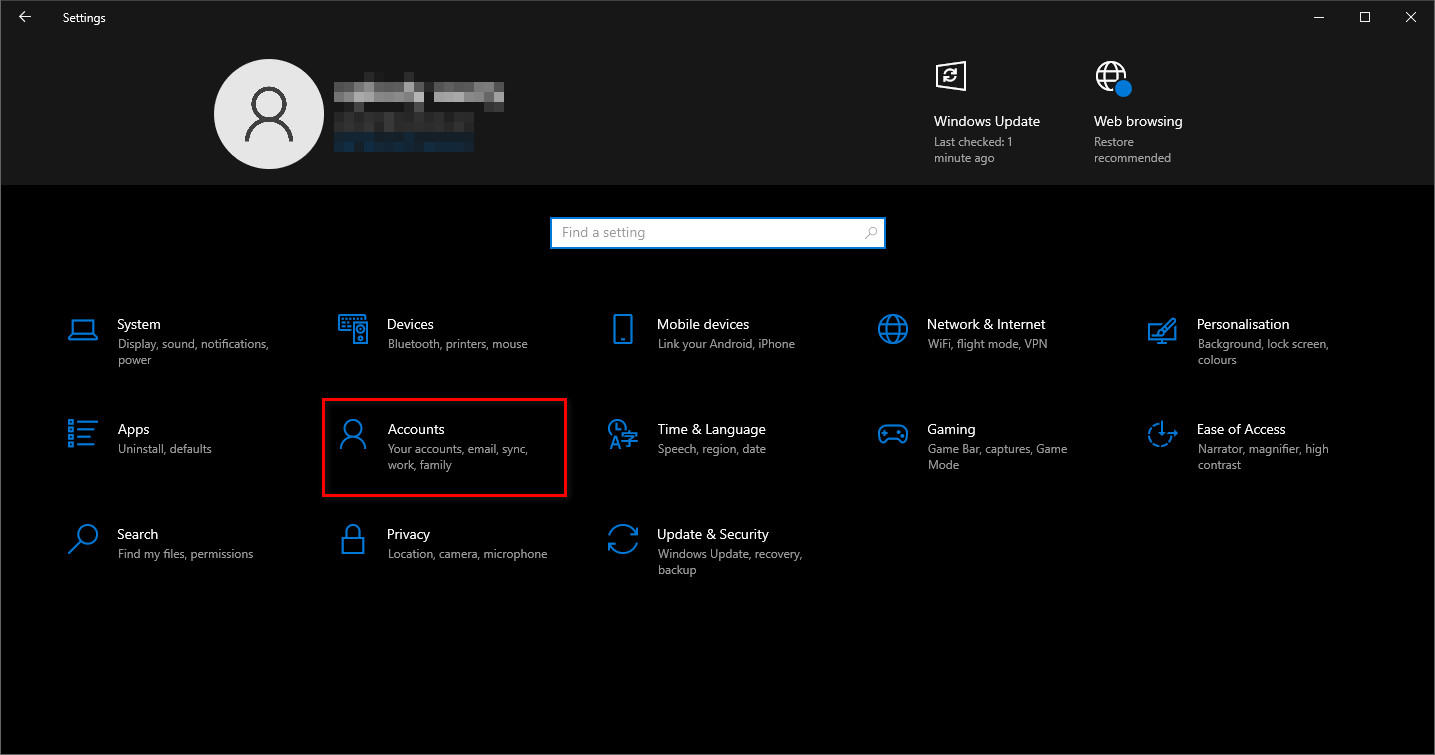
- Go to Accounts.
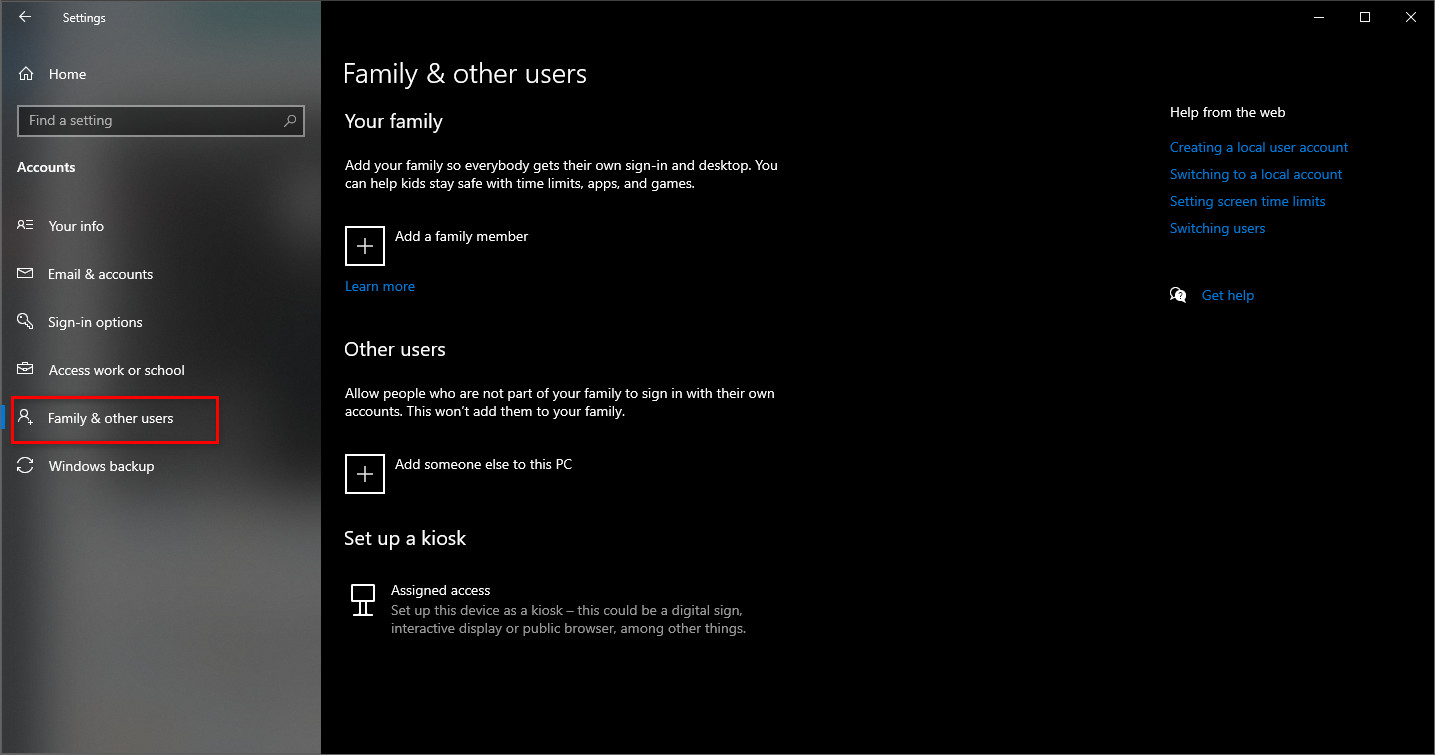
- Click Family & other users.
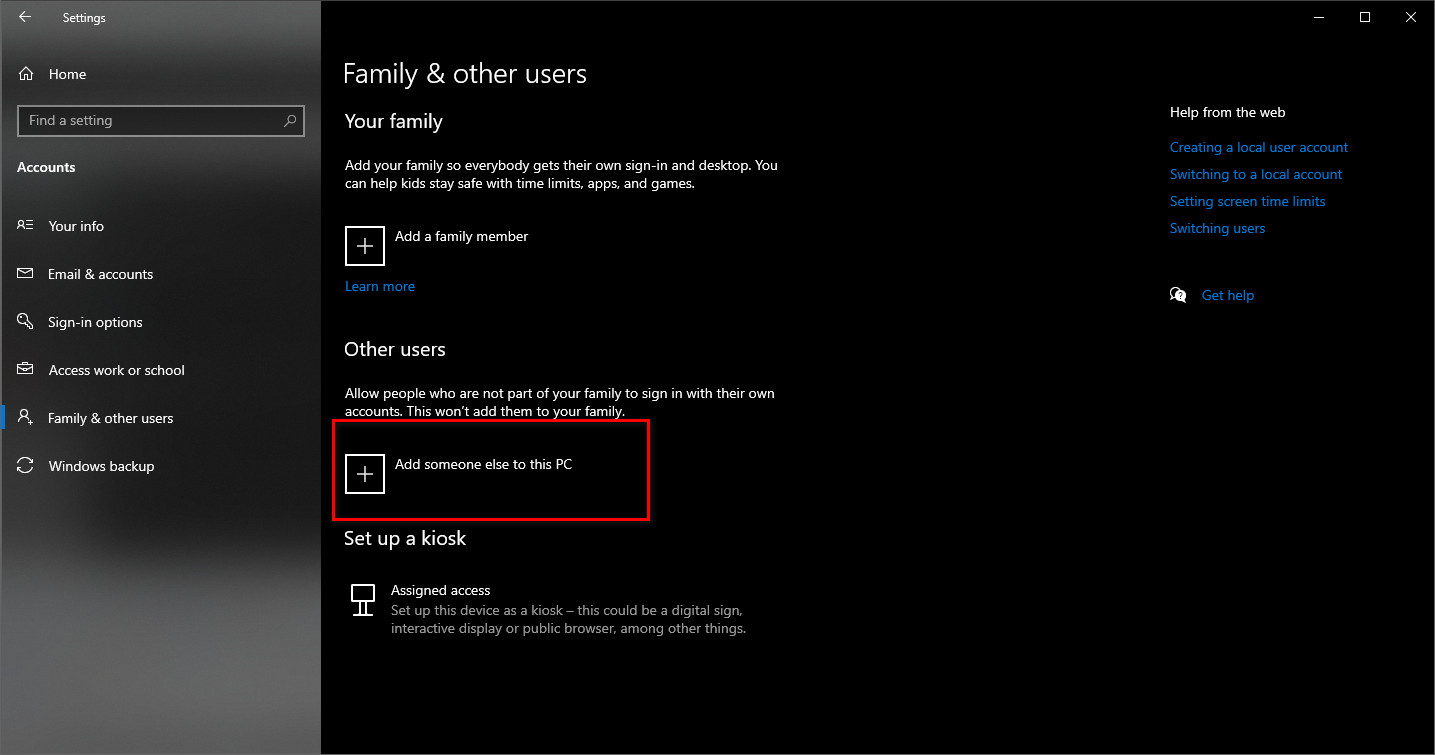
- Under Other users, click Add someone else to this PC.
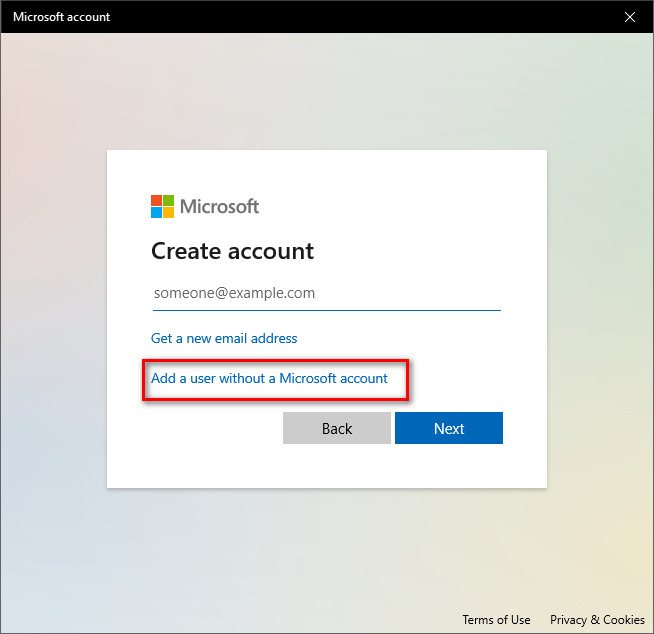
- Select I don’t have this person’s sign-in information, then click Add a user without a Microsoft account.
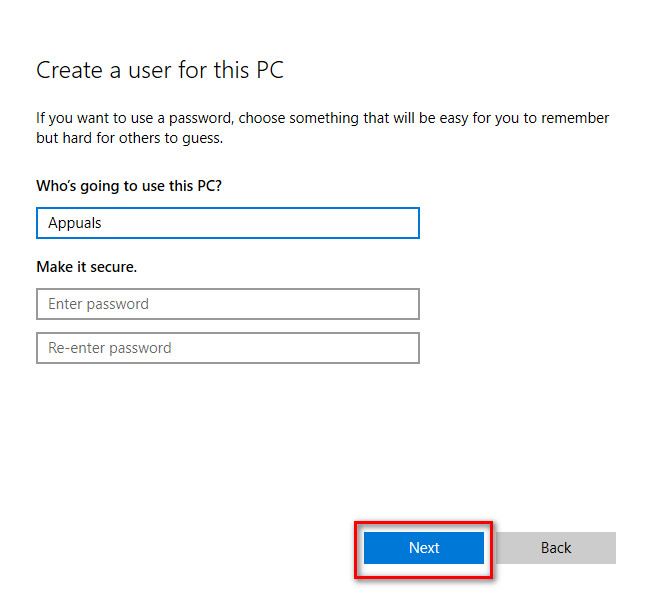
- Enter a username and password for the new account, then click Next.
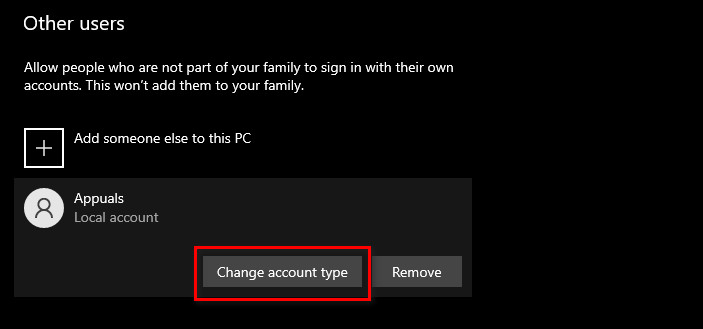
- Once created, click on the new account and select Change account type.
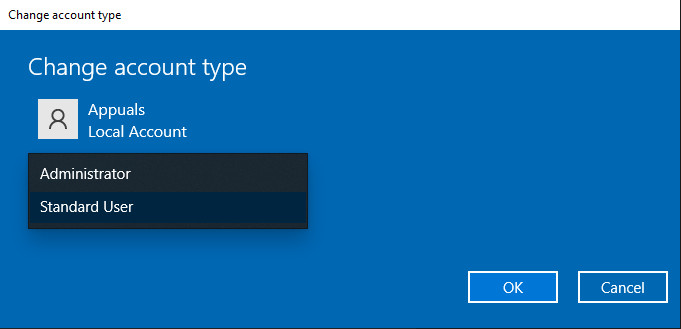
- Set it to Administrator, then click OK.
7. Repair or Reinstall Adobe Creative Cloud
The Creative Cloud app relies on a network of dependencies—such as UWP libraries, system permissions, and registry entries—to install and update Adobe applications. Over time, these components can become corrupted due to interrupted updates, conflicting software, or profile-specific issues.
Repairing or reinstalling Creative Cloud refreshes these critical files, ensuring all dependencies are correctly configured and functional. This process also removes corrupted installer caches or registry keys that may block Adobe’s access to system resources, effectively resolving Error 191 and restoring seamless installation capabilities.
Repair Adobe Creative Cloud:
- Open Control Panel.
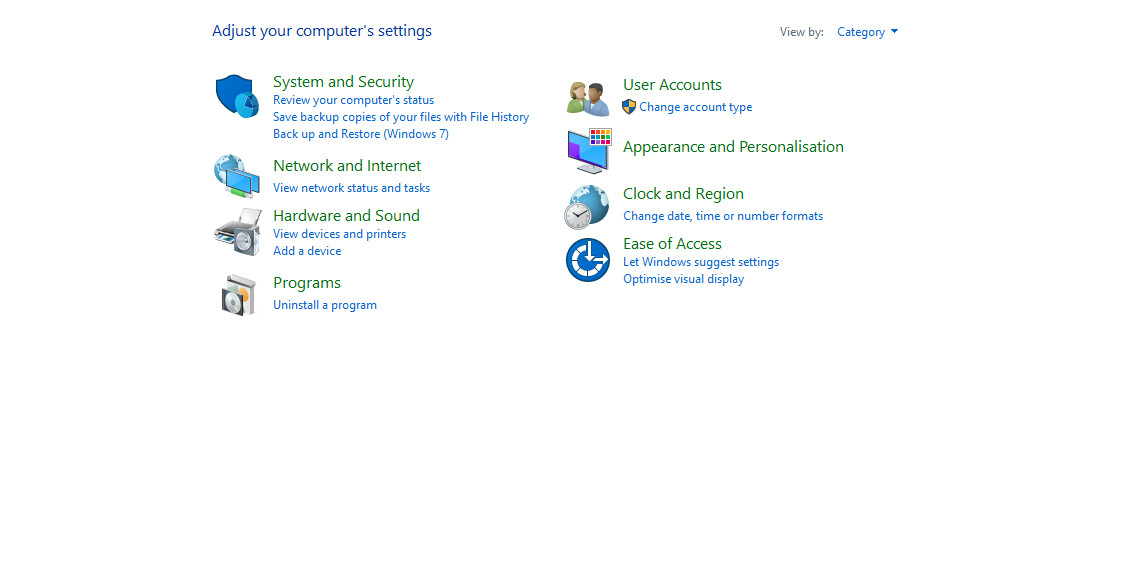
- Click on Uninstall programs.

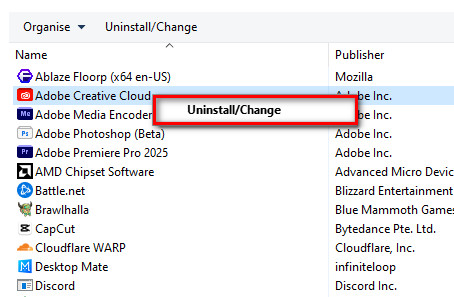
- Right-click on Adobe Creative Cloud then click Uninstall/Change.
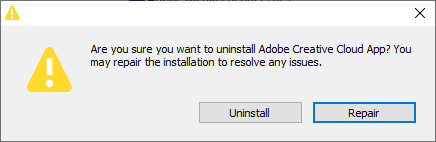
 Click on Repair.
Reinstall Creative Cloud:
- Open Creative Cloud.
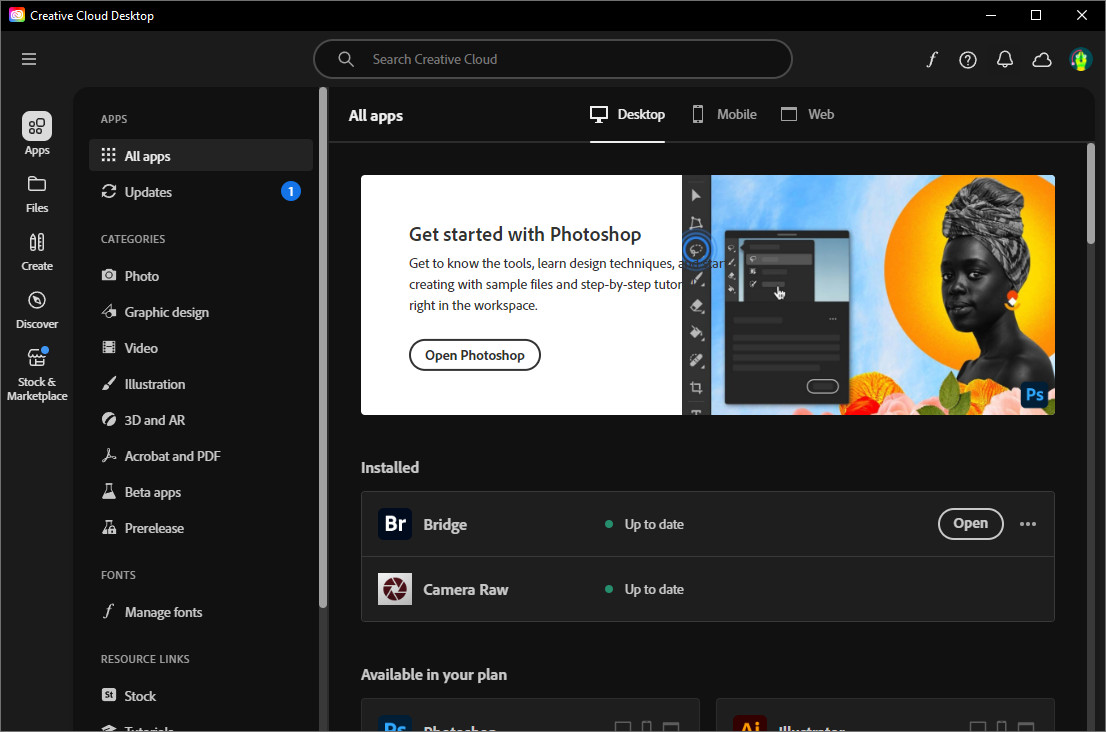
- Click on the Profile image in the top right corner, then click Sign Out.

- Alternatively, you can use the Adobe Creative Cloud Cleaner Tool to properly remove the Creative Cloud App from your PC.
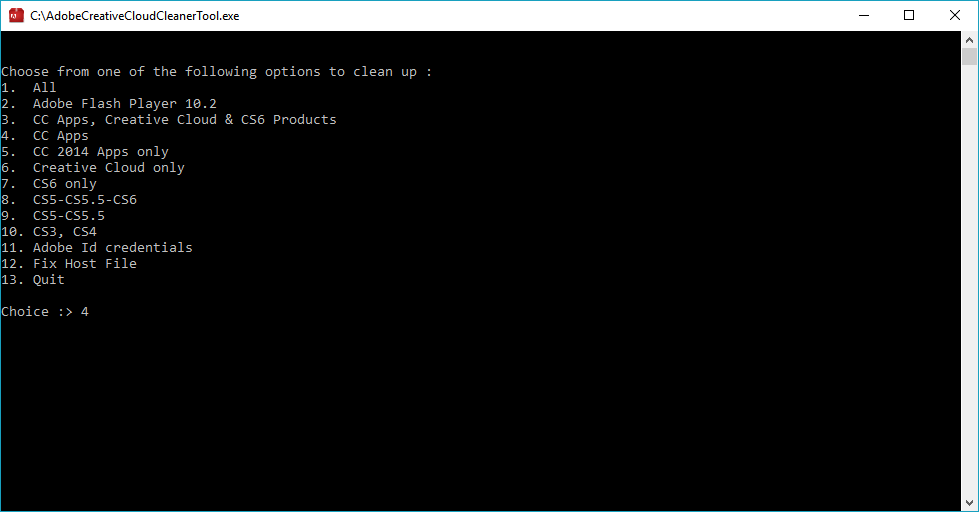
- Press “1” for Uninstall Everything related to Adobe products.
- Restart your PC.

- Now visit the official Adobe website once again and download the latest version.
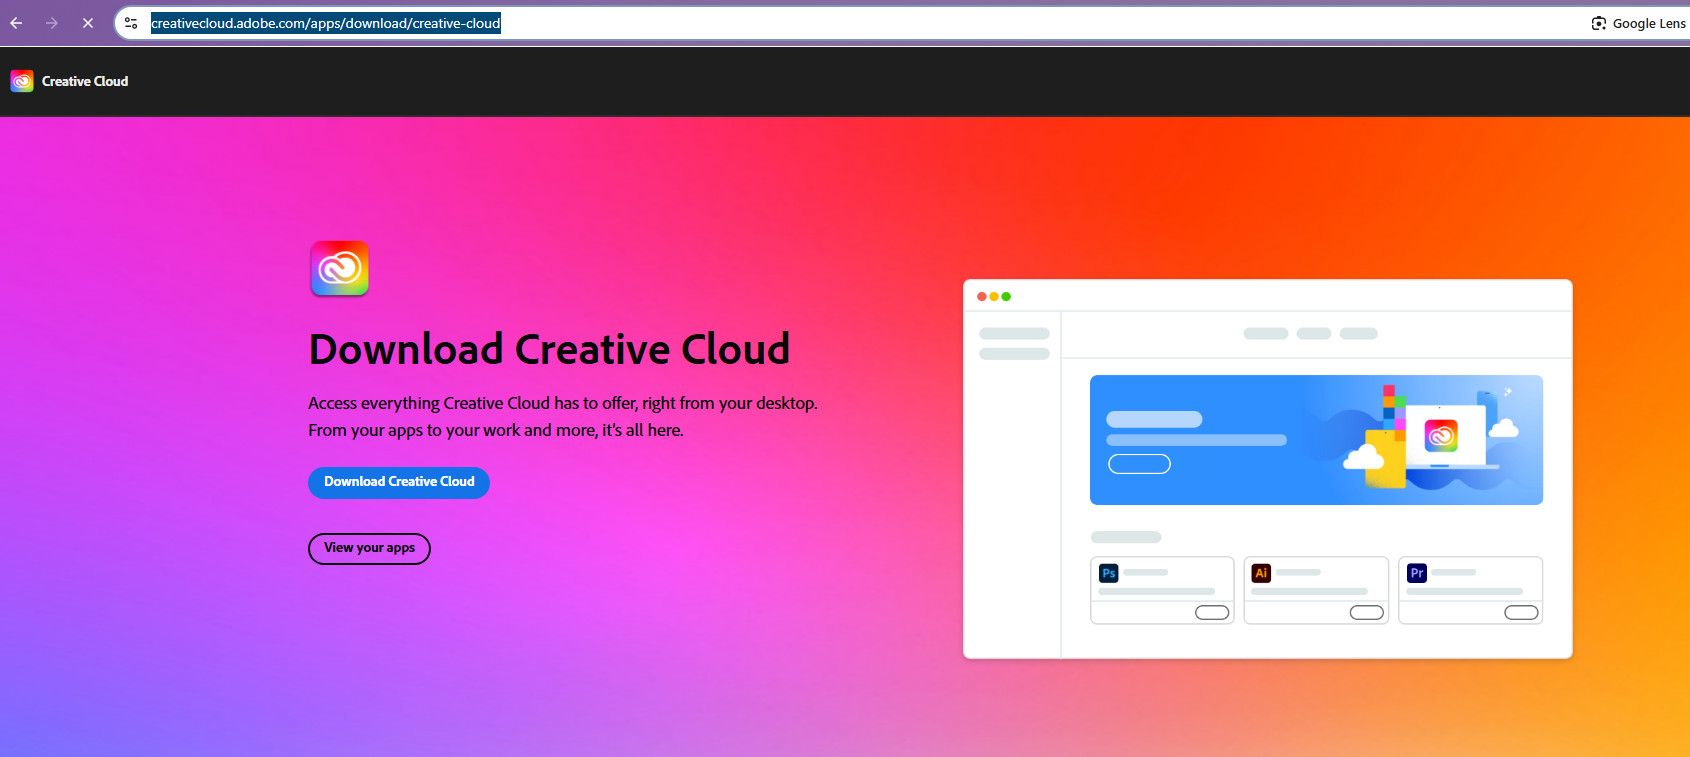
- Install it and sign in to your Adobe Account.


