How to Fix Adobe Application Manager Missing or Damaged
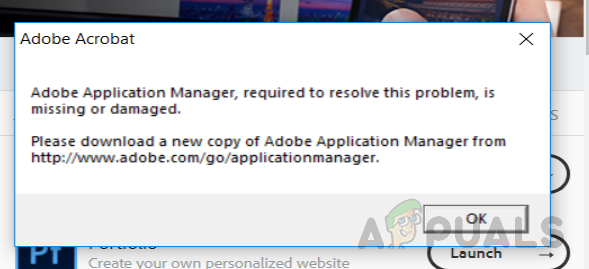
The error message “Adobe Application Manager is missing or damaged” usually shows up right when you try to open Adobe apps like Photoshop, Illustrator, or Acrobat. This means that a key part of the software, which handles your licenses, installs, and updates, is either broken or missing.
Most of the time, this problem happens because an update to Adobe Creative Cloud didn’t finish properly, or there are leftover files from previous uninstallations. Users in forums also mention that permission issues or some third-party cleanup programs can accidentally remove important Adobe files.
Now that you know the causes, let’s discuss the solutions.
1. Rebuild the Adobe Application Manager
In this method, we’ll recreate all the necessary files for launching Adobe Application Manager by downloading and installing a fresh copy. Since the error suggests some files are either damaged or missing, installing a new copy can usually fix the problem.
- If you are using Windows, go to the following folder (if it exists) and rename it to OOBE.old:
C:/Program Files(X86)/Common Files/Adobe/OOBE
- For Mac users, navigate to:
Library/Application Support/Adobe/OOBE
and rename the folder OOBE to OOBE.old (if you see it in that location).
- Now go here and download and install Premiere Pro CC. (You do not need to uninstall your current copy of Creative Cloud. Just close it and install the new one.)
- When prompted to activate the AAM, click “Activate” and you’re done.
2. Run the Creative Cloud Cleaner and Diagnostics
Adobe Creative Cloud Cleaner is an official tool from Adobe that can repair damaged or missing Creative Cloud files. It can also help remove all Creative Cloud or Creative Suite applications installed on your system. Before using Cloud Cleaner, please complete these important steps:
2.1. Check Your Creative Cloud File Sync Status
Make sure all your important Adobe files are synced with your cloud library. Otherwise, you might lose those files. Wait until all syncing is complete.
- Open your Creative Cloud Desktop Application.
- Click the Cloud activity icon in the upper right corner and make sure it says File Syncing is up-to-date.
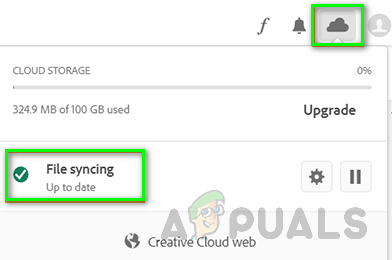
Check your Creative Cloud file sync status
2.2. Close Adobe Desktop Service and Core Sync Service
Make sure the Adobe Desktop Service and Core Sync Service are not running by checking your Task Manager in Windows or Activity Monitor on Mac.
2.3. Backup Your Core Sync Files
Go to the following locations on your PC or Mac and save a copy of the files in these folders, just in case:
C:\Users\username\AppData\Roaming\Adobe\CoreSync
For Mac:
~/Library/Application Support/Adobe/CoreSync/
2.4. Quit All Adobe Applications and Services
Close any Adobe applications running in the background, including the Creative Cloud app. Also, make sure there are no Adobe services running by opening the Task Manager or Activity Monitor. Here are some processes you may need to close:
- Creative Cloud
- CCXProcess
- CCLibrary
- CoreSync helper
- Adobe IPC Broker
- armsvc
- AGS Service
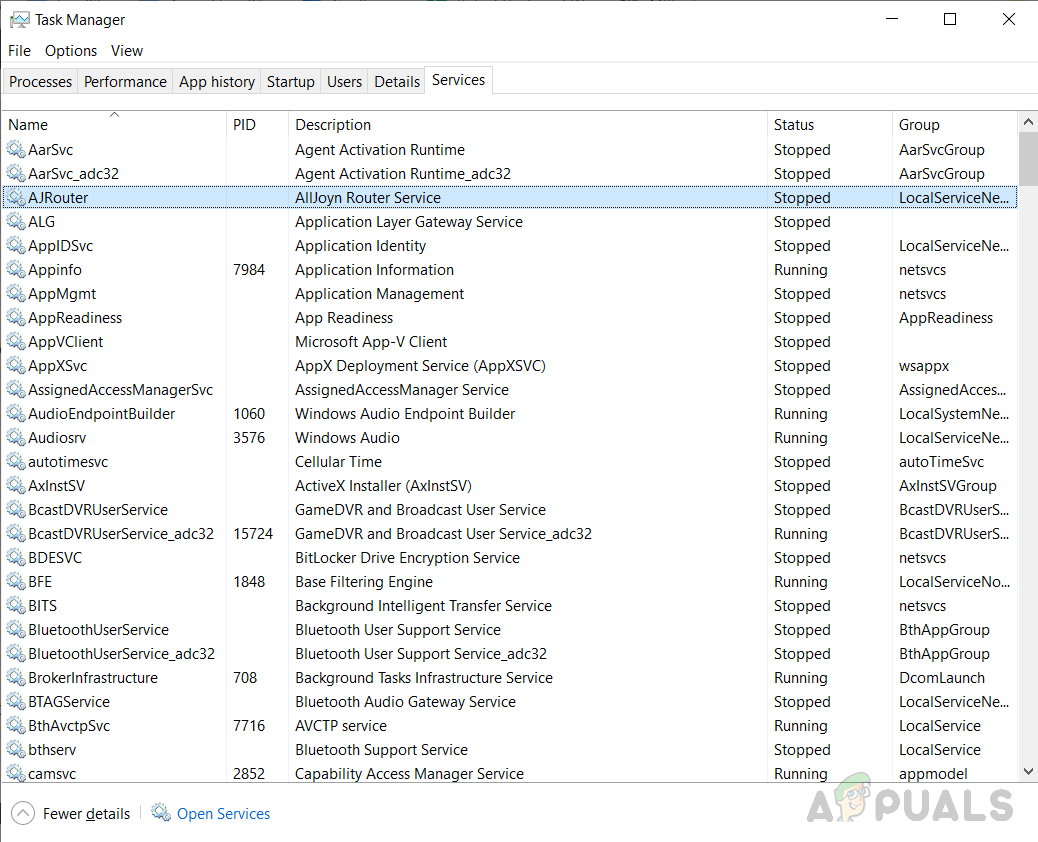
No Adobe Services Running in Windows Task Manager
2.5. Save Your Third-party Adobe Data, Plugins, or Other Content
Copy and save all extra content in your Adobe product folders, like third-party plug-ins and preference files, to avoid losing them.
3. Use Adobe Creative Cloud Cleaner (For Windows)
- Download the Creative Cloud Cleaner from here and run the file as an administrator.
- Select your language (“e” for English and “j” for Japanese) and press Enter.
- Type “y” to accept the End-user license agreement and press Enter.
- You will see a list of numbered options. Choose the 3rd option where it says CC Apps, Creative Cloud & CS6 Products and press Enter.
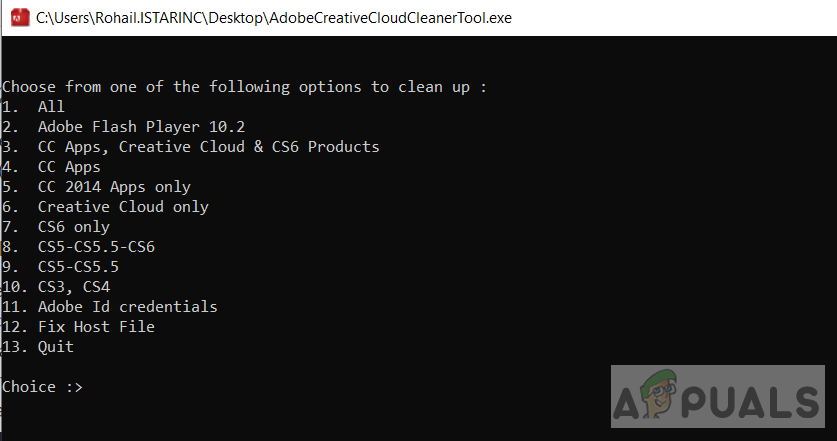
Choose the option CC Apps, Creative Cloud & CS6 Products - When you see a message that says Adobe Creative Cloud Cleaner Tool completed successfully, restart your computer.
- After restarting, go to the following folders and rename “OOBE” to “OOBE.old”:
\Program Files (x86)\Common Files\Adobe\OOBE
\Users\\AppData\Local\Adobe\OOBE
- Now reinstall the Adobe Application Manager.
4. Use Adobe Creative Cloud Cleaner (For macOS)
- Download the Creative Cloud Cleaner from here.
- Double-click the AdobeCreativeCloudCleanerTool.dmg file to run the Creative Cloud Cleaner.

Mac Adobe Creative Cleaner Tool - Choose your language (“e” for English and “j” for Japanese) and press Enter.
- Click Accept to agree to the End-user license agreement and press Enter.
- In the menu at the upper right, select CC Apps, Creative Cloud & CS6 Products.
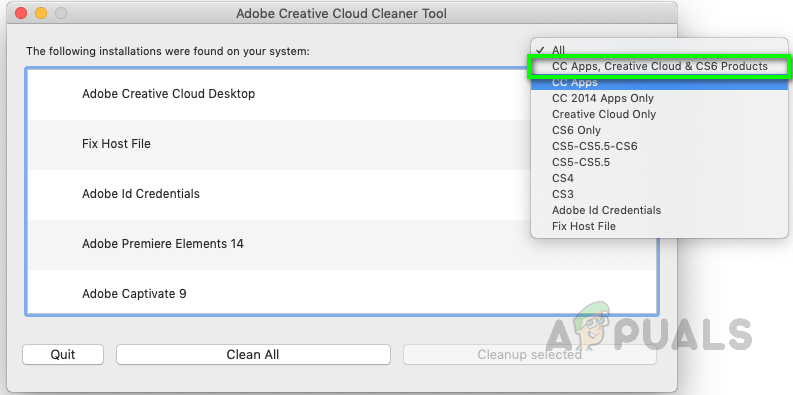 Select the option that says CC Apps, Creative Cloud & CS6 Products
 - Now in the table, select Adobe Application Manager to clean it up.
- When you see a message saying Adobe Creative Cloud Cleaner Tool completed successfully, restart your Mac.
- Go to the following folder and rename “OOBE” to “OOBE.old”:
/Library/Application Support/Adobe/OOBE
- Now reinstall the Adobe Application Manager.


