How to Add or Remove Favorites Bar in Microsoft Edge?
The Favorites Bar in Microsoft Edge is a toolbar under the address bar that lets you quickly access your favorite websites. You can save and organize bookmarks there for easy browsing. By default, it is hidden, but you can make it show up always, never, or only on new tabs. You can turn it on or off with the keyboard shortcut Ctrl + Shift + B. You can also choose to display only icons to save space and organize your favorites into folders. If you sign in with a Microsoft account, your favorites can sync to other devices.
Adding or Removing the Favorites Bar in Microsoft Edge
The steps for the classic Microsoft Edge and the new, Chromium-based Microsoft Edge are different. In this article, we’re focusing on the new Chromium-based version of Microsoft Edge. Most of the methods below guide you through removing or hiding the Favorites bar, but you can also use them to show or add it back, if needed.
1. Using Browser Options
The most common and straightforward way is to use the settings built right into the browser. Microsoft Edge gives users the flexibility to hide or show the Favorites bar based on their preferences. There are several simple ways to do this. We’ve included every option so you can pick whichever one is easiest for you.
Note: Depending on your preference, you can choose other settings such as “Always” or “Only on new tabs.”
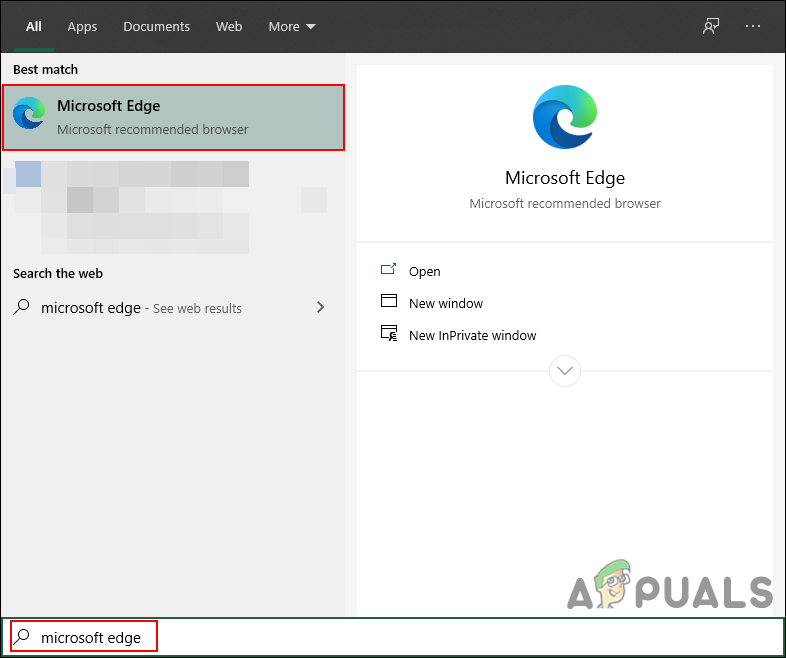
- Open the Microsoft Edge browser, either by clicking its shortcut or searching for it in Windows.
Opening Microsoft Edge browser - The quickest way to hide or show the Favorites bar is to use the keyboard shortcut: Ctrl + Shift + B. Pressing this combination will toggle the Favorites bar on and off.
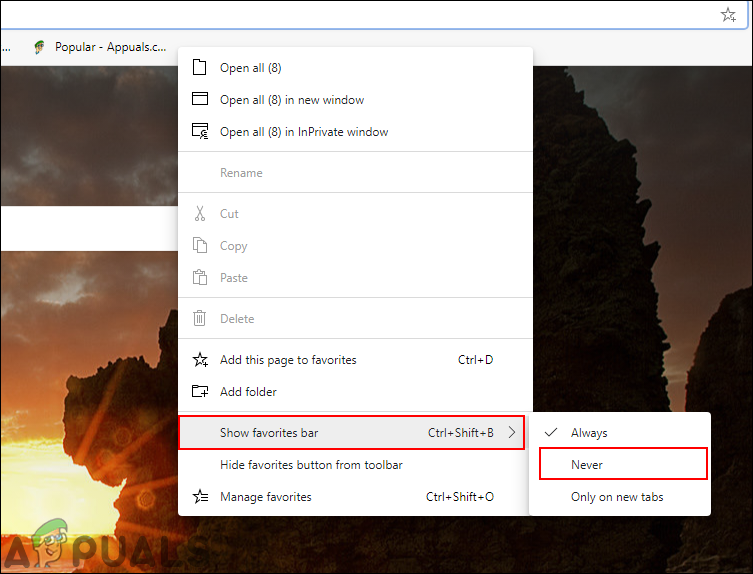
- You can also use the Favorites bar itself. Right-click directly on the Favorites bar and select Show favorites bar > Never to hide it.
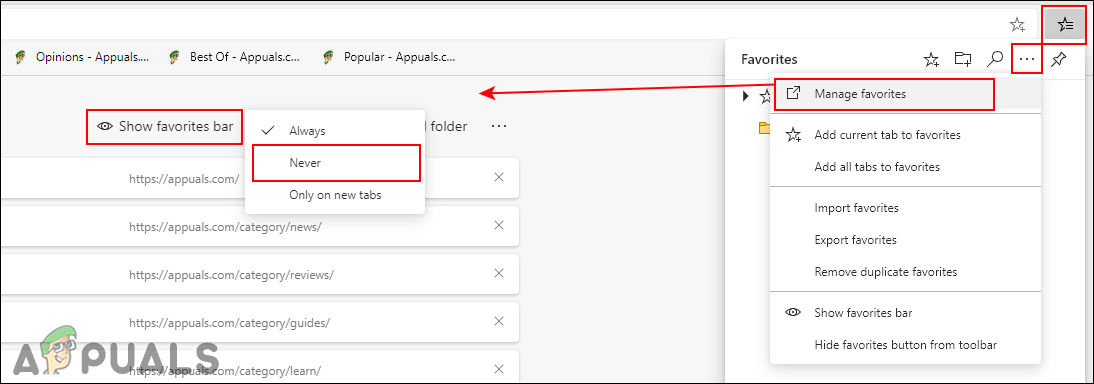
Removing favorites bar - Another option is through the Favorites menu. Click on the Favorites icon on the toolbar, select the More options (three dots), and choose Manage favorites. Then, at the top, find the Show favorites bar menu and set it to Never.
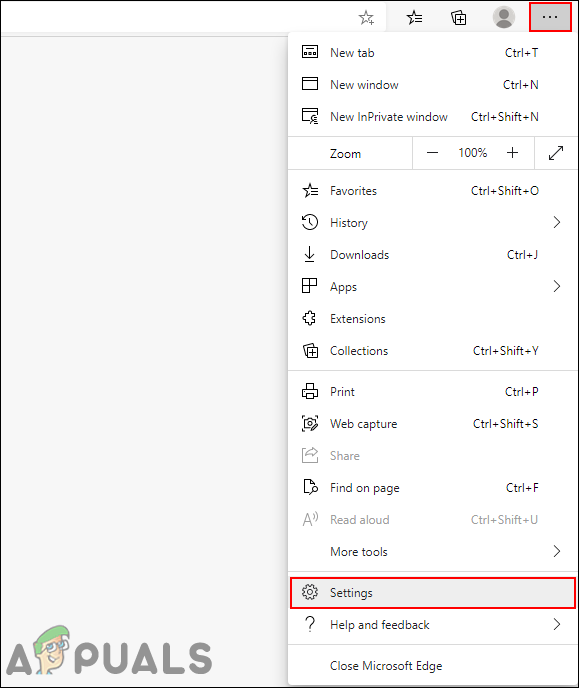
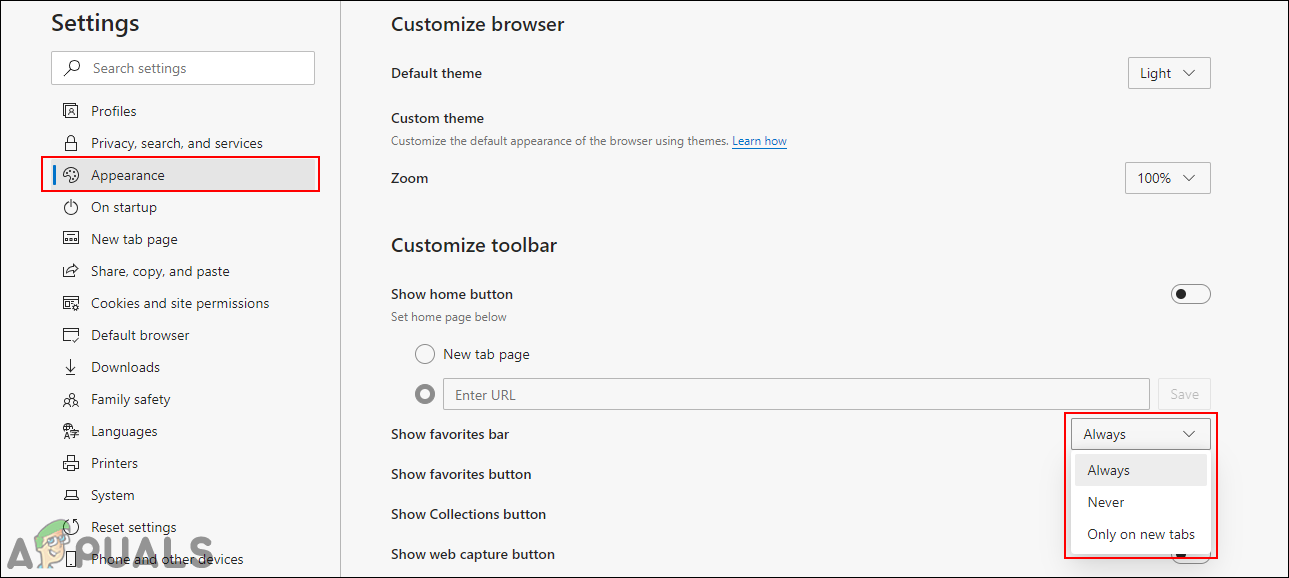
Managing favorites bar - The last way from within the browser is through the main settings menu. Click on the Settings and more button (three dots) in the top right, and select Settings.
Opening settings - Next, click on Appearance in the left-hand menu, then look for the Show favorites bar option. Set it to Never.
Hiding favorites bar
2. Using the Local Group Policy Editor
The Group Policy Editor is a Windows tool that allows you to configure important settings on your PC. With this method, you can permanently disable the Favorites bar and prevent other users from enabling it again in Microsoft Edge. Standard users will not be able to turn the Favorites bar back on through browser settings.
If you already see the policy settings under “User Configuration\Administrative Templates\Windows Components\Microsoft Edge\” or “Computer Configuration\Administrative Templates\Windows Components\Microsoft Edge\“, you can use those and skip downloading new policy files.
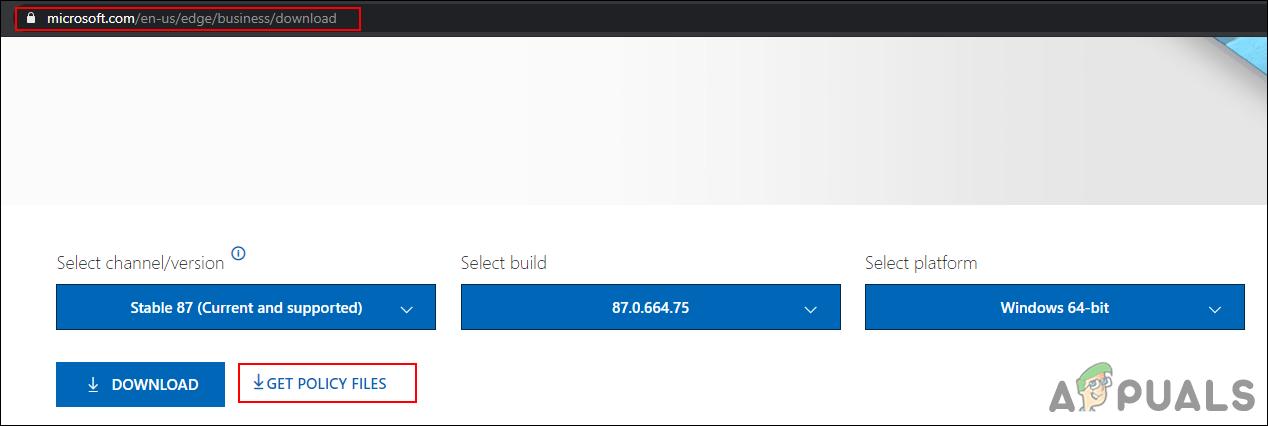
- Go to the Microsoft site, enter the version details for your Microsoft Edge, and click GET POLICY FILES to download the latest policy files.
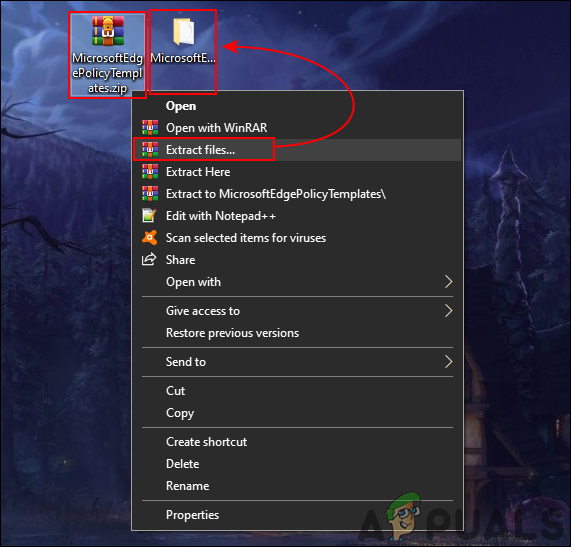
Downloading new policy files - Extract the downloaded file using an app like WinRAR.
Extracting downloaded files - Open the folder and go to “MicrosoftEdgePolicyTemplates\windows\admx“.
- Copy the “msedge.admx” and “msedge.adml” files and paste them into “C:\Windows\PolicyDefinitions“.
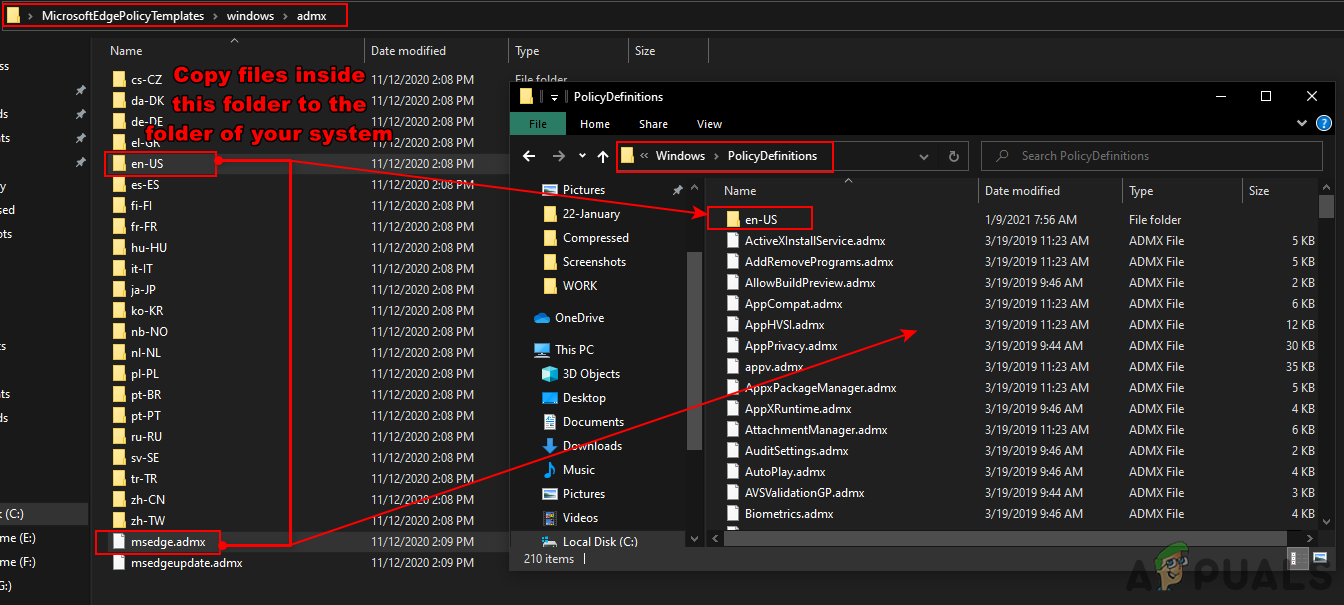
Copying files to the system folder Note: Make sure to place the language file into the respective language subfolder.
- Restart your computer to make these new policy settings available in the Group Policy Editor.
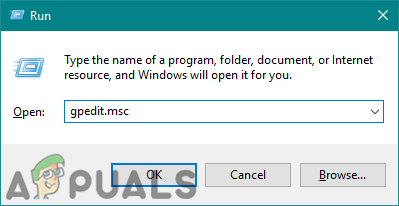
- Press the Windows key + R to open the Run dialog box. Type “gpedit.msc” and press Enter to open the Local Group Policy Editor.
Opening the Group Policy Editor - In the Group Policy Editor window, navigate to:
Computer Configuration\ Administrative Templates\ Microsoft Edge
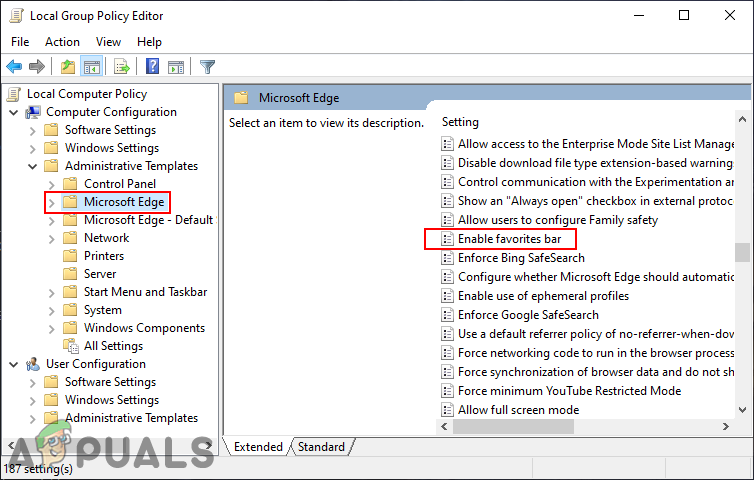
Navigating to the settings - Find the setting called “Enable favorites bar“, then double-click it to open its options. Change the setting from Not Configured to Disabled.
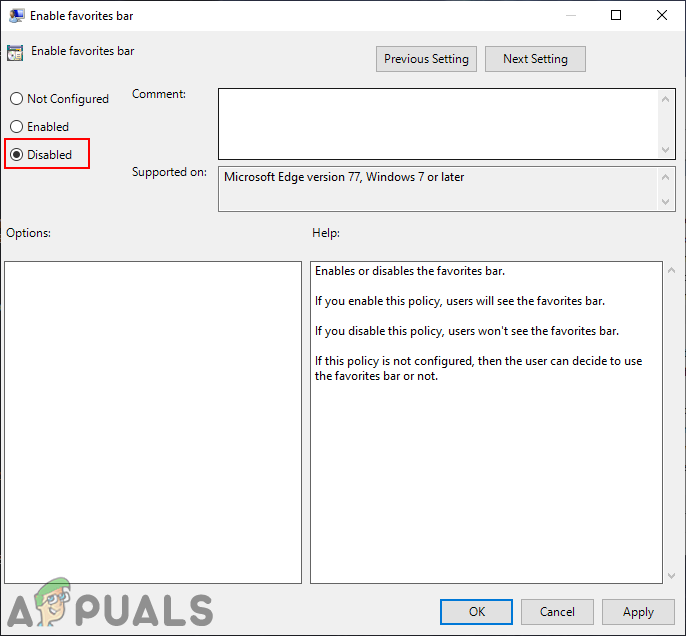
Disabling the setting - Click Apply and then OK to save your changes. This will disable the Favorites bar in Microsoft Edge.
- If you want to enable it again in the future, simply change the setting back to Not Configured or Enabled.
3. Using the Registry Editor
The Registry Editor is another tool you can use to change advanced settings in Windows. This method is a good alternative to the Group Policy Editor. If you used Group Policy Editor first, Registry Editor will already reflect your changes. If you’re starting here, you’ll need to create or adjust some items yourself.
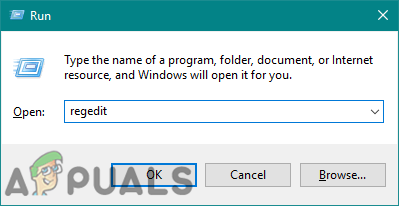
- Press the Windows + R keys together to open the Run dialog box. Type “regedit” and press Enter to open the Registry Editor. If you see a User Account Control (UAC) prompt, click Yes.
Opening the Registry Editor - In Registry Editor, navigate to:
HKEY_LOCAL_MACHINE\SOFTWARE\Policies\Microsoft\Edge
- If you don’t see the Edge folder, right-click on Microsoft, choose New > Key, and name the new key “Edge“.
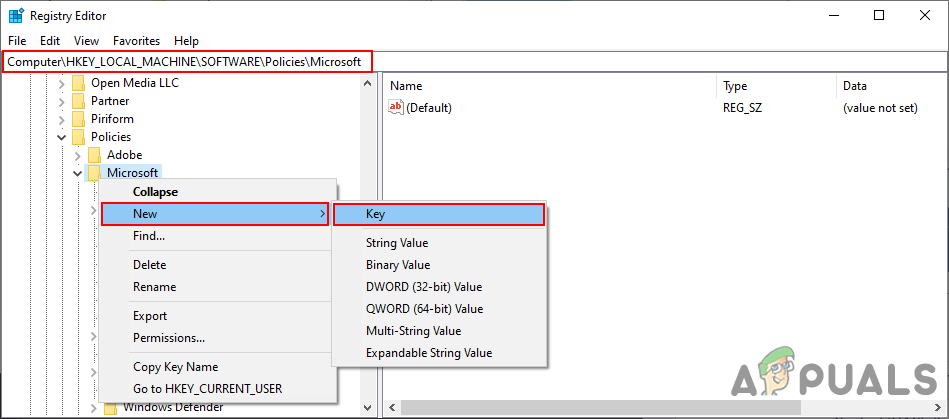
Creating the missing key - On the right side, right-click and select New > DWORD (32-bit) Value. Name this value “FavoritesBarEnabled“.

Creating a new value - Double-click on FavoritesBarEnabled and set its value data to 0 to disable the Favorites bar.

Changing the value data - After making these changes, make sure you restart your PC to apply them. The Favorites bar will now be disabled in Microsoft Edge.
- If you’d like to enable the bar again, either delete the FavoritesBarEnabled value or change its value data to 1.