How to Add and Enable Subtitles in Kodi v17 Krypton
Kodi v17 Krypton introduced a new look, which changed how you find and use subtitle settings. This confused many users who were used to the older versions. The Estuary skin, added in this update, moved menus around, making it harder to find subtitle options.

Also, keep in mind that subtitles might not show up automatically unless you set your preferred subtitle language in the settings. If subtitles do not appear or they seem out of sync, it could be because the subtitle files are not named or formatted correctly.
The steps below are organized to be as clear and practical as possible. To avoid confusion, please follow them in order. Let’s get started!
1. Installing Subtitle Add-ons on Kodi 17 Krypton
Before we dive into the guide, keep in mind that Kodi comes in many builds, so the interface might look different depending on your setup. If your screens don’t match the screenshots below, make sure you’re using the Estuary skin for Kodi.
Please also ensure that the official Kodi Add-on Repository is set as your main repository. If you haven’t added any third-party repositories, this should already be the case.
- Open Kodi and go to the home screen. Click on Add-ons.

- After clicking on Add-ons, you’ll see an add-on icon in the top-left corner. Click on it.
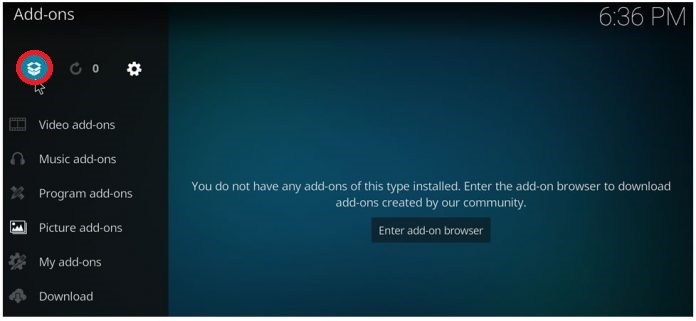
- When you’re in the Add-on browser screen, click on Install from repository.

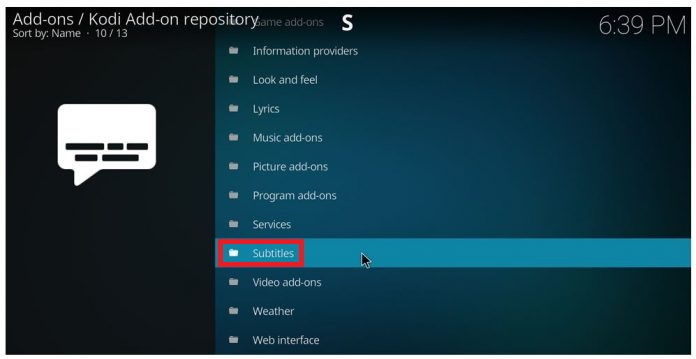
- Scroll down and select Subtitles.
- Install a few options from the list. OpenSubtitles.org has a large collection of subtitles in various languages. Subscene.com is also good, especially for English subtitles.
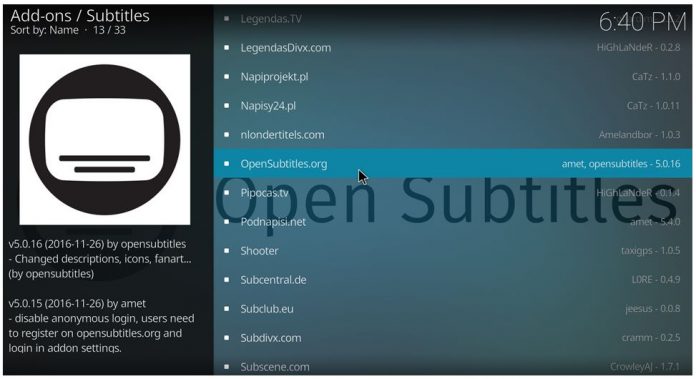
- It’s a good idea to install at least 3 subtitles add-ons. To install one, simply click on its entry and press Install.
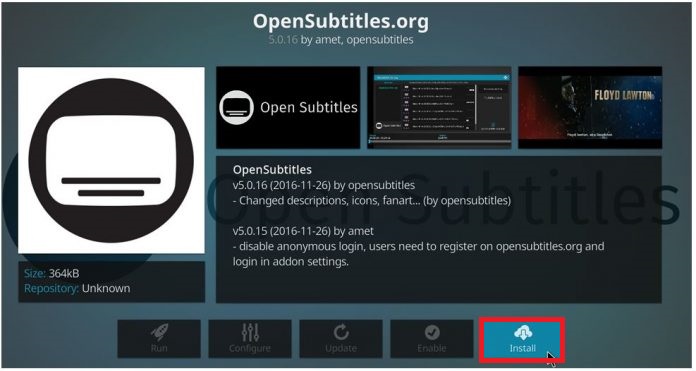
- Note that OpenSubtitles for Kodi requires you to create an account. You can do this easily by clicking this link. Be sure to verify your email address to activate your account.
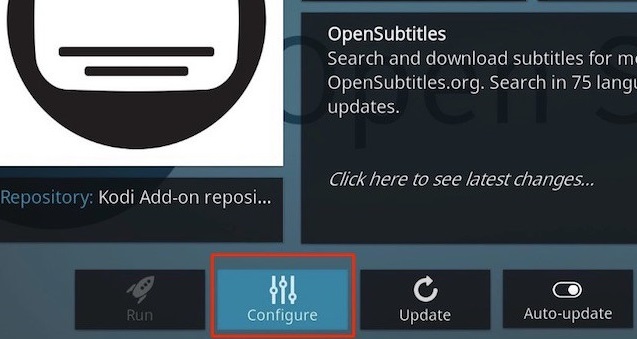
- Once your account is created, return to the home screen and navigate to Add-ons > My add-ons > Subtitles, then select OpenSubtitles.org.
- Click on Configure and enter your OpenSubtitles account credentials.
2. Setting the Subtitle Language in Kodi 17 Krypton
Now that you’ve installed several subtitle add-ons, it’s time to set up your preferred subtitle languages.
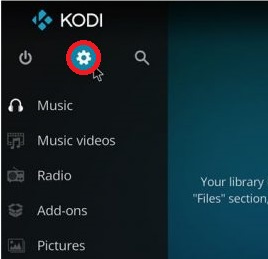
- On the home screen, click the Settings icon (top-left corner).
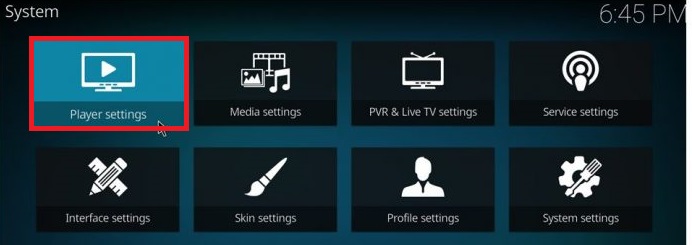
- Go to the Player settings tab.
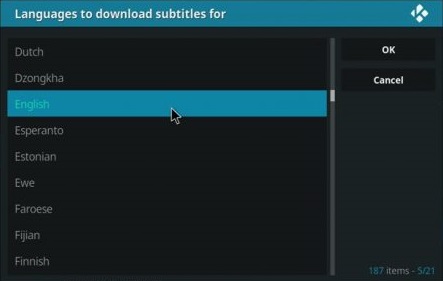
- Select Language and then click on Languages to download subtitles for.
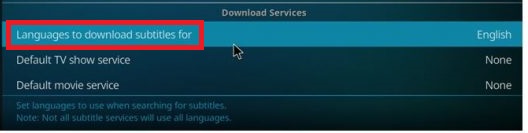
- A new menu will open where you can select the languages you want. You can choose more than one. When you’re finished, click OK.
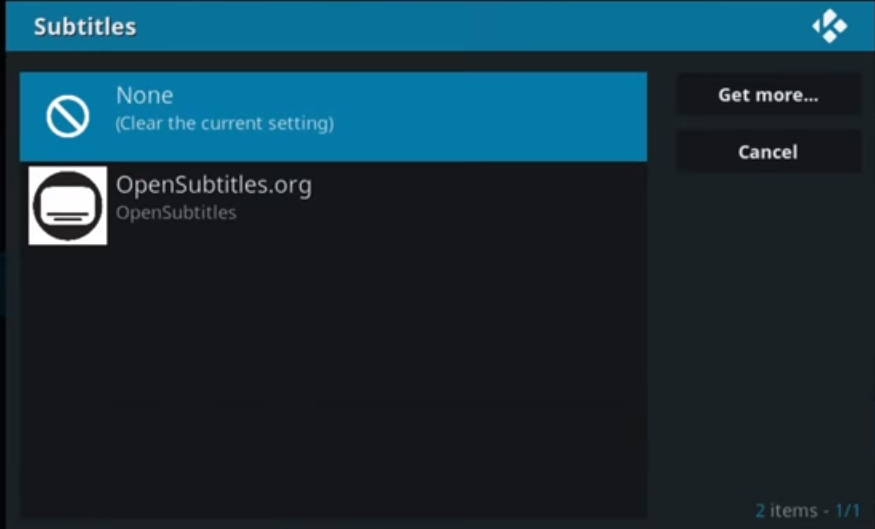
- Now go back to the main Settings directory. Click on Default TV show service and choose a subtitle add-on from the ones you installed earlier.
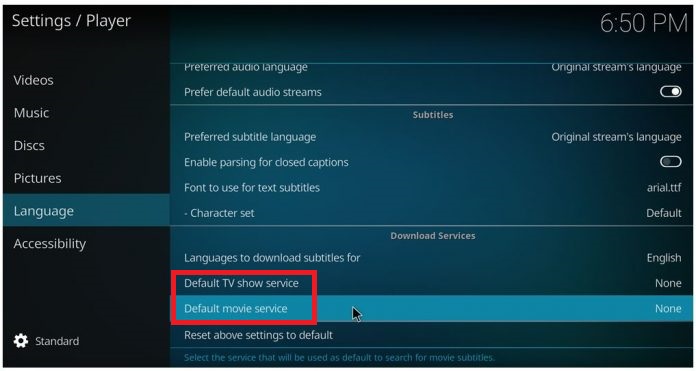
- Back in the Settings directory, click on Default movie service. Select a subtitle service and click OK to save.
Part 3: Displaying Subtitles in TV Shows and Movies
With subtitles fully set up, you just need to enable them when you start a new video.
- Open any TV show, movie, or other video content, then click on the Subtitles icon in the lower-right section.
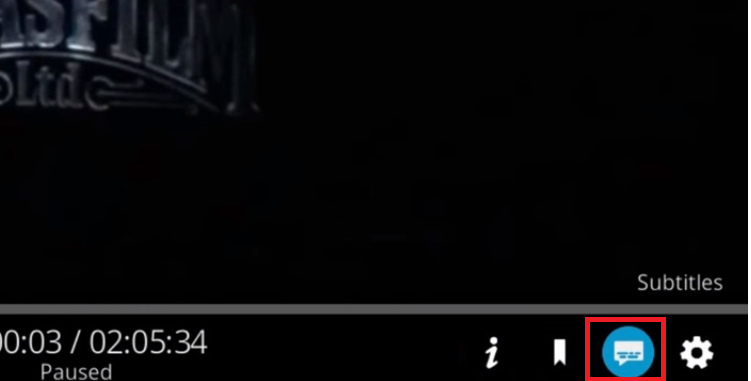
- In the subtitle menu that appears, click on Download.
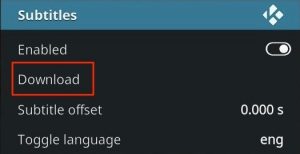
- Soon, you’ll see a list of available subtitles. Just select the one you want.
- If the subtitles are out of sync, adjust the Subtitle offset until they’re in sync with the video.
Is it possible to set Kodi 17 to enable sub for all movie and TV shows?
When movie or TV show already got a sub, sometimes I need to click the sub button and then enable.