How to Add Email Accounts to Android Phone
Adding an email account to an Android phone means setting up your device so you can send and receive emails from services like Gmail, Yahoo, Outlook, and more. This lets you check your email easily on your phone.
Sometimes, people have trouble adding certain email accounts, like Yahoo or AOL. The setup might get stuck or fail to log you in. If this happens, you may need to enter your email settings manually using IMAP/SMTP details.
Adding Email Accounts
Most email apps let you add multiple accounts from different providers. Generally, there are two main ways to add your account:
Automatically:
With this method, you just need to enter your email address and password – the app takes care of the rest. Which accounts can be set up automatically depends on the app, but most major providers like Gmail, Yahoo, Outlook/Hotmail, and Live will work. For work or custom domain (business) email accounts, you may need to set them up manually.
It’s always a good idea to try automatic setup first. If it doesn’t work, you can move to manual setup.
Manually:
If you need to set up your account manually, you’ll have to provide more information than just your email and password. Typically, you’ll need details like incoming and outgoing server names, port numbers, and sometimes other settings. You’ll only need these if your chosen email client can’t automatically detect your settings.
Also, you’ll need to choose whether to set up your account as IMAP or POP3. If you’re not sure what these are, keep reading – we’ll explain below.
IMAP or POP3
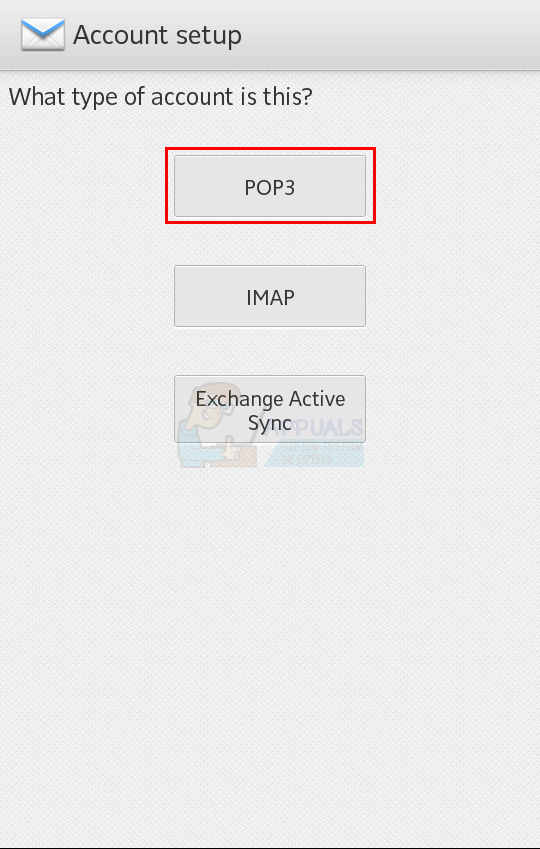
Whenever you add an account manually, you’ll be asked how you want to set it up: IMAP or POP3. No matter what email app you’re using, you’ll have to make this choice and enter the matching details. It’s helpful to know the difference, so you can pick what’s best for your needs.
IMAP
IMAP stands for “Internet Message Access Protocol.” In simple terms, it keeps your emails and any changes you make synced on your email app and on the email server online. For example, if you read or delete an email on your phone, that change shows up on all your devices and on the webmail version too.
IMAP is the best choice if you plan to access your email from multiple devices (like a computer, phone, and tablet) because everything stays updated everywhere. If you want this kind of syncing, pick IMAP.
POP3
POP3 stands for “Post Office Protocol” (version 3). It works differently: when you use POP3, your emails are downloaded onto your device and stored offline. Usually, once an email is downloaded, it’s deleted from the server (though the timing for this can often be set in the settings). If you delete or move emails on your phone, these changes won’t be reflected online or on other devices.
POP3 is useful if you want to keep a copy of your emails offline, have limited storage on your email account, or want to keep business and personal accounts completely separate. If you want to use POP3, configure your account manually and select POP3 during setup.
In summary, IMAP is the better choice for most people using multiple devices. But if you have a special use case, POP3 could be useful too.
Adding Account to Stock Email App
Note: The steps and labels in your phone’s built-in (stock) email app may vary depending on the manufacturer and your phone model, but the process is generally similar.
To add email accounts to your stock email app:
Automatically
Hotmail
Getting the password
The password you use depends on whether you have enabled two-step verification for your account.
2-Step Verification Enabled
If you have two-step verification enabled, you will need to use an App Password instead of your regular password. Get your App Password by following these steps:
- Open your browser and sign in to your Hotmail account.
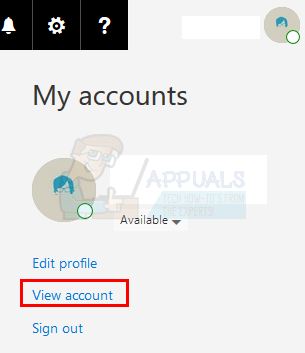
- Click your display picture (top right) and choose View Account.
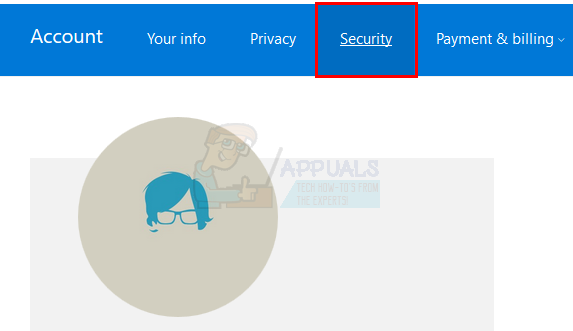
- Select Security.
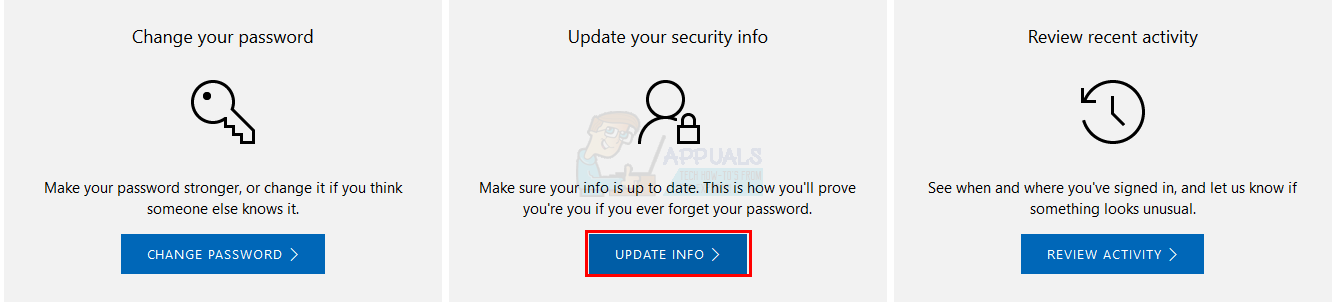
- Select Update info under “Update your security info.” You might have to enter your password.
- Click more options.
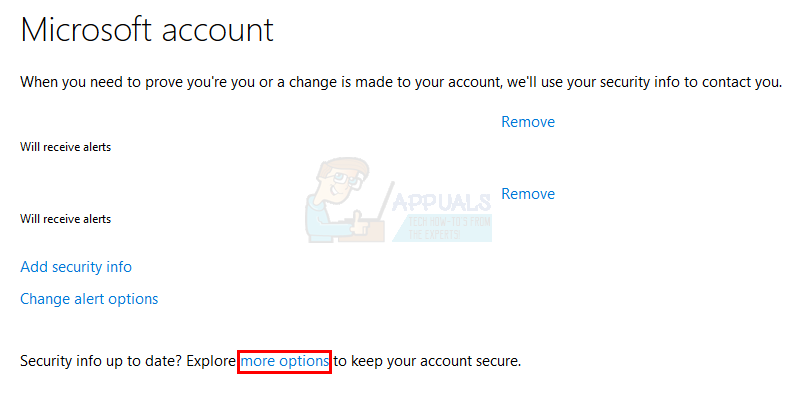
- Scroll down and select Create a new app password under the App passwords section.
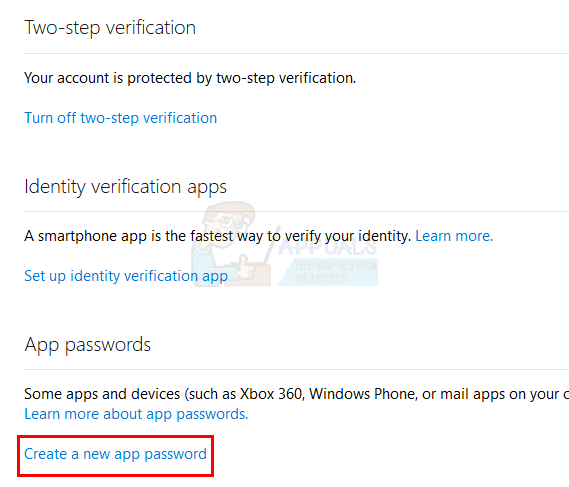
- A new app password will be generated automatically for you.
- Copy or safely note this app password for later use.

2-Step Verification Disabled
If you haven’t enabled two-step verification for your account, simply enter your regular email account password.
Once you have the right password, follow these steps to add your account automatically to your stock email app:
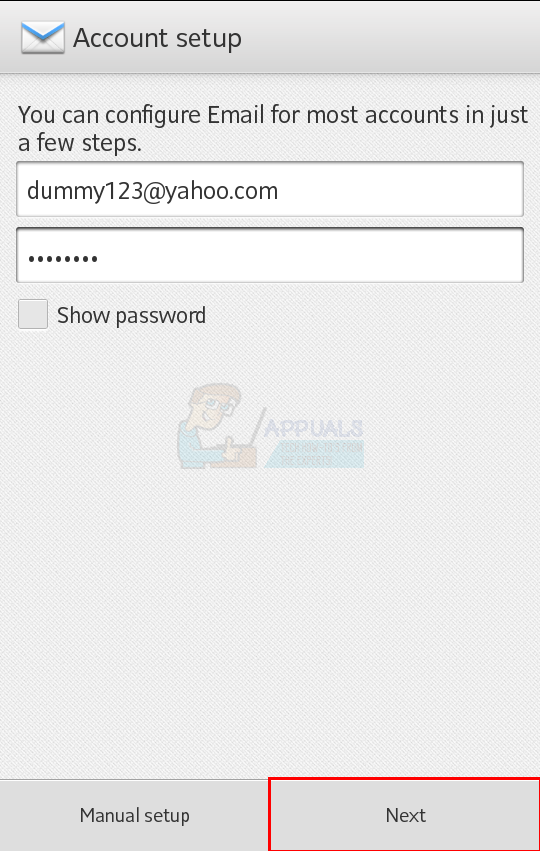
- Open the email app on your phone.
- Enter your email address.
- Enter your password (regular password if 2-step is off, or the 16-digit code if it’s on).
- Click Next.
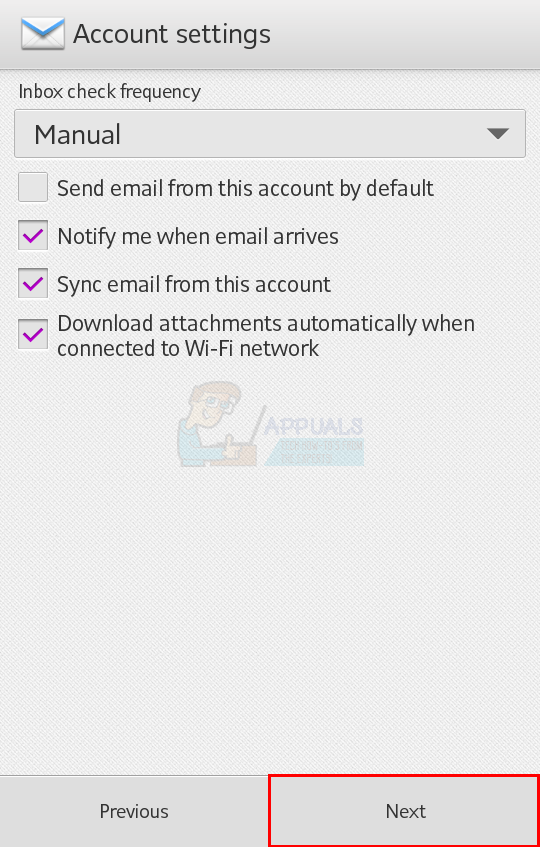
- Select the inbox check frequency. You can adjust other settings, like enabling notifications for new emails. Once done, click Next.
- After your email and password are confirmed, enter the username you want displayed for your emails.
- Click Next.
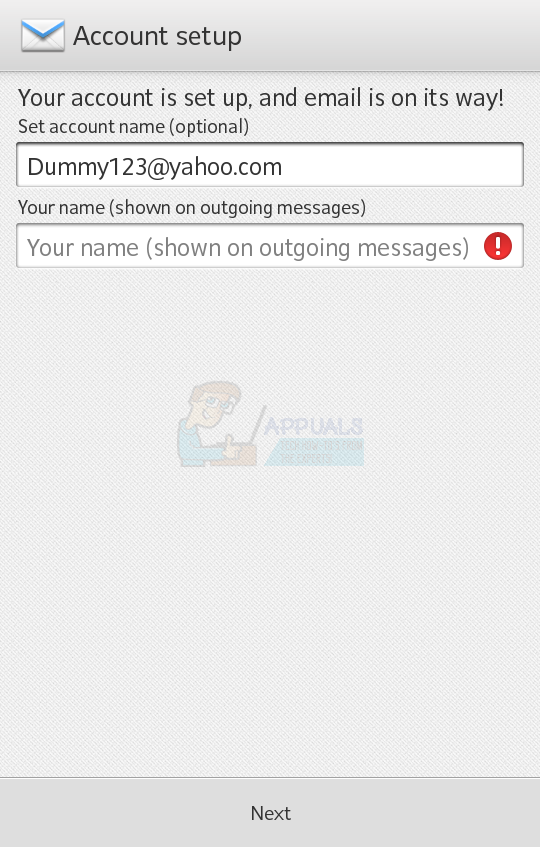
- That’s it! Your account is now added to the stock email app.
You can use this same process to add Gmail, Yahoo, or other accounts to your stock email app. The steps are generally the same for all automatic setups.
Just remember: If your email password doesn’t work, double-check if two-step verification is enabled on your account. If not, and your password still doesn’t work, try enabling the “Allow less secure apps” option in your account security settings (it may be called something slightly different depending on your provider). If you do have two-step verification enabled, always use the app or generated password instead of your usual one.
Manually
Setting up your account manually requires a bit more information.
What you’ll need for manual configuration:
- Email address
- Password (see the section above on getting your password)
- Incoming Server Name
- Outgoing Server Name
- Protocol (IMAP or POP3)
- Port Numbers
For IMAP
Once you’ve gathered everything, follow these steps:
- Open your Email app.
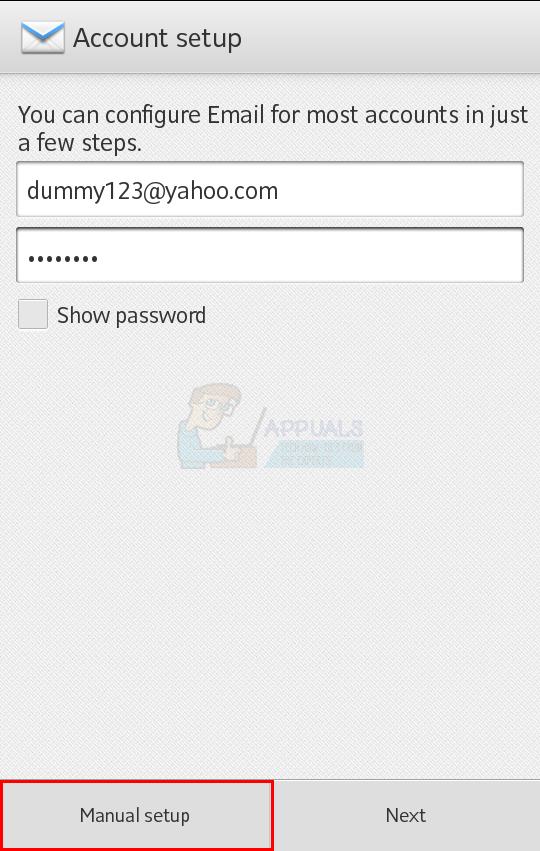
- Enter your email address.
- Enter your password (regular or app-specific).
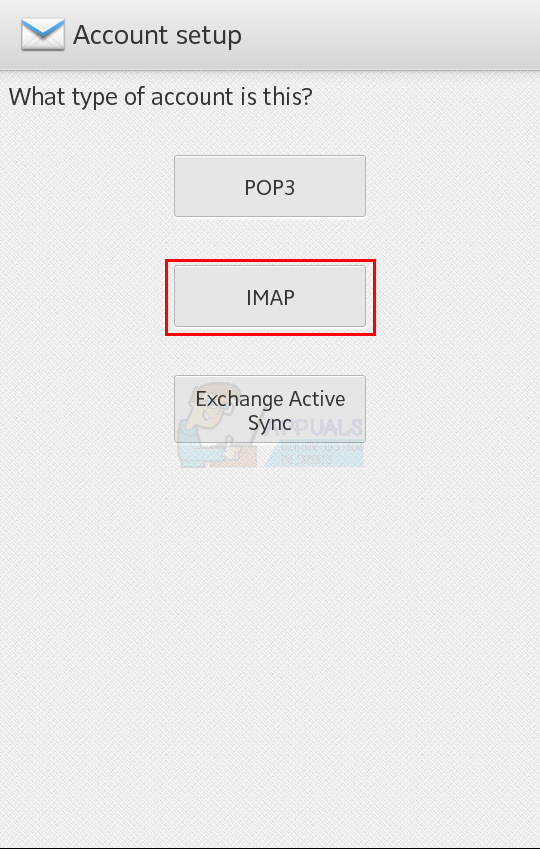
- Press Manual Setup.

- Select IMAP.
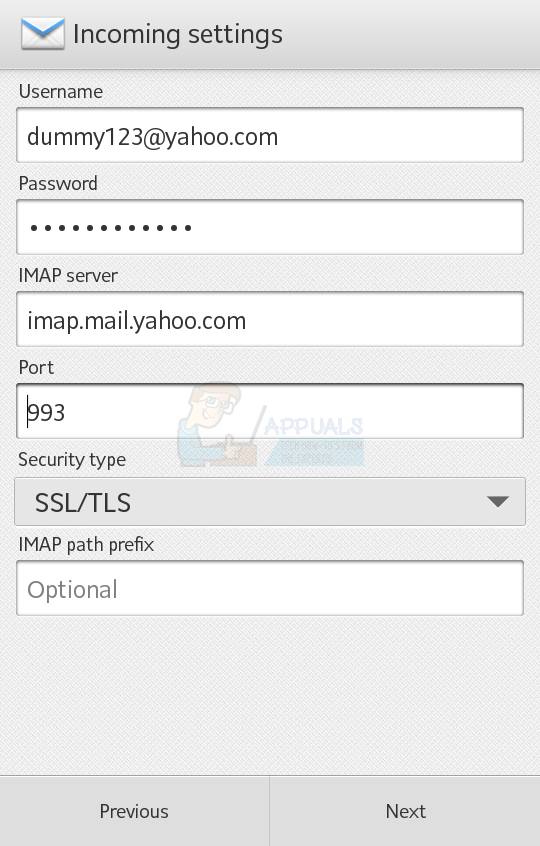
- Type in the IMAP server name (e.g., imap-mail.outlook.com, imap.gmail.com, or imap.mail.yahoo.com).
- Enter the Port number (usually 993 for IMAP).
- For Security type, choose SSL/TLS or similar (SSL or TLS).
- Press Next.
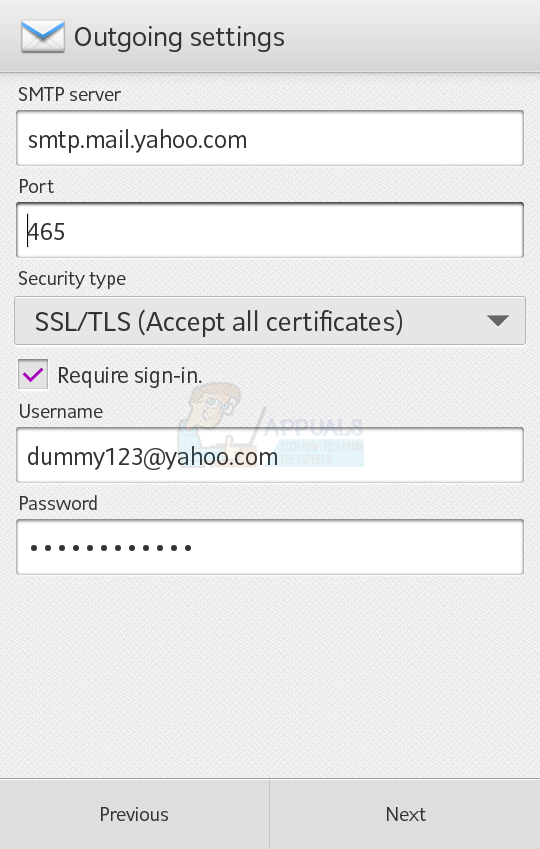
- Enter the SMTP server name (e.g., smtp-mail.outlook.com, smtp.gmail.com, smtp.mail.yahoo.com).
- Enter the Port number (587 or 465).
- Again, set Security type to SSL/TLS (or just SSL or TLS).
- Check Require sign-in.
- Click Next.
- Select inbox check frequency and other preferences. When you’re ready, click Next.
- After your settings are verified, enter a username for the app and emails.
- Click Next.

- That’s it – your account is now manually added to the stock email app.
For POP3
To set up with POP3, use the following steps:
- Open your Email app.
- Enter your email address.
- Enter your password.
- Press Manual Setup.
- Select POP3.
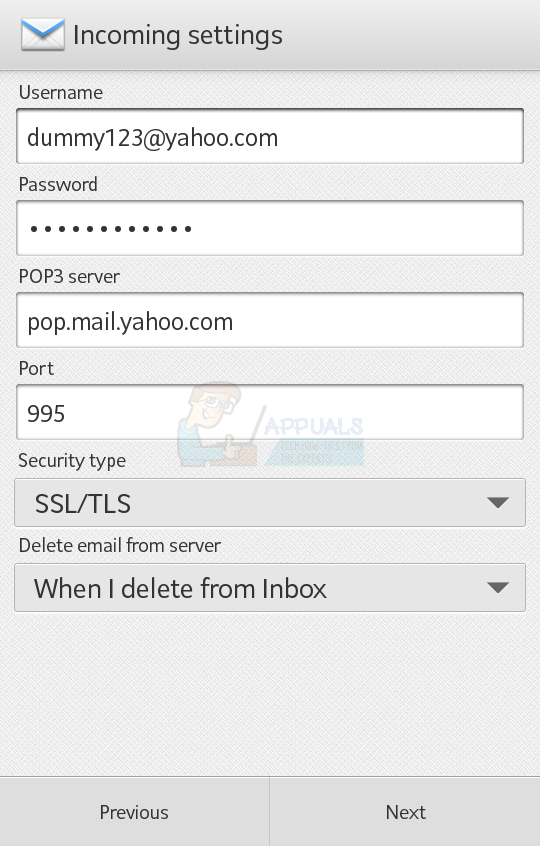
- Type in the POP3 server name (e.g., pop-mail.outlook.com, pop.gmail.com, pop.mail.yahoo.com).
- Enter the Port number (995 for POP3).
- Select Security type: SSL/TLS (or SSL or TLS).
- Choose when to delete emails from the server, according to your preference.
- Press Next.
- Enter the SMTP server name (e.g., smtp-mail.outlook.com, smtp.gmail.com, smtp.mail.yahoo.com).
- Enter the Port number (usually 465 or 587).
- Select the same Security type (SSL/TLS).
- Check Require sign-in.
- Click Next.

- Adjust sync and notification preferences. When ready, click Next.
- After verification, set your display name for outgoing mail.
- Click Next.

- Done! Your account is now set up manually in the email app.
Adding Account to Gmail App
Adding an account to the Gmail app is very similar to setting it up in the stock app. The latest Gmail app lets you add accounts from other providers like Yahoo and Hotmail. The Gmail app can usually auto-configure these accounts.
Here, we’ll show an example for a Yahoo account, but the steps are similar for Hotmail and other accounts.
Automatic Configuration
Yahoo
Getting the password
The password you use depends on whether you have enabled two-step verification for your account.
2-Step Verification Enabled
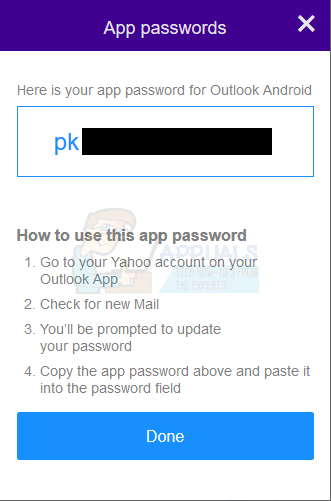
If it’s enabled, you’ll use an App Password. Here’s how to get one:
- Go to yahoomail.com and sign in.
- Click on the settings button (top right), then click Account Info.
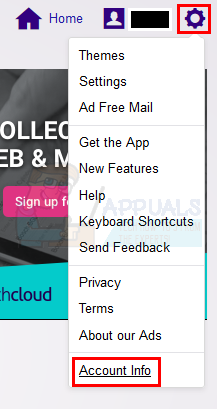
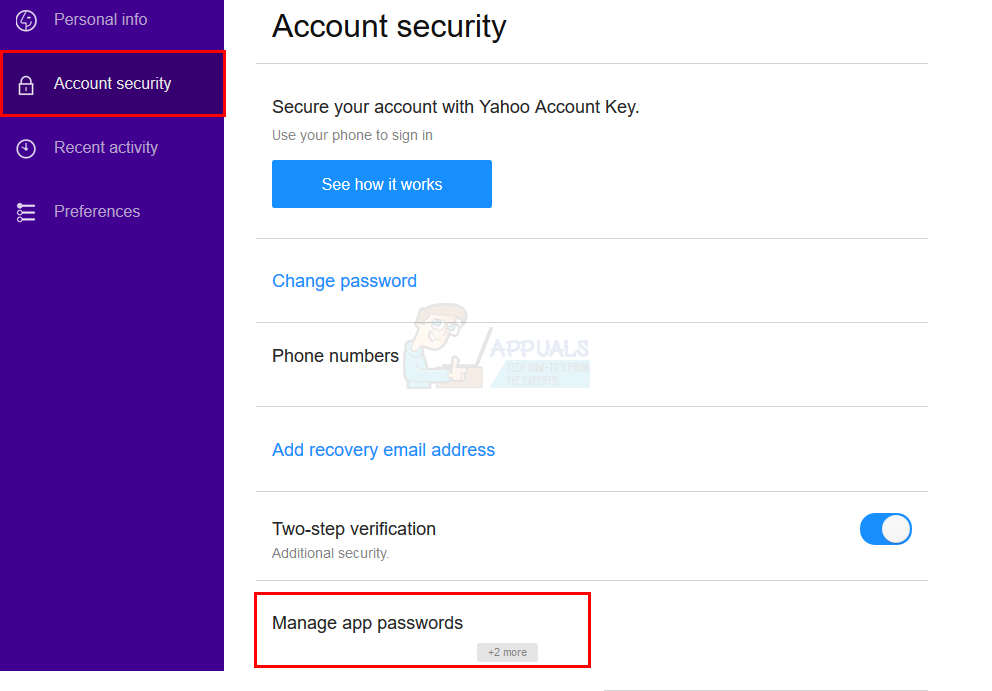
- Select Account Security.
- Select Manage app passwords.
- Choose Other from the dropdown, and name the app however you like.
- Click Generate.
- Copy or note this generated password somewhere safe.
2-Step Verification Disabled
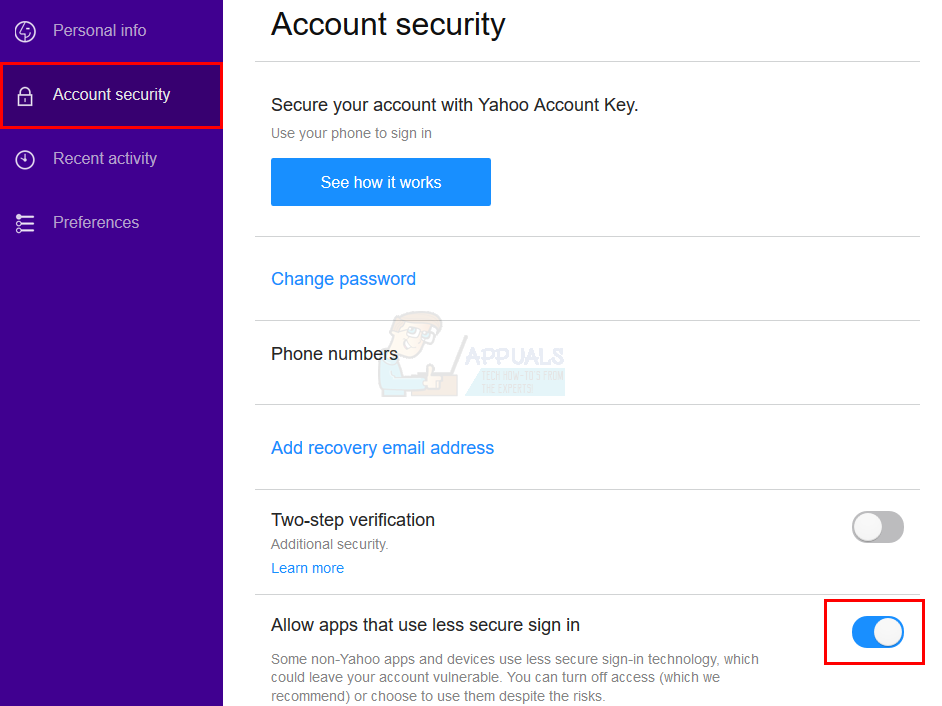
If two-step is turned off, just use your regular Yahoo password, but make sure “Allow apps that use less secure sign-in” is enabled:
- Go to yahoomail.com and sign in.
- Click the settings button, then Account Info.

- Select Account Security.
- Enable Allow apps that use less secure sign-in.
Now, to add your Yahoo account to the Gmail app:
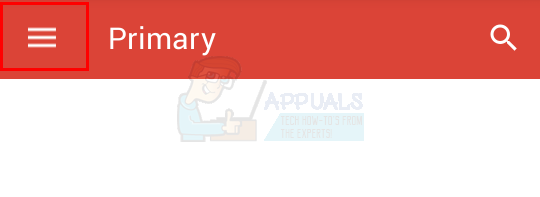
- Open your Gmail app.
- Tap the three bars at the top left or swipe left.
- Select your name/email address.
- Select Add Account.
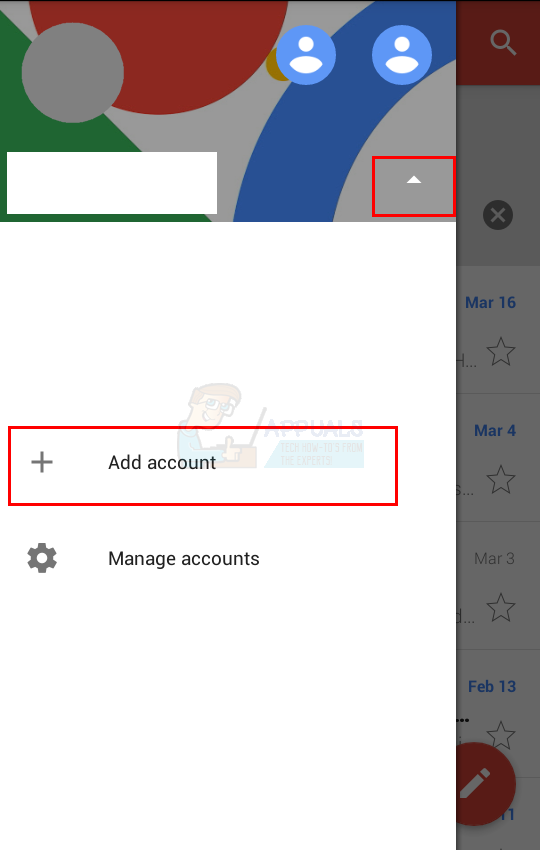
- Select Yahoo from the list.

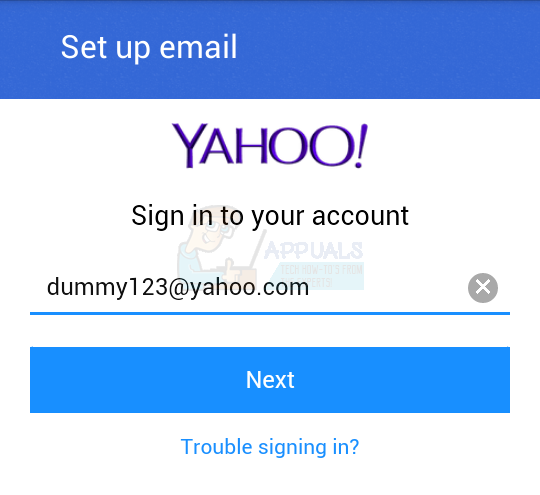
- You’ll be redirected to the Yahoo sign-in page. Enter your email address and tap Next.
- Enter your password (use the app password if required, as described above), then tap Next.

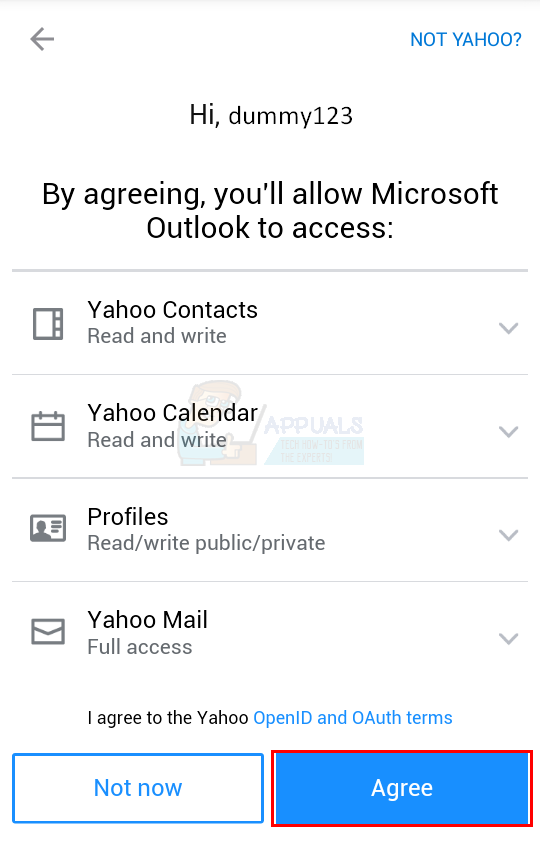
- Allow the app permissions by tapping Yes when asked.
- Set options like sync frequency; when ready, tap Next.
- Enter your name for outgoing emails, then tap Next.
That’s it! Gmail will finish configuring your account automatically. If you want to add other accounts (like Hotmail, etc.), the steps are essentially the same.
Manual Configuration
To set up manually in Gmail, follow these steps (the required info is almost the same as with the stock app):
What you’ll need:
- Email address
- Password (see instructions above)
- Incoming Server Name
- Outgoing Server Name
- Protocol (IMAP or POP3)
- Port Numbers
Go to the Gmail app and follow the on-screen steps for “Manual setup,” filling in the details just as you did in the stock app instructions above.
!