How to Fix Account Picture Error in Windows?
The Account Picture error saying “This picture couldn’t be saved” shows up when trying to set a new profile picture for a local account. It usually happens because the AccountPictures folder is missing or damaged, or because some needed .NET components aren’t installed.
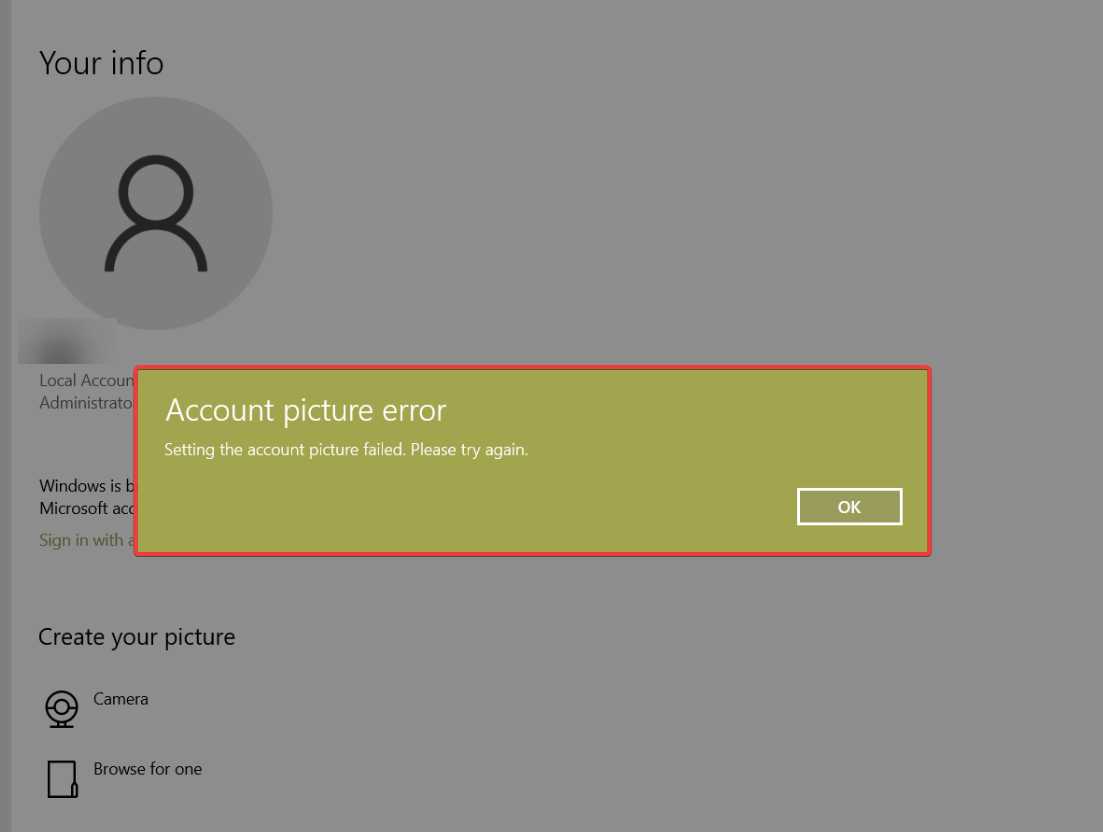
The error can also appear if the image doesn’t follow Windows rules—like being in PNG or JPG format or smaller than 4MB. Problems with file permissions, user account settings, or recent Windows updates can also cause this issue.
In this article, we will learn how to solve this problem.
1. Place the Photo in the Account Pictures Folder
Windows gets your local account’s picture from the Account Pictures folder in your user data. When you set a profile picture, Windows converts it into PNG format and saves it in this folder. You can manually add your image here to set it as your account picture.
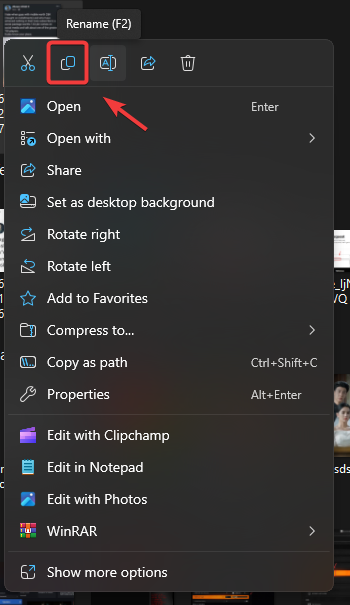
- Right-click the photo you want to use as your local account profile picture.
- Select Rename and change the file name to match your local account’s username.
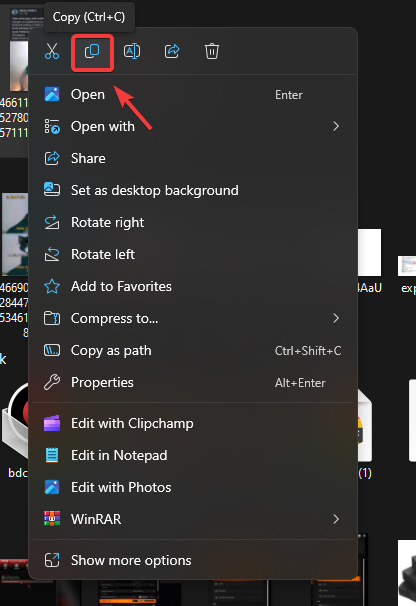
- Copy the image file.
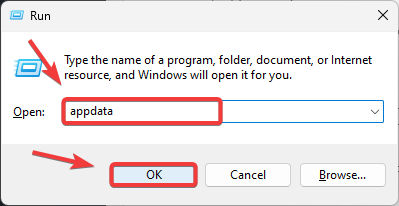
- Open the Run dialog by pressing Win + R.
- Type appdata and click OK to open the AppData folder. Double-check in the address bar at the top to ensure you are in the right account’s folder.
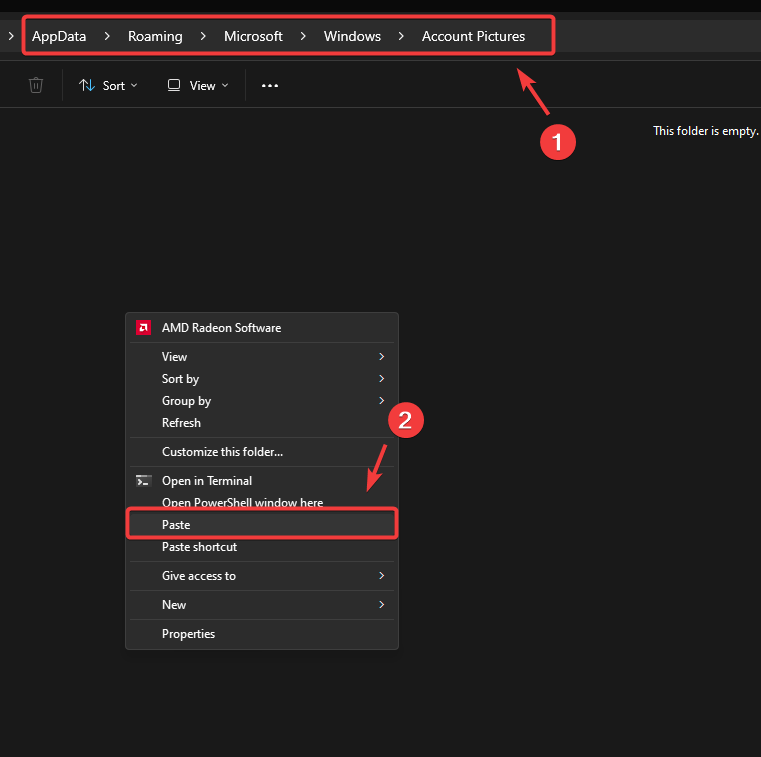
- Navigate to:
Roaming\Microsoft\Windows\AccountPictures
- Paste the copied image here.
- Restart your computer. After restarting, the new picture should appear in your account pictures.
2. Update Windows
Updating Windows can help install any missing components that are needed to save or display your local account photo. Windows updates often include fixes for issues like this, so it’s a good idea to update your system before moving on to other steps.
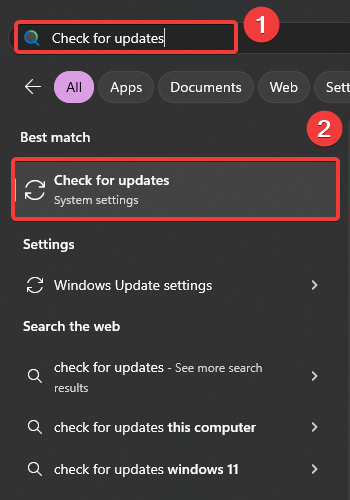
- Press Win + S to open Windows Search.
- Type Check for updates and press Enter to go to Windows Update settings.
- Click Check for updates and install any available updates.
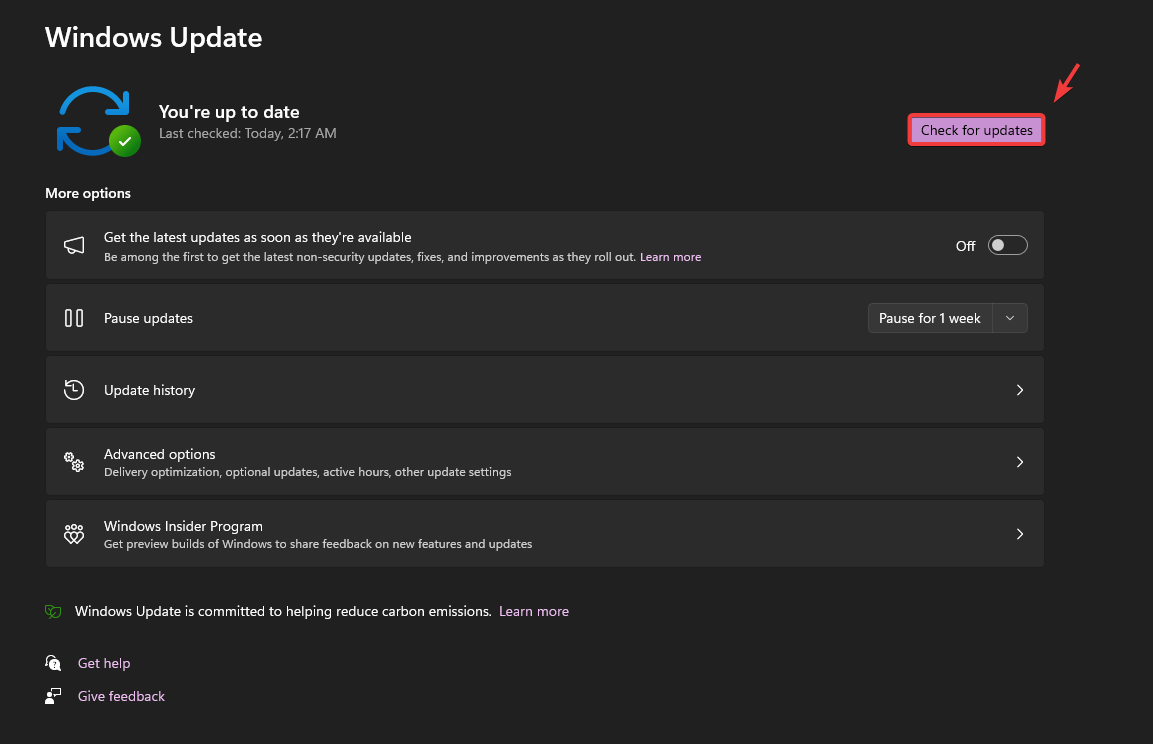
- Restart your computer and check if the account picture issue is fixed.
3. Delete the Content of the Account Pictures Folder
Deleting the contents of the Account Pictures folder will remove any old or corrupted images that might be causing the error. This allows Windows to create new files the next time you set a profile picture.
- Right-click the Start Menu and choose Run.
- In the Run dialog, type appdata and click OK.
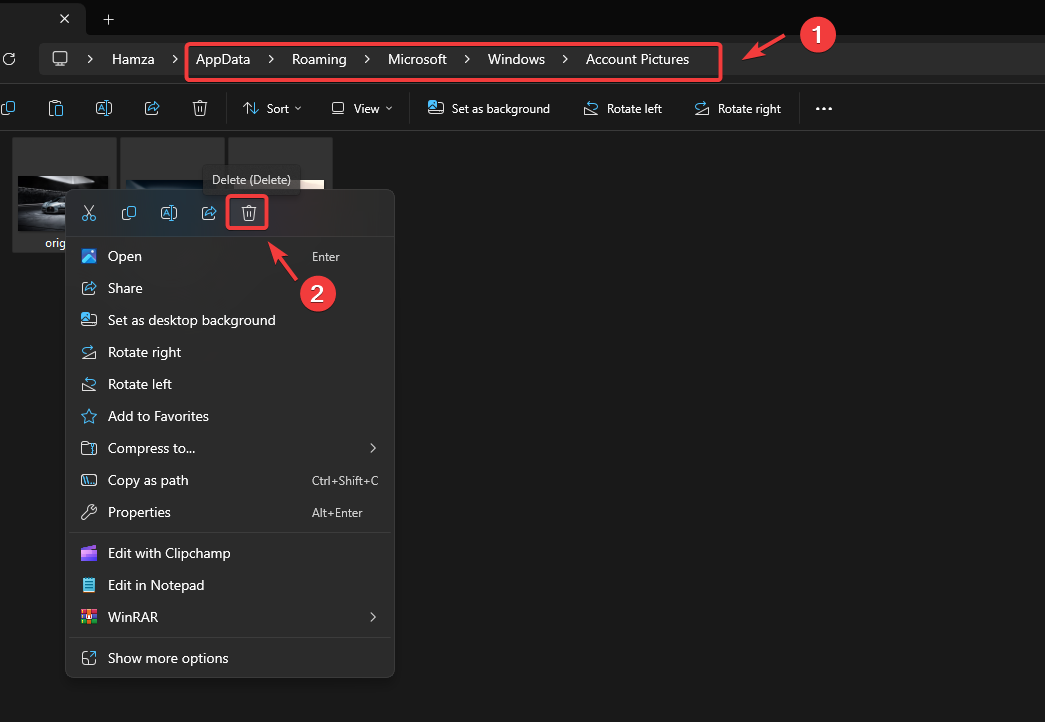
- Go to Roaming\Microsoft\Windows\AccountPictures.
- Press Ctrl + A to select all images in the folder, then press Delete.
- Restart your computer and try setting your account picture again to see if the error is resolved.
4. Create a New User Account
If your user account is corrupted, creating a new one can often solve the problem. A new account will have fresh user files that are more likely to let you save a new profile picture without errors.
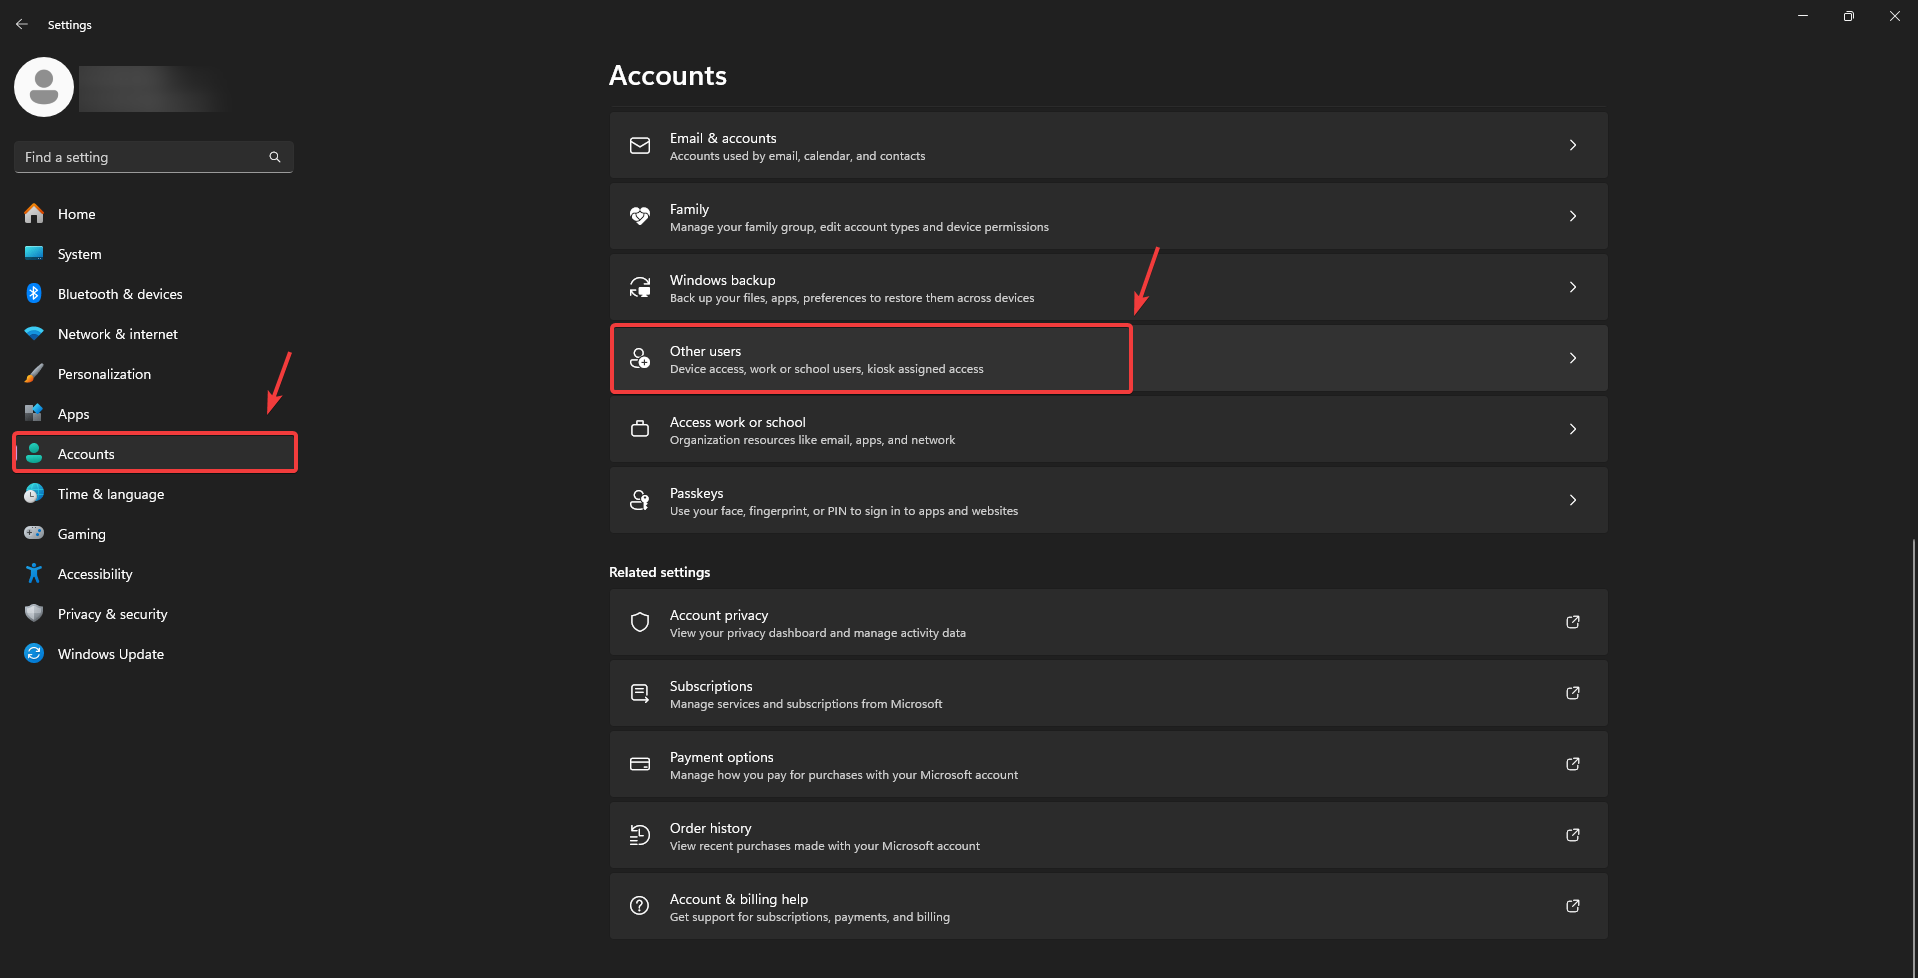
- Open Windows Settings by pressing Win + I.
- Click Accounts in the left sidebar and go to Other Users.
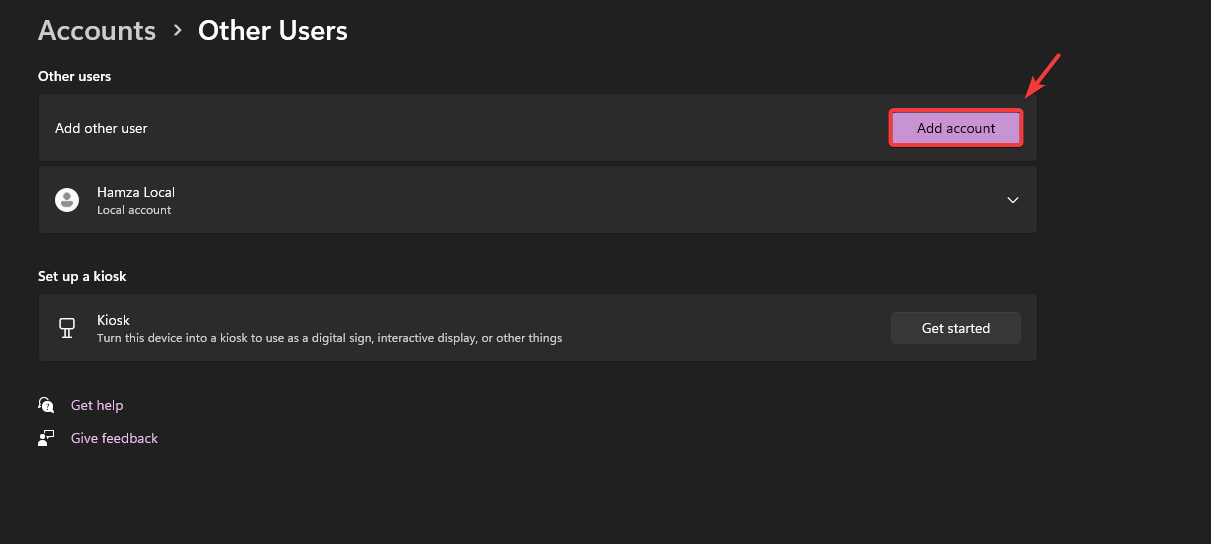
- Click Add Account and then select I don’t have this person’s sign-in information.
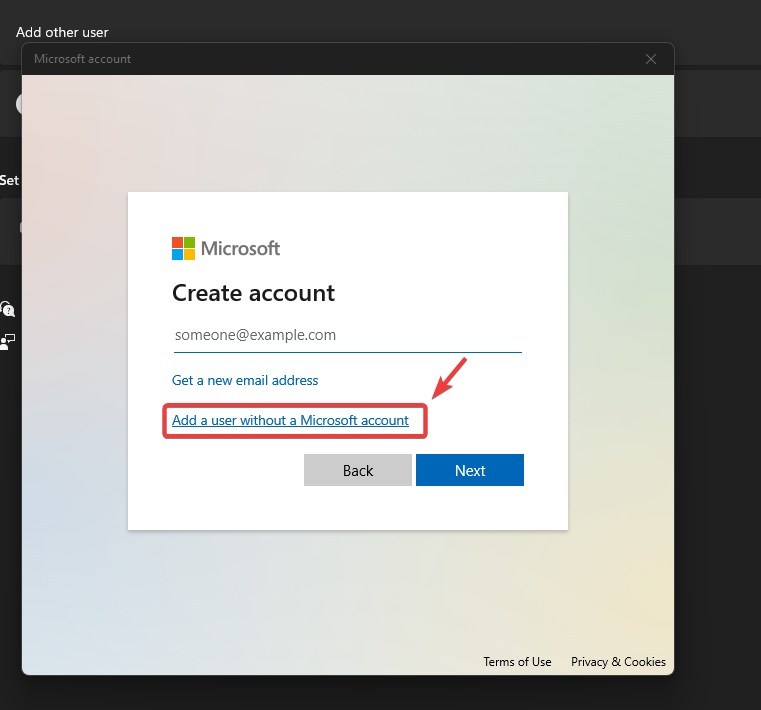
- Choose Add a user without a Microsoft Account.
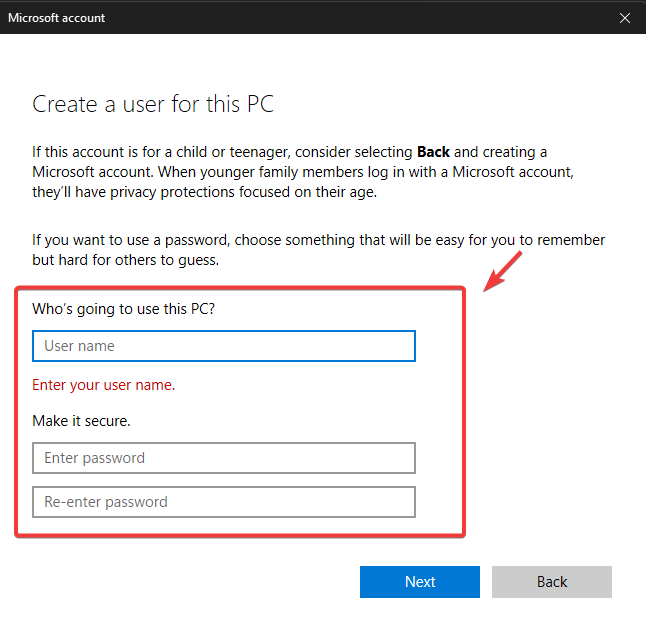
- Enter a username and password for your new local account. If you don’t want to use a password, you can leave it blank.
- Click Next to create your new account.
If creating a new account fixes the problem, you can follow this guide to transfer your data to the new account.


