[FIX] ‘A Disc Burner wasn’t Found’ when Burning an Image
The error message “A disc burner wasn’t found” appears when you start the burning process, and Windows cannot detect a working disc burner. This means your computer is unable to find a device that can write data to a disc.
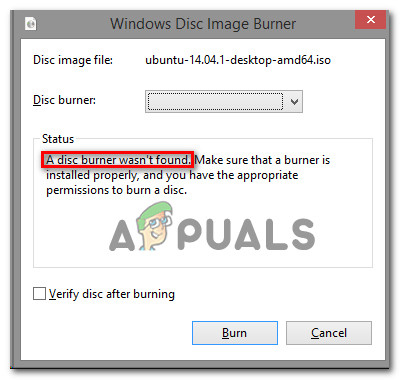
The most common reason for this error is that your computer has a drive that can only read discs but cannot write (burn) them, or there is no disc burner installed at all. Other possible causes include loose or disconnected SATA cables, missing or outdated drivers, or the disc burner being disabled in the BIOS settings.
This problem can also happen if you are trying to burn a disc over Remote Desktop or on a virtual machine that does not have access to the physical disc burner. Each of these situations prevents Windows from finding the necessary hardware to burn your disc.
In this article, we will discuss different ways to solve this error.
1. Ensure Your Drive Has Writing Capability
Before trying other solutions, begin by confirming that your CD or DVD drive is capable of burning discs. If your drive is strictly a ROM (read-only memory) device, it cannot write data, so none of the steps below will work.
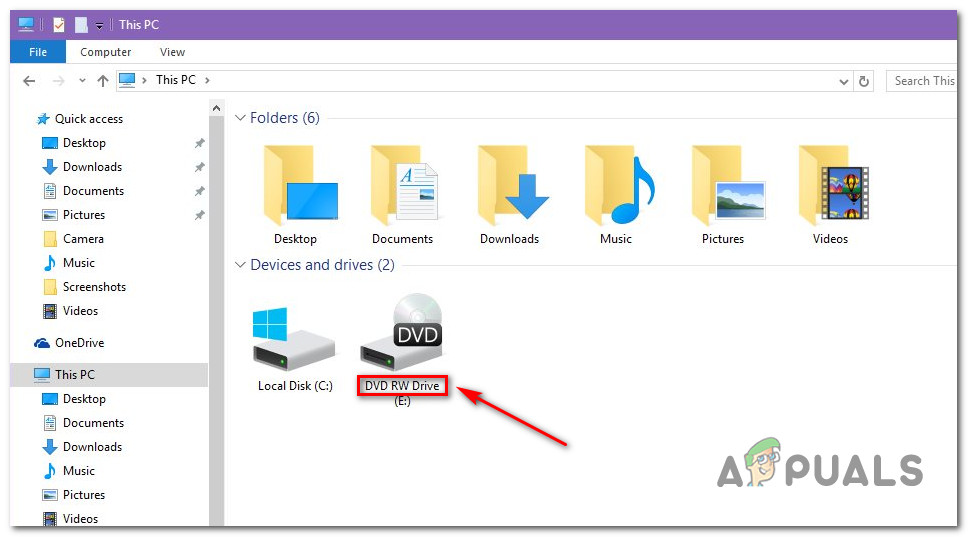
- Open File Explorer and navigate to This PC.
- Look at the name of your DVD drive in the right-hand section.
If the drive’s name contains the abbreviation RW (Read-Write), it supports disc burning with isoburn.exe.
2. Run the Hardware & Devices Troubleshooter (Windows 10 Only)
Certain Windows 10 glitches may cause your computer to lose recognition of the optical drive’s writing functionality, particularly after waking from hibernation. Restarting your computer may fix the issue, but running the built-in Hardware & Devices troubleshooter is more thorough and can apply deeper fixes automatically.
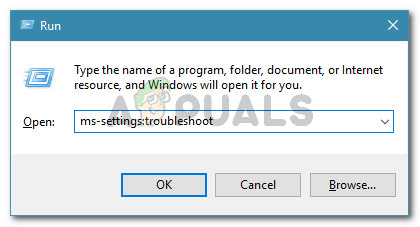
- Press Windows key + R to open the Run dialog. Type ms-settings:troubleshoot and press Enter to open the Troubleshooting tab in the Settings app.
Accessing the Troubleshooting tab - In the Troubleshooting tab, scroll down to Find and Fix Other Problems and click on Hardware and Devices.
- Select Run the Troubleshooter from the available options.
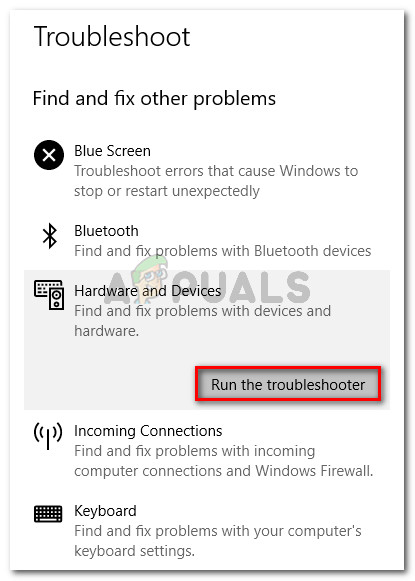
Click on Hardware and Devices and click on Run the troubleshooter - Wait for the troubleshooter to complete its scan of your hardware for potential issues.
- If a solution is identified, click Apply this fix.
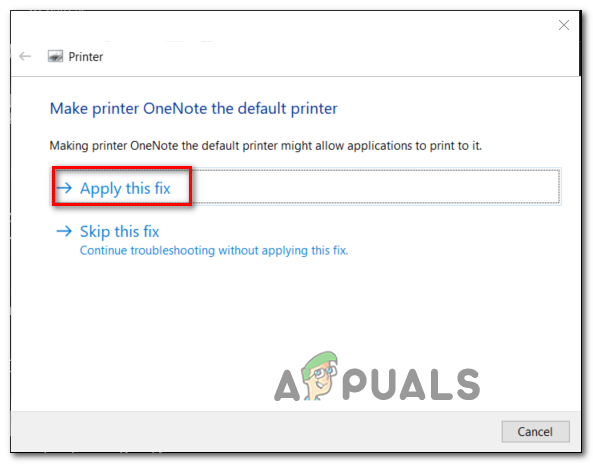
Applying the Fix - Restart your computer after the fix is applied. Try burning a disc with isoburn.exe to determine if the issue is resolved.
3. Restart Explorer.exe
If the previous method did not resolve the issue and you have confirmed that your drive supports writing, restarting Windows Explorer (explorer.exe) may help. This step addresses potential temporary glitches in File Explorer, which can interfere with device recognition.
- Press Ctrl + Shift + Esc together to open Task Manager.
- Go to the Processes tab and locate Windows Explorer.
Right-click on it and select End Task.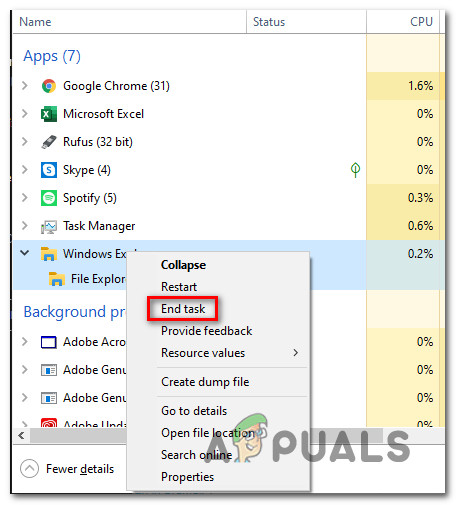
Ending the explorer.exe task - After Windows Explorer closes, press Windows key + R to open the Run dialog. Type cmd and press Ctrl + Shift + Enter to launch Command Prompt as administrator. Approve the UAC prompt if it appears.
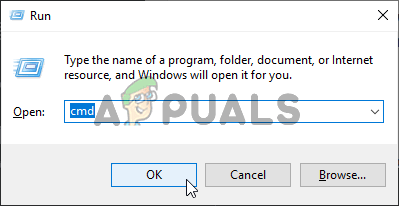
Running Command Prompt - In Command Prompt, type:
explorer.exe
and press Enter to restart Windows Explorer with administrative rights.
- Navigate to the location of your ISO file, right-click it, and choose Burn Disk Image.
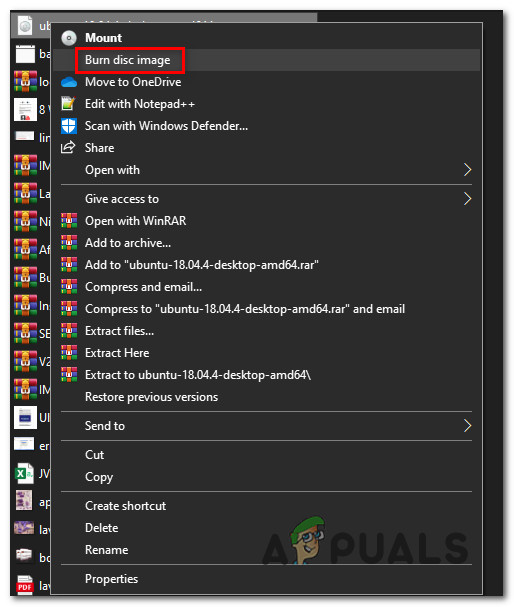
Launching the native burning utility from an elevated explorer.exe window - Configure the settings as necessary, begin burning, and verify if the ‘A Disk Burner Wasn’t Found‘ error persists.
4. Reinstall the DVD Writer Driver
Driver issues can often prevent proper functionality of DVD writers. Uninstalling and allowing Windows to reinstall the DVD writer driver can resolve any inconsistencies or corruption.
- Press Windows key + R to open the Run dialog. Enter devmgmt.msc and press Enter. Approve the UAC prompt if necessary.
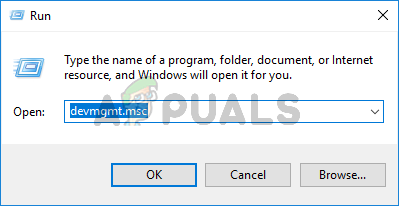
Type devmgmt.msc and Press Enter to Open Device Manager - In Device Manager, expand the DVD/CD-ROM drives category. Right-click your DVD writer and choose Uninstall.
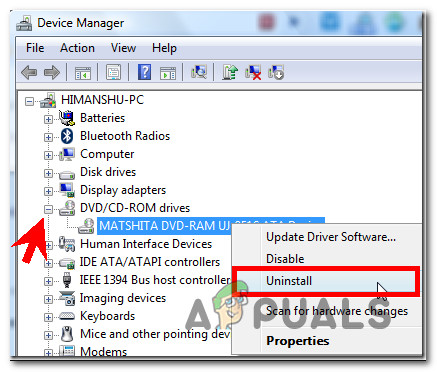
Uninstalling the DVD writer driver - Confirm the uninstallation. Once it completes, restart your computer.
- On startup, Windows will detect the hardware and automatically install a generic driver.
- After rebooting, attempt to burn the ISO file again and check if the error has been resolved.
5. Using a Third-Party Tool
Please note that isoburn.exe cannot burn an ISO disk image directly to a USB flash drive, as it is designed exclusively for optical discs. If you need to create a bootable USB drive or burn an ISO to a USB flash drive, a specialized third-party tool is required. Reliable options include Rufus and ImageBurn.
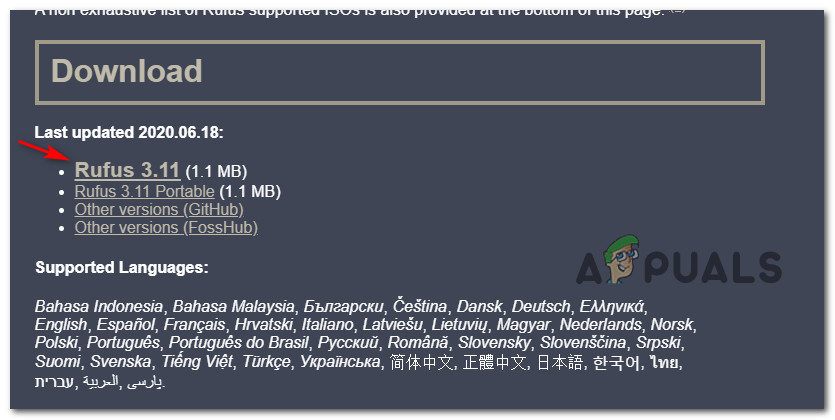
- Download Rufus from the official website.
- In the downloads section, click on the latest version of Rufus to start the download.
Downloading the latest Rufus version - When the download is complete, launch the Rufus installer and approve the UAC prompt.
- On the main Rufus screen, use the Device dropdown menu to select your target USB flash drive.
- Under Boot Selection, choose Disk or ISO image, then click Select to browse for and open your ISO file.
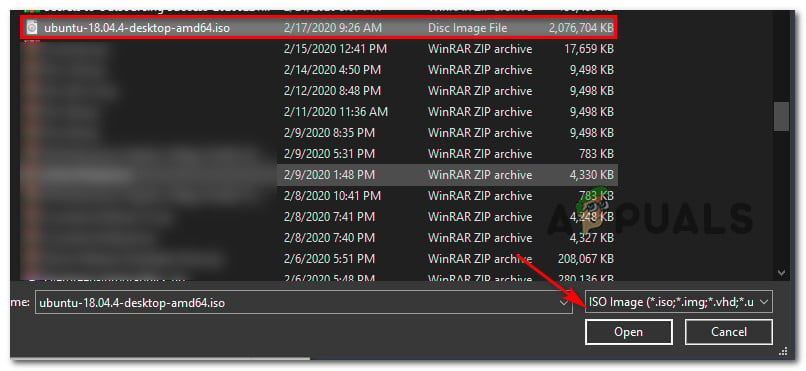
Loading up the USB in Rufus - With your settings in place, click Start and allow Rufus to create the bootable USB.
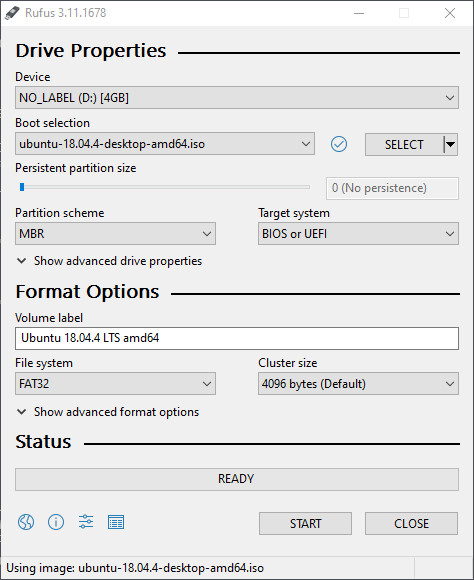
Using Rufus to circumvent the ‘Disc burner wasn’t found’ error


