Fix: [Error Number: 8DDD0020] Microsoft Update Catalog Issue
The Microsoft Update Catalog might not load correctly and may show an error page with the code 8DDD0020, which stops you from getting update packages. Error 8DDD0020 appears when your browser blocks important features, such as first-party cookies or DOM storage, that the Update Catalog needs to work.

Usually, this problem happens because DOM storage is turned off or cookie settings are too strict in your browser. Less common reasons include using an outdated browser or having a corrupted browser cache.
Now that you understand the possible scenarios that can cause error 8DDD0020, here are effective methods that can help in solving this error.
1. Update Your Browser or Use Internet Explorer
If this error appears while accessing the Windows Update Catalog through a third-party browser such as Google Chrome or Mozilla Firefox, begin by updating your browser to the latest available version. Often, Microsoft blocks connections from outdated browsers due to unresolved security vulnerabilities, resulting in the 8DDD0020 error.
If your browser is up to date yet the problem persists, switch to Internet Explorer, which is installed by default on all Windows versions.
To launch Internet Explorer, press Windows key + R to open the Run dialog. Type ‘iexplore’ and press Enter to open Internet Explorer.

Once Internet Explorer is open, visit the Microsoft Update Catalog and check if the 8DDD0020 error persists when installing updates.
2. Reset the Internet Options Cache in Internet Explorer
If you experience the 8DDD0020 error while using Internet Explorer (especially IE 8 or older), an ActiveX issue may prevent a secure connection with the Windows Update Catalog. To fix this, perform a comprehensive reset of Internet Explorer from the Internet Options’ Advanced tab, clearing its cache and temporary files.
- Press Windows key + R to open the Run dialog. Type ‘inetcpl.cpl’ and press Enter to launch the Internet Properties window. If prompted by User Account Control (UAC), click Yes to grant permission.

Opening Internet Options - In the Internet Properties window, select the Advanced tab.
- Scroll down and click the Reset… button under the Reset Internet Explorer settings section.

Resetting Internet Explorer Options - At the confirmation prompt, check the Delete personal settings box and click Reset to clear the Internet Explorer cache and all temporary data for your account.

Reset Internet Explorer Settings - Once the cache clears, restart your computer and check whether the issue has been resolved.
3. Revert from Internet Explorer 11 (Windows 10 Only)
If this error occurs on Windows 10, a known glitch in Internet Explorer 11 may be causing the problem. Disabling IE11 will force Windows to use the previous browser version, potentially eliminating the error.
Note: This change is reversible. After resolving the update issue, you may re-enable IE11 by following these steps in reverse.
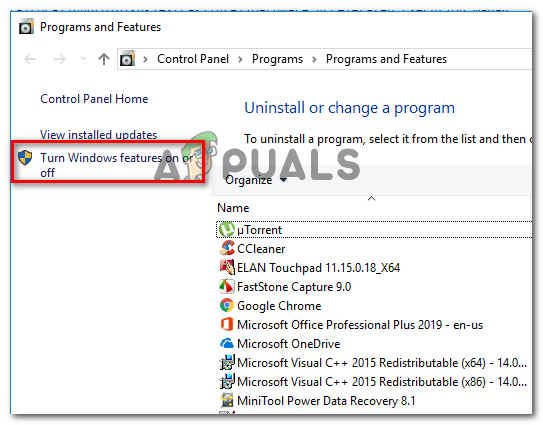
- Press Windows key + R to open the Run dialog. Type ‘appwiz.cpl’ and press Enter to access Programs and Features.

Opening Programs and Features - On the left, click Turn Windows features on or off.

Turning Windows Features Off Note: If prompted by UAC, click Yes to continue.
- In the Windows Features window, deselect the box for Internet Explorer 11. Confirm the action by clicking Yes when prompted.

Disable Internet Explorer 11 - After disabling Internet Explorer 11, restart your computer. Now attempt to download updates from the Windows Update Catalog.
- If this resolves the problem and you successfully install the updates, you may re-enable Internet Explorer 11 by following these steps in reverse.
4. Perform a Repair Install or Clean Install
If none of the previous solutions have worked, the issue may be rooted in system file corruption preventing your system from connecting to the Windows Update Catalog.
To resolve such deep-rooted issues, resetting all related Windows components is necessary. There are two effective approaches:
- Repair Install – This advanced method refreshes all system files while retaining your personal data, applications, and settings. While highly effective, it requires compatible Windows installation media.
- Clean Install – A straightforward process that reinstalls Windows from scratch. This method erases all data on the system drive, so creating a backup beforehand is crucial if you wish to preserve your personal files and applications.
If you are unable to perform a repair or clean installation, proceed to the final method to seek assistance from Microsoft Support.
5. Contact Microsoft Support
If the problem still persists after all previous steps, reaching out to Microsoft Support is the recommended next step.
Since this error impedes Windows Update functionality, you will be assigned a Windows Update specialist. Microsoft support agents can provide remote assistance to diagnose and resolve error 8DDD0020 directly on your device.
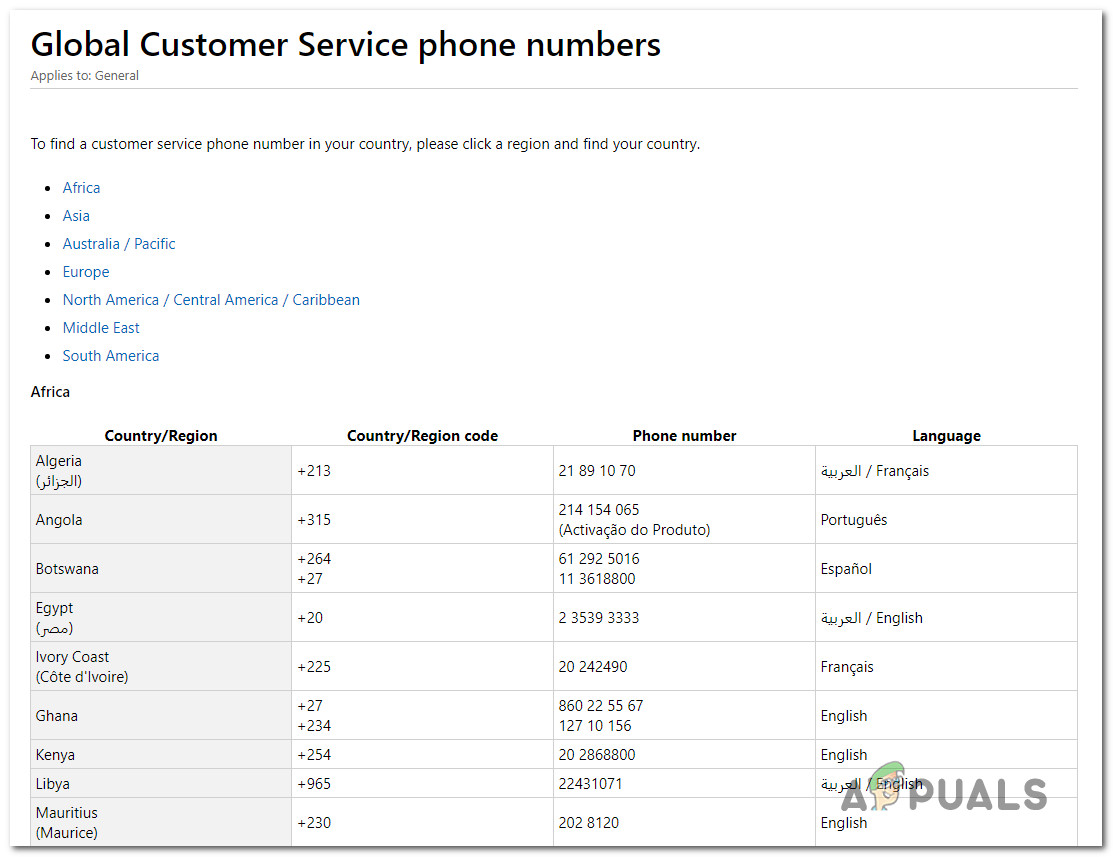
Contacting Microsoft Support is straightforward. The fastest and most reliable way is to call the dedicated toll-free number for your country.
Refer to the official list of Microsoft toll-free support numbers.

Note: Support wait times may vary based on your region and agent availability. Be prepared to answer security questions to verify your license ownership during the support process.
By following the solutions above, you should be able to resolve error 8DDD0020 and restore your ability to download updates from the Windows Update Catalog.


