How to Fix Update Troubleshooter Error 0x803C0103
The update troubleshooter stops working mid-scan and displays an “Unexpected error” message, making it impossible to proceed with diagnosing update issues. The error code 0x803C0103 means the troubleshooter itself has encountered a failure and cannot continue its process.

The most consistent cause is corrupted Windows Update components such as the SoftwareDistribution or Catroot2 folders. Another confirmed reason is a misconfigured registry key, particularly when UseWUServer is enabled and pointing to an unavailable WSUS instance.
Now that you know the main causes, let’s go through some fixes that can help in solving this error.
1. Run SFC and DISM Scans
Corrupted system or Windows update files can cause update failures. Running the System File Checker (SFC) and Deployment Image Servicing and Management (DISM) utilities can help repair and restore corrupted files. SFC scans for and replaces corrupted system files, while DISM can fix system issues and add updates or drivers.
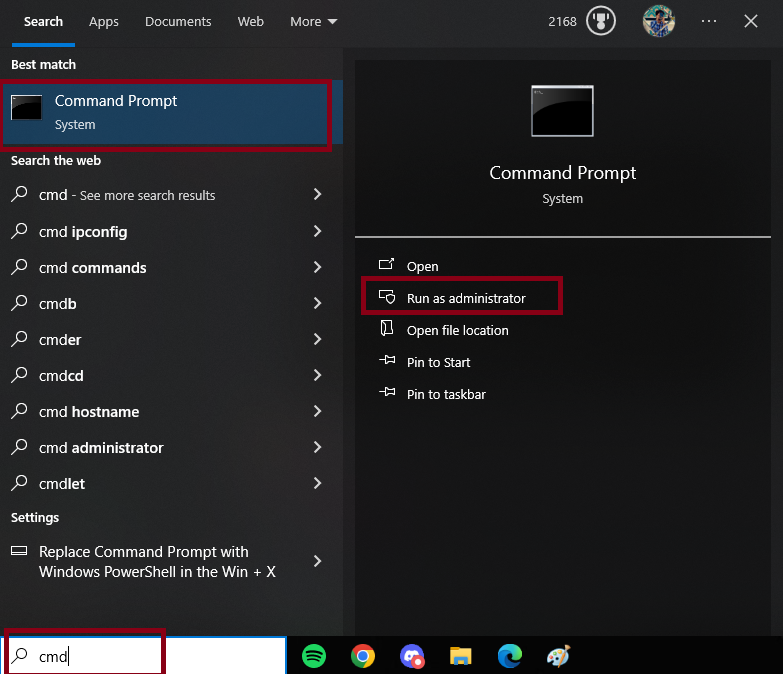
- Open the Search menu, type Command Prompt, right-click it, and select Run as Administrator.

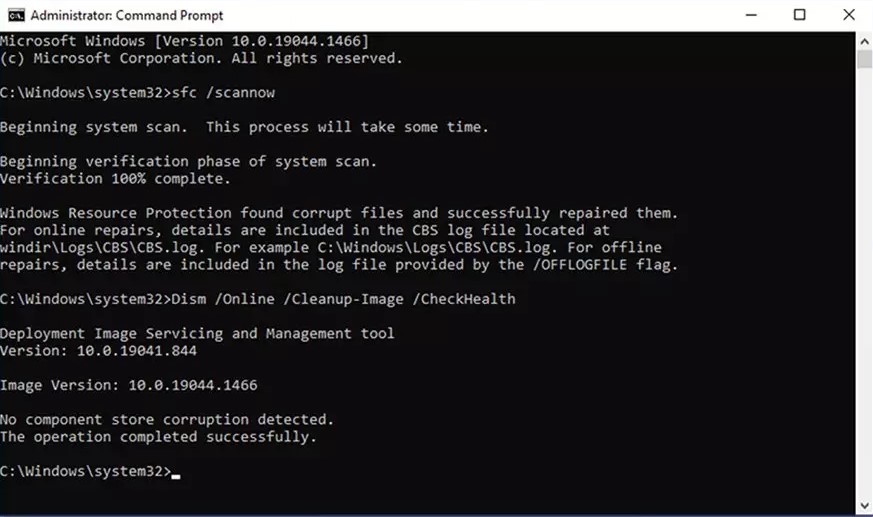
- Enter the following command in Command Prompt:
sfc /scannow

- Restart your PC after the scan completes.
If the issue persists, - Run the following commands in Command Prompt as administrator:
Dism /Online /Cleanup-Image /RestoreHealth
- Close Command Prompt and restart your PC.
2. Reset All Windows Update Components
If repairing system files didn’t solve the issue, a persistent bug may be stopping the Windows Update Troubleshooter from working. Resetting these services forces Windows to refresh them and renew any files that may have become corrupted.
3.1. Reset Windows Update with the WU Reset Agent
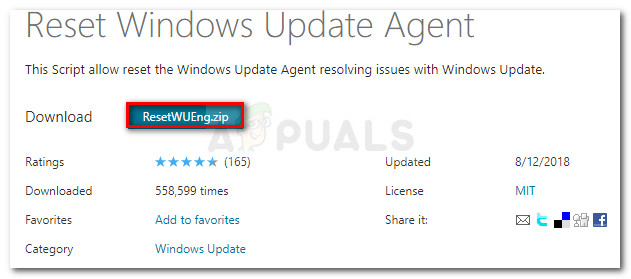
- Go to the Microsoft TechNet download page and download the Reset Windows Update Agent script.

Downloading the Windows Update Reset Agent - Once the download is finished, extract the .zip file using a tool like WinRar, WinZip, or 7Zip. Place the extracted folder somewhere easy to access.
- Double-click the ResetWUENG.exe file, click Yes if asked by User Account Control, then follow the instructions to run the script. This will reset all Windows Update components for you.
- When the script is done, restart your computer and see if you can now install the update that was failing.
3.2. Reset Windows Update Using Command Prompt
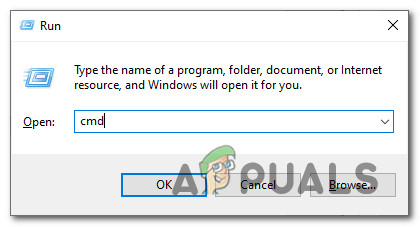
- Press Windows key + R to open the Run box. Type “cmd” and then press Ctrl + Shift + Enter to open Command Prompt as an administrator.

Opening an elevated Command Prompt Note: If you see the User Account Control (UAC) prompt, click Yes to approve.
- In the elevated Command Prompt, type the following commands one at a time and press Enter after each to stop all Windows Update-related services:
net stop wuauserv
net stop cryptSvc
net stop bits
net stop msiserver
Note: These commands will stop Windows Update, Cryptographic, BITS, and MSI Installer services.
- After stopping those services, type the following commands to rename the SoftwareDistribution and Catroot2 folders:
ren C:\Windows\SoftwareDistribution SoftwareDistribution.old
ren C:\Windows\System32\catroot2 Catroot2.old
Note: Renaming these folders will force Windows to create new ones, removing any corruption in the old ones.
- Now, start the previously stopped services again by entering these commands:
net start wuauserv
net start cryptSvc
net start bits
net start msiserver
- Restart your computer one more time and check if the error is resolved.
3. Perform a Repair Install or Clean Install
If none of the basic troubleshooting methods work, it’s possible that your system is facing deeper corruption or configuration issues that prevent critical components from functioning correctly. In such cases, reinstalling Windows is often the most effective solution.
You can either:
- Repair Install (in-place upgrade) – This allows you to reinstall Windows without deleting your personal files, apps, or settings. It refreshes all core system files while keeping your data intact. To proceed, follow this repair install guide.
- Clean Install – This completely erases your current setup and installs Windows from scratch. It removes all data and applications, so make sure to back up your files beforehand. For detailed instructions, refer to this clean install guide.


