How to Fix Windows Update Error 0x800f0900?
The update process may stop partway through, often around 20% or 70%, showing error code 0x800f0900 and undoing the changes. The error means Windows failed to read some important update files correctly due to a problem in the XML data.
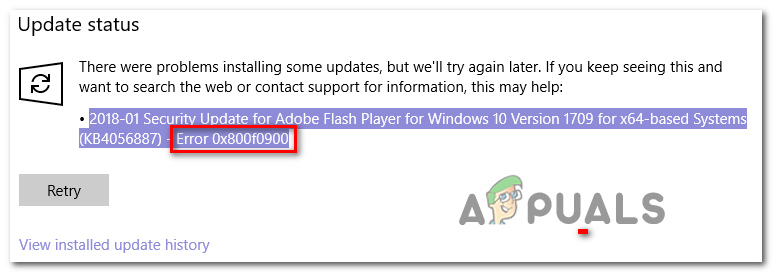
This usually happens because some update files are damaged or missing, often due to past failed updates or system issues. Now that you know details about this error, let’s move to the solutions.
1. Run SFC and DISM
Corrupted system or Windows update files can cause update failures. Running the System File Checker (SFC) and Deployment Image Servicing and Management (DISM) utilities can help repair and restore corrupted files. SFC scans for and replaces corrupted system files, while DISM can fix system issues and add updates or drivers.
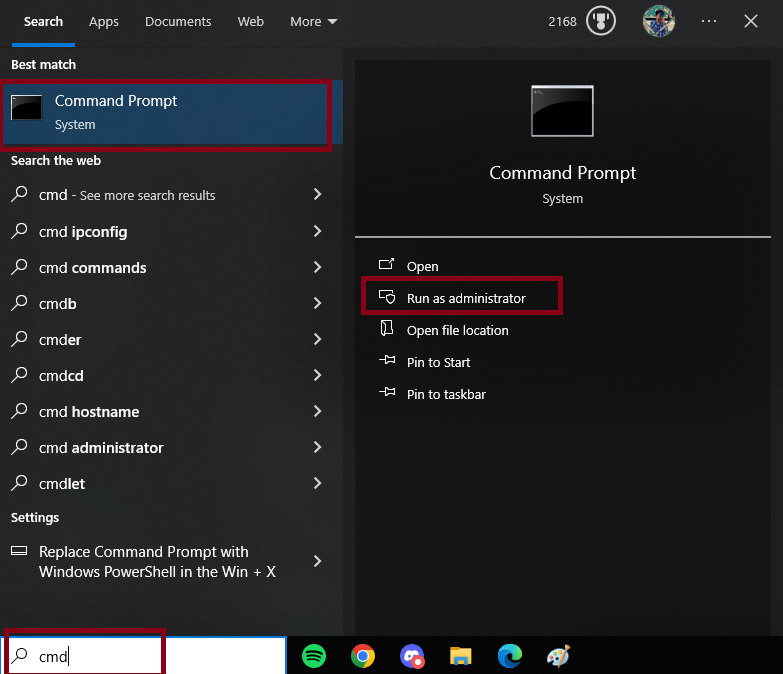
- Open the Search menu, type Command Prompt, right-click it, and select Run as Administrator.
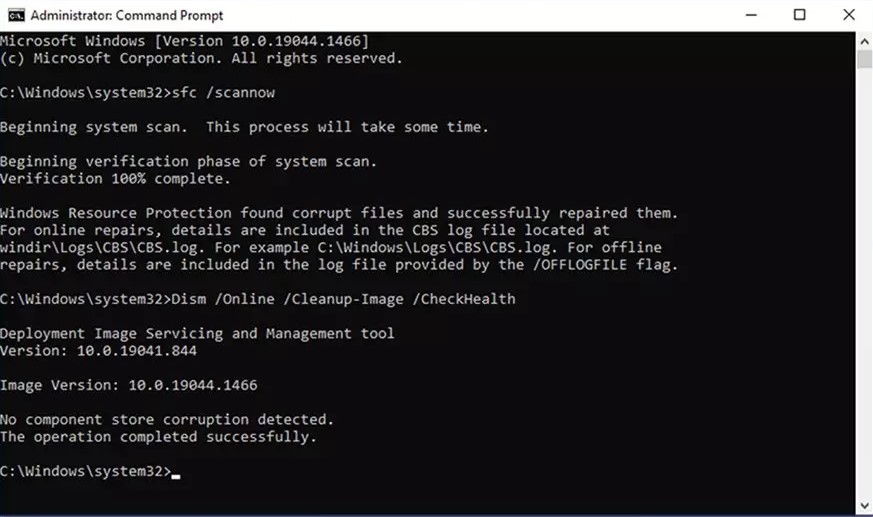
- Enter the following command in Command Prompt:
sfc /scannow
- Restart your PC after the scan completes.
If the issue persists, - Run the following commands in Command Prompt as administrator:
Dism /Online /Cleanup-Image /RestoreHealth
- Close Command Prompt and restart your PC.
2. Install the Update Manually
If you want a quick workaround to avoid the error, you can manually download and install the update that’s causing the 0x800f0900 error. You’ll use the public Microsoft Update Catalog for this. As long as the basic Windows Update service is working, the steps below should help (many users have fixed the issue this way).
- Open your preferred web browser and go to the Microsoft Update Catalog by clicking here.
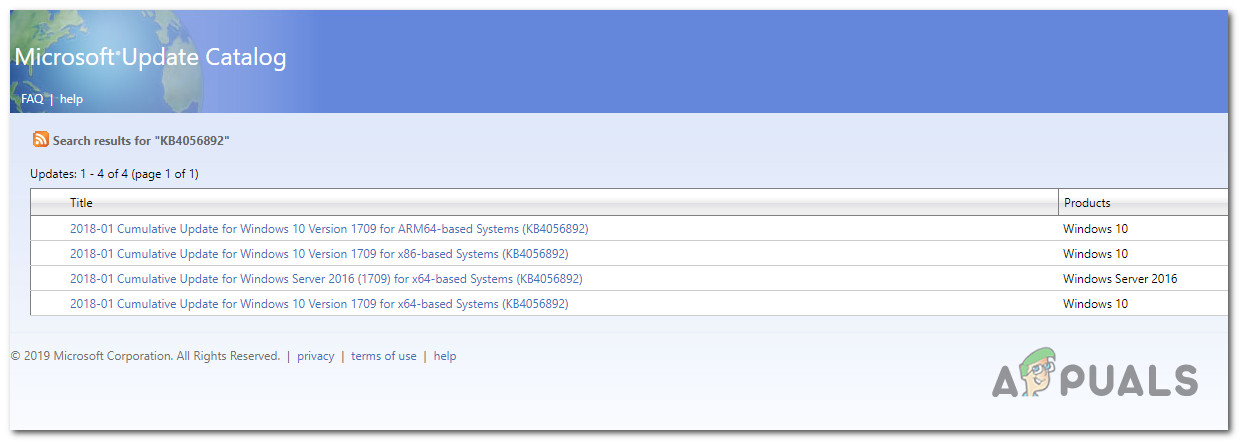
- Once on the Microsoft Update Catalog page, use the search box in the top right corner to search for the update giving you the 0x800f0900 error. Type in or paste the update code and press Enter.

Searching for the update that you want to install manually Note: Most users report this problem with the KB4464218 cumulative update.
- Check the results for the correct update by matching your Windows version and your computer’s CPU type.
Choosing the right Windows Update Note: If you’re unsure about your CPU or Windows architecture, right-click My Computer (This PC), select Properties, and look under System for System Type to see if your system is 32-bit or 64-bit.
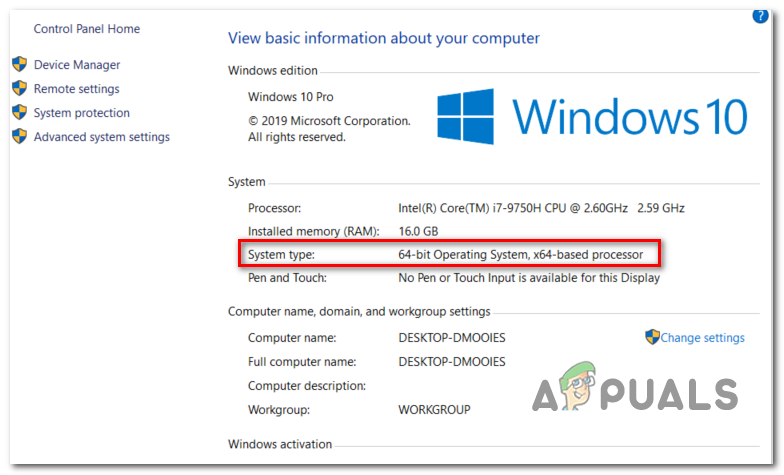
Checking on your OS architecture - After finding the correct update, click the Download button and wait for the file to finish downloading.
- Once it’s downloaded, go to where you saved the file. There, look for the .inf file, right-click it, and select Install from the menu.
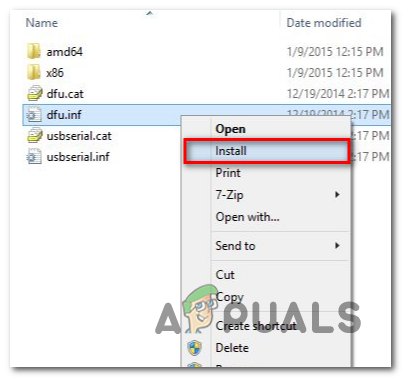
Installing the Inf driver - Follow the on-screen prompts to complete the installation and then restart your PC. After restarting, the update should already be installed and Windows Update shouldn’t keep asking for it.
3. Run the Windows Update Troubleshooter
Since this issue mainly affects Windows 10, your next step should be to let the built-in troubleshooter try to solve it for you. The Windows 10 Update Troubleshooter is much more effective than its older versions (Windows 7 and 8.1).
This tool automatically checks for issues with Windows Update and tries to fix them. Many users have reported that the troubleshooter resolved the 0x800f0900 error by resetting faulty components.
- Press Windows key + R to open the Run box. Type ms-settings:troubleshoot and press Enter to open the Troubleshooting section in Settings.
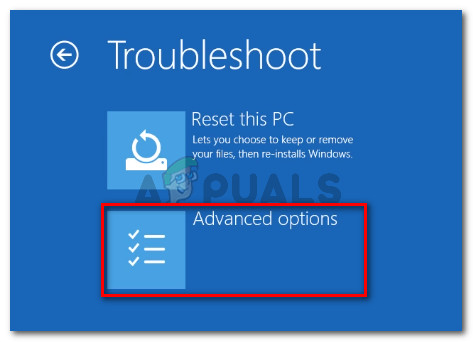
Accessing the Advanced Menu via the Troubleshooter - In the Troubleshooter section, scroll down to Get up and running. Click Windows Update and then select Run the troubleshooter.
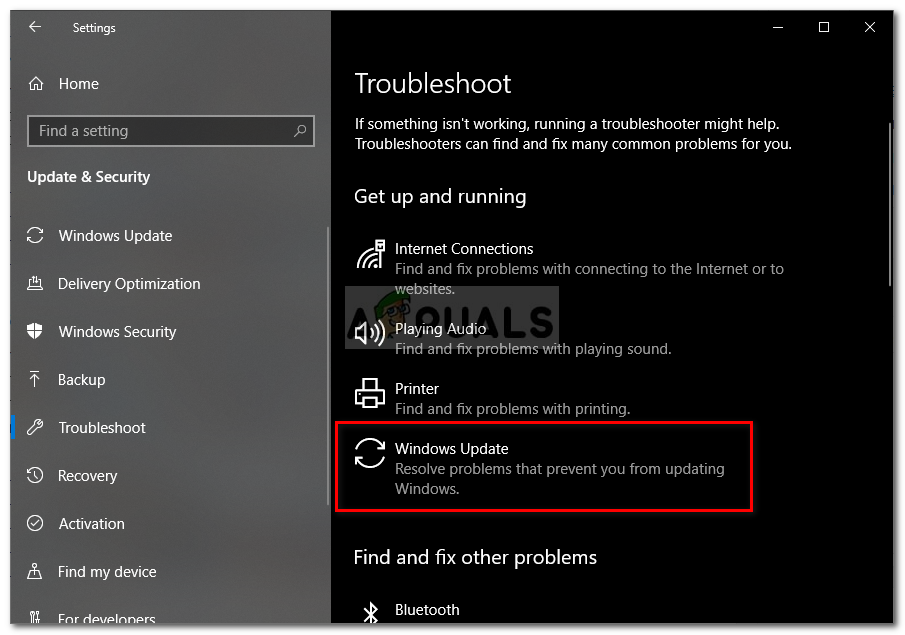
Running Windows Update Troubleshooter - Wait while the troubleshooter scans your computer. If it finds a solution, click Apply this fix and follow the prompts.
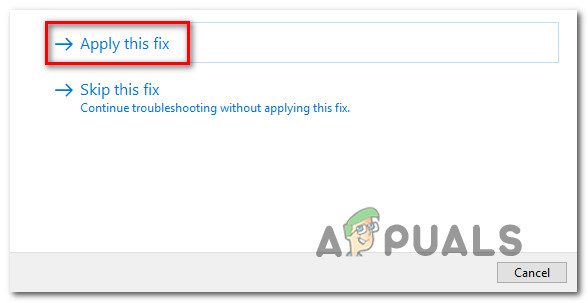
Apply this fix - After the repair is applied, close the troubleshooter and restart your PC.
- When your computer restarts, try installing the update again to see if the 0x800f0900 error is gone.
4. Reset Windows Update (WU)
If the Windows Update Troubleshooter didn’t solve the issue, you may be dealing with stubborn corruption in the Windows Update system. In this situation, you should reset all Windows Update components.
There are two ways to reset Windows Update:
- Using the Windows Update Reset Agent (an automated tool)
- Manually resetting Windows Update via Command Prompt
You can choose whichever method you are more comfortable with.
4.1 Using the Automated WU Reset Agent
- Go to this official Microsoft Technet page (here) and click Download to get the Reset Windows Update Agent.
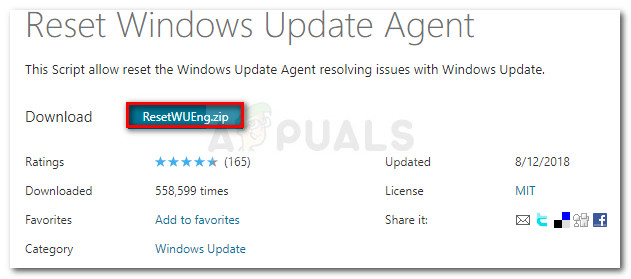
Download Windows Update Reset Agent - After downloading, extract the files using a file decompression tool.
- Double-click ResetWUENG.exe and, if prompted by UAC (User Account Control), click Yes to give administrator permission.
- Follow the on-screen instructions to run the script. When it’s finished, restart your PC and try to install the update again.
4.2. Reset Windows Update Manually (via Command Prompt)
- Press Windows key + R to open the Run dialog, type cmd, and then press Ctrl + Shift + Enter to open the Command Prompt as an administrator.
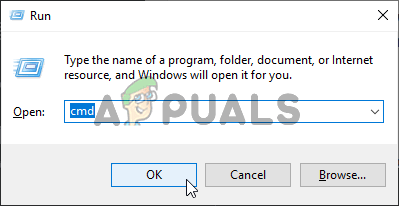
Running Command Prompt with admin access Note: If asked by User Account Control (UAC), click Yes to proceed.
- In the Command Prompt, type each of these commands one at a time, pressing Enter after each:
net stop wuauserv
net stop cryptSvc
net stop bits
net stop msiserver
Note: These steps will stop Windows Update Services, the MSI Installer, Cryptographic services, and BITS services.
- Now, clear the cache folders used by Windows Update by typing these commands (again, pressing Enter after each):
ren C:\Windows\SoftwareDistribution SoftwareDistribution.old
ren C:\Windows\System32\catroot2 Catroot2.old
Note: This renames the folders (instead of deleting), forcing Windows to create new ones, which solves many corruption issues.
- Start the services you stopped earlier by typing the following commands:
net start wuauserv
net start cryptSvc
net start bits
net start msiserver
- After you finish these steps, restart your computer and check if the 0x800f0900 error is resolved.
If the error persists, proceed to the next solution below.
5. Perform a Repair Install
If none of the above methods have solved your problem, it’s likely you’re dealing with a stubborn system corruption that requires a more advanced fix. At this stage, your best option (other than a full clean install) is a repair install (in-place upgrade).
A repair install will refresh all Windows system files, including anything related to booting, but lets you keep your personal files, applications, games, documents, photos, and more. This means you don’t have to worry about losing your data while still giving your Windows system a fresh start.


