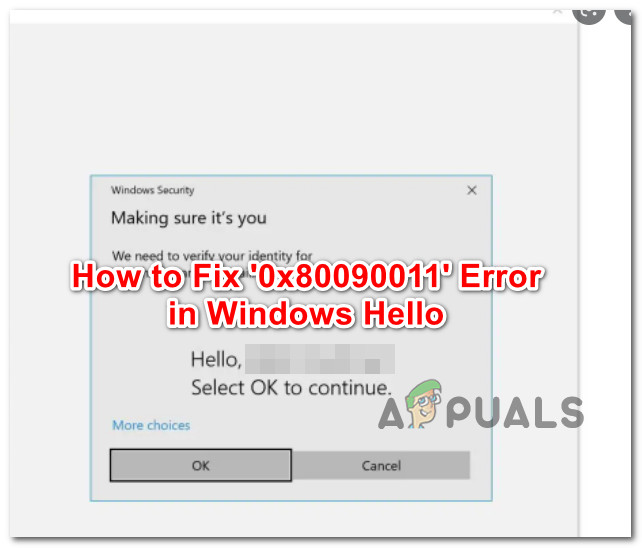
How to Fix Windows Hello Error Code ‘0x80090011’?
The error 0x80090011 appears when attempting to sign in with Windows Hello and the system fails to access the configured PIN, showing a message like “Something went wrong and your PIN isn’t available.”. The code refers to a missing cryptographic key or container essential for PIN authentication within Windows Security.
The most confirmed cause is corruption or loss of the Ngc folder contents; other triggers include TPM issues, failed updates, or disabled IPsec Policy Agent service. Now that you know the causes, let’s discuss the solutions.
1. Re-sign into Your Microsoft Account
The first step is to try logging out of your Microsoft Account and then signing back in. Many users have reported that simply signing out and back in—and restarting their computer—resolved the problem and allowed them to create a Windows Hello PIN.
- Press the Windows key to open the Start menu.
- Right-click your profile picture at the bottom left corner of the Start menu.
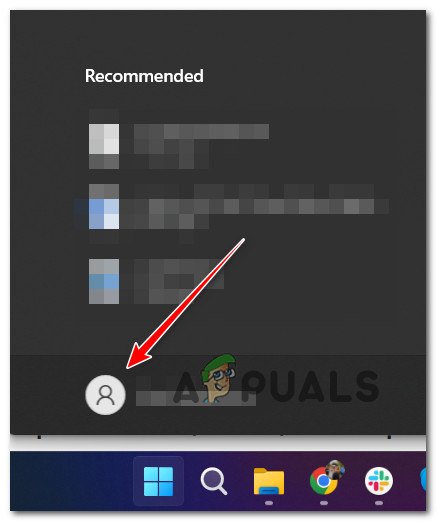
Right-clicking on the profile picture - Select Sign Out from the menu that appears.
- After signing out, you’ll be brought to the Windows lock screen.
- Select your Microsoft account again, enter your password, and choose Sign In.
- After signing back in, try to set up your PIN again to see if the issue is resolved.
2. Reconnect to Azure AD
Remember, Windows Hello’s PIN uses Azure Active Directory (AD). If something is wrong with your Azure AD connection, disconnecting and then reconnecting often solves it. If your device is joined to Azure AD and you see the Hello PIN Error 0x80090011.
- Press Windows key + I to open the Settings menu.
- In Settings, click System on the left, then About on the right.
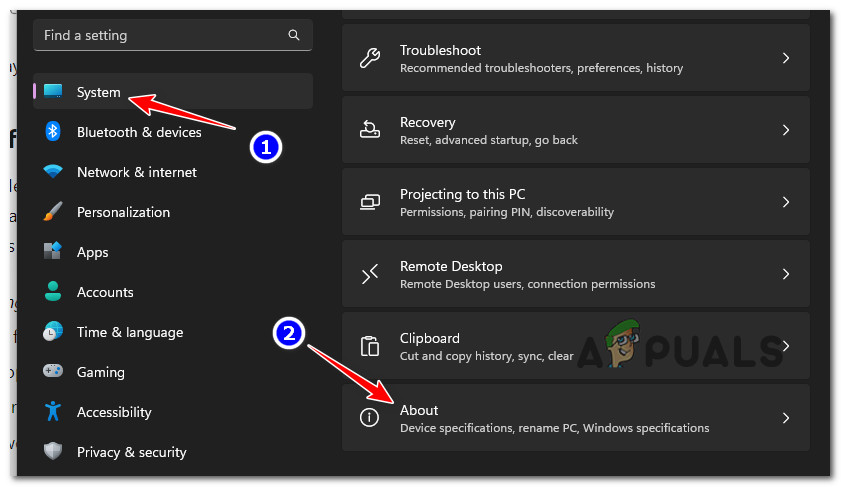
Accessing the About menu - Scroll down in About to find your Azure AD connection. Click the Disconnect from organization link and confirm the action.
- Restart your PC as prompted, then go back and rejoin Azure AD using the same steps in reverse.
- Now, try setting up your Windows Hello PIN again to see if the error is gone.
3. Refresh the NGC Folder
The NGC folder saves all PIN setup info for Windows Hello. If files here are corrupted, emptying the folder lets Windows rebuild it with healthy files.
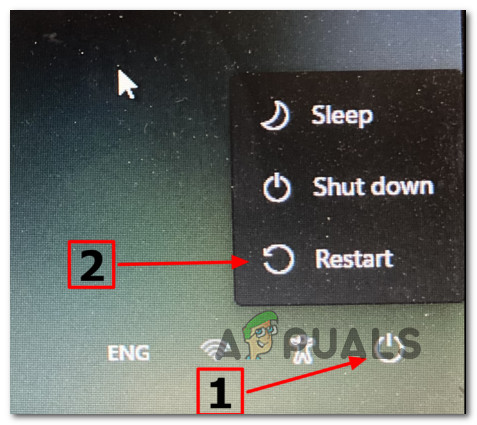
- On the login screen, click the power icon. Hold Shift, then click Restart.
Install the Recovery menu Note: Your PC will boot into the Recovery menu.
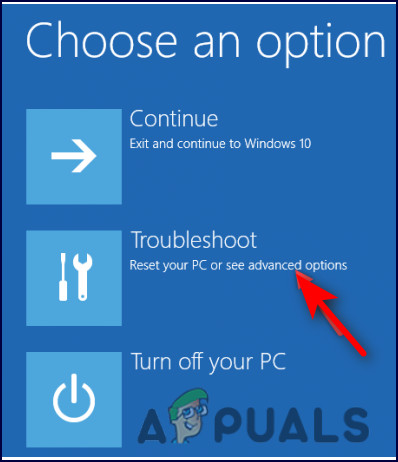
- Select Troubleshoot on the first screen.
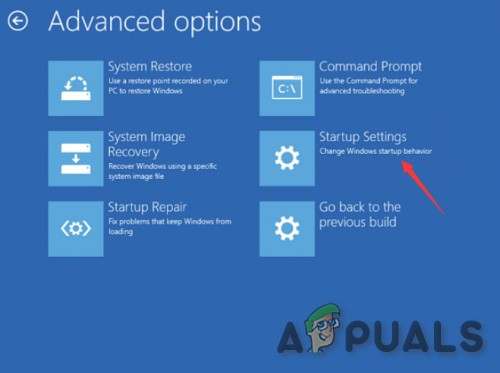
Accessing the Troubleshoot menu - Go to Advanced Options, and choose Startup Settings.
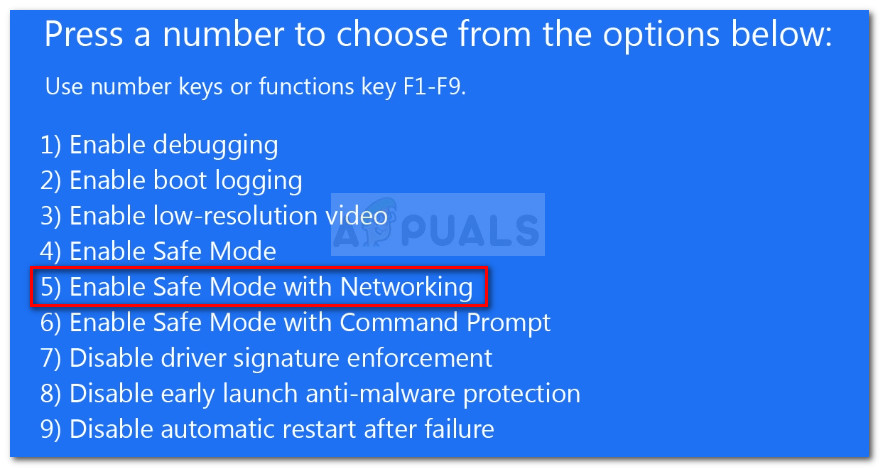
Open up the Startup Settings menu - Restart your PC when prompted. On the Startup Settings screen, press F4 or 4 to enter Safe Mode.
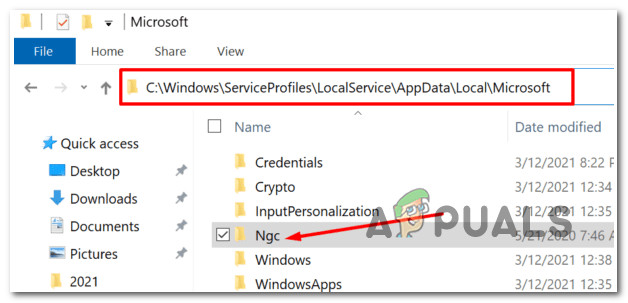
Boot Windows 11 in Safe Mode with Networking - Once in Safe Mode, open File Explorer and go to:
C:\Windows\ServiceProfiles\LocalService\AppData\Local\Microsoft
- Right-click the NGC folder and select Delete.
Deleting the NGC folder - Restart your PC normally. The NGC folder will be recreated automatically, so you can set a new PIN.
- Try setting up your new Windows Hello PIN and see if the error goes away.
4. Check the TPM (Trusted Platform Module)
A not-ready or inactive TPM (Trusted Platform Module) can cause this error. Windows Hello needs TPM to be enabled to work. You can check and set up TPM using the TPM Management tool.
Note: Many users have fixed this by ensuring TPM is prepared and enabled.
- Press Windows + R to open the Run dialog box.
- Type tpm.msc and hit Enter.
- If asked for admin rights by User Account Control (UAC), click Yes.
- In the TPM window, go to Action (top left), then select Prepare the TPM.
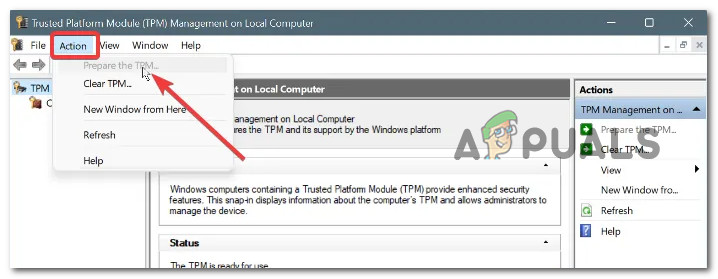
Preparing the TPM Note: If TPM is already set up, this option will be grayed out.
- Once done, close the window and restart your computer.
- Try creating the Hello PIN again to check if the problem is resolved.
5. Start the IPsec Policy Agent Service
The IPsec Policy Agent is essential for Windows Hello to work smoothly. Make sure this service is running and set to start automatically.
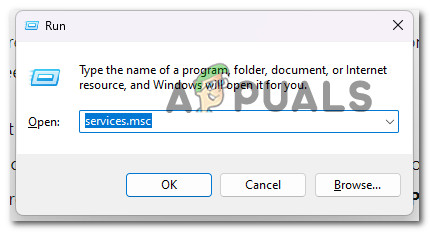
- Press Windows key + R to open Run.
- Type services.msc and press Ctrl + Shift + Enter for admin access.
Accessing the Services screen - Click Yes at the UAC prompt if it appears.
- Find IPsec Policy Agent in the list of services.
- Right-click it, then click Properties.
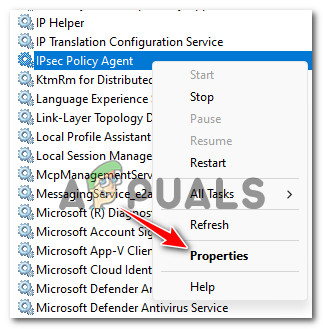
Accessing the Properties screen of IPsec Policy Agent - In the General tab, set Startup type to Automatic.
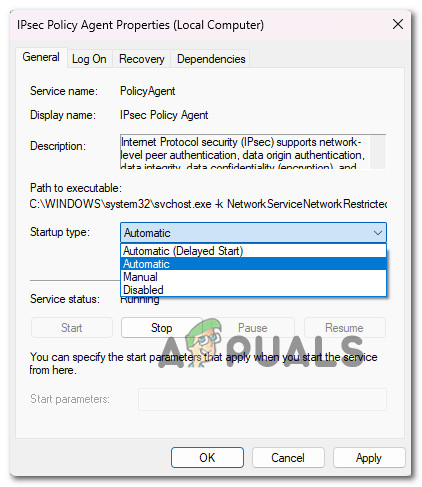
Changing the startup type to Automatic - Click Apply to save the setting.
- Restart your PC, then try to set up your Windows Hello PIN again.
6. Enable the Logon Policy for PIN Sign-in
A specific Group Policy may be blocking you from creating a Windows Hello PIN. Even administrators can’t bypass this if the policy is off. You need to enable the right setting in the Local Group Policy Editor.
Note: The Group Policy Editor is available on all versions of Windows 10/11 except the Home edition.
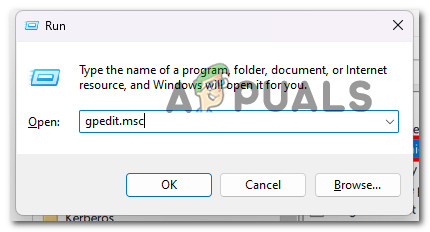
- Press Windows key + R to open Run.
- Type gpedit.msc then press Ctrl + Shift + Enter for admin access.
Open up the Gpedit utility - Allow admin permissions via UAC if needed.
- On the left, go to System > Logon.
- On the right, double-click Turn on convenience PIN sign-in.

Editing the Turn on convenience PIN sign-in - Set the policy to Enabled, then click Apply or OK.
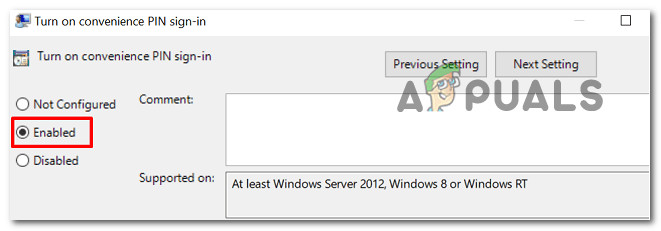
Enable the Turn on convenience PIN sign-in policy - Restart your PC, then try adding your Windows Hello PIN again.
7. Remove the Latest Windows Update
Problematic Windows updates can corrupt Hello components or introduce bugs. Rolling back recent updates and preventing auto-reinstallation may restore PIN functionality until a patch is released.
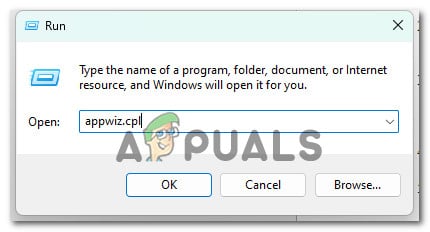
- Press Windows key + R to open Run.
- Enter appwiz.cpl and press Enter.
Open up the Programs and Features menu - Click View installed updates on the left menu.
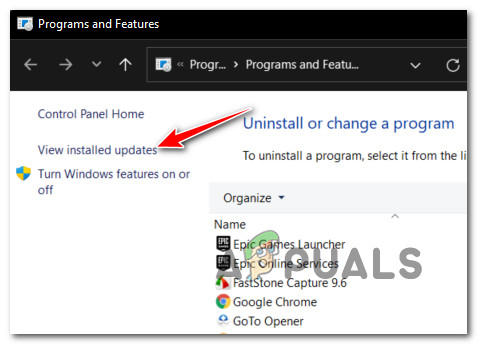
View the Installed Updates - Find and right-click the troublesome update, then choose Uninstall.
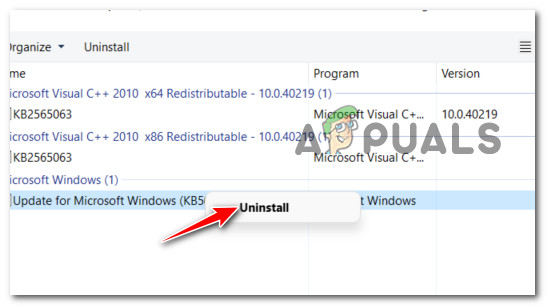
Uninstall the problematic update - Click Yes to confirm, then wait for the process to finish.
- Before you restart, go to the Microsoft Show or Hide troubleshooter page. The tool should download automatically.
- Open the downloaded .diagcab file. Click Advanced, check Apply Repairs Automatically, then click Next.
- After the tool scans for updates, choose Hide Updates.
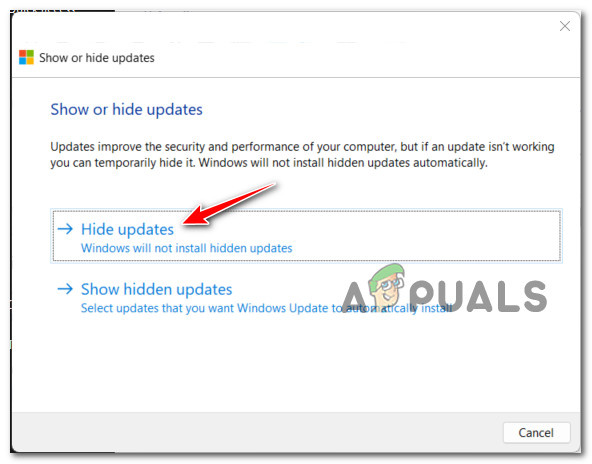
Hiding the Updates - Check the problematic update, click Next to hide it, then reboot your PC.
- Try setting up your Windows Hello PIN again to see if the error is gone.
8. Create a New PIN
If you’ve tried all the steps above and you’re still getting the 0x80090011 error, you should try setting up a new PIN from scratch. Many users have fixed the error by going to Accounts and selecting the I forgot my PIN option to reset their PIN.
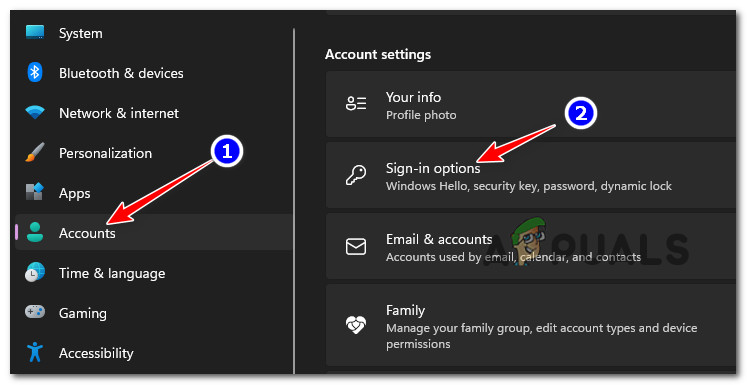
- Press Windows key + I to open Settings (works on Windows 10 and 11).
- From the left menu, click Accounts.
- On the right, click Sign-in options under Account settings.
Accessing the Sign-in Options - Next to your PIN, click on I forgot my PIN in the options menu.
- Follow the prompts to set up a brand new PIN.
Try setting up Windows Hello PIN again. If none of these steps solved your issue, it might be time to reach out to Microsoft support or your IT help desk for more advanced assistance.


