How to Fix “0x0000007c” Windows Printer Error?
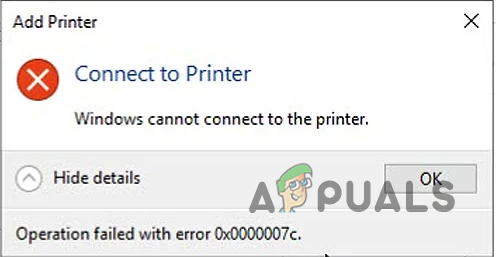
When trying to connect to a shared network printer, you might see the error message “Windows cannot connect to the printer. Operation failed with error 0x0000007c”. This error prevents you from installing or using the printer as expected. The error code 0x0000007c stands for ERROR_INVALID_LEVEL, which usually means there is a mismatch or compatibility issue between your computer and the print server.
This problem often occurs after installing certain Windows updates, specifically KB5006670 for Windows 10 or KB5006674 for Windows 11. These updates changed how the Print Spooler service works, which can cause issues with authentication or driver installation.
Other possible causes include outdated or corrupted printer drivers, incorrect registry settings, or problems with the Print Spooler service itself. Now that you know what’s behind the error, let’s look at how to fix it.
1. Uninstall Problematic Security Update
As mentioned earlier, one of the most effective ways to fix this error is to remove the security update that caused the problem. The most common culprit is KB5006670. Removing Windows updates is straightforward and is often enough to solve the issue.
However, after uninstalling the update, you should temporarily pause Windows Updates. If you don’t, Windows may automatically reinstall the update, causing the problem to return.
- Press the Windows key + I on your keyboard to open Windows Settings.
- Go to Windows Update from the left-hand menu.
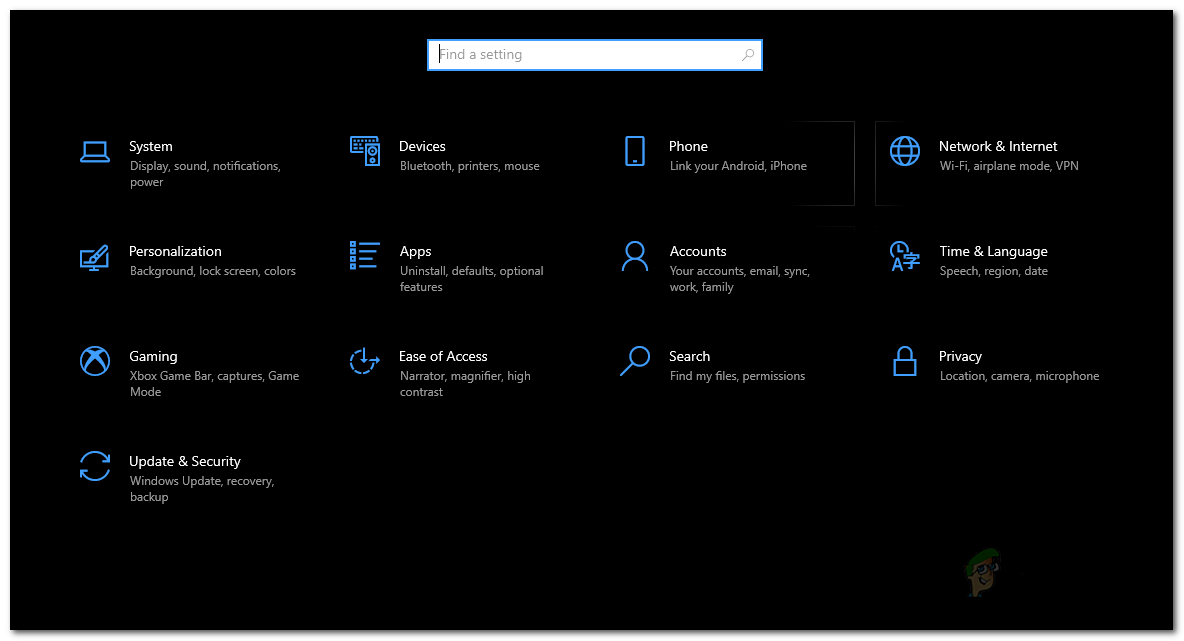
Windows Settings - Click on View update history.
Windows Update Settings - On the new page, under Update history, click Uninstall updates.
- This will open a Control Panel window showing installed updates.
- Find KB5006670 in the list.
- Double-click on the update to uninstall it.
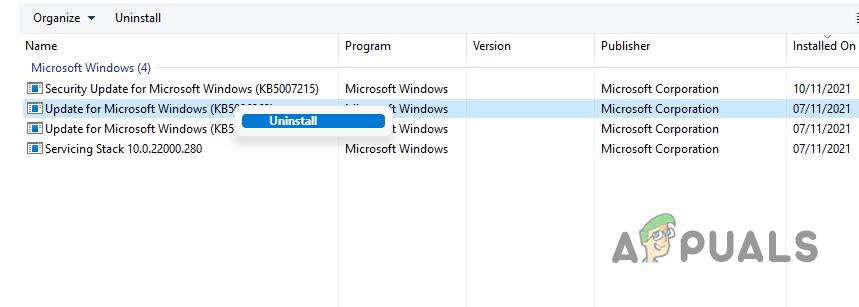
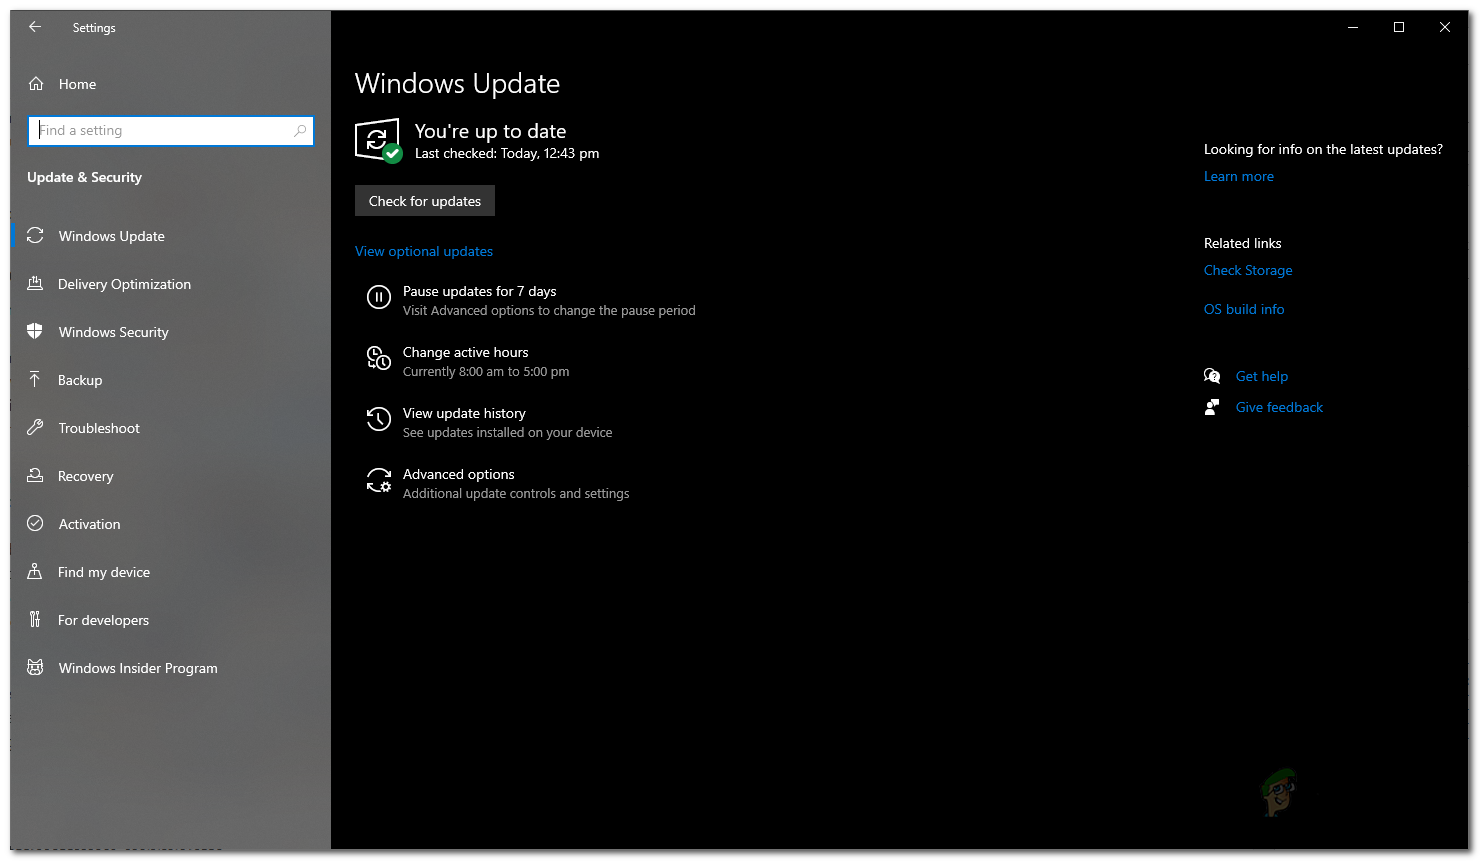
Uninstalling Windows Update - After uninstalling, go back to the Windows Update section in Settings.
- Click on Pause updates for 7 days to temporarily stop Windows from reinstalling the update.
Windows Update Settings - Restart your computer.
- After the restart, check if the printer issue is resolved.
2. Reinstall the Printer
Another reliable way to fix this error is to reinstall your printer. But before you do that, you need to clear out old printer drivers from your computer. The steps are a bit different depending on whether you use a 64-bit or a 32-bit version of Windows, but don’t worry–we’ll explain how to check and what to do. You’ll also need to restart the Print Spooler service using the Services manager.
- Open File Explorer.
- Depending on your system type, copy and paste the appropriate address into the address bar:
64-bit OS: C:\Windows\System32\spool\drivers\x64\3
32-bit OS: C:\Windows\System32\spool\drivers\W32X86\3
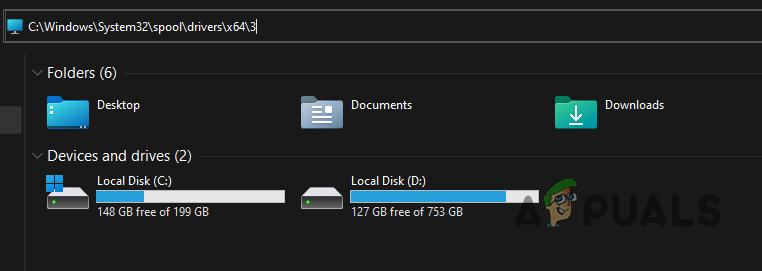
Navigating to Printer Driver Folder - Once inside the folder, cut all the files and save them somewhere safe, like your Desktop. This will back up your drivers just in case.
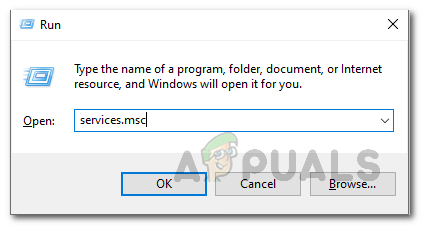
- Press Windows key + R to open the Run dialog box.
- Type services.msc and press Enter to open the Services window.
Opening up Windows Services - Find the Print Spooler service in the list.
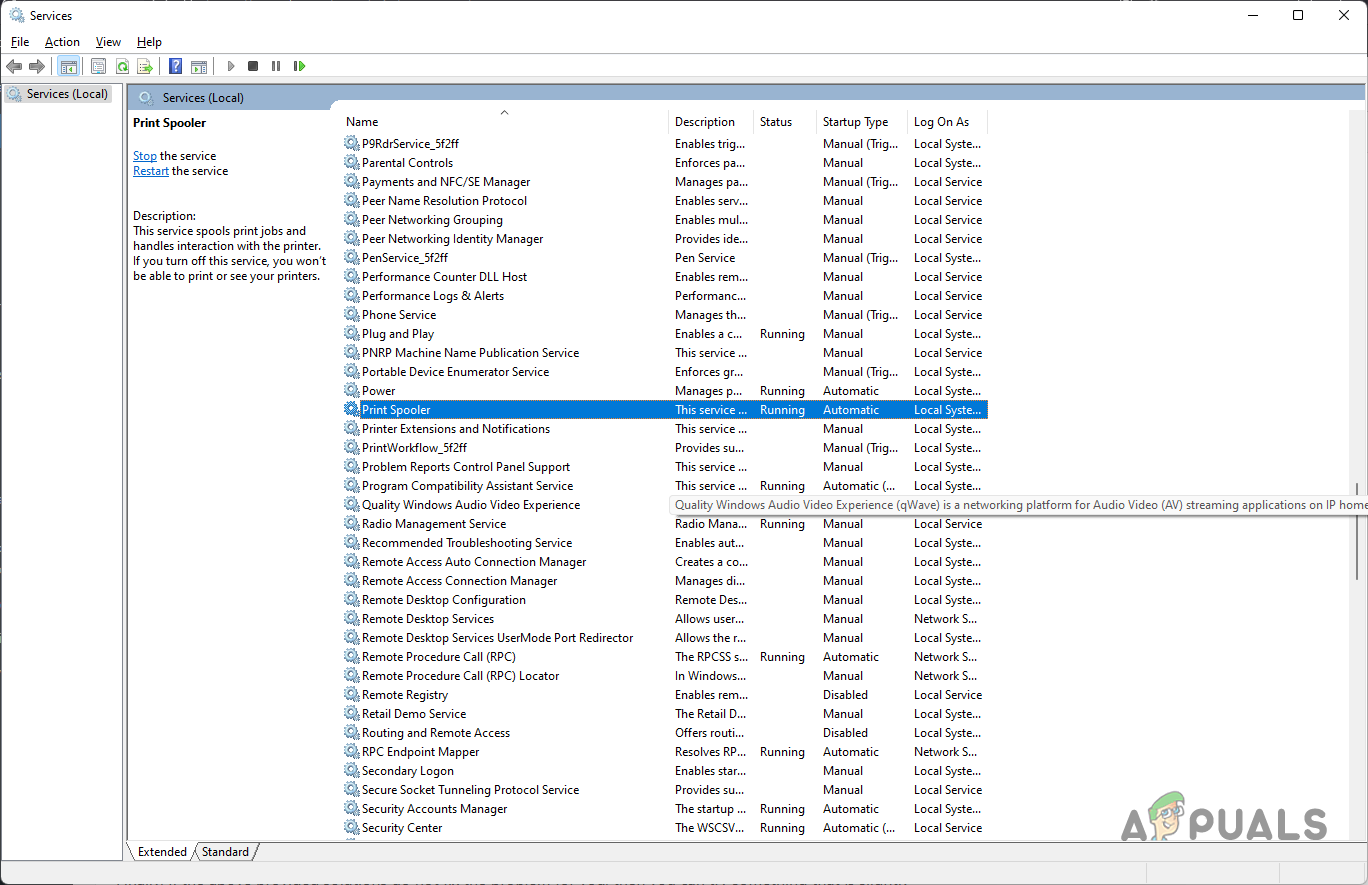
Print Spooler Service - Right-click on Print Spooler and select Restart.

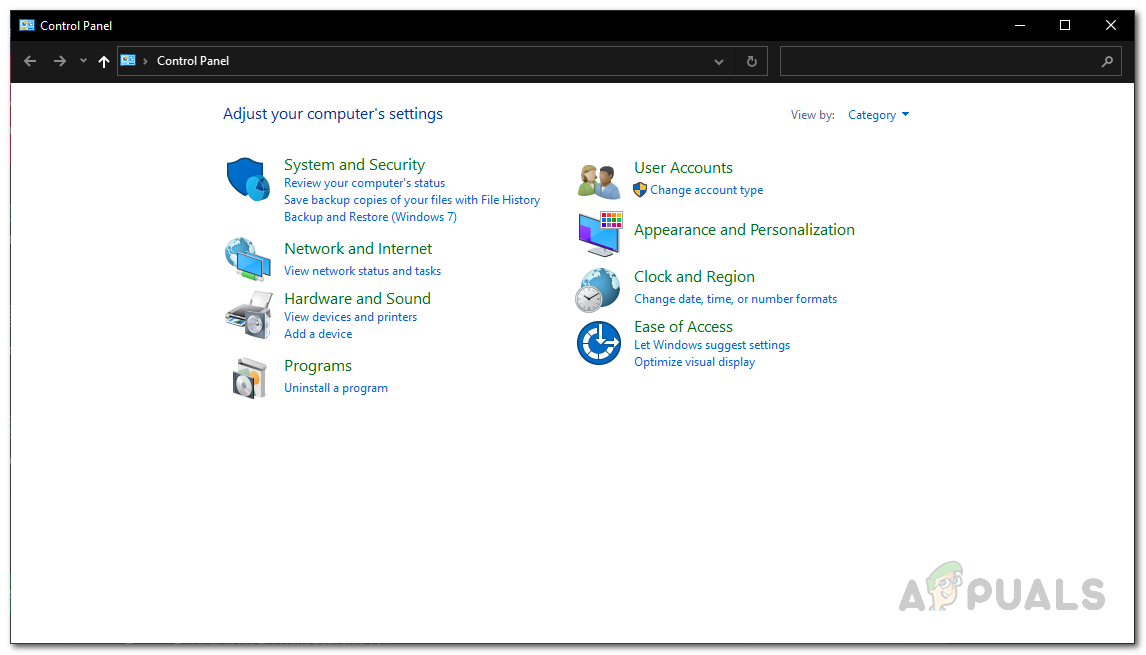
Restarting Print Spooler Service - Next, open Control Panel (you can search for it in the Start menu).
- Click on Uninstall a program.
Control Panel - Find your printer in the list and uninstall it by double-clicking it.
- Next, add your printer again and install the latest drivers—download these directly from your printer manufacturer’s website for best results.
- After completing these steps, your printer should work correctly and the error should be gone.
3. Cancel Driver Installation Midway
If the previous solutions didn’t work for you, here’s another trick that has helped some users. Start by downloading the newest drivers for your printer from the manufacturer’s website. Begin installing the driver, and when the installer asks you to connect the printer using a cable, choose the option for connecting to a remote or network printer instead.
Once you have set up the connection and it looks like the process is starting, cancel the installation. Now try using your printer to see if the error is fixed. While this method might sound a bit odd, it has resolved the issue for some people.


