How to Fix a Slow Snipping Tool Issue?
A slow Snipping Tool can be a result of corrupted application files, interference from third-party applications running in the background, an outdated Windows version, and other factors.
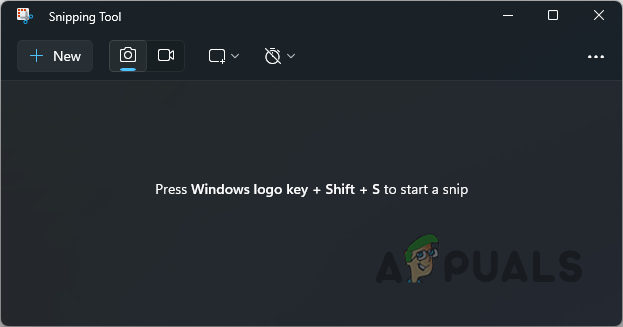
To address the delays and sluggish performance of the Snipping Tool, one effective approach is to reinstall the application on your device. This guide provides several methods to help rejuvenate the performance of the Snipping Tool.
1. Repair Snipping Tool
The initial step to take is repairing the Snipping Tool installation on your computer. Windows provides the capability to adjust the installations of its tools through the Settings app.
- Access the Settings app using the Win key + I shortcut.
- Proceed to the Apps > Installed Apps section.
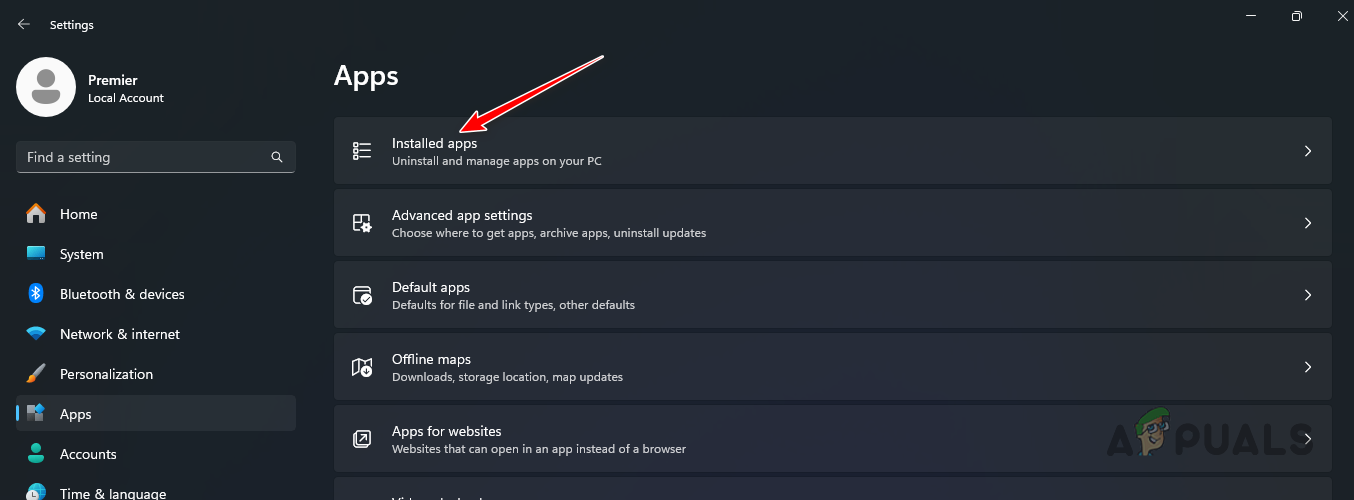
Navigating to Installed Apps - Find the Snipping Tool in the list or use the search bar to locate it quickly.
- Next, click the three dots adjacent to it and select Advanced Options.
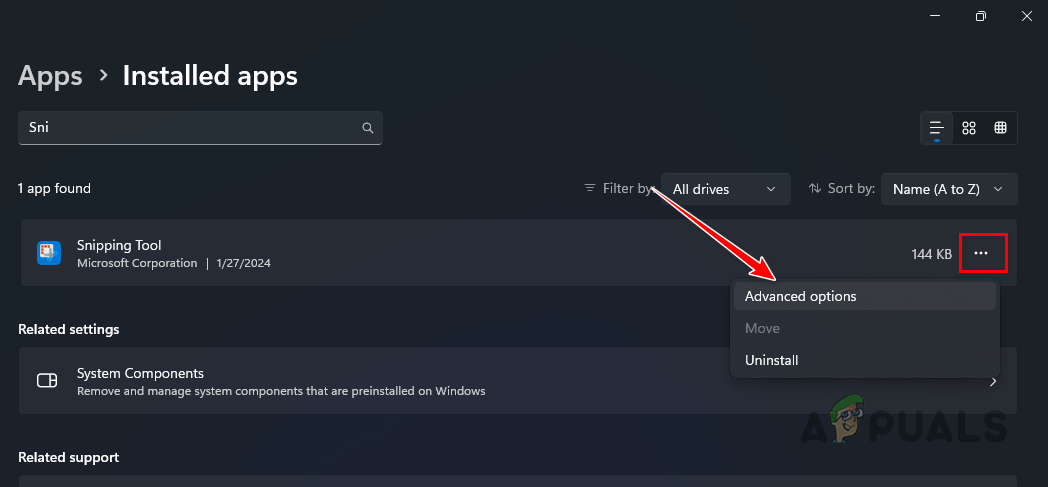
Navigating to the Advanced Options Menu - Click the Repair button to initiate the repair process for the application.
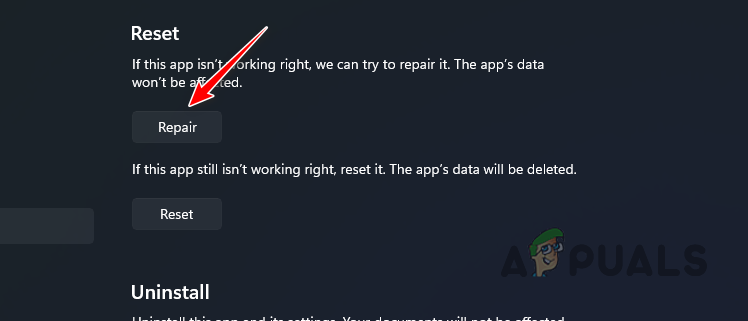
Repairing Snipping Tool - Check if the problem has been resolved.
2. Update Windows
An outdated Windows version installed on your computer may be another cause for Snipping Tool delays. Sometimes, inconsistency in the Windows update process impedes the Snipping Tool’s functionality. Updating Windows may resolve this issue.
- Firstly, open the Settings app by pressing the Win + I keys on your keyboard.
- Go to the Windows Update section in the Settings app.
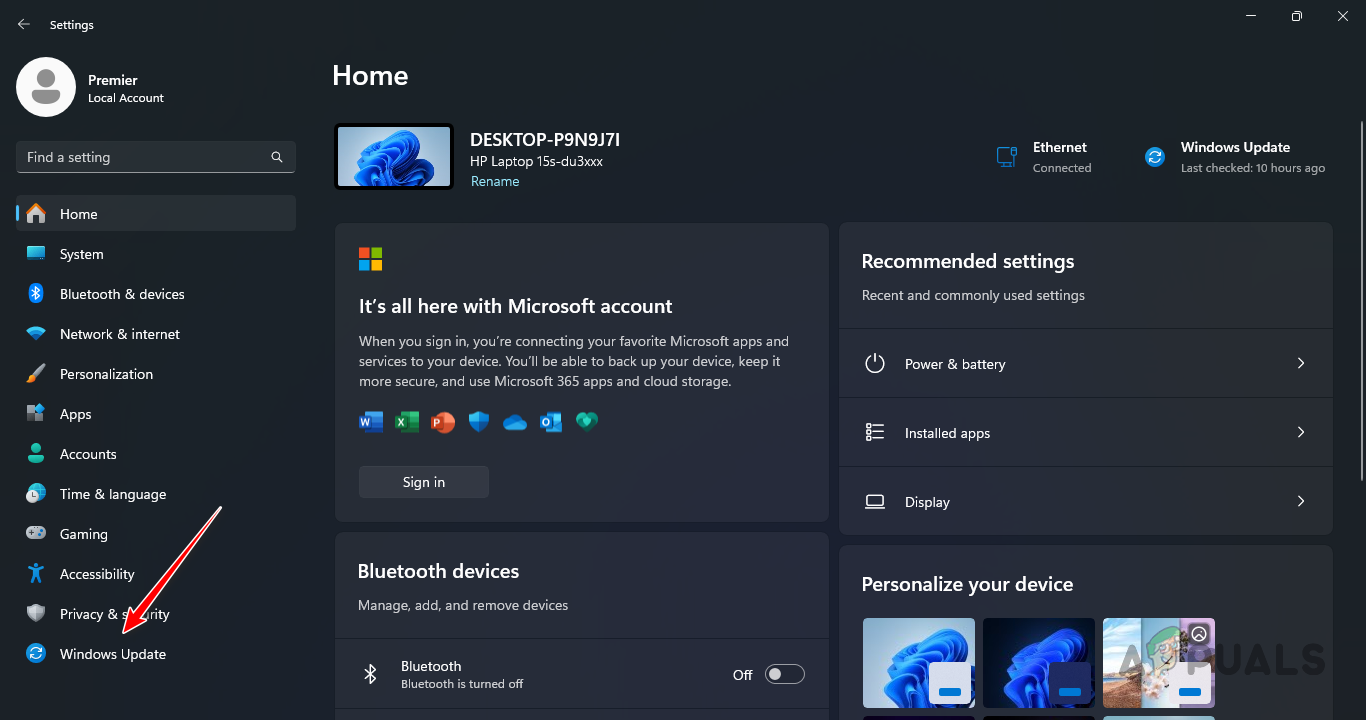
Navigating to Windows Update - Click on the Check for updates button to search for any available updates.
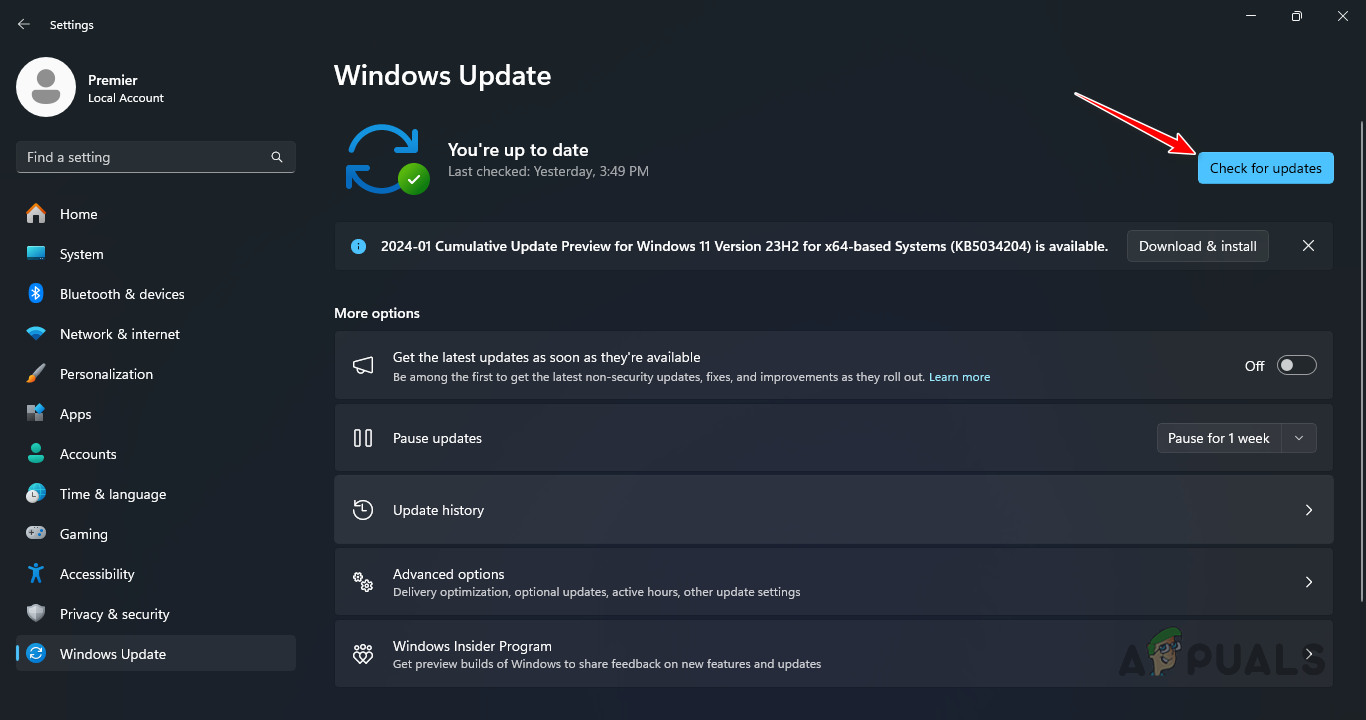
Downloading Available Windows Updates - If any updates are found, use the Download and Install option to apply them.
- After installing the updates, verify if the Snipping Tool’s performance has improved.
3. Reinstall the Snipping Tool
Corrupted files of the Snipping Tool on your system might also be a reason for the app running slowly. Reinstalling the application could fix this issue.
There are two ways to reinstall the Snipping Tool. One option is through the Microsoft Store, and the other is by using PowerShell. We will guide you through both methods, recommending that, should one not suffice, you try the other.
3.1. Using Microsoft Store
- Begin by launching the Settings app with the Win + I keys.
- Navigate to the Apps > Installed Apps section.
Navigating to Installed Apps - Search for the Snipping Tool among the apps and click the three dots beside it.
- Choose Uninstall from the menu.
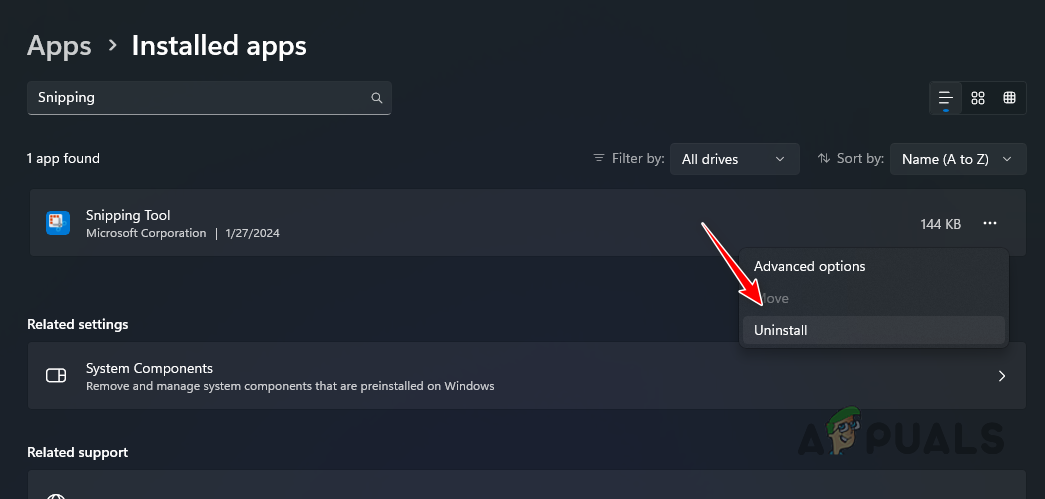
Uninstalling Snipping Tool - Once the Snipping Tool is uninstalled, open the Microsoft Store by searching for it in the Start menu.
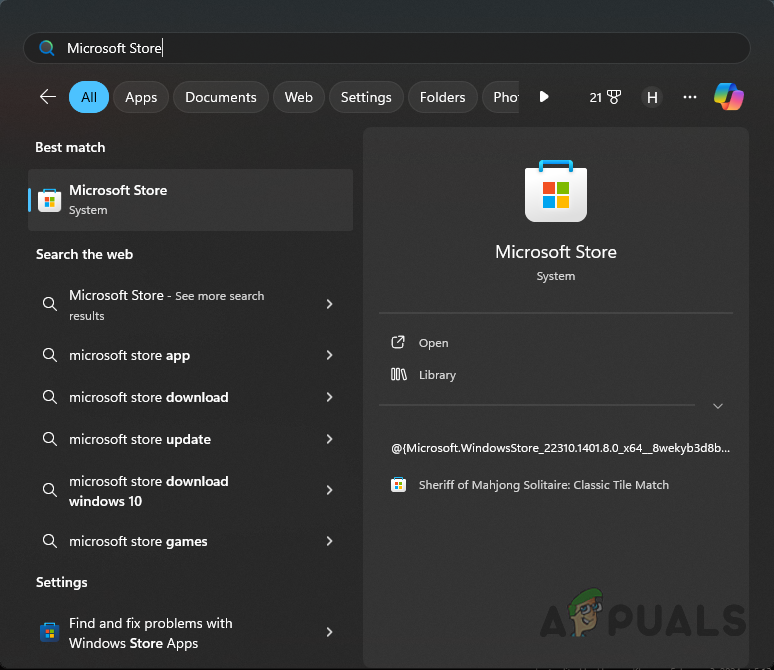
Opening Microsoft Store - Use the search bar to find the Snipping Tool. Click on the relevant result.
- Click on the Get button to download and install the app.
3.2. Using PowerShell
- Open the Start menu and search for Powershell. Select the Run as administrator option.
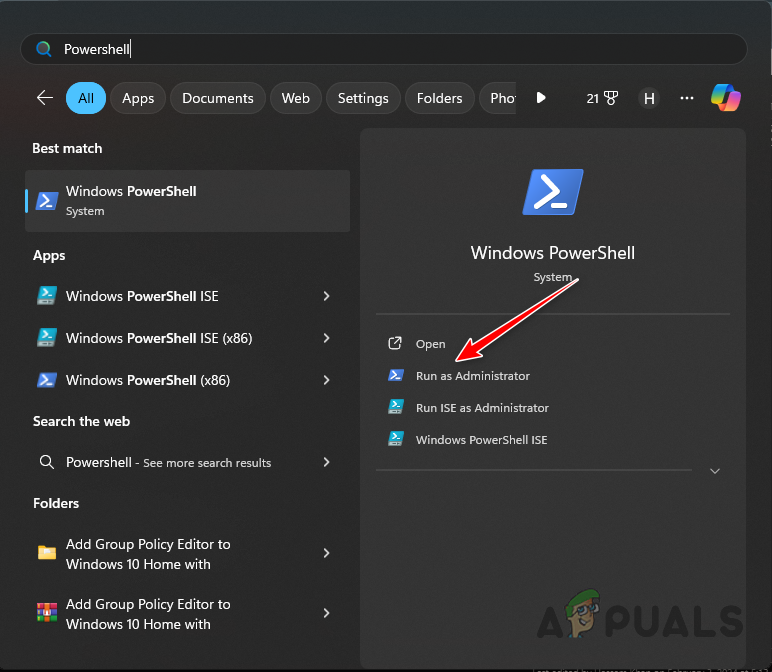
Opening PowerShell as Admin - Enter the following command into PowerShell to remove the Snipping Tool package:
get-appxpackage *Microsoft.ScreenSketch* | remove-appxpackage
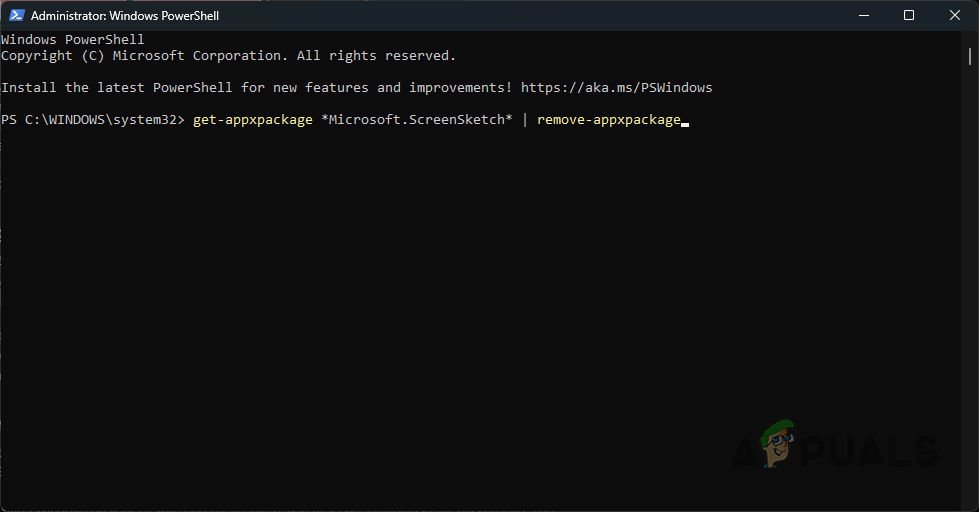
Removing Snipping Tool via PowerShell - Next, input the command below to reinstall the Snipping Tool:
Get-AppXPackage *Microsoft.ScreenSketch* -AllUsers | Foreach {Add-AppxPackage -DisableDevelopmentMode -Register "$($_.InstallLocation)\AppXManifest.xml"} - Afterward, verify if the Snipping Tool is functioning properly.
4. Perform a Clean Boot
Third-party programs can conflict with the Snipping Tool process, causing sluggishness and delays. Confirming this hypothesis can be done by performing a clean boot on your computer.
A clean boot loads Windows with only essential system services in the background, disabling all third-party services upon startup. Should the problem be resolved in a clean boot state, pinpointing the conflicting service can be done by re-enabling third-party services one at a time:
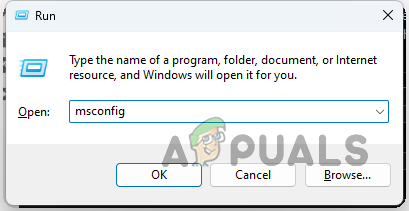
- Press the Win + R keys to open the Run dialog box.
- Type in msconfig and press Enter.
Opening System Configuration - In the System Configuration window, switch to the Services tab.
- Tick the Hide all Microsoft services checkbox.
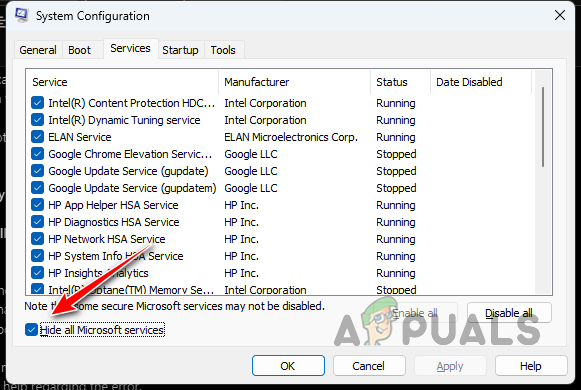
Excluding Windows Services from the List - Select the Disable all option to deactivate the remaining services, then click Apply.
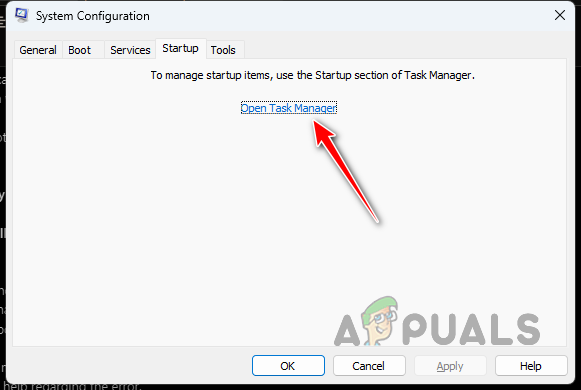
- Move to the Startup tab and click the Open Task Manager link.
Opening Task Manager via System Configuration - In the Task Manager, disable the startup applications one by one by selecting the Disable button.
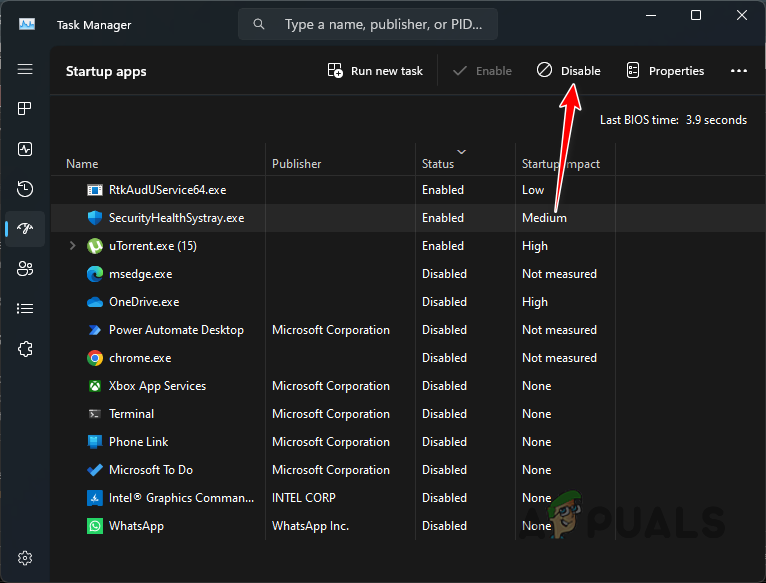
Disabling Startup Applications in Task Manager - Lastly, restart your computer to commence the clean boot.
5. Use a Third-Party Alternative
If, after attempting the aforementioned solutions, the Snipping Tool remains slow, consider using an alternative third-party program for taking screenshots on your PC. There are many such programs that offer enhanced functionality beyond what the Snipping Tool provides.
Popular alternatives include ShareX and Lightshot. You can try these programs as temporary solutions until Microsoft addresses the issue with the Snipping Tool.