How to Resolve the “A running instance of Acrobat has caused an error” Issue
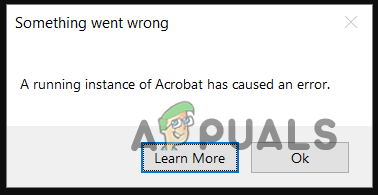
The error message “A running instance of Acrobat has caused an error” typically appears when Adobe Acrobat is unresponsive, often due to a background process being frozen, or when trying to perform a task from outside the application.
In this article, we’ll show you how to eliminate the error message to use Adobe Acrobat without interruption.
1. Completely Restart Adobe Acrobat
When troubleshooting the error, restart Adobe Acrobat, ensuring that you close any background instances before reopening the application.
Use the Task Manager to end the Adobe Acrobat task. This resolves any issues with malfunctioning instances of Adobe Acrobat on your PC. Proceed with the following steps:
- First, right-click on the Start Menu icon and select Task Manager from the menu.
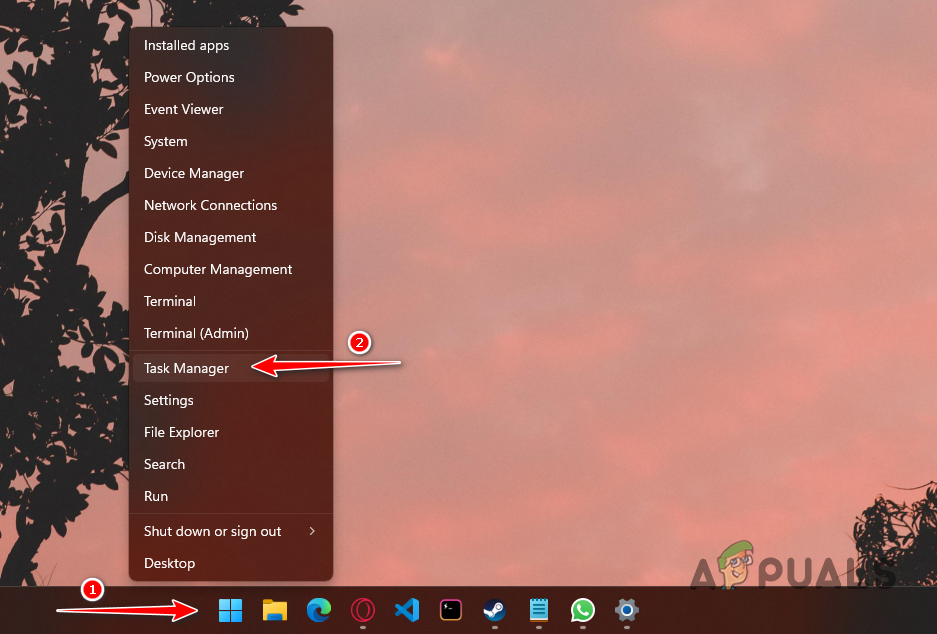
Opening Task Manager - Look for any Adobe processes under the ‘Processes’ tab.
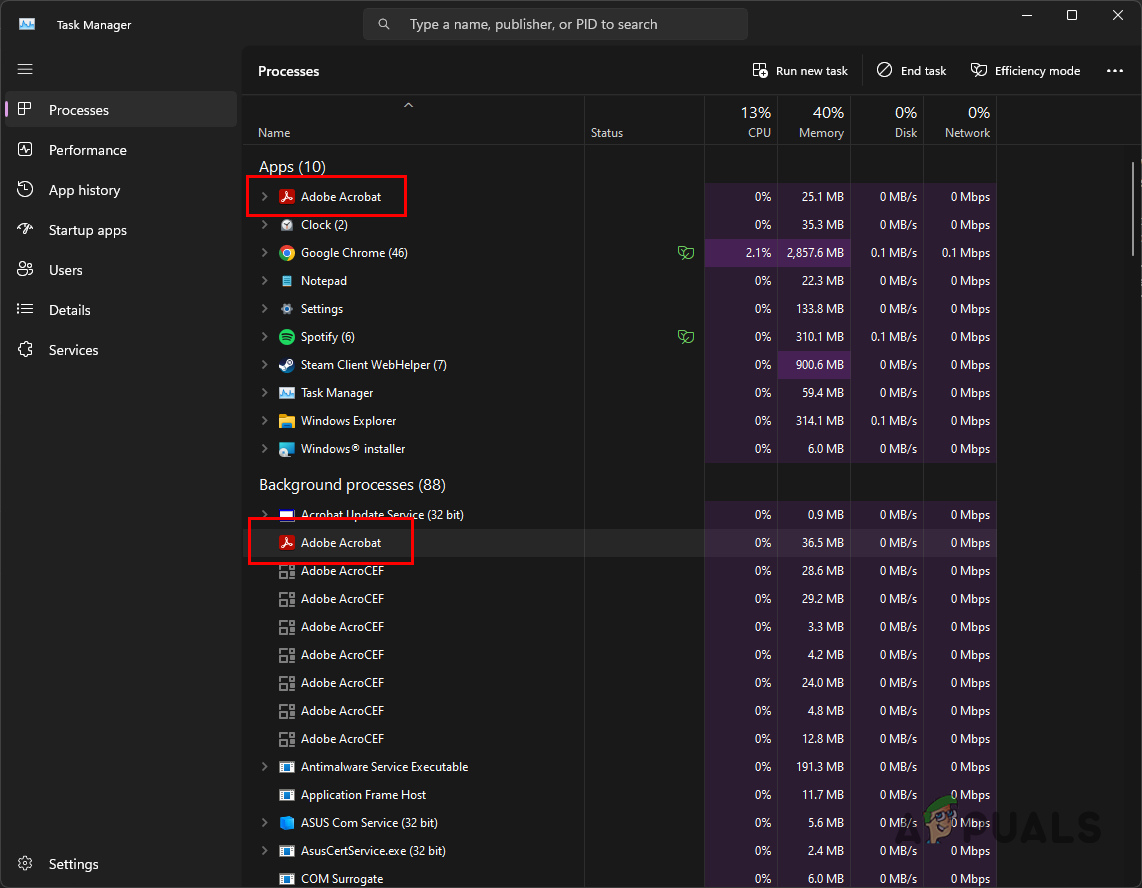
Adobe Acrobat Processes - Select each Adobe process and click ‘End Task.’
- Once you’ve done that, open Adobe Acrobat via a Start Menu search.
- See if the error message occurs.
It’s best to give your computer a restart too and then continue with the rest of the solutions mentioned below.
2. Disable Third-Party Security Program (Temporarily)
Warning: Disabling your security program can be risky as it exposes the system to potential threats. We recommend turning it off only for testing purposes and enabling it immediately once you determine whether the security program is causing the issue.
Third-party security software on your computer may also trigger the error by modifying background processes for security purposes, potentially causing malfunctions.
To resolve this, disable your system’s security software, then open Adobe Acrobat to check for the error. If the error is resolved, add Adobe Acrobat to your antivirus whitelist to prevent future interference.
Make sure to enable your antivirus after whitelisting Adobe Acrobat.
3. Install Adobe Acrobat Updates
An outdated version of Adobe Acrobat on your PC may cause this issue. To resolve it, install any pending updates for Adobe Acrobat on your system.
This can be done easily through the Help menu in Adobe Acrobat. Follow the instructions below to update Adobe Acrobat automatically:
- First, open Adobe Acrobat on your PC.
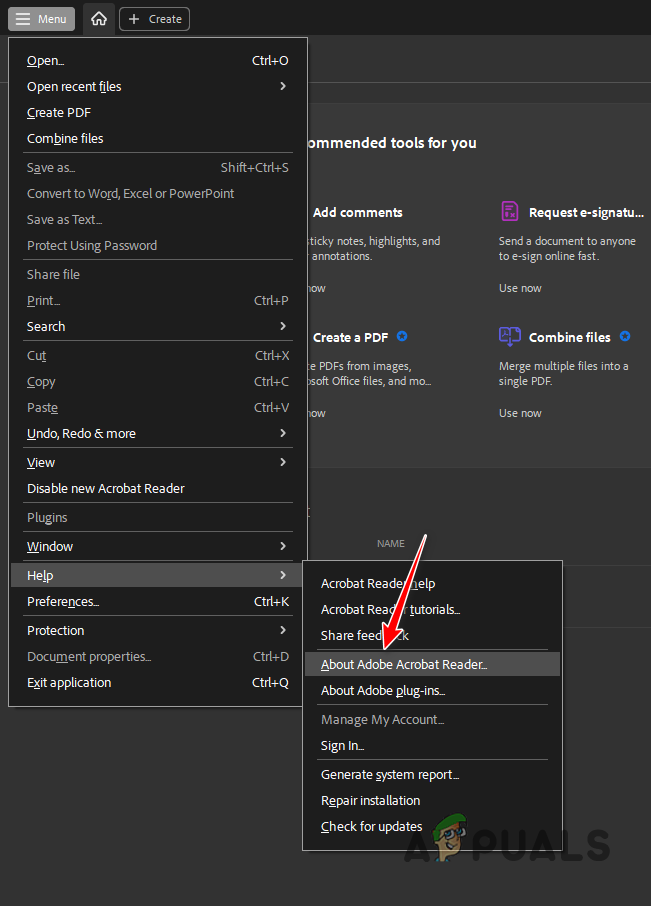
- Then, click on the Menu in the top-left corner.
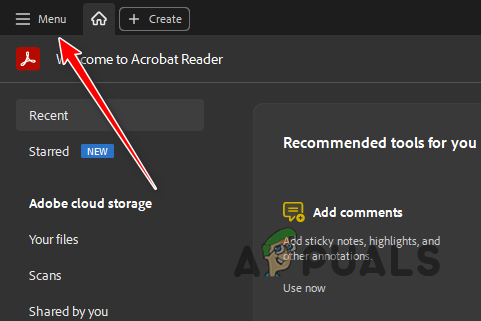
Navigating to Adobe Acrobat Menu - From the menu, select Help > Check for updates.
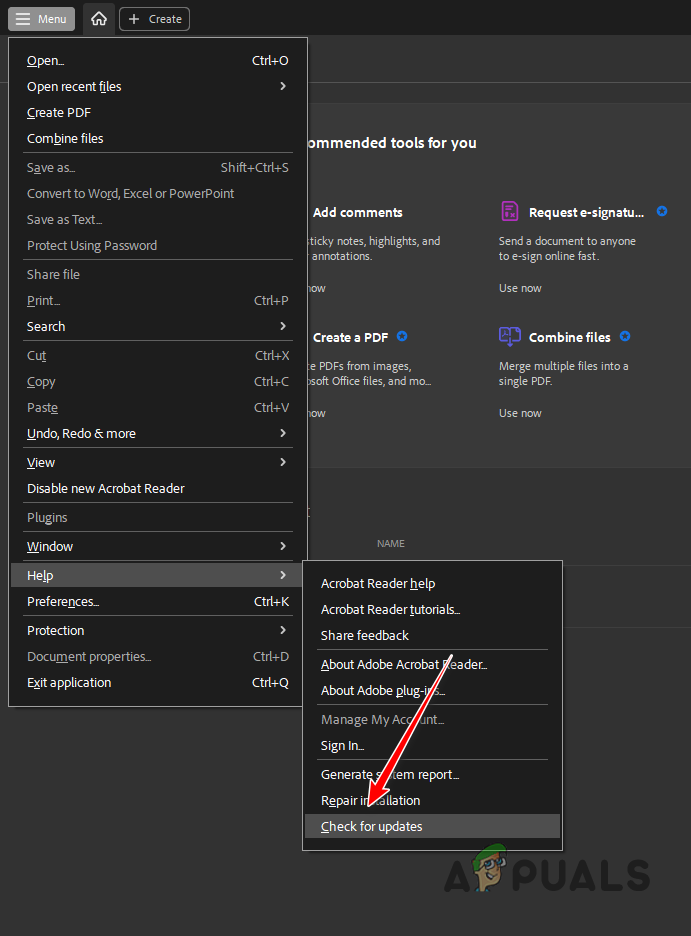
Checking for Adobe Acrobat Updates - Wait for Adobe Acrobat to update, and then restart it.
- See if the error message persists.
If you’re experiencing the error message while opening Adobe Acrobat, you will need to download the latest installer for Acrobat and install it manually to get the latest version. To do this, use the instructions below:
- Start by opening the official Acrobat Release Notes webpage via this link.
- Then, download the latest Planned and Optional updates via the links provided.
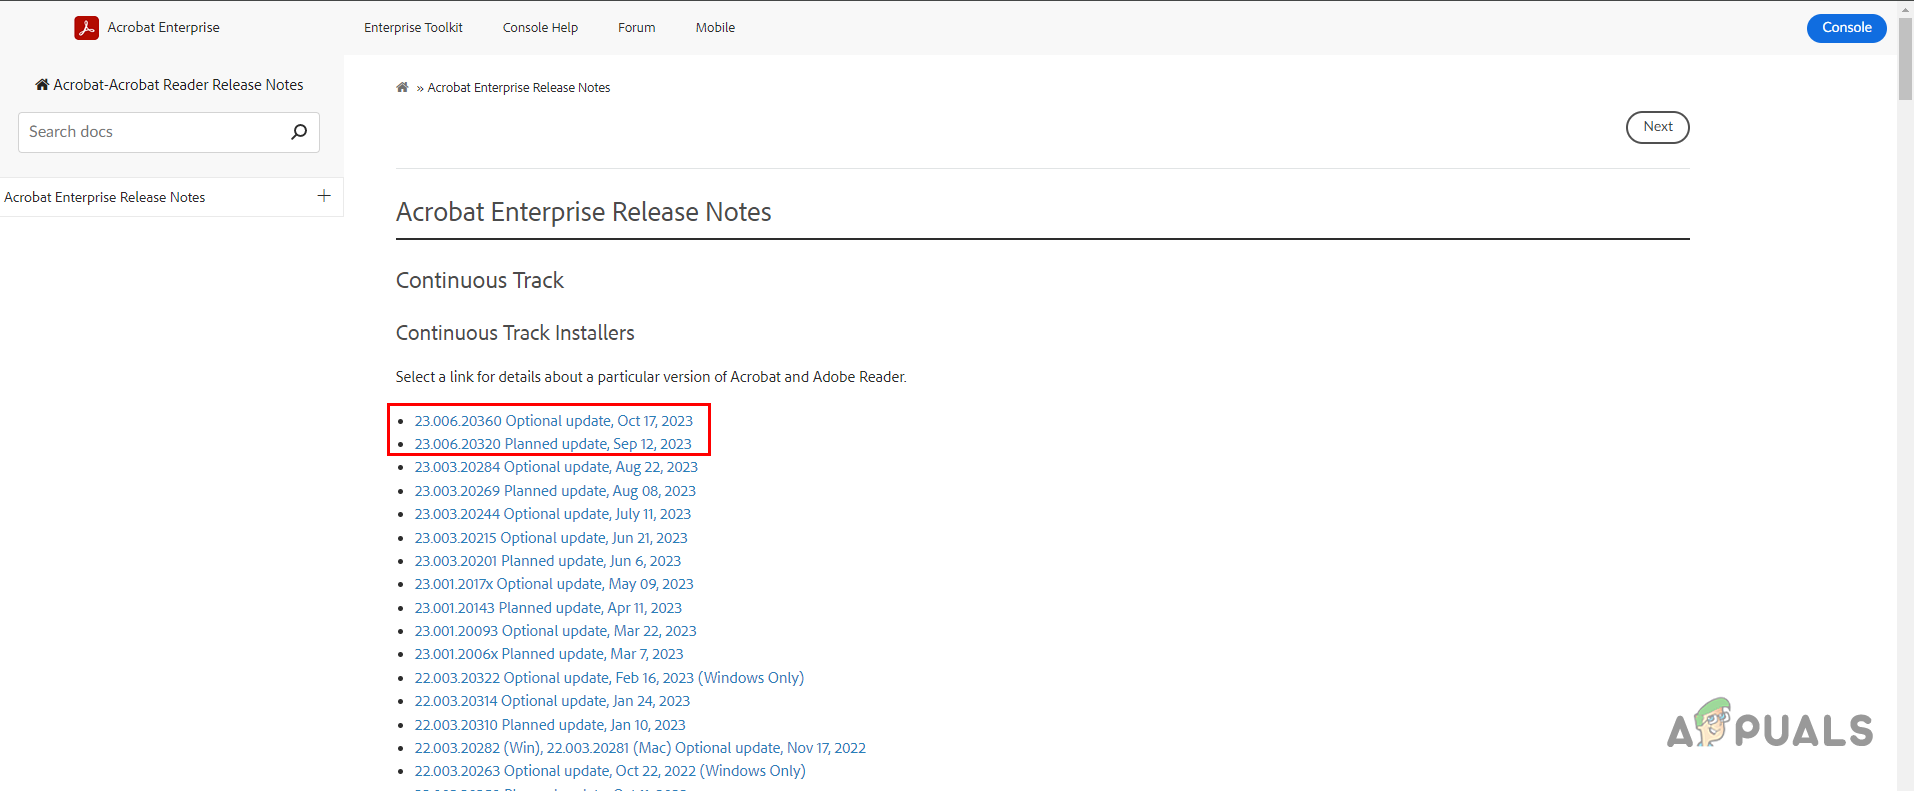
Downloading Acrobat Updates Manually - After that, run the downloaded files, one by one, and follow the on-screen prompts to finish the update.
4. Repair Adobe Acrobat
A corrupt Adobe Acrobat installation can also cause the aforementioned error message. To resolve this, repair the Adobe Acrobat installation files.
Adobe Acrobat includes a repair tool to fix the program’s files on your PC. To use it, follow these steps:
- Open Adobe Acrobat, then click on the “Menu” icon.
Navigating to Adobe Acrobat Menu - Use the Help > Repair installation option to repair Adobe Acrobat.

Repairing Adobe Acrobat - Once you’ve done that, check if the error message is still there.
If you’re unable to open Adobe Acrobat on your PC, you can repair the application through the Windows Settings menu by following these instructions:
- Use the Windows key + I shortcut to open the Settings app.
- Then, navigate to Apps > Installed apps.
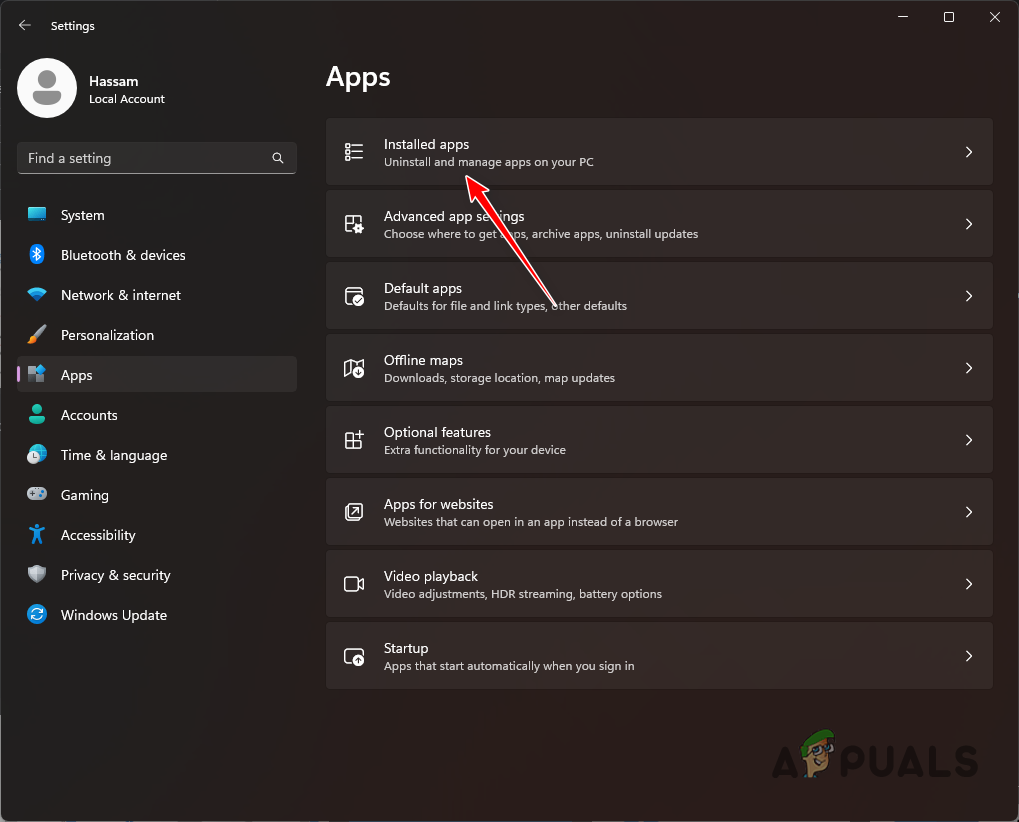
Navigating to Installed Apps - From the list of apps, locate Adobe Acrobat.
- After that, click on the three dots at the end and select Modify.
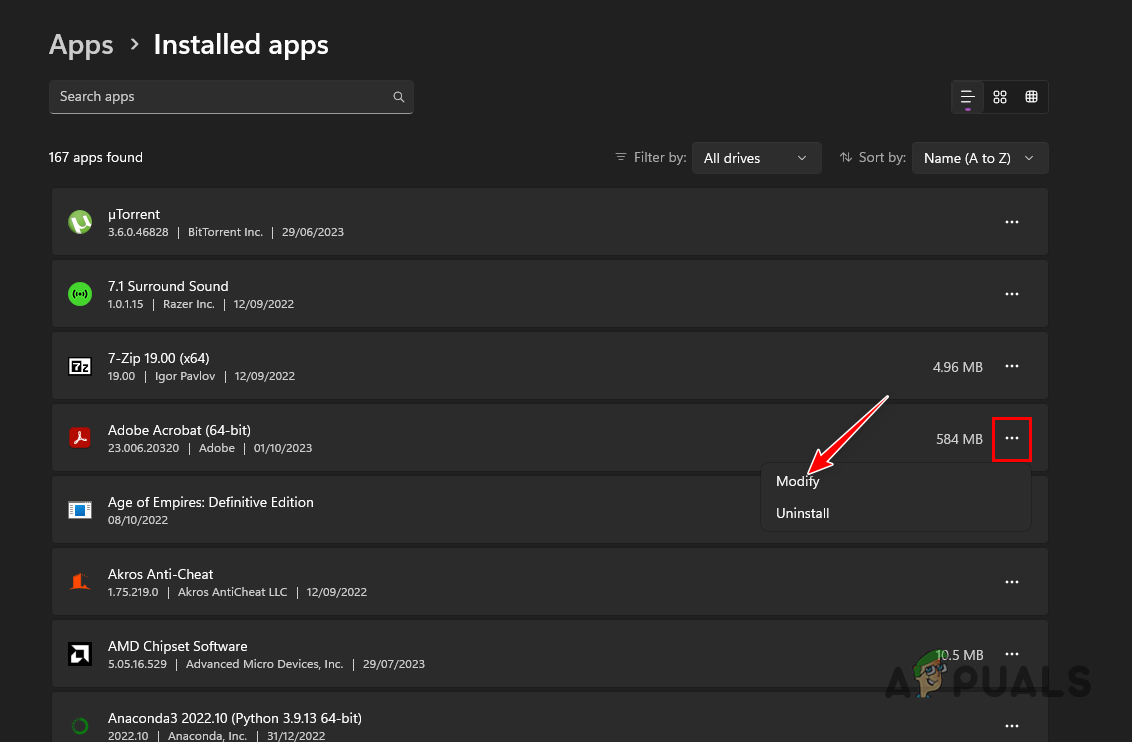
Modify Adobe Acrobat Installation - This will open the Program Maintenance wizard. Click Next.
- Then, select Repair and click Next.
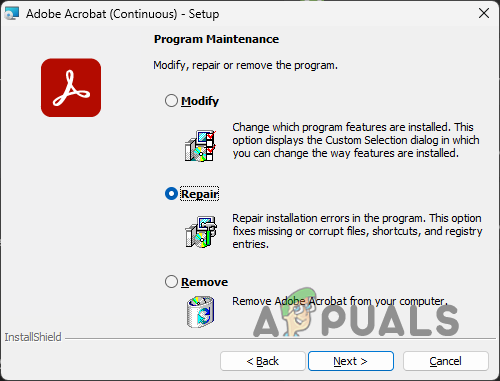
Repairing Adobe Acrobat - Wait for it to complete.
5. Use Registry Fix
To resolve the “A running instance of Acrobat has caused an error” message, Adobe officially recommends modifying the Windows Registry keys for Adobe Acrobat.
Before proceeding, we recommend backing up your Windows Registry to avoid potential issues. Carefully follow the instructions below to apply the Registry fix:
- First, open the Run box with the Windows key + R shortcut.
- Then, type in regedit and hit Enter.
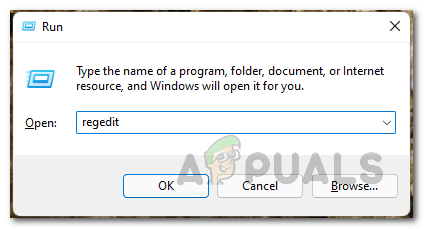
Opening Windows Registry - In the Registry Editor window, navigate to the following path:
HKEY_CLASSES_ROOT\acrobat\shell\open\ddeexec\application
- After that, double-click the Default key and change its value to AcroViewR23. The last two digits (23) represent the version of Adobe Acrobat you are using. For example, for 2023, it would be 23. Similarly, for 2020, it would be 20, and so on. Usually, all you need to change is the R from A in the value.
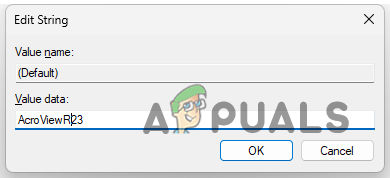
Changing Registry Key - If you do not know the version of your Adobe Acrobat, you can use the Help > About Adobe Acrobat Reader option in Adobe Acrobat to reveal your version.
About Adobe Acrobat - Once you’ve done that, close the Registry Editor and open Adobe Acrobat.
- See if the problem persists.
6. Reinstall Adobe Acrobat
If the issue persists, reinstalling Adobe Acrobat on your PC should resolve it by providing a fresh start.
To reinstall Adobe Acrobat, first uninstall it through the Control Panel, then follow the instructions below.
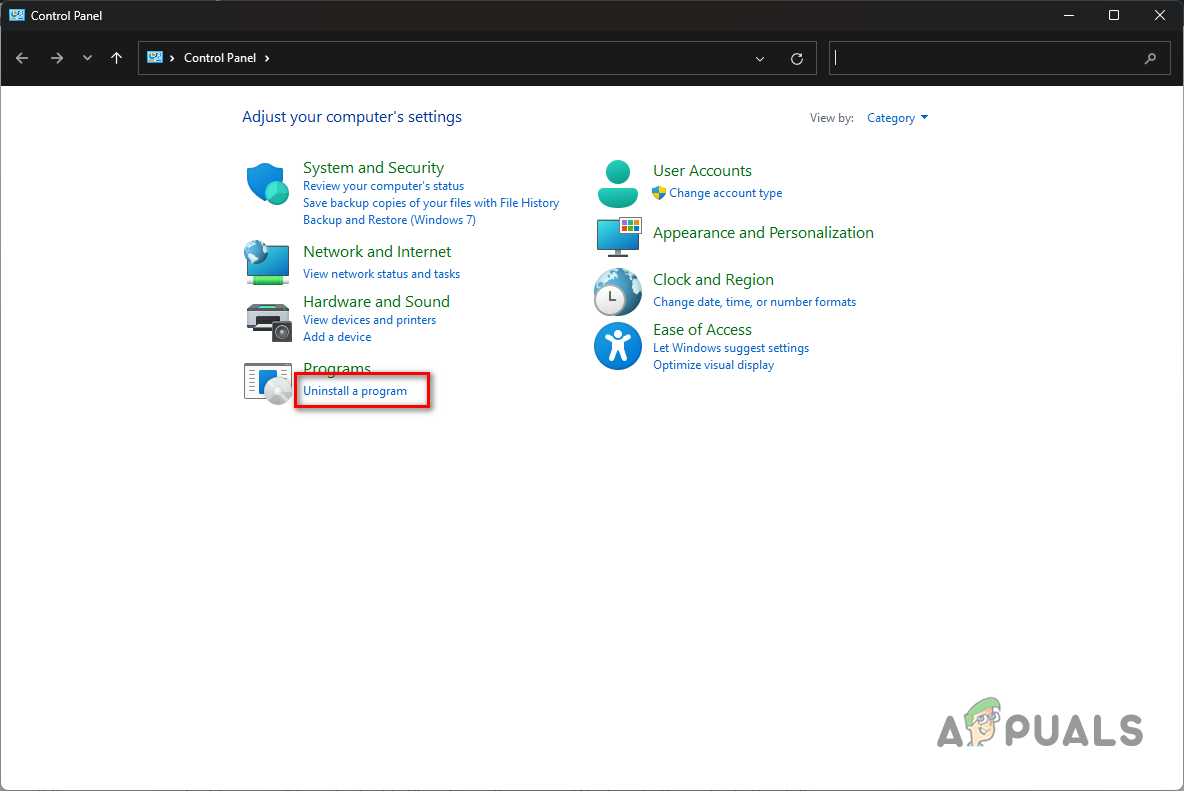
- First, open the Control Panel window with a Start Menu search.
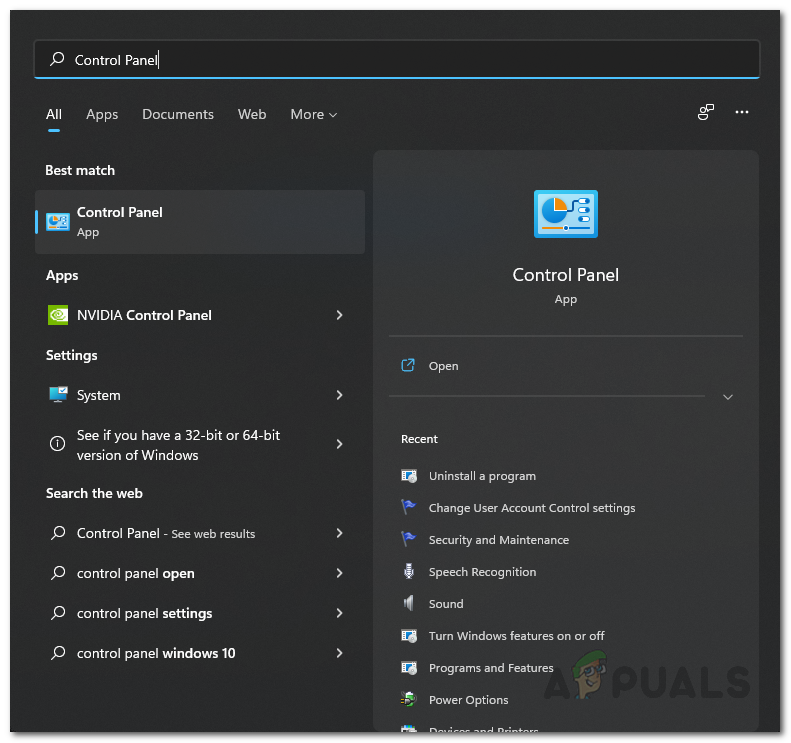
Opening Control Panel - Go to Uninstall a program in the window.
Navigating to Uninstall Programs - Then, locate Adobe Acrobat and double-click it to remove it.
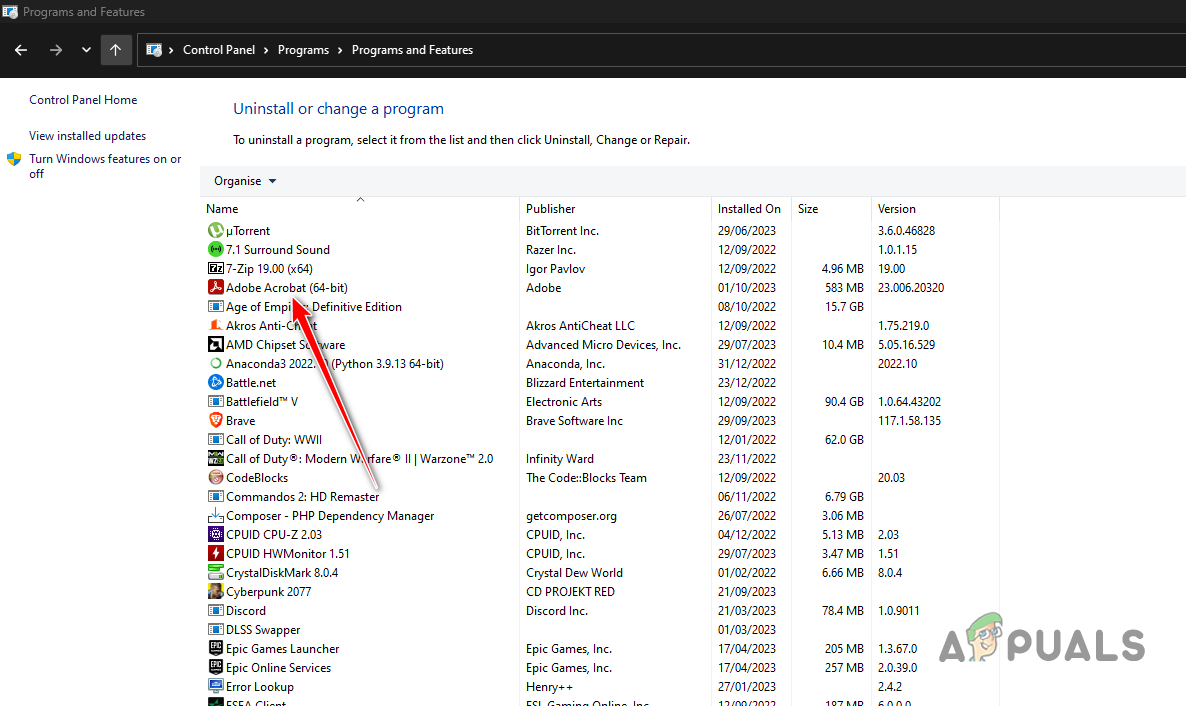
Uninstalling Adobe Acrobat - Go through any on-screen prompts to complete the uninstallation.
- After that, download the Adobe Acrobat setup file from the official site again.
- Install it and see if the issue persists.
By following these troubleshooting steps, you should be able to resolve common issues with Adobe Acrobat Reader effectively, ensuring smooth and reliable access to your PDFs.
If you continue to encounter the error message in Adobe Acrobat, please seek assistance from the official Adobe Acrobat support team. Their website offers access to a support agent who can provide detailed troubleshooting, including a review of your system report.