Fix: Logitech G HUB Application encountered a critical error
 Reviewed by Muhammad Zubyan
Logitech G Hub critical error is often caused when the app’s components are not running in the background. The application requires the Logitech G Hub agent process in the background for it to work properly. In addition, the error message can also be attributed to certain versions of the app in which case you will have to perform a downgrade.
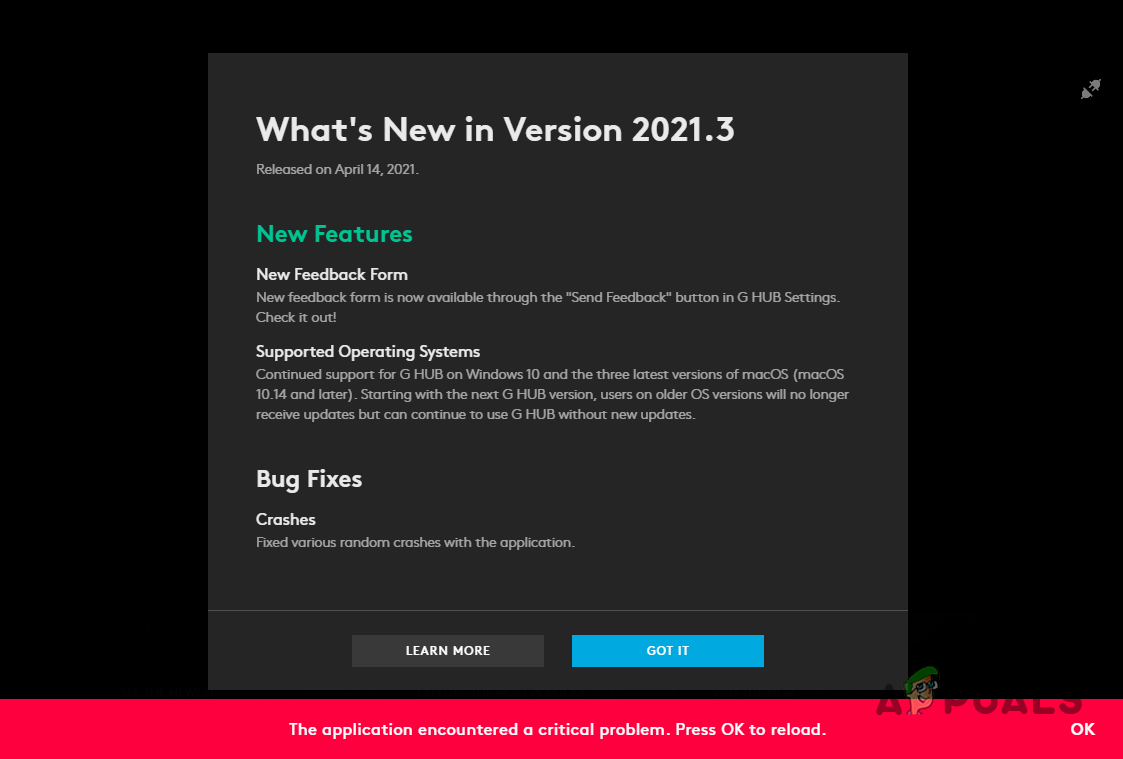
In some cases, corrupted or damaged installation files are another reason the error message may arise. In this article, we will take you through a number of methods that you can use to resolve the issue in question.
1. Unplug Logitech Peripherals
The first thing that you should do when starting to troubleshoot the critical error message is to unplug any Logitech peripherals that are connected to your computer. In some cases, the error messages occur when Logitech G Hub is not able to detect your peripherals properly, or a third party is interfering with it.
In such a scenario, one way of fixing the issue would be to force the app to detect the Logitech peripherals again whilst it is running. To do this, unplug all of your Logitech peripherals from your computer and then plug them in again. The application will detect the newly plugged-in peripherals and even perform a restart when you unplug the peripherals.
After the app starts again, the problem should no longer be there. If the problem persists, move to the next method below.
2. Run Logitech G Hub Agent Process
In some scenarios, the issue can occur because the application is not able to communicate with its components. Logitech, like most other programs, uses an agent process to communicate with the Windows operating system and it returns the information to the main app for processing.
In some cases, the agent process does not function properly when you open the Logitech G Hub application, which prevents it from operating as it should. In such a scenario, you will need to manually start the Logitech agent process on your computer. To do this, follow the instructions below:
- First, open the File Explorer window.

Opening File Explorer - After that, navigate to the Logitech G Hub directory, which is C:\ProgramFiles\LGHUB.
- There, locate the lghub_agent.exe file and double-click on it to execute it.
- This will start the agent process in the background.
- See if that fixes the issue.
- If the issue persists, quit the Logitech G Hub app, start the agent process again and then open Logitech G Hub.
3. Download an Older Version
In some instances, the error message you are experiencing can be due to the version of the app on your computer. This is not something new as bugs from the dev team are not entirely uncommon. This can also happen when the version of the app on your computer is not able to function properly with one of the Logitech peripherals you are using.
In such a scenario, you will have to download an older version of the app and install it on your system. This can also be helpful when you have started experiencing the issue after the latest update. If this case is applicable, you will have to disable auto updates so that the application does not update to the latest version again, causing the issue in question.
As it turns out, you cannot download an older version of the app through the official website. However, there are download links available for older versions of the app that work properly. In case the application auto-updates during the installation process, you will have to disconnect your computer from the internet during the installation process and then disable auto updates after the installation has been completed.
To download an older version of the Logitech G Hub application via the official website, click the download link here. See if that resolves the issue.
4. Clean Install Logitech G Hub
The installation files of Logitech G Hub can be another possible cause of the critical error message. This can happen when the installation files are either damaged or corrupted, preventing the app from working properly. In such a scenario, you will have to reinstall the Logitech G Hub on your system.
However, performing a simple reinstall is not always enough. This is because when you uninstall the app, there are remnants left on your computer that are utilized when you install the app again. Therefore, it is important to perform a clean install where you remove every trace of the application from your system before installing it again. To do this, follow the instructions below:
- First, open the Control Panel by searching for it in the Start Menu.
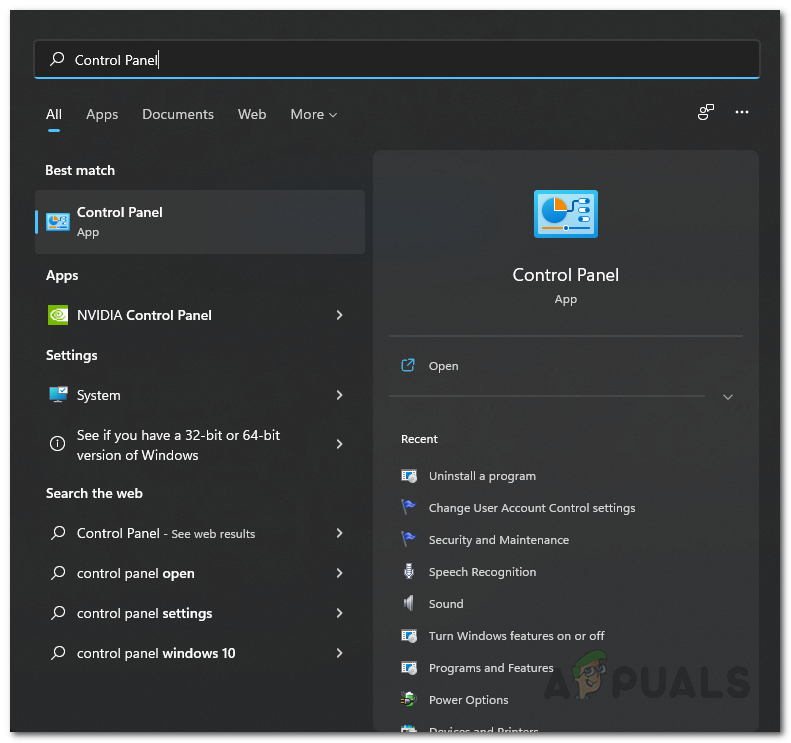
Opening Control Panel - On the Control Panel window, click on the Uninstall a program option.

Navigating to Installed Applications - There, from the list of programs, locate Logitech G Hub and double-click on it to remove it from your computer.
- After that, navigate to the following directories and delete the LGHUB folder in each location:
C:\Program Files\
C:\ProgramData\
C:\Users\<user name>\AppData\Local\
C:\Users\<user name>\AppData\Roaming\
- Once you do that, open the Run dialog box by pressing Windows key + R on your keyboard.
- Type in regedit and hit Enter.
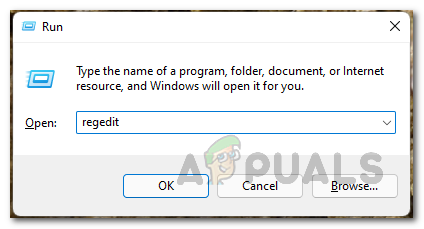
Open Windows Registry - This will open the Windows Registry.
- Delete the following Windows Registry key:
HKLM\SOFTWARE\Microsoft\Windows\CurrentVersion\Uninstall\{521c89be-637f-4274-a840-baaf7460c2b2} - After that, restart your computer.
- Finally, reinstall Logitech G Hub and see if the issue persists.
5. Perform a Clean Boot
If all of the methods have not resolved the issue for you, the problem is likely caused by the interference of a third-party application. This happens when a third-party app is interfering with the Logitech G Hub app, or another program on your computer is accessing your Logitech peripherals, preventing the application from direct access.
In such a scenario, you will have to perform a clean boot to see if that resolves the issue. Clean boot starts your computer with only the required Windows services running in the background. Therefore, all of the third-party services are blocked on startup.
If the problem goes away in clean boot, it will be evident that a third-party app was causing the issue. In such a scenario, you can start activating the services one by one to find the culprit. To perform a clean boot, follow the instructions down below:
- First, open the Run dialog box by pressing the Windows key + R on your keyboard.
- In the Run dialog box, type in msconfig and hit Enter.
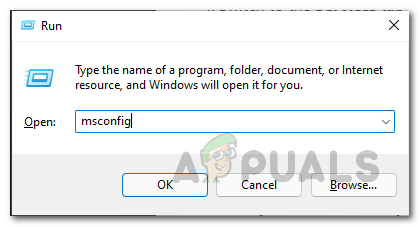
Opening System Configuration - This will open the System Configuration window.
- There, navigate to the Services tab.
- Tick the Hide all Microsoft services checkbox.

Hiding Microsoft Services - After that, click on the Disable all option and hit Apply.
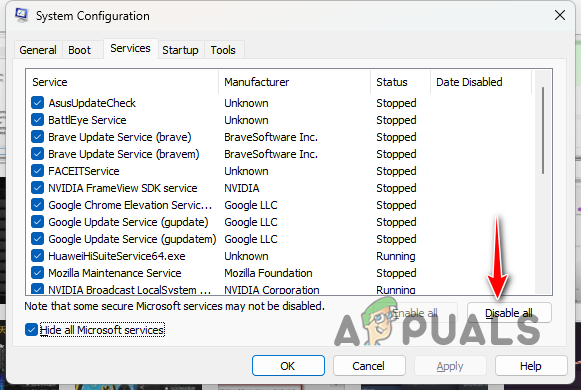
Disabling Third-Party Services - Then, switch to the Startup tab and click the Open Task Manager option.
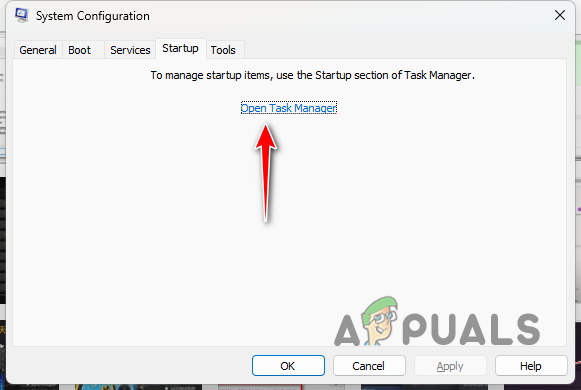
Opening Task Manager - On the Task Manager window, select the apps one by one and click the Disable option.
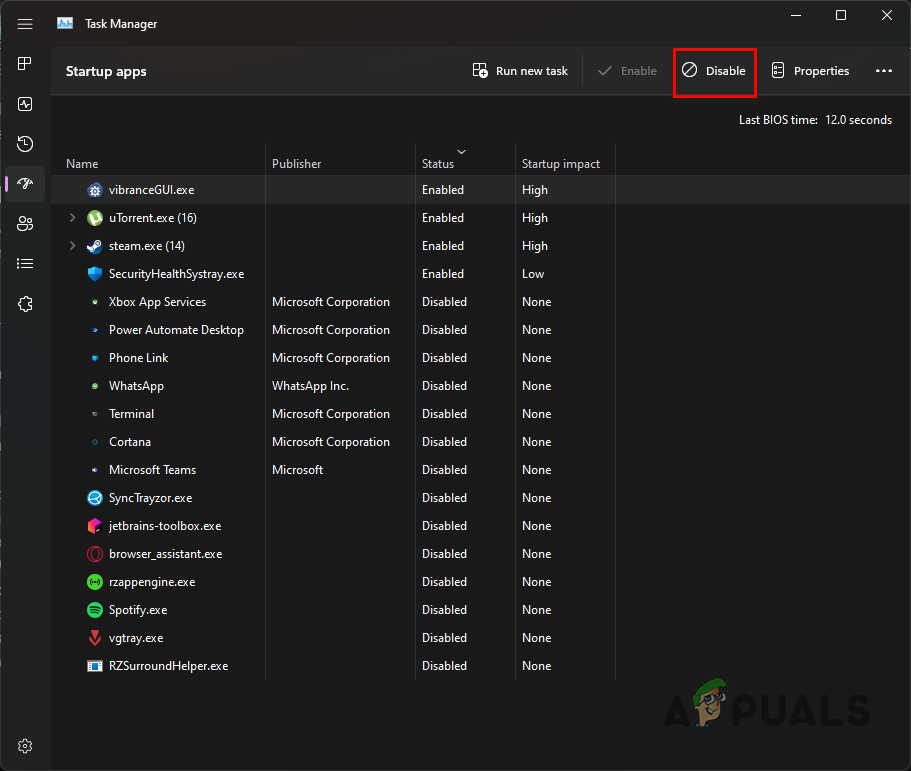
Disabling Third-Party Apps - Once you do that, restart your computer to perform a clean boot.
- After your PC boots up, open the application to see if the problem is still there.
Reviewed by Muhammad Zubyan