How to Fix Intel Killer WiFi 6E AX1675R Not Working?
Intel Killer Wifi 6E AX1675 not working might be caused due to a surge of power, outdated drivers, false configuration of the adapter, or an outdated BIOS. Recently users have reported errors regarding the Intel Killer wifi adapters specifically, but for the most part troubleshooting steps involved in this article will apply to other wifi adapters as well.

After an in-depth investigation of the issues with the intel killer wifi 6E AX1675, We have gathered these few components to be at fault. Before leaning into troubleshooting the problem, take a look over the causes of this error for future ease in troubleshooting:
- Outdated Drivers- The network adapter drivers installed on your computer may either be obsolete or unstable. In such a case, it is advised to reinstall the drivers.
- False Configuration- False configuration on your computer may lead to such issues; we’ll be reconfiguring the settings for our wifi adapter to cure this issue.
- Outdated BIOS- Users have reported cases in which updating their motherboard’s BIOs has fixed this issue. BIOS deals with hardware first-hand, and having an outdated BIOS might lead to a lack of synchronization between hardware and software.
- Power Surge- An unstable flow of electricity to your computer might have damaged your hardware components. Although it is unlikely since most of the time, the computers’ power supply takes the most damage in such cases, performing a power cycle might solve our issue.
1. Perform a Power Cycle
A power cycle is simply turning a computer’s hardware on and off. In our situation, a power cycle will help us reset our network modem’s configuration, which might resolve our issue. Follow these steps to perform a power cycle:
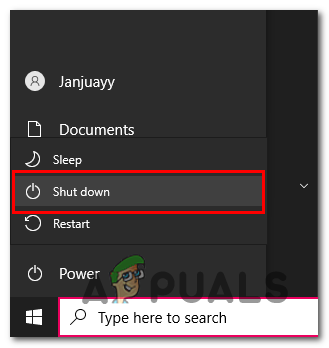
- Press the Windows key on your Keyboard to open the start menu and Click on the Power icon.
- Click on Shutdown.
Performing a power cycle - Remove the power cable from the back of your computer or unplug your charger cable if you’re a laptop user.
- After that, Press and hold the Power button on your Computer/Laptop for 10-20 seconds.
- Also, Turn off your wifi router.
- After a while, Turn on both your computer and the wifi router.
Check if the issue has been resolved; if not, continue to the next step.
2. Enable Wifi Modem in BIOS settings
Your computer’s wifi compatibilities may be disabled from your BIOS; follow these steps to enable wifi settings in BIOS. These Steps may vary depending on your BIOS manufacturer:
- Restart your computer and immediately press the F2 key to open the BIOS settings. Other Common keys to enter the BIOS are F1, F2, F10, Del or Esc. This key may vary from manufacturer to manufacturer, so before restarting, ensure you know the key that opens BIOS setting for your computer.
- Now head over to Peripherals settings and locate WiFi modem settings. Some titles may differ depending on your computer’s manufacturer, so be careful with changing anything.
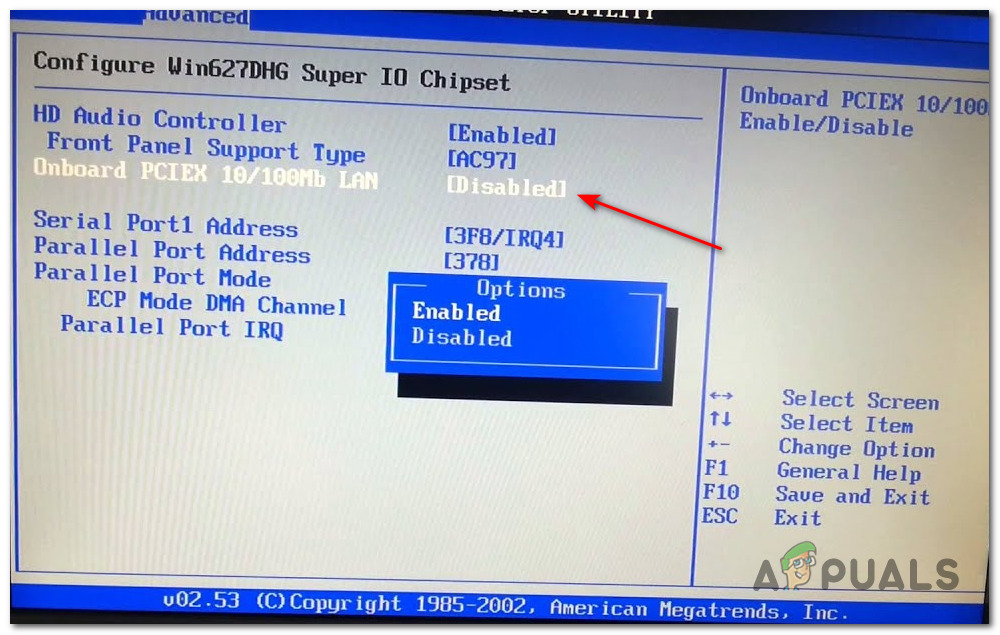
Enabling WiFi modem in BIOS settings - If disabled, enable it and Save changes.
- After that, Boot into your computer.
If the problem persists, continue to the next step.
3. Run Network Troubleshooter
Windows comes built-in with tools that help users troubleshoot surface-level errors with components. To use the windows network troubleshooter, Follow these straightforward steps:
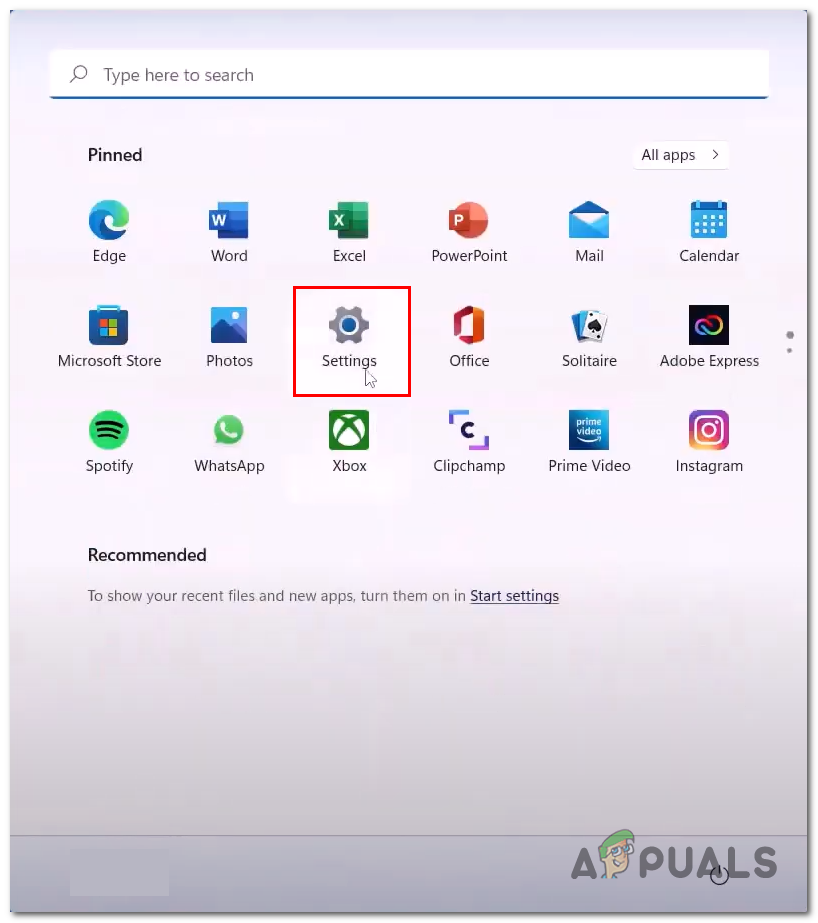
- On your keyboard, press the Windows key to open the start menu. Click on the Settings icon to open settings.
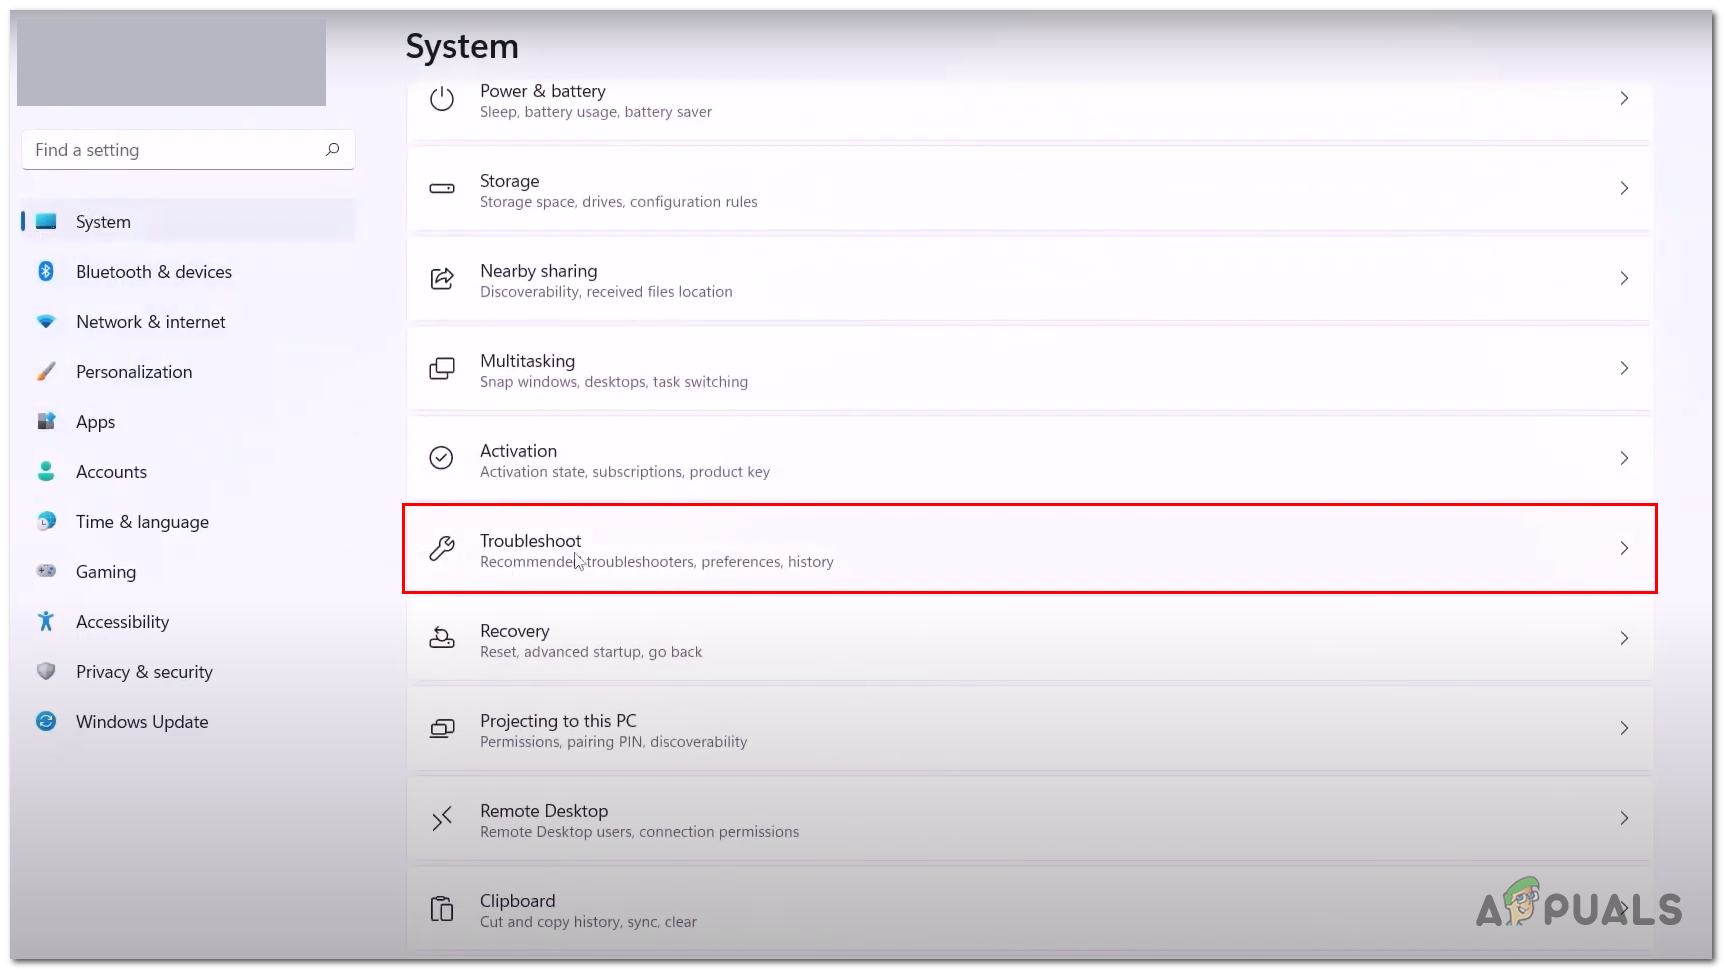
Opening settings in windows 11 - Under the System settings tab, locate Troubleshoot option as shown in the image and open it.
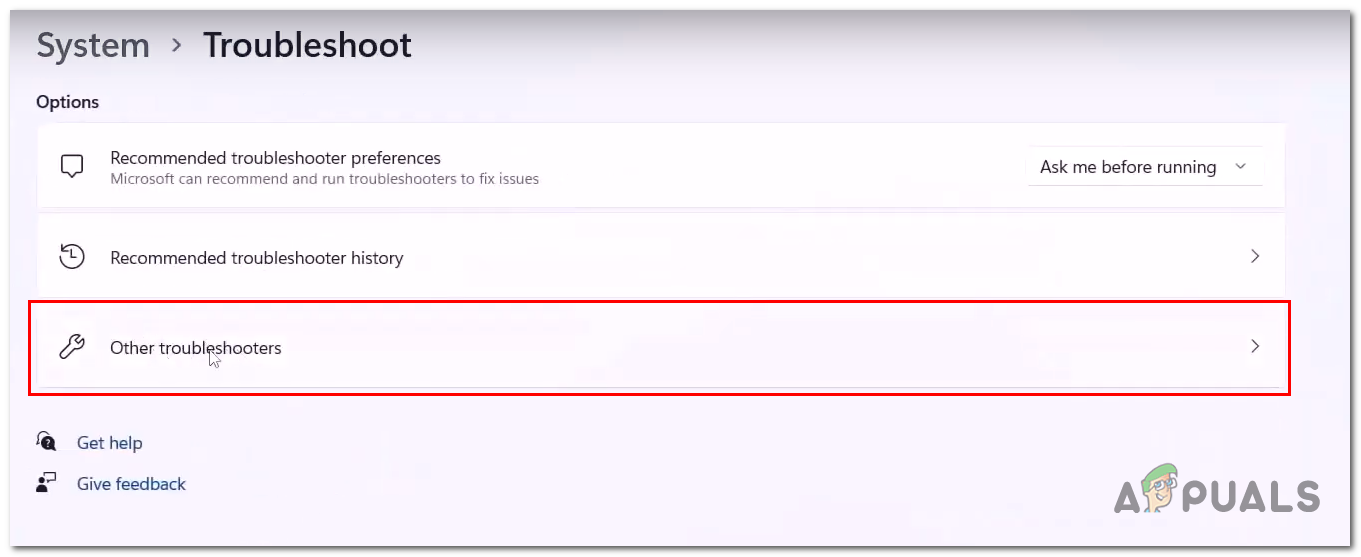
Opening Windows troubleshooter settings - Now, Click on Other troubleshooters.
 Opening Windows troubleshooter settings
 - Scroll down, Click on the Run button located inside the Network Adapter box, as shown in the image below.

Opening Windows troubleshooter settings - After that, wait for a while for the troubleshooting process to finish.
- Once finished, Restart your computer.
After your computer has restarted, try connecting to a WiFi network. If the issue presumes, continue to the next step.
4. Reconfigure connectivity settings
In this method, we’ll apply some commands inside the command prompt. These commands will freshen up our connectivity compatibilities. Follow these steps:
- Press the Windows key on your keyboard, and in the search box, type Command prompt.
- Right-click on Command Prompt, and run it as an administrator.
- Now, Paste the following commands inside of the command prompt terminal:
1) ipconfig /flushdns
2) ipconfig /release
3) ipconfig /renew
4) netsh winsock reset
5) netsh int ip reset
- Once you have successfully run all the commands, Restart your computer.

Resetting network configurations.
5. Disable and Enable your Wifi adapter
In this step, we’ll simply disable and enable our WiFi adapter within the windows device manager. Follow these steps to do so:
- Right-click on the windows icon on the bottom of your screen and click on Device Manager.

Opening device manager on windows - ANow, Click on the Network adapters box to open the drop-down menu.
- Right-Click on your Network adapter. In my case, it is Realtek; this may vary depending on your computer’s manufacturer.
- Click on Disable.
- Again, Right-click on your network adapter and enable it.
- Now, connect to a wifi connection.
If the problem still persists, continue to the next step.
6. Enable WLAN Autoconfig service
It is strongly recommended to enable the WLAN Autoconfig service as it provides ease in connectivity for devices with WLAN hardware. To enable this service on your computer; follow these steps:
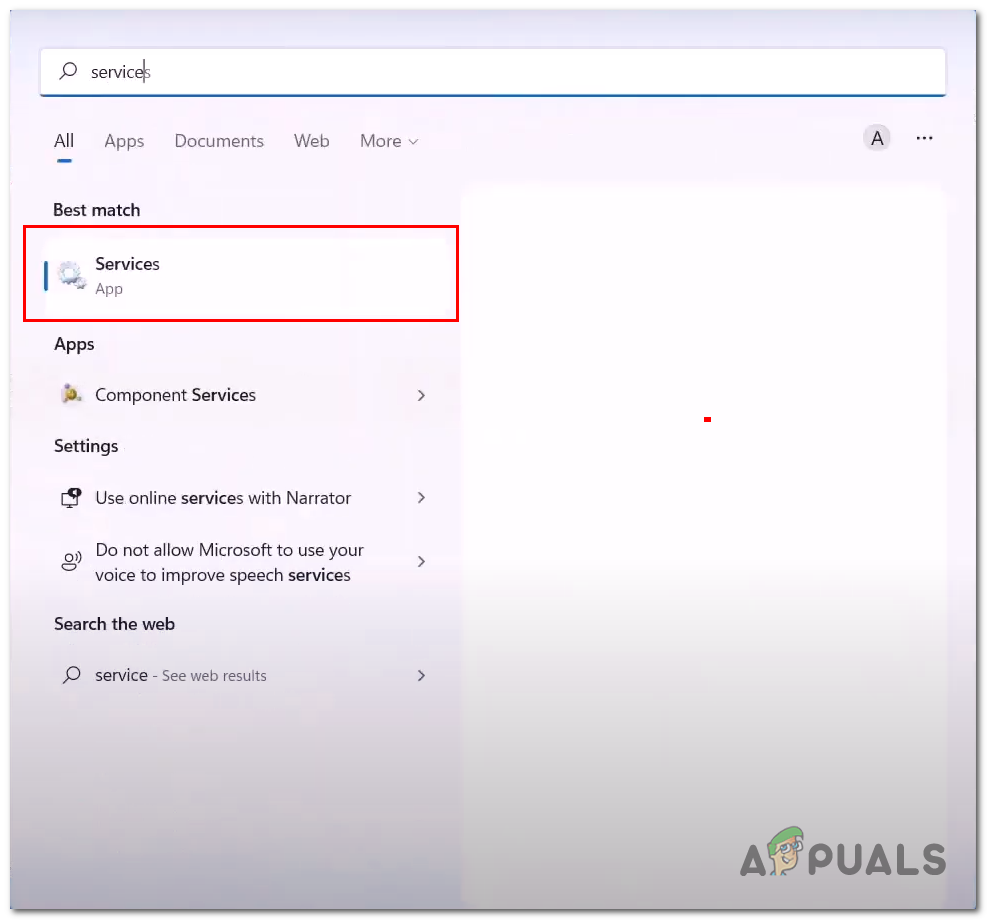
- On your keyboard, press the Windows key to open the windows startup menu, and in the search bar, type Services.
Enabling and starting the WLAN service - Now, Locate WLAN autoconfig, right-click on it, and click on Properties.
- Change the startup type to automatic, as shown in the image below.
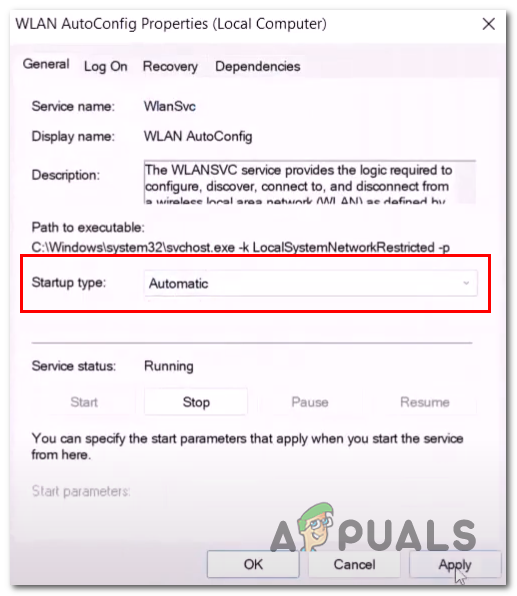
Enabling and starting the WLAN service - Hit apply and click on.
- Now, Right-Click on the WLAN Autoconfig service again and Click on restart.
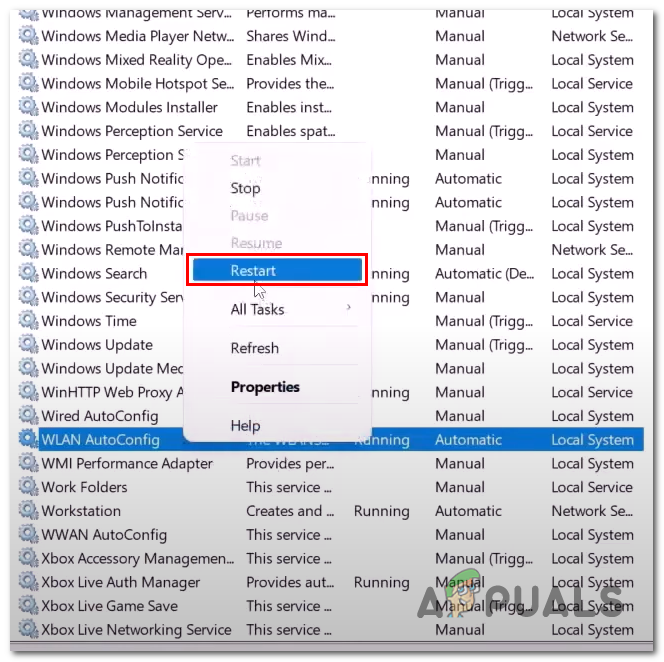
Enabling and starting the WLAN service - Once done, connect to a wifi network.
7. Perform a Network Reset
The network reset feature inside your windows resets any settings made to the network adapter. Follow these steps to perform a Network reset on your computer:
- Press the Windows + I keys simultaneously to open the windows settings.
- Now, on the left side, locate Network and Internet and click on it.
- At the bottom of the window, Click on Advanced network settings as shown in the image.
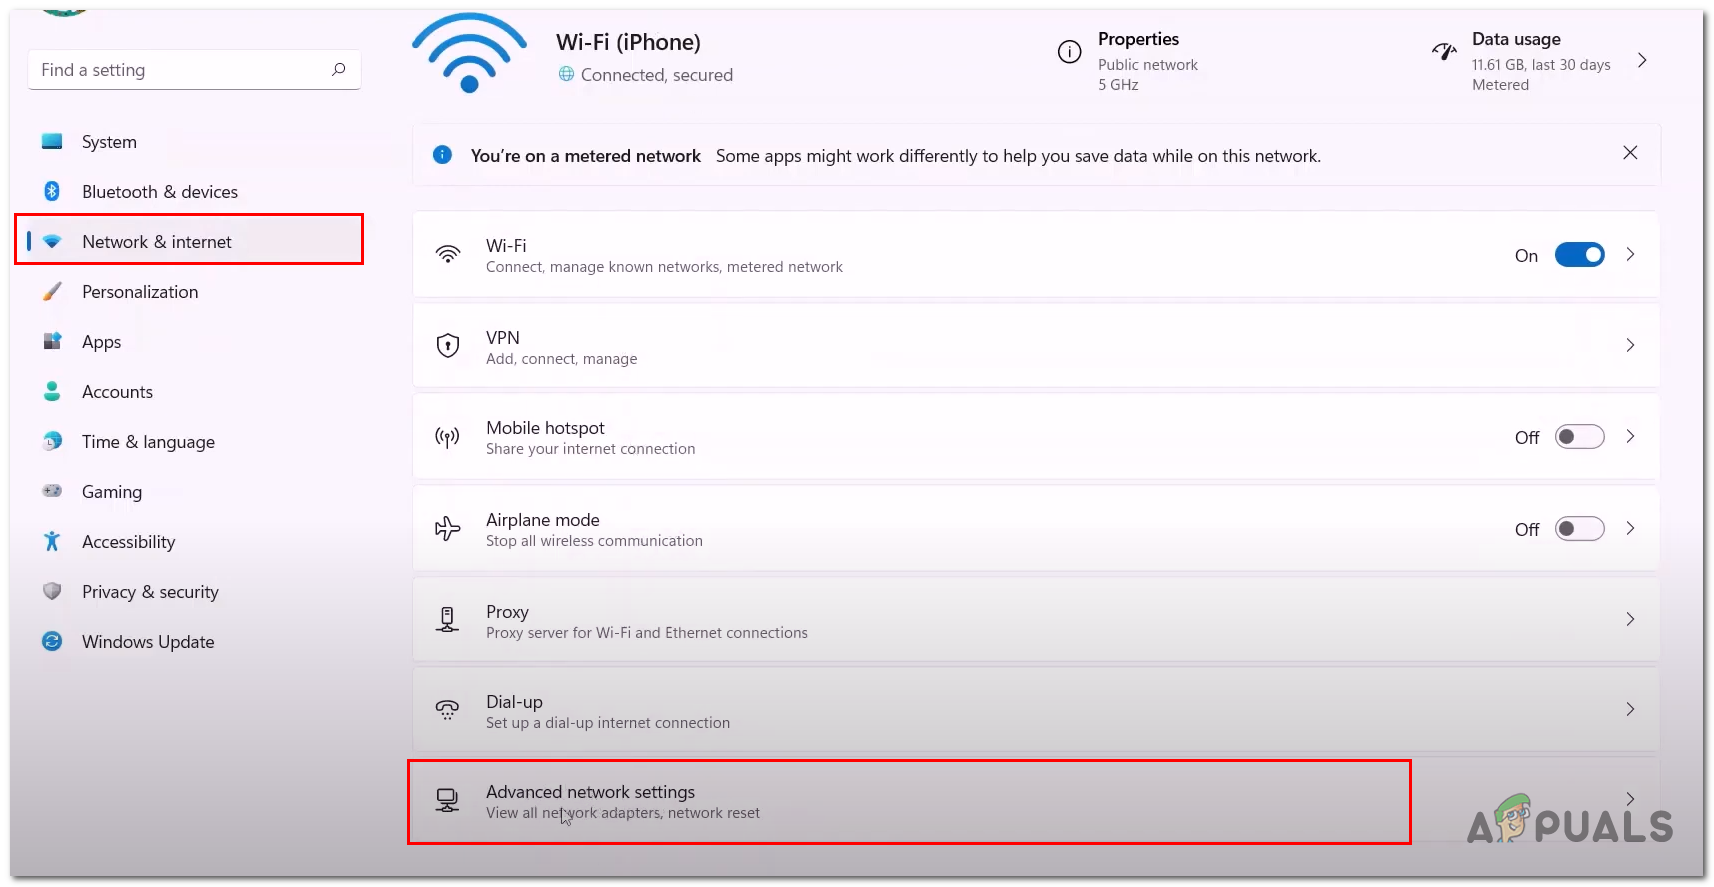
Using the windows tool to perform a network reset - After that, click on Reset Network and then click on Run.
- Once done, your computer will automatically restart.
After the restart, try connecting to a wifi network. If the issue presumes, continue to the next step.
8. Reinstall the Network Drivers
It is possible that the current version of drivers that deal with the network side of things inside of the windows is corrupt. Follow these steps to uninstall and install the network drivers on your computer:
- Right-click on the windows icon at the bottom of your screen, and click on Device Manager.
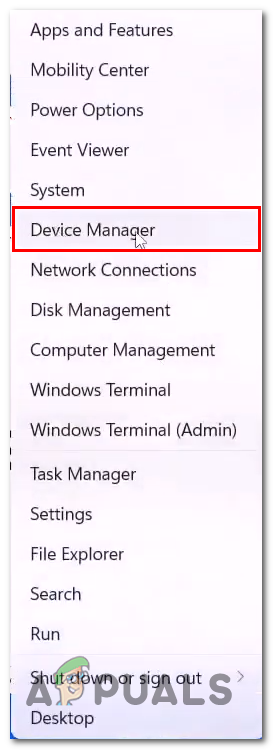
Reinstalling the network drivers - After that, Click on the Network Adapters box to open the drop-down menu.
- Right-click on your Network adapter and click on Uninstall Device.
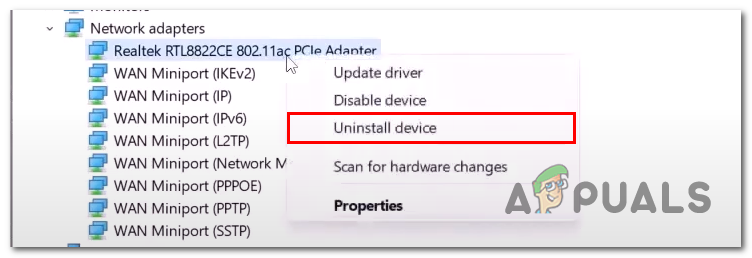
Reinstalling the network drivers - Once uninstalled, Restart your computer.
- Windows will automatically install the default drivers.
Once restarted, try connecting to a WLAN network. If the problem presumes, continue to the next step.
9. Customize Wireless adapter performance settings.
Windows allows users to customize performance settings respective to their power plan. Hardware goes into small and unnoticeable patches of idle state if working on Powersaving mode to save power and consume less power. We’ll be changing our power plan performance settings for our wireless adapter; follow these steps to do so:
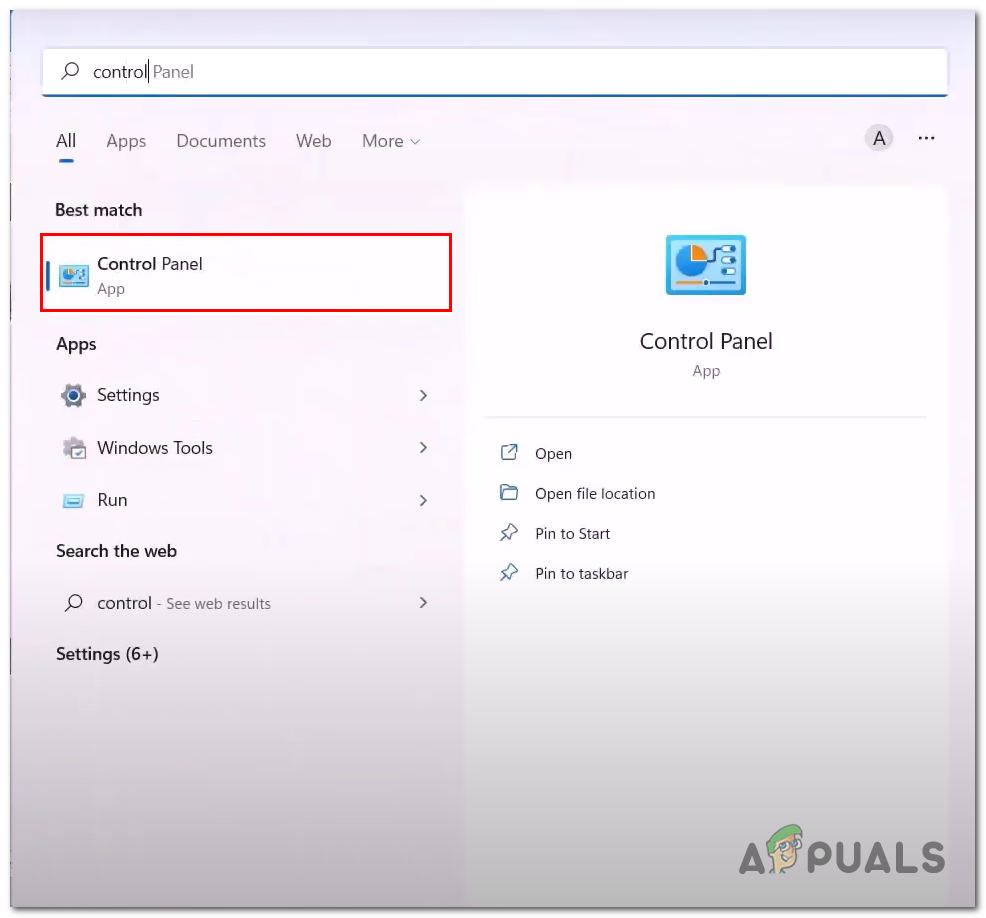
- Press the Windows key on your keyboard to open the start menu. In the start menu search bar, type Control Panel and open it.
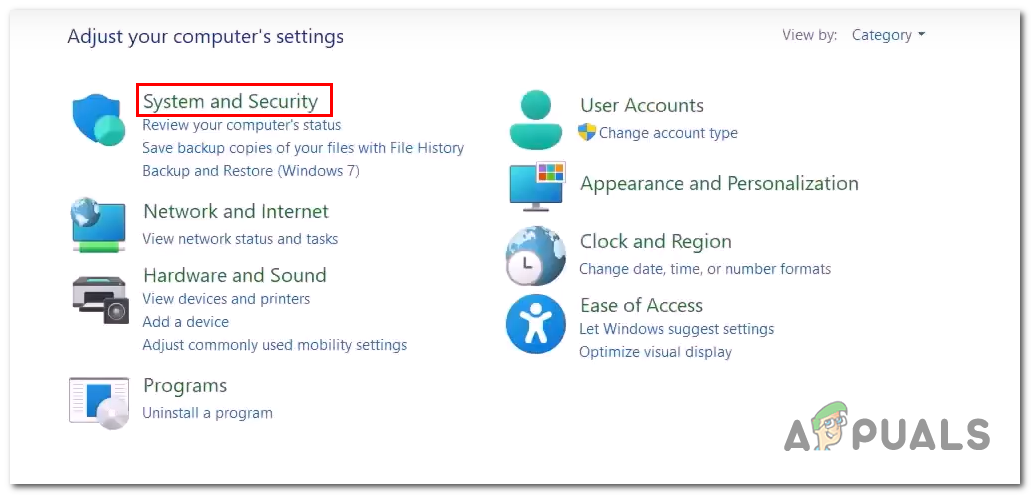
Opening Windows control panel - Click on System and security.
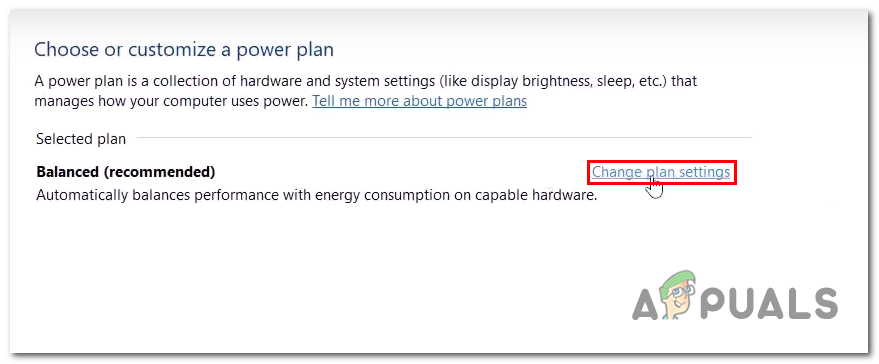
Customizing wireless adapter performance settings - Now, Click on Power Options.
- After that Click on Change plan settings as shown in the image below.
Customizing wireless adapter performance settings - Click on Change Advanced power settings now.
- After that, Click on Wireless Adapter settings.
- Change both the On batter and Plugged in settings to Maximum performance as shown in the image below.
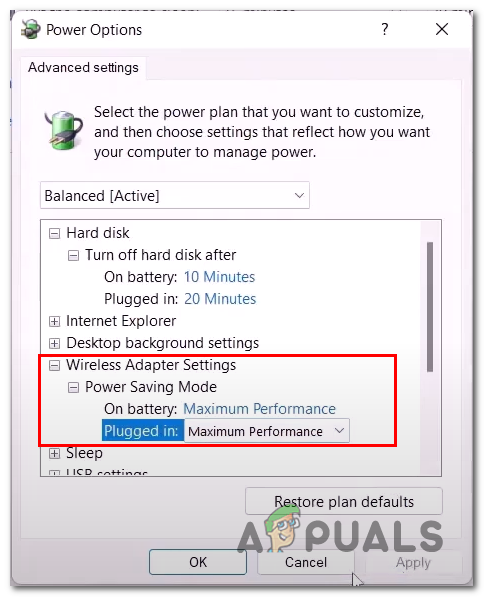
Customizing wireless adapter performance settings - Hit Apply and click Ok.
10. Update System BIOS
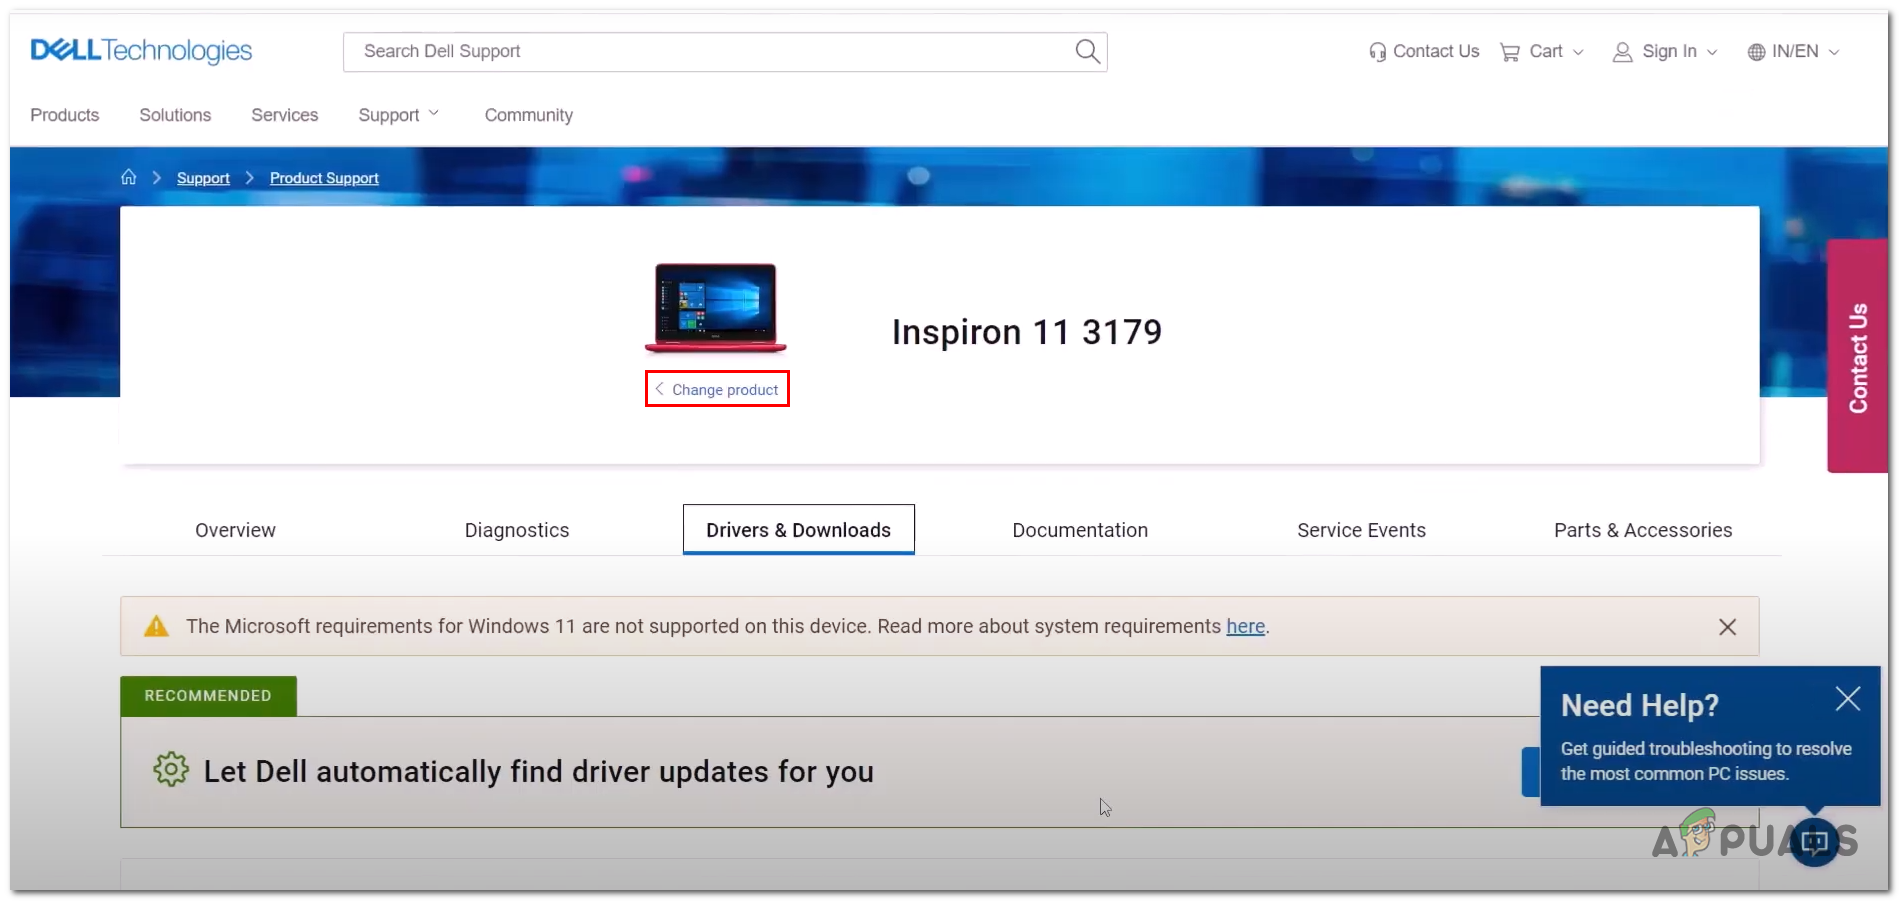
As discussed previously, It is possible you’re facing this issue due to an outdated or faulty BIOS. In such cases it is advised to update the system BIOS. For this process you’ll need either another device to access the internet or just connect your computer to the ethernet via an ethernet connection. Follow these steps:
- Visit your computer’s manufacturer’s website, i have listed a few links that will redirect you to generally used computer manufacturers. If you can not find your computer manufacturer listed below. Just search on google for your manufacturer.
- Once on your computer manufacturer’s website, It will ask you to specify your computer make and model.
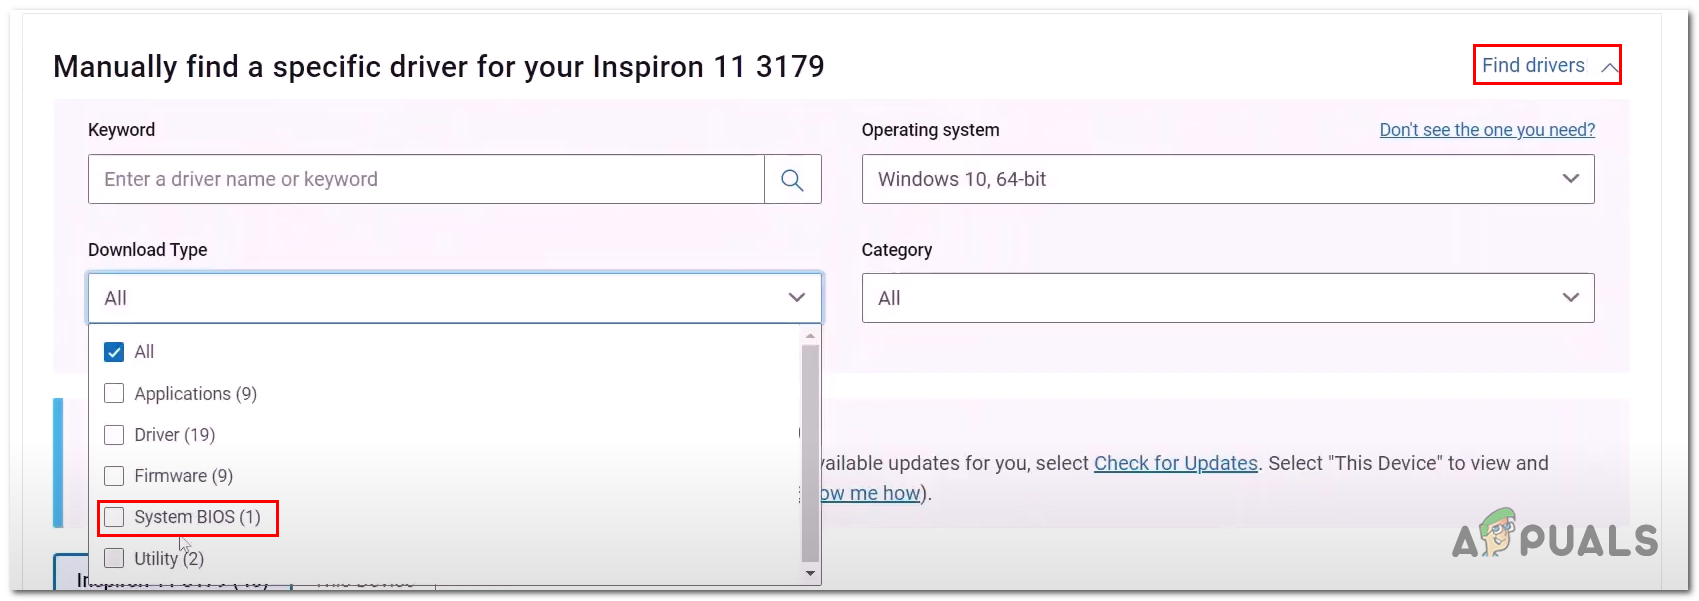
Updating system BIOS - Now, Specify your requirements in our case we are looking for the System BIOS file.
Downloading BIOS File - Now, Download the system BIOS file.

Downloading System BIOS file - Open the file you just downloaded, it will automatically start updating your computer BIOS.
- If you’re a laptop user make sure you have at least 10% battery since you don’t want your computer to power off during the installation procedure as it could cause issues to your computer
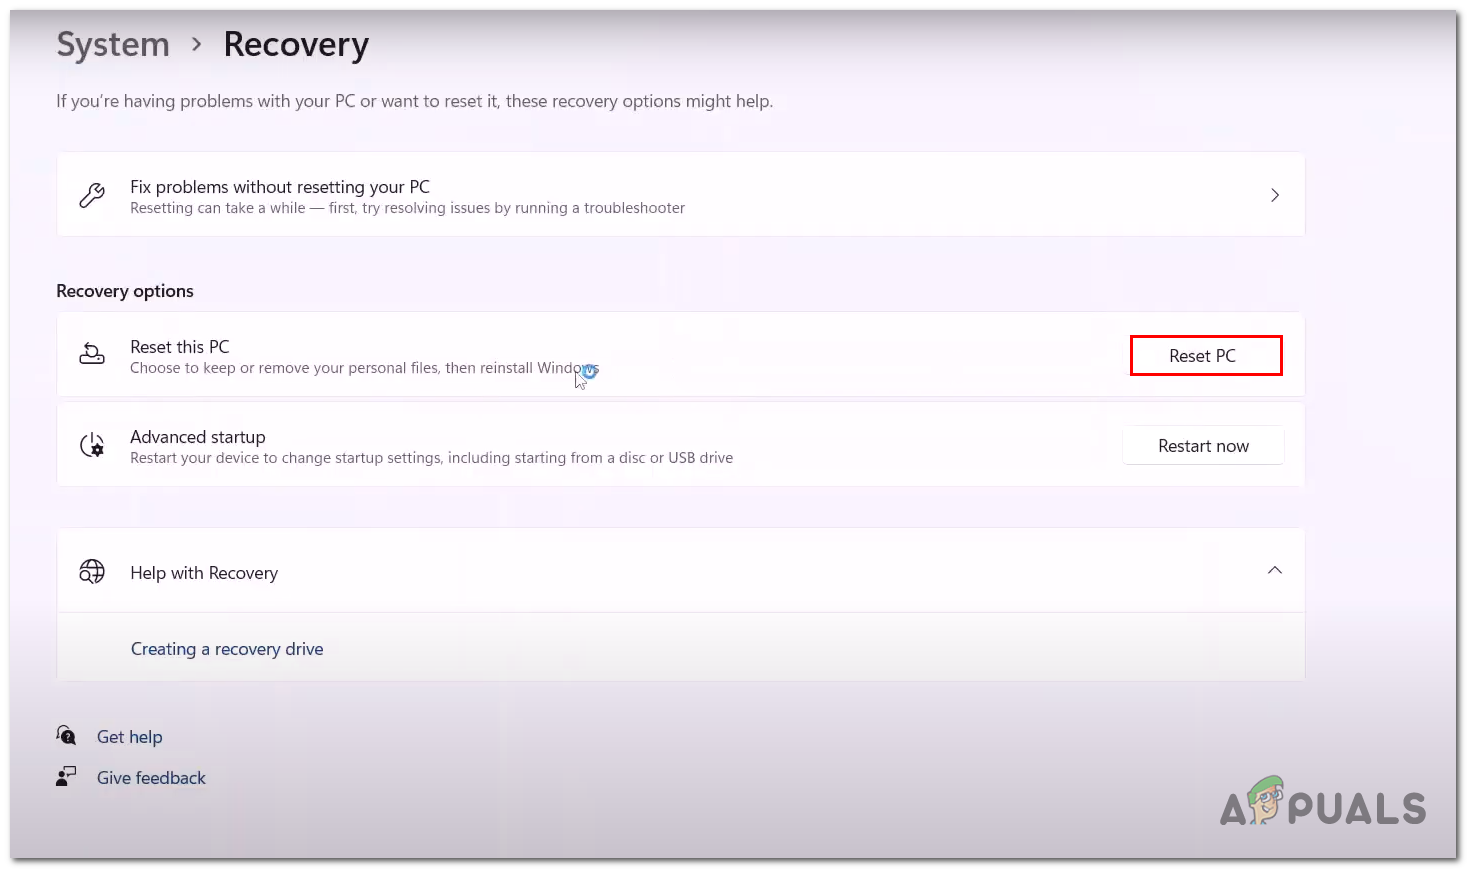
11. Reset Your PC
This is your last resort, you might lose your data so create a backup of your personal data which you can not risk losing. Resetting your computer will allow you to start fresh and may as well fix the issue we are facing with our WiFi adapter. Follow these steps to reset your computer:
- Press the windows key to open the windows start menu.
- In the start menu search bar type Reset this PC.
- Now, Click on Reset this PC.
Resetting our computer - Now, Click on Keep my files.

Resetting our computer - Click on Reset again
- Your computer will restart during the reset process.