Fix: The system cannot contact a domain controller to service the authentication request
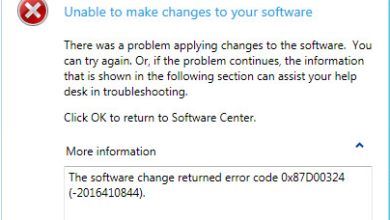
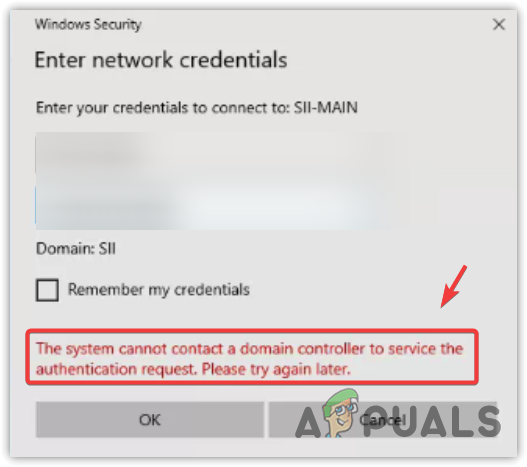
When the error “The system cannot contact a domain controller to service the authentication request” occurs, it typically happens during login attempts to a Windows domain-joined computer, especially when trying to access network resources such as a mapped drive. This issue results in failed authentication because the client computer is unable to establish a connection with the domain controller for verification.
The most common cause of this issue is the domain controller being offline, possibly due to maintenance or a power outage. Other contributing factors may include improper configuration of the client device, network connectivity problems, host server issues, or incorrect DNS settings.
Having discussed the causes, let’s now delve into the solutions to this error.
1. Check for Errors in Windows Event Viewer
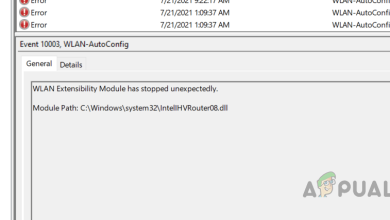
To gain insight into the cause of this error, it is wise to first consult the Windows Event Viewer for any domain controller-related errors.
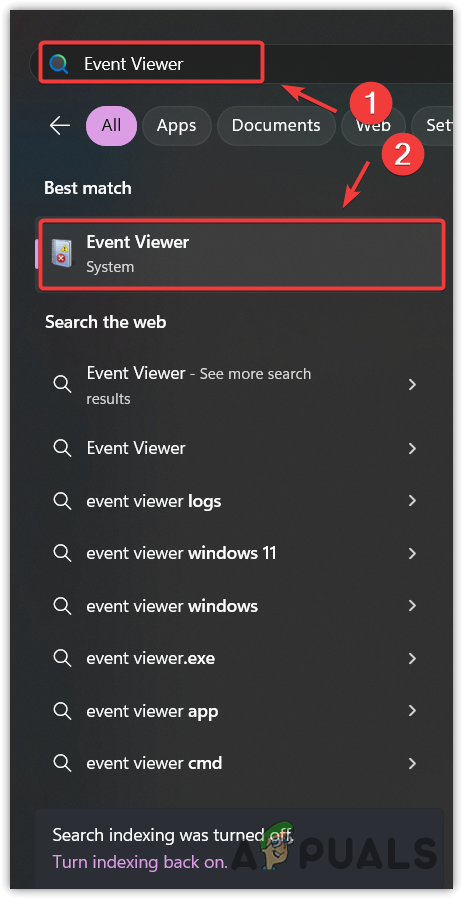
- Press the Win key, type Event Viewer, and press Enter to open it.
- Expand the Windows Logs section and select System.
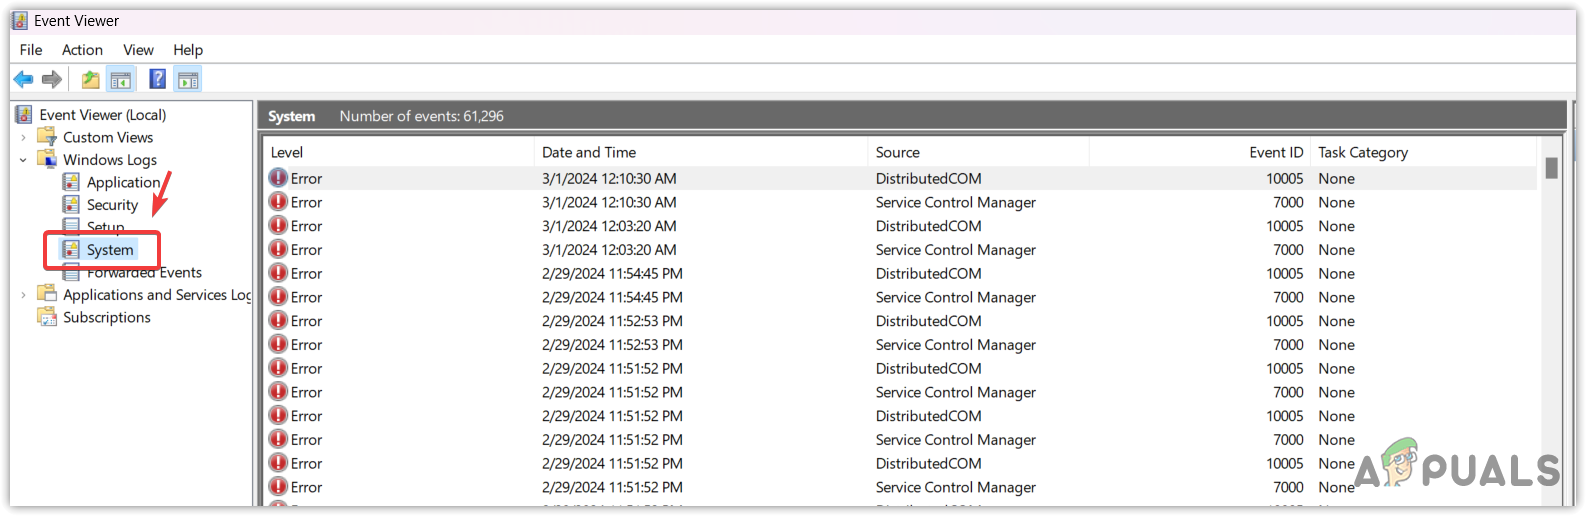
- Focus only on the events that contain keywords associated with a domain controller and have sources such as DNS.
- Upon locating an appropriate event, analyze the event ID. If DNS is not configured properly, you might see an Event ID that indicates an issue with DNS resolution for the domain.
2. Ping the Hostname and DC (Domain Controller) from the Client Device
It is recommended to start by checking the basics before proceeding with more complex troubleshooting steps. Pinging the DC (Domain Controller) from the affected device will help verify whether the DC is reachable.
2.1 Domain Controller
- On the DC, open the Command Prompt.
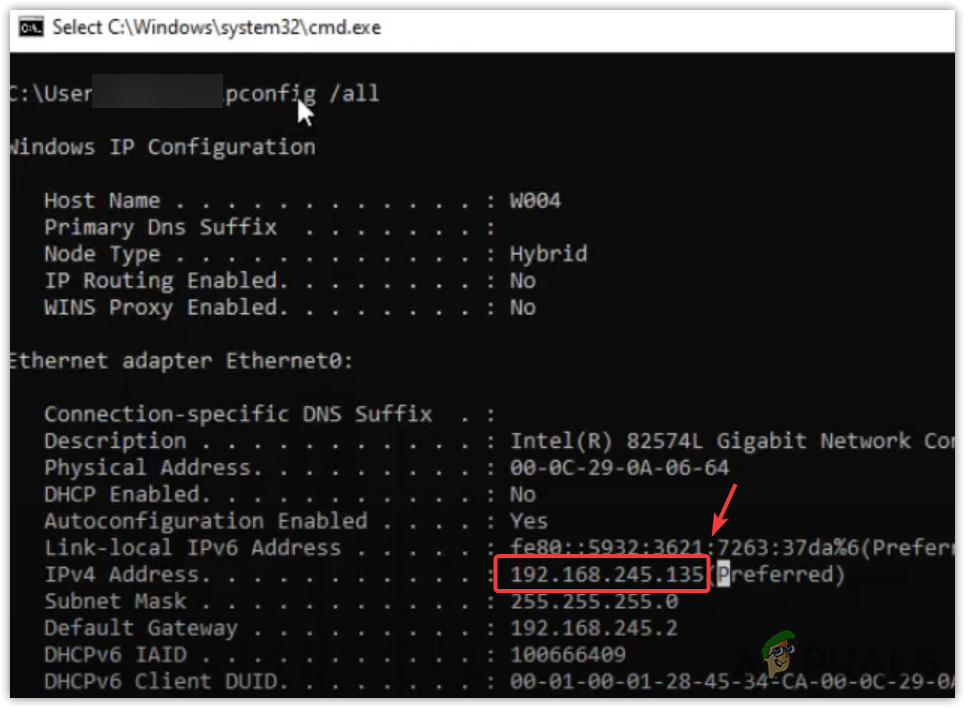
- Type the following command to display network details:
ipconfig/all
- Note the IPv4 address to use later on the affected device.
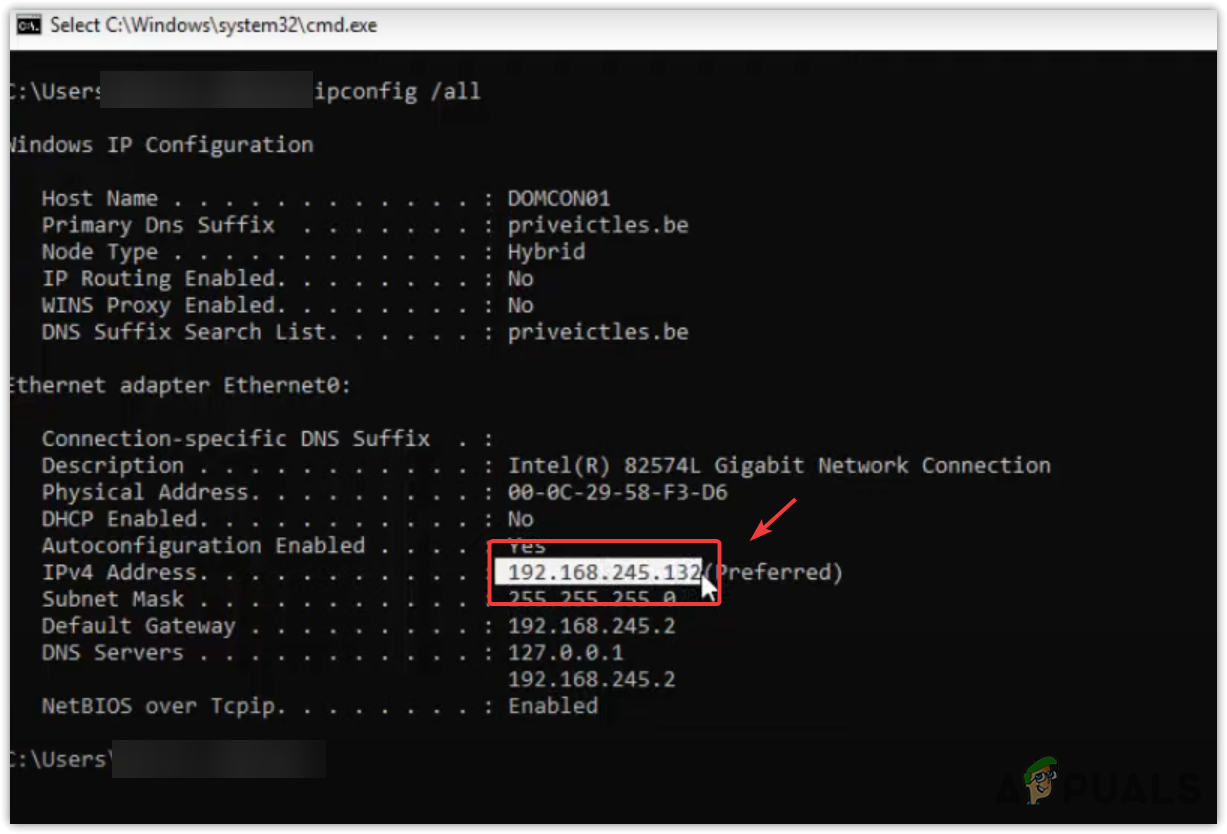
- Also, remember the hostname so you can ping it from the affected device along with the IPv4 address.
2.2. Affected Device
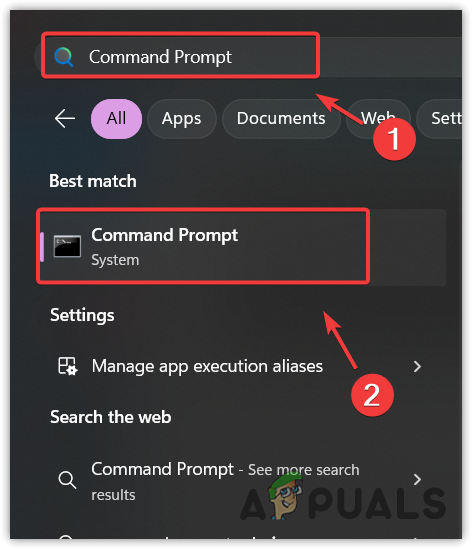
- Click the Start Menu and search for Command Prompt.
- Press Enter to launch the Command Prompt.
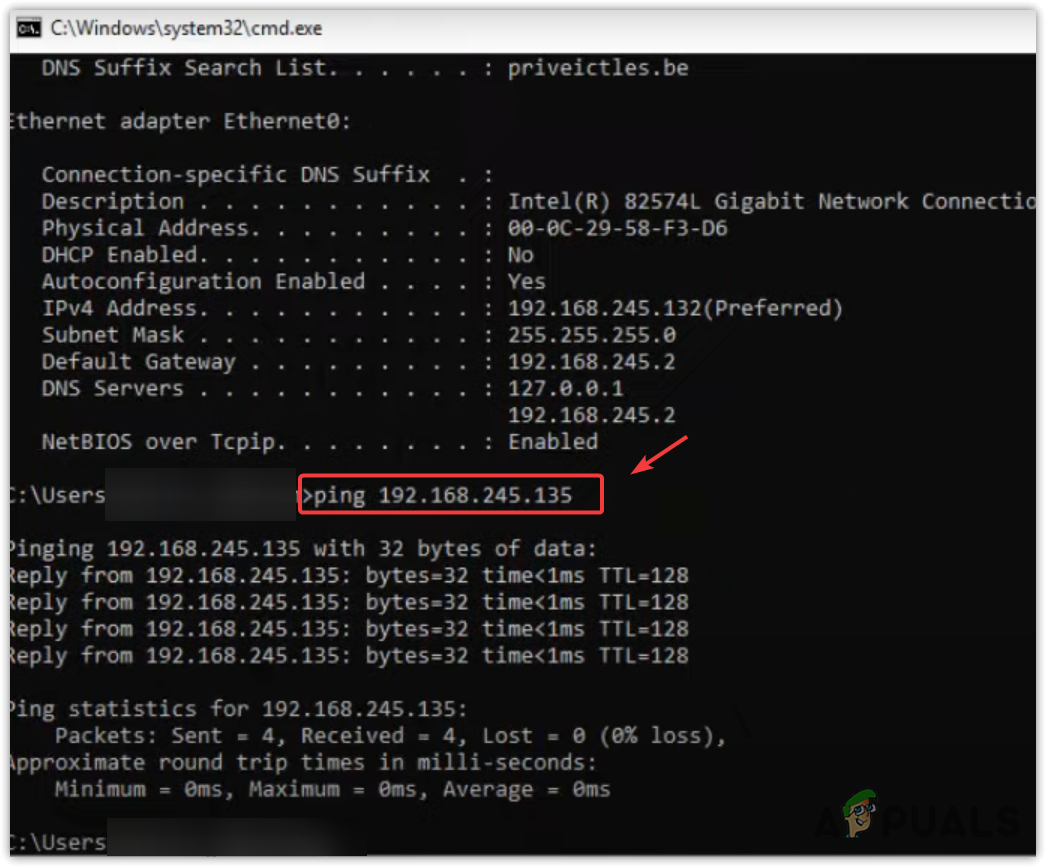
- Type ping followed by the DC IP address you copied earlier.
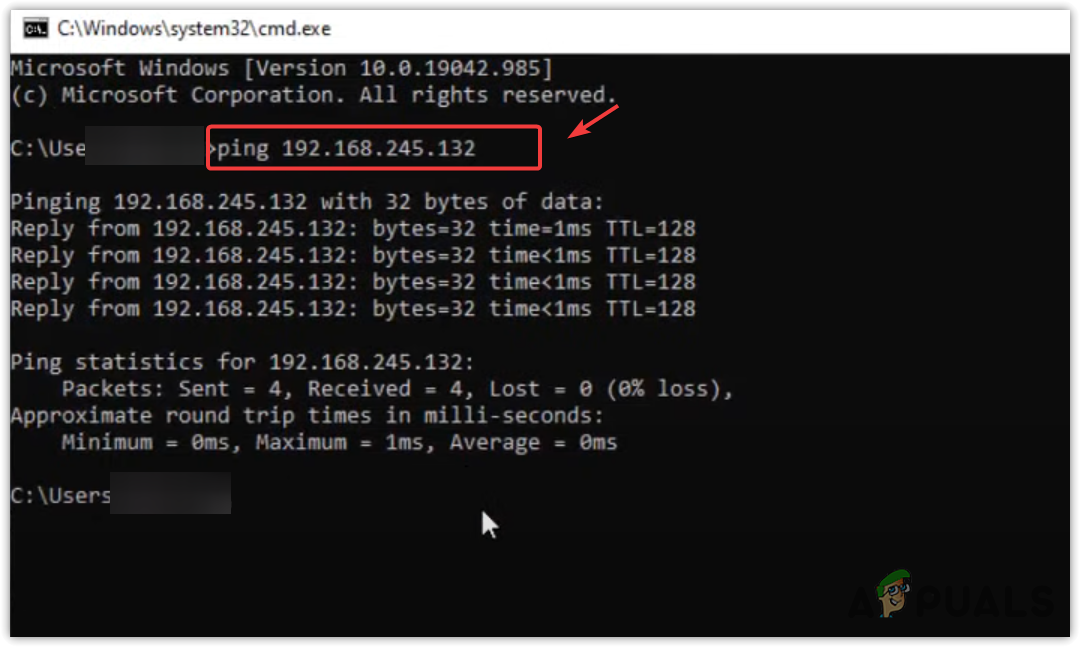
- Ping the hostname by typing ping followed by the hostname.
- If the DC is accessible, verify that it can also reach the affected device.
3. Ping the Affected Device from the DC (Domain Controller)
Having pinged the DC, the next step is to try pinging the affected device from the DC to ensure connectivity.
3.1 Affected Device
- Press the Win key and search for Command Prompt.
- Press Enter to enter the Command Prompt.
- Execute the command ipconfig/all by pressing Enter.
- Copy the IPv4 address to use in the next steps on the Domain Controller.
3.2 Domain Controller
- In the Command Prompt on the DC, ping the affected PC by typing:
Ping <copied IPv4 address>
- If the DC can reach the client PC, this suggests that the issue lies with your DNS settings.
4. Configure the DNS on the Affected Device Correctly
Given that the DC and the client PC can communicate with each other, it is highly likely that your DNS settings are not properly configured.
Your DNS settings may be defaulting to those of your router rather than those of your domain, preventing the affected PC from accessing the DC and causing this error. Therefore, updating your DNS settings is necessary to resolve the domain when connecting to the DC.
4.1 Domain Controller
- Once more, open the Command Prompt on the DC and enter ipconfig/all.
- Note the IPv4 address and then proceed with the instructions on the affected device.
4.2 Affected Device
- Access the Control Panel by typing it into the Start Menu.

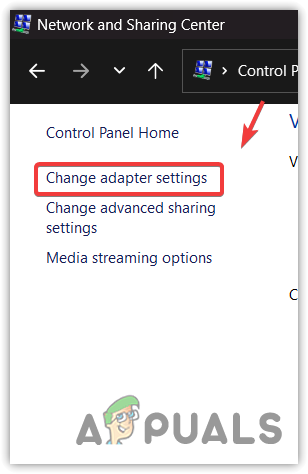
- Go to Network and Internet > Network and Sharing Center.
- From the left sidebar, click on Change Adapter Settings.
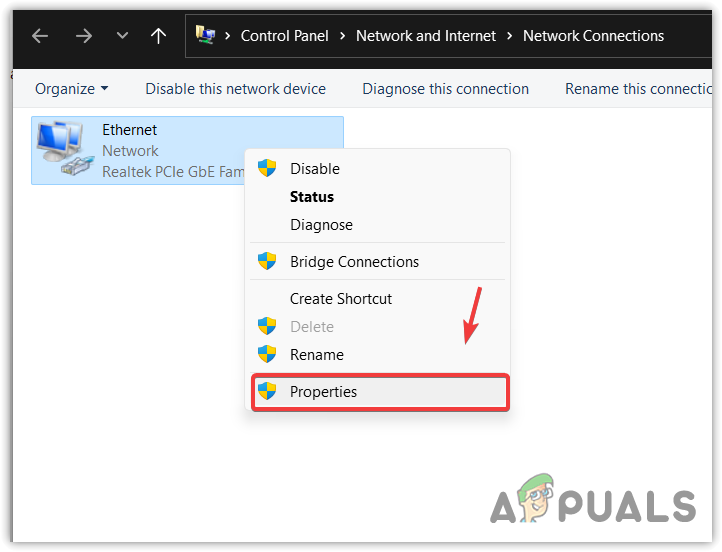
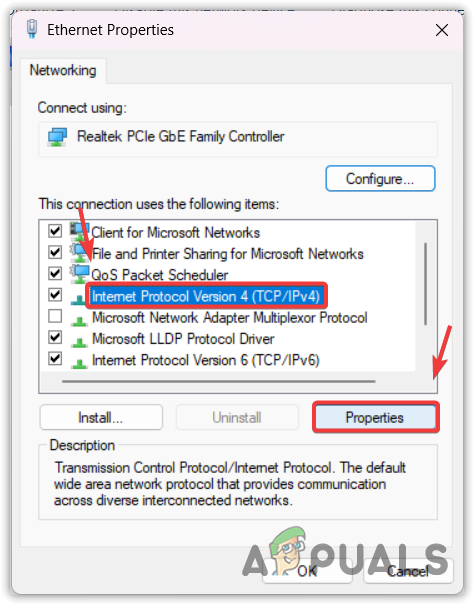
- Right-click your Network Adapter and choose Properties.
- Select Internet Protocol Version 4 (TCP/IPv4) and click on Properties.
- Opt for Use the following DNS server addresses.
- In the Preferred DNS Server field, enter the IPv4 address you recorded earlier.
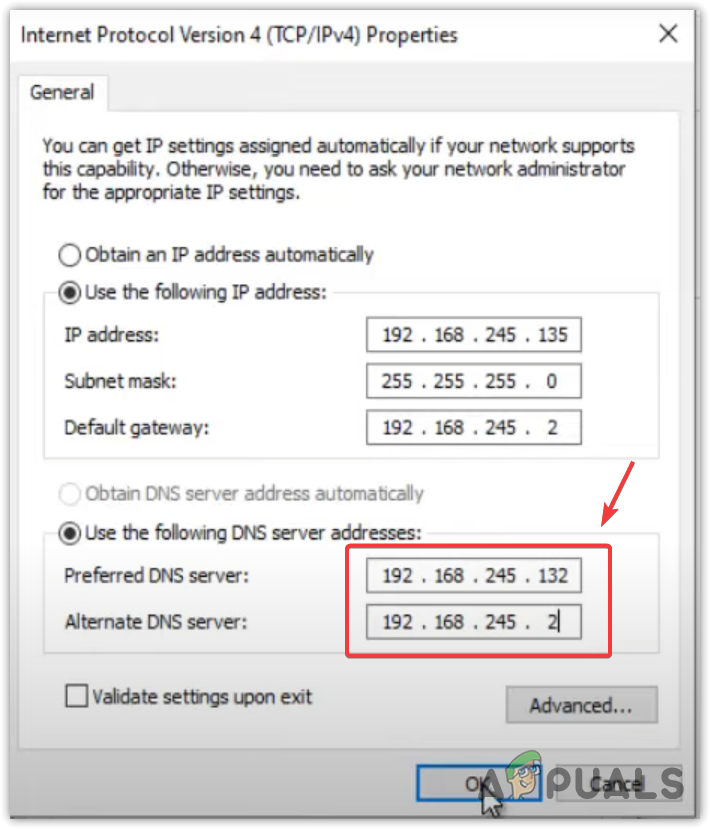
- For the alternative DNS, input 8.8.8.8.
- Click OK to save the changes.
- Attempt to connect to the DC from the affected device again; it should now be successful.