How to Install Realtek Microphone Drivers
Realtek is a Chinese based producer of Microchips and they currently produce and distribute Communication Network ICs, Computer Peripherals ICs, and multimedia ICs. Most motherboard manufacturers purchase ICs from them for different components of the computer. One of those components might be Audio Chips. The Audio chips require the latest drivers in order to work properly.

The drivers are sometimes installed automatically by the operating system but in some cases, they need to be downloaded and installed manually. This can be a problem for some users as these drivers are not available in the Windows’ update and they have to be downloaded manually. Therefore, in this article, we will teach you the easiest method to download and install these drivers on your computer.
How to Install Realtek Microphone Drivers?
Realtek is a Chinese based company and their website only offers the drivers for the ICs. However, these drivers can’t be installed on all motherboards due to additional customizations made to each board to enhance performance. Therefore, it is recommended to try and find the drivers on your board manufacturer’s website. But if you can’t find a driver for your board, you can follow the steps below to download and install a universal driver. The driver might not provide the performance enhancement provided by the manufacturer but it will still work correctly.
- For 32-bit operating system click here and for 64-bit operating system click here.
- Wait for the downloading process to finish and click on the executable.
- Follow the onscreen instructions to install the drivers on your computer.
- Restart the computer in order to finish the installation process.
- In order to check if the drivers have been installed properly, press “Windows” + “R” to open the Run prompt and type in “devmgmt.msc“.
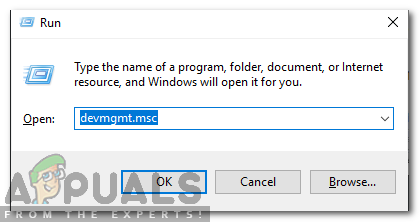
Typing “devmgmt.msc” in the run prompt. - Press “Enter” to open the device management window.
- Double click on the “Sound, Video and Game Controllers” dropdown and check to see if “Realtek HD Drivers” are listed there.
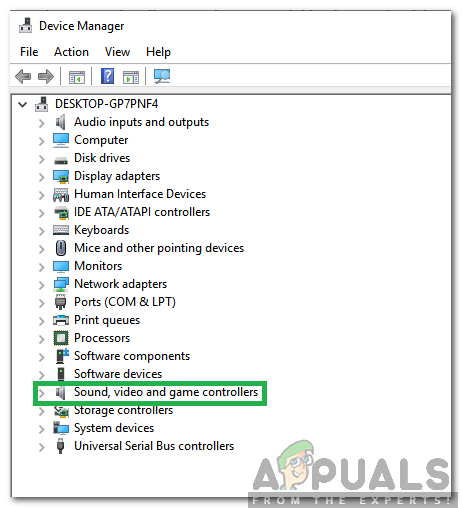
Double-clicking on the “Sound, Video and Game Controllers” option - In order to enable the drivers, right-click on the speakerphone icon in the system tray and select Sounds.

Right-clicking on the speakerphone and selecting “Sounds” - Click on the “Recording” tab and right-click on the “Realtek HD Audio Device” option.
- Select “Enable“, click on “Apply” and then on “OK” to save your changes.

Right-clicking on “Realtek HD Audio Device” and selecting Enable - The drivers have now been installed and enabled.