How to Change DNS in Windows
Domain name system or commonly known as DNS is a system that translates domain names into IP addresses. Whenever we write a website’s URL into the address bar of our web browser, the browser sends the URL to the default DNS server, the server then translates the URL into an IP address and the contents of that IP address are retrieved back to your web browser. The only reason why domain name system exists is because domain names are fairly easy to remember while trying to remember IP addresses is quite hard. DNS serves as a phone book; it binds a domain name to its respective IP address.
Why do we need to change DNS server?
Usually, your Internet service provider(ISP) provides default DNS server for your internet connection, but it can get slow due to high loads, which can cause slow browsing. Your ISP can also track your internet activity through your DNS, and also block websites through it. The only way to avoid all these problems is to change your primary DNS server with custom one.
Top three fastest DNS servers.
These DNS servers provide fast browsing speeds and they do not track your internet activity either. They are free to use, so you can use any of these without any problems.
- Google’s public DNS server: Google’s DNS server is a free alternative for a fast and secure browsing. To use Google’s DNS you will need to use the following address
Primary DNS server: 8.8.8.8
Secondary DNS server: 8.8.4.4 - OpenDNS’s public DNS: OpenDNS provides both free and paid DNS servers, even though the paid one comes with some additional benefits, the free one is not bad either.
Primary DNS server: 208.67.222.222
Secondary DNS server: 208.67.222.220 - Norton connect Safe’s public DNS: Norton doesn’t only provide virus protection; it also provides DNS service. Norton offers three different packages each with its own uniqueness. But the free ones are the most commonly used.
Primary DNS server: 199.85.126.10
Secondary DNS server: 199.85.127.10
How do we change the DNS server?
There are a number of ways to change your default DNS server, you can either change the DNS of your PC from the network settings or you could change the DNS settings from your router so that your whole internet connection uses a single custom DNS. Here’s how to get it done.
- Through the Network settings: The easiest way to change both your primary and secondary DNS is through the network settings. You can get this done in a few clicks
- Through the CMD: you can also change the DNS servers from the command prompt.
- Through the router’s settings: If you want to change the DNS server of your whole internet connection, then you can change the DNS from your router’s settings.
Method 1: Change the DNS server through the Network Settings
The simplest way to change your PC’s DNS server is through the Network Settings. To do this you must:
- Right click on the Network icon in the system tray.
- Now click on the Open Network and Internet Settings.
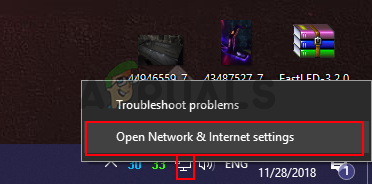
Open Network & Internet settings - Now under the Change your network settings panel, you must click on Change Adapter Settings. This will open up the Network Connections folder.
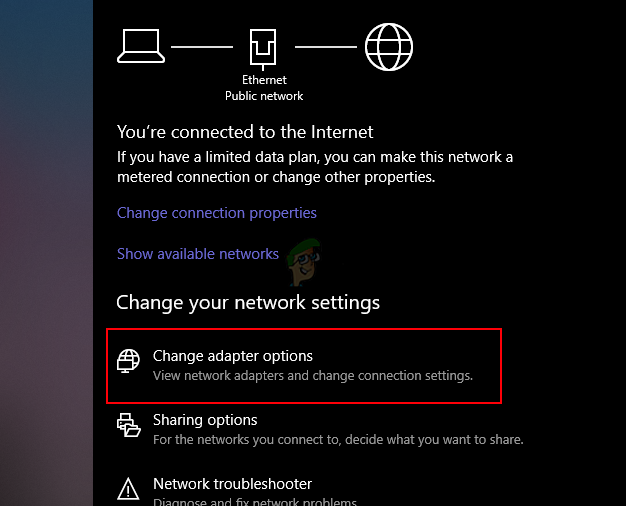
Choose Change adapter options - In the Network Connection folder, you need to find your primary network connection and right click on it, and then click on Properties.
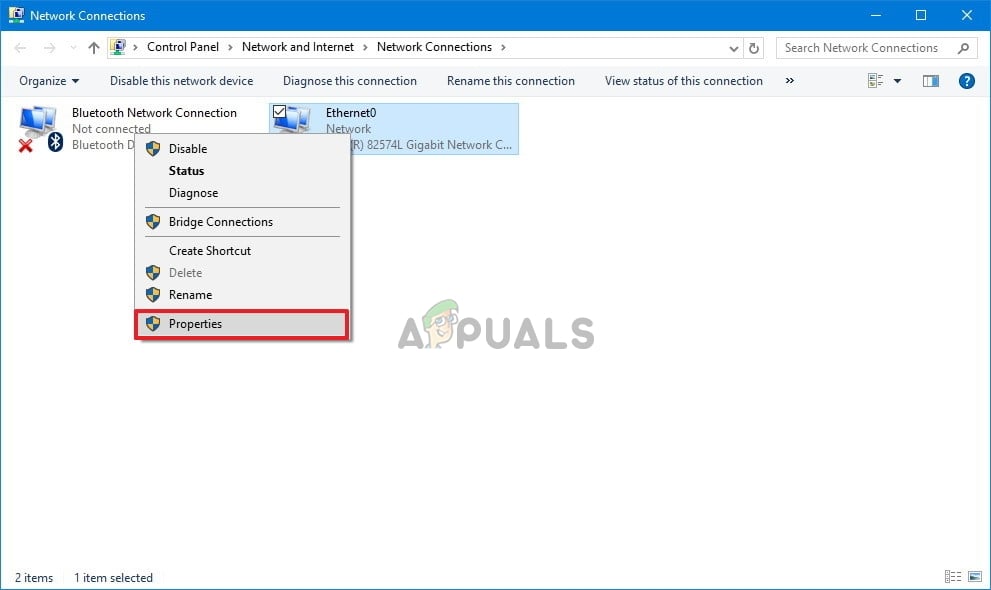
Choose the Properties of the primary network - Here you will need to find the Internet Protocol Version 4 and open its properties by first selecting it and then clicking on the Properties button.
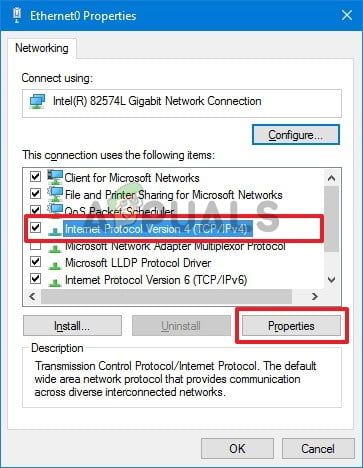
choose Internet Protocol Version 4 and click Properties - Now choose the Use the following DNS server addresses radio button and now enter the primary and secondary DNS servers of your choice and click OK.
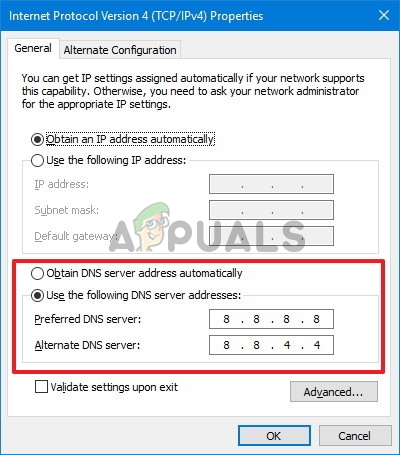
Choose Use the following DNS server addresses and write the addresses - Now click Close to apply the new DNS settings.
Method 2: Using the Command Prompt to change the primary and secondary DNS server
This method will allow you to change your DNS server using the Windows command prompt, you will need to use some commands to get the job done.
- On your keyboard, press Windows + R keys and the Run Dialog box will appear, type CMD and press Ctrl + Shift + Enter to open the Command Prompt with administrative privileges. Press Yes If prompted by the UAC.
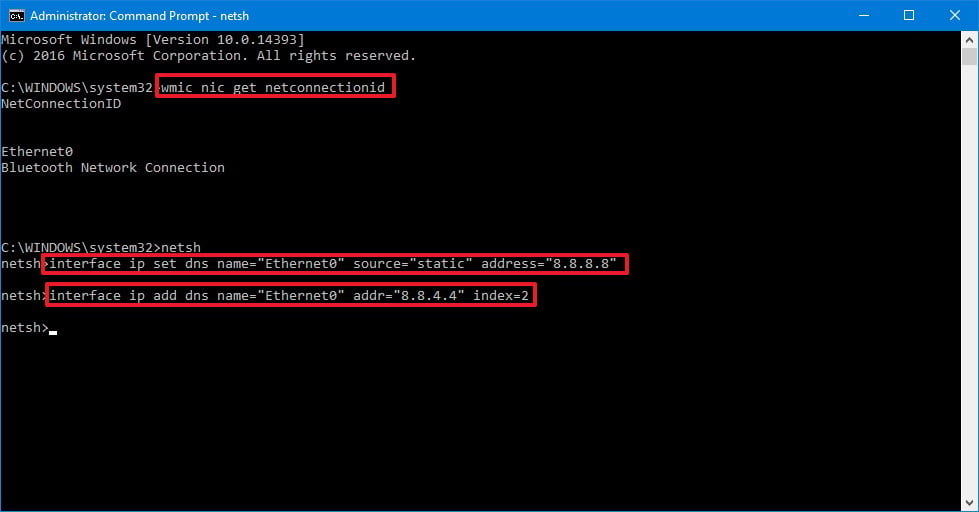
- Now once the Command Prompt is open, type the following and press Enter to show the name of your primary network connection, remember the name, as you will need it later on.
wmic nic get NetConnectionID
3. Now type the following command and press Enter to change the network settings.
netsh
4. Type the following command and press Enter to change your primary DNS server:
interface ip set dns name="ADAPTER-NAME" source="static" address="X.X.X.X"
Remember to change the “ADAPTER-NAME” with your adapter’s name that you got in the second step, also change “X.X.X.X” with the required DNS server address.
5. Now type the following command and press Enter to change your secondary DNS server address:
interface ip set dns name="ADAPTER-NAME" source="static" address="X.X.X.X" index=2
Method 3: Changing the DNS server from the router’s settings
If you want to change your DNS from the router, then the step will vary according to the model of your router but the overall options would be the same. You will need to know the IP address, username and the password of your router, all these details are written on the back side of your router.
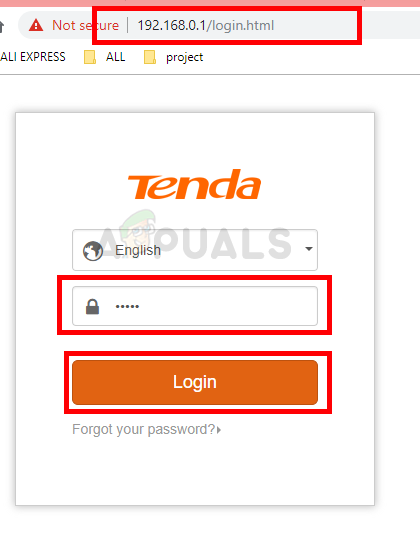
- Open your web browser, type the IP address of your router in the address bar and press Enter.
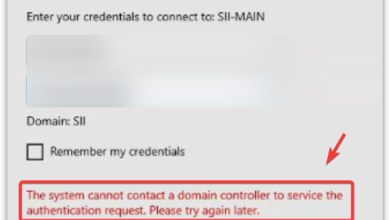
- The Router might ask for the username and password, put the credentials and press Login.
Username and password - Now depending on your router’s model, the DNS settings will either be under the Administration tab or the Advanced Lan Parameter tab.
- Write the preferred and the alternative DNS servers and press OK to save the settings.

DNS servers - Reboot your router to let the changes take effect.
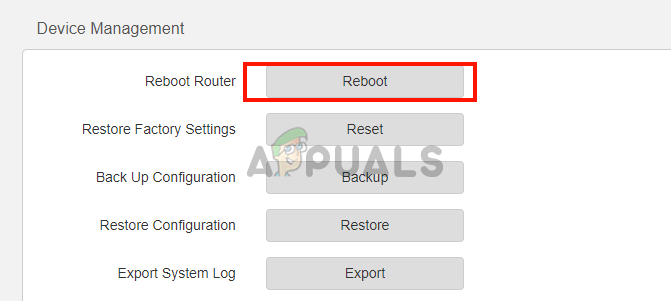
Reboot the router