How to Fix High CPU Usage by .NET Runtime Optimization Service?
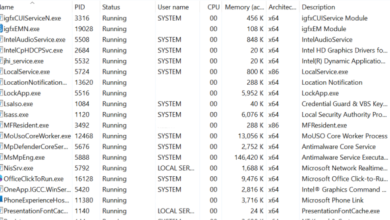
High CPU Usage by NET Runtime optimization service can occur unexpectedly but may also surface following an update to the .NET Framework. The related process, identified as mscorsvw.exe, appears in the Task Manager as that name or as .NET Runtime Optimization Service. Although not frequent, this service runs to optimize the .NET Framework, improving the performance of dependent applications and programs.

Officially, this process is meant to recompile its libraries only when the computer is idle and should not take up more than a few minutes to complete. However, the optimization process can sometimes be unnecessarily extended, with users reporting significant CPU resource consumption during each operation, lasting up to several days.
To resolve this issue, follow the methods provided below.
What Causes the .NET Runtime Optimization Service High CPU Usage?
- The process is running slowly; speeding it up might be possible by executing specific commands.
- Your computer could be hosting malware that disguises itself as the service or has infected the service. Running a malware scanner is recommended.
- The service could be corrupted. Restarting it could resolve the issue.
1. Optimize the Process Manually
Optimizing the process involves executing specific commands that prompt the .NET Runtime Optimization Service to complete its tasks more efficiently. This can result in the service utilizing more CPU cores to speed up the optimization process, which is necessary for improving the performance of .NET applications on your computer.
When the process runs more effectively, it reduces the high CPU usage that can slow down system performance, resolving the issue.
- Search for Command Prompt via the Search button. Right-click on the top result and select Run as administrator.
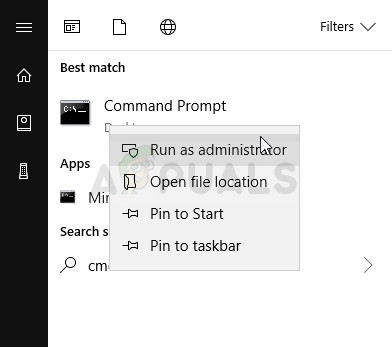
Running Command Prompt as an administrator
- Copy and paste the following commands, hitting Enter after each. Select the command corresponding to your system architecture (32-bit for the first and 64-bit for the second).
cd c:\Windows\Microsoft.NET\Framework\v4.0.30319
cd c:\Windows\Microsoft.NET\Framework64\v4.0.30319

ngen.exe executequeueditems
- Verify if the .NET Runtime Optimization Service CPU usage has normalized.
Alternative: If you are uncomfortable running commands yourself or are on an older Windows version, consider using Microsoft’s official script for a similar outcome.
- Open this link for the GitHub script page. Right-click the Raw button, choose Save link as…, and ensure the file type is Windows Script File (*.wsf).

Saving the script from GitHub
- Find the file you saved and double-click to execute it. If asked which program to use, pick Windows Script Host.
- Check if the issue has been resolved.
2. Scan Your Computer for Malware
Malware infections are a well-known cause of this problem. It is essential to conduct a malware check on your system. Malicious software often take control over system resources and can disguise itself with names impersonating legitimate system files.
- Download the Malwarebytes Anti-Malware from their official website by clicking here.

- Find the downloaded installer in the Downloads folder and double-click to initiate installation.
- Follow on-screen instructions to complete the installation process.

Installing Malwarebytes - Open Malwarebytes, select the Scan option, and allow time for the scan and potential database update to complete.
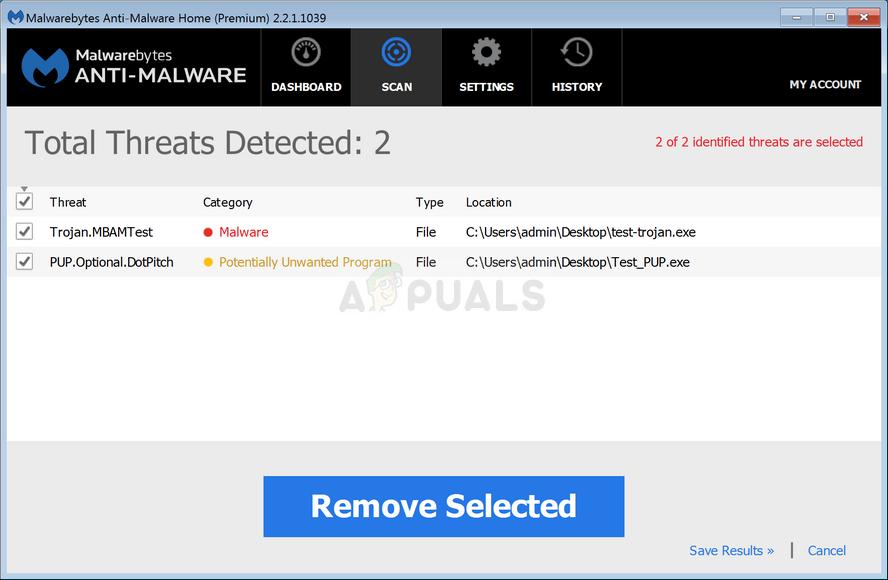
Running the scan in Malwarebytes - Reboot your computer post-scan to determine if the .NET Runtime Optimization Service is functioning normally.
3. Restart the Service
Restarting the service can resolve the problem because it effectively resets the .NET Runtime Optimization Service. This can clear any temporary glitches or issues that were causing it to consume excessive CPU resources.
A fresh start of the service allows it to re-initiate the optimization process, potentially completing it more efficiently without the previous hang-ups or errors.
- Open the Run utility using Windows Key + R, type in services.msc, and press OK to open the Services tool.
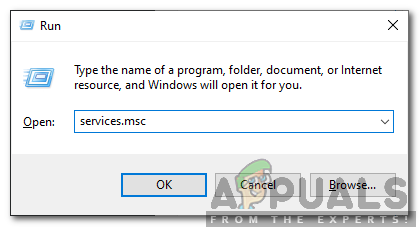
Running Services Manager
- Find the Microsoft .NET Framework NGEN v4.0.30319_X86 service (for 32-bit systems) or Microsoft .NET Framework NGEN v4.0.30319_X64 service (for 64-bit systems), right-click it, and choose Properties.
- Stop the service if it’s running, as indicated near the Service status, then restart it by clicking Start.
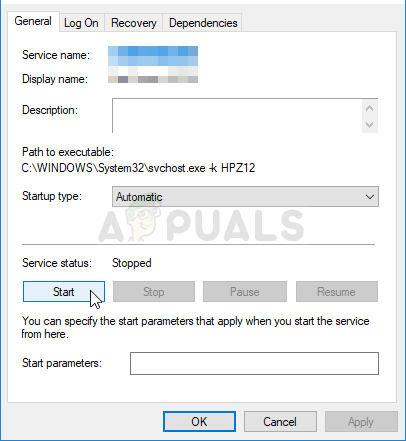
Starting the service
- In the service’s properties window, ensure the Startup type is set to Automatic, accepting any dialogue prompts to confirm the change.
An error message might occur upon attempting to start the service:
“Windows could not start the service on Local Computer. Error 1079: The account specified for this service differs from the account specified for other services running in the same process.”
If you encounter this issue, the following steps should help rectify it.
- Repeat steps 1-3 from earlier to access the service’s properties. Proceed to the Log On tab and select the Browse… button.
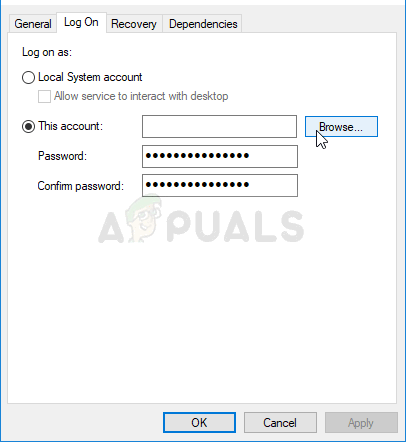
Log On >> Browse
- Enter your account’s name where it states Enter the object name to select, click Check Names to validate, and press OK.
- When prompted, input your password, allowing the service to start smoothly.
4. Perform a Clean Boot
Performing a Clean Boot can help resolve high CPU usage problems by starting Windows with a minimal set of drivers and startup programs. This eliminates software conflicts that occur when multiple applications and services load during startup. By disabling non-essential processes, you can identify if third-party software is causing the issue.
Once identified, you can take appropriate action to resolve the problem, such as updating, configuring, or uninstalling the problematic software.
Follow our clean boot guide, then check the CPU usage. If it has lowered, a third-party application was likely responsible. You can further isolate the problematic software by reactivating applications individually.