How to Fix Wpcmon.exe’s High CPU Usage Issue in Windows?
Wpcmon.exe is part of the Family Safety Monitor, a software developed by Microsoft to enable parental controls on computers. This software allows parents to set time limits, and restrict access to inappropriate content on websites and applications, ensuring a safe environment for children.
 If you utilize the Family Safety Monitor, it’s essential that Wpcmon.exe remains running in the background. However, if Wpcmon.exe causes high CPU usage, you can apply several methods to mitigate this issue.
1. Scan your Windows with Windows Defender
Malware in your system may also cause high CPU usage. Running a full system scan can help detect and eliminate malware that might be causing high resource consumption.
- Press Win + I simultaneously to open Settings.
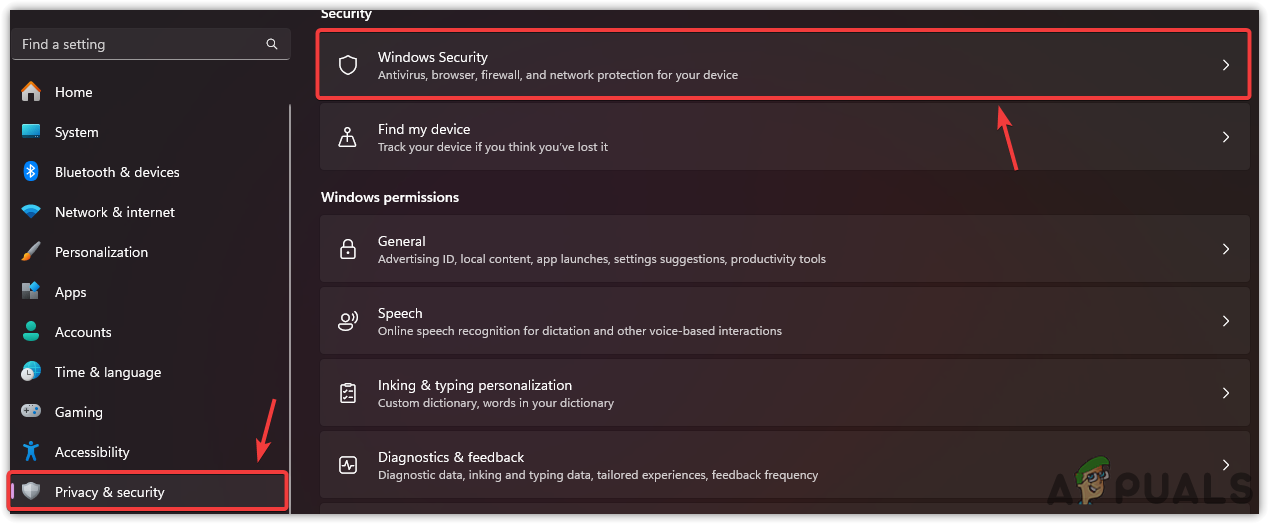
- Navigate to Privacy & Security on the left, then select Windows Security from the choices at the top.
- Choose Virus & Threat Protection from the list of options.
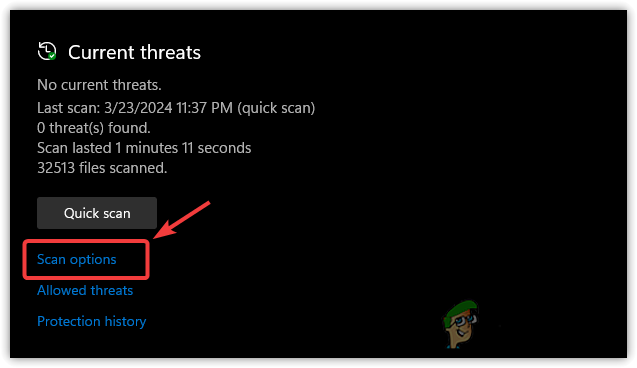
- Select Scan options, found under Current Threats.
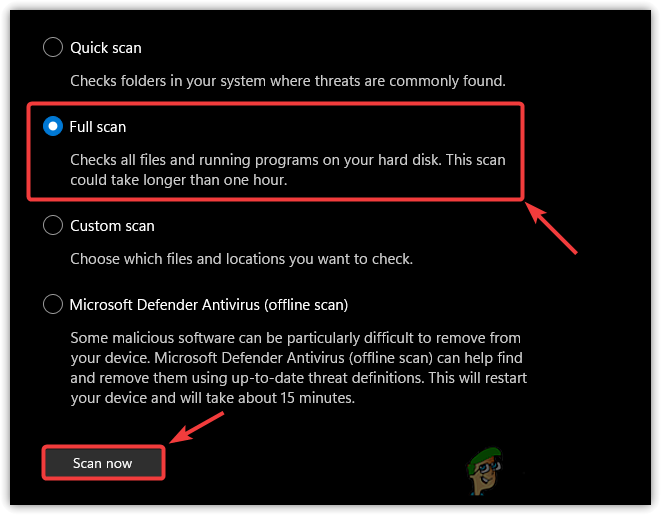
- Opt for Full Scan and then click on Scan Now to initiate the scanning of your Windows system.
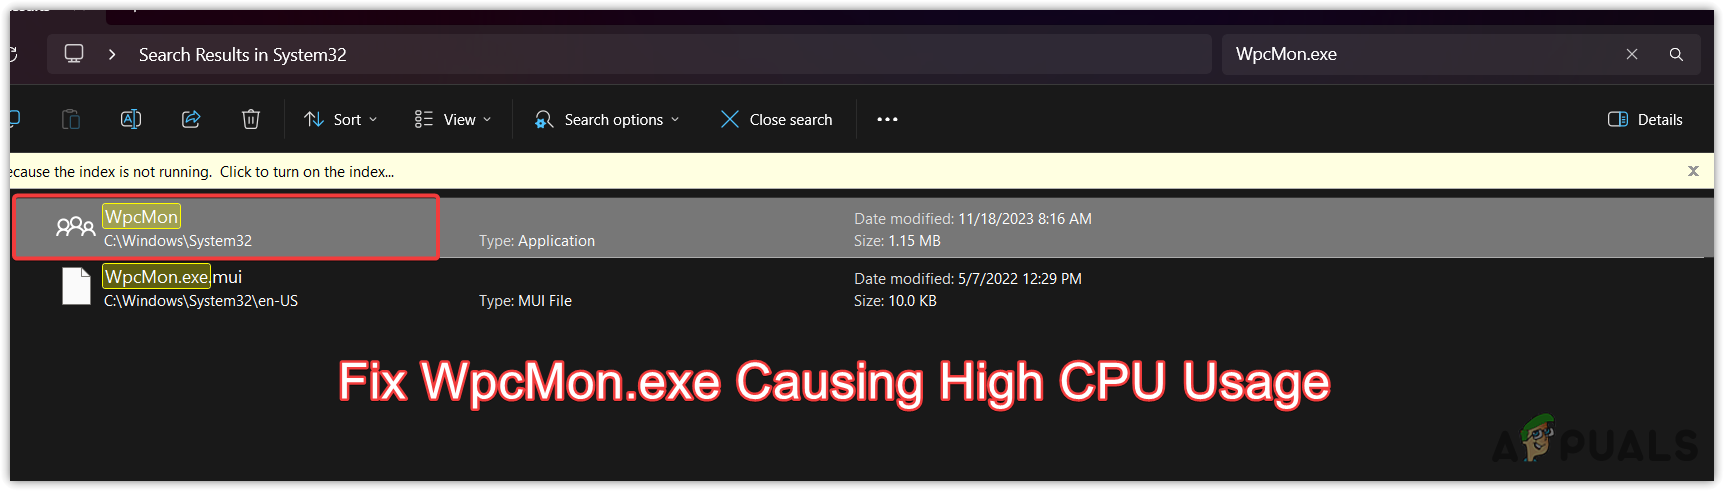
2. Delete or Rename WpcMon.exe
If you do not use the Family Safety Monitor, you can safely delete or rename WpcMon.exe to prevent high CPU usage. The file is stored in the System32 folder. You will need to obtain permissions from the TrustedInstaller to modify files in this location.
- Press Win + E to launch File Explorer.
- Follow this path:
C:\Windows\System32
- Search for and locate WpcMon.exe among the files and folders listed.
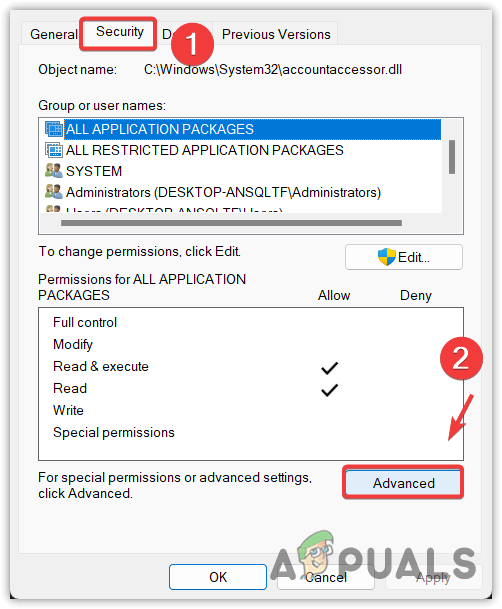
- Right-click on WpcMon.exe and choose Properties.

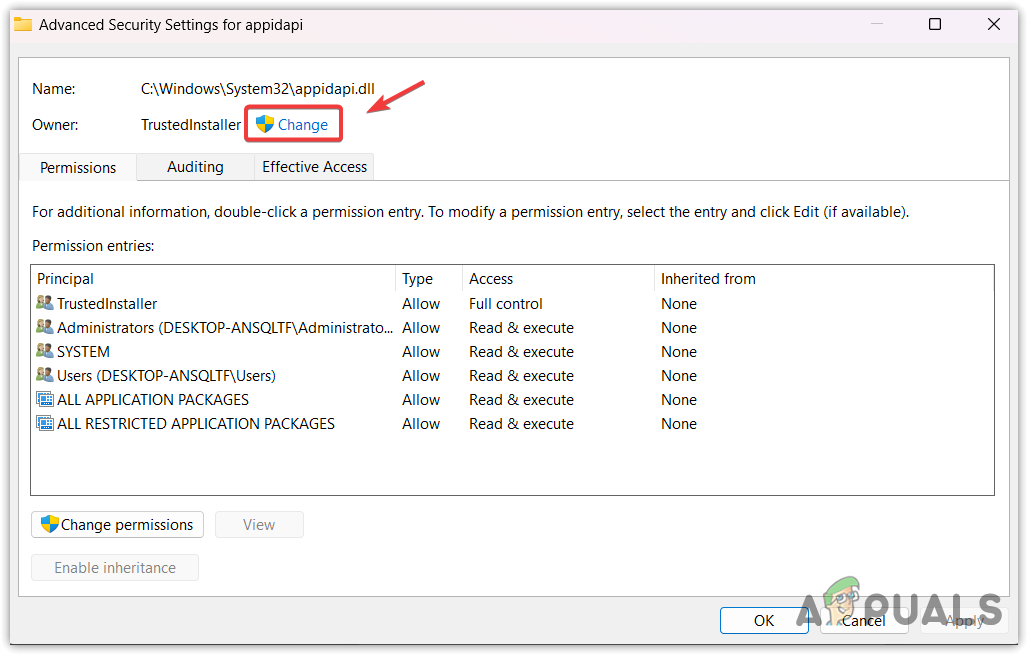
- Navigate to the Security tab and click Advanced.
- Click Change, next to the label that reads TrustedInstaller.
- Type your user account name and click Check Names. If uncertain of your account name, click Advanced, then Find Now.
- Select your user account from the displayed list, and click OK to confirm.
- Click Apply, then OK to save the new settings.

- Revisit the Properties window, and click Advanced once more.
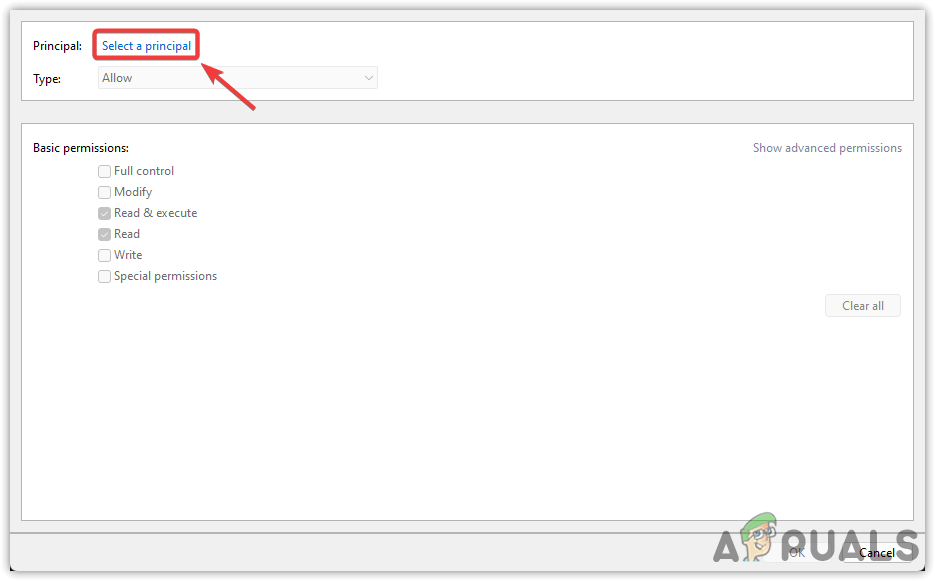
- Then, select Change Permissions followed by Add.
- In the Permission Entry window, click Select a principal.
- Type your user account name and click Check Names. If needed, repeat steps 7–9 to select the correct account.
- After confirmation, click OK. In the permissions window, check all the options under Basic Permissions.
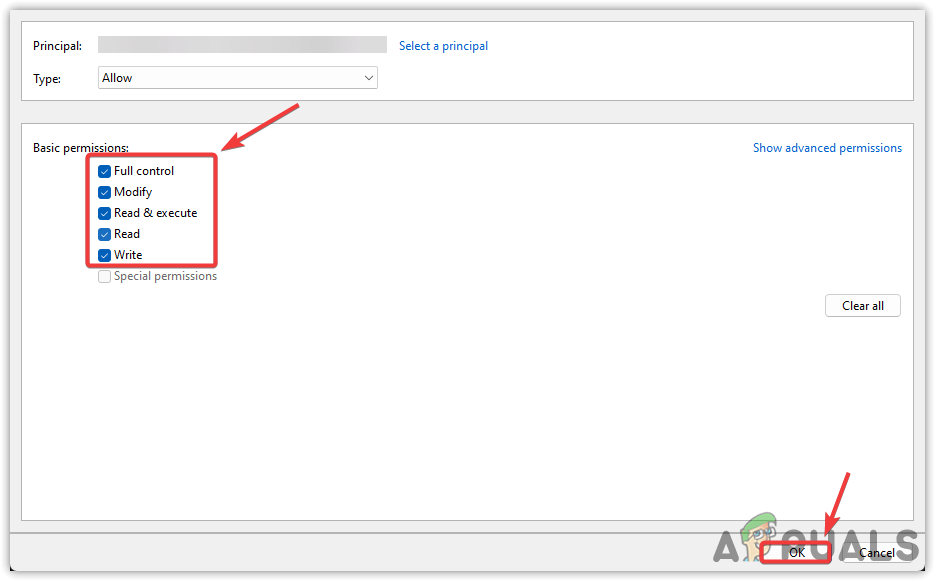
- Upon completion, click OK.
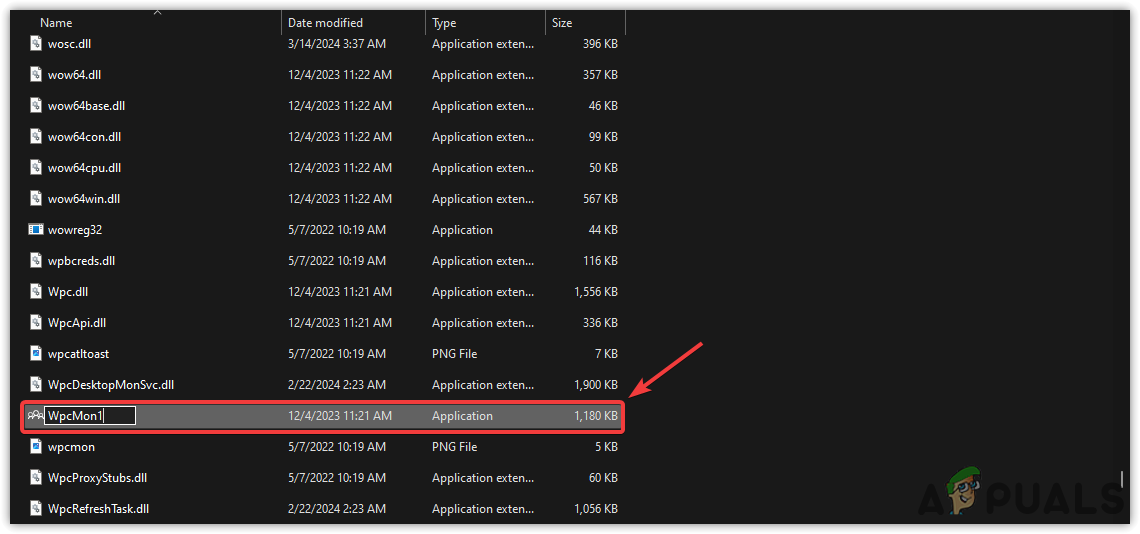
- You are now ready to remove or rename the WpcMon.exe file without encountering any errors. We suggest renaming it, in case you need the file later. Right-click WpcMon.exe, choose Rename, append a 1 to the file name, and press Enter to finalize the renaming.
If none of the methods mentioned above work, consider resetting your Windows without data loss, or utilize a system restore utility if you have previously created a restore point.