Fix: High CPU and RAM usage caused by dllhost.exe
A lot of users are reporting high-usage problems associated with the dllhost.exe process. While most high-usage problems caused by dllhost.exe are linked with a corrupted Windows user profile, the issue might also be a symptom of a system infection.

What is dllhost.exe?
Dllhost.exe (DCOM DLL host process) is a legitimate Windows process created by Microsoft. It’s responsible for controlling processes grouped in Internet Information Services (IIS). In addition to loading the .NET runtime, it’s commonly used by a lot of other programs. This is why you can encounter multiple instances of the DLLhost.exe process inside Task Manager.
Think of dllhost.exe as a host for some binary executables and DLL files. Most users mistakenly blame the dllhost.exe for their high CPU or RAM usage. Most of the time, it’s not the host process that is causing the problem, but rather a loaded DLL file that is currently using dllhost.exe.
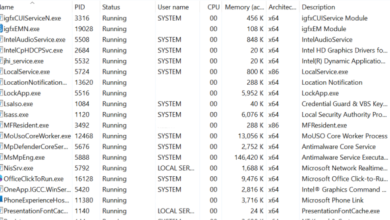
The default location of dllhost.exe is in C:\ Windows \ System32. Let’s see whether the DLLhost.exe process that is eating a lot of system resources is located in the right location by opening Task Manager ( Ctrl + Shift + Esc). But first, in Task Manager, go to the Processes tab and pay attention to the name of DLLhost.exe. If it has a “*32”, after its name and you see over 4 processes with the same name, chances are you’re dealing with a virus.
You can confirm that it’s a virus by viewing its location. Do this by right-clicking on it and choosing Open File Location. If the dllhost.exe is located anywhere else than in C:\ Windows \ System32 or c:\ winnt \ system32 , you’re surely dealing with some type of virus or adware. In this case, jump straight to Method 1 to get rid of the infection.
How to fix high CPU or RAM usage caused by dllhost.exe
If you’re currently struggling with high CPU and RAM usage caused by the dllhost.exe process, the methods below will help. We have managed to identify a collection of methods that have successfully enabled users in a similar situation to resolve the issue entirely. Please follow each fix in order until you encounter one that manages to resolve your issue.
Note: If you’re absolutely certain that you’re not dealing with a virus infection, you can skip straight to Method 2.
Method 1: Scanning the system for infections
Even if you’re not suspecting that you’re system is struggling with a malware infection (or you’re not experiencing any symptoms), it’s still worth it to scan it with a powerful security scanner.
There is a decent number of viruses that will make use of dllhost.exe to spread the infection across the system. Typically, a large number of dllhost.exe with the termination “*32” that are all using noticeable CPU resources is a clear indicator that the COM Surrogate process is being abused by a type of malicious application.
Here’s a shortlist of viruses that are known to do their dirty work through the COM Surrogate process:
- Artemis!895C95A0B930
- Win64:Malware-gen
- Worm/Nachi.A.1
- Worm/Loveelet-Y
- Worm/Loveelet-DR
Note: Some of these infections will put your system resources to work by mining for various cryptocurrencies.
In order to deal with the infection, we recommend scanning your system with a powerful security scanner. For the best results, consider using Safety Scanner or Malwarebytes and make sure you do a Full Scan (Deep Scan). If you seek further guidance, use our in-depth article (here) on installing and triggering a full scan with Malwarebytes.
Once the scan is complete, reboot your system regardless of the outcome. If the security scanner wasn’t able to tone down your resource usage, move down to Method 2.
Method 2: Using the System File Checker tool
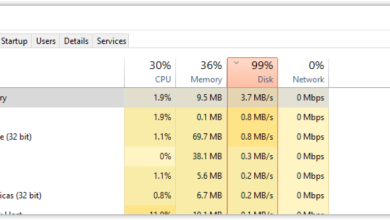
High resource usage by dllhost.exe can very well be caused by system corruption. Some users have reported that they successfully managed to resolve the issue after running a System File Checker scan on their system.
System File Checker (SFC) is a Windows utility that scans and automatically repairs corruption among the Windows system files. It does this by replacing every file that is plagued by corruption with a file from a local backup.
Here’s a quick guide on triggering an SFC scan in order to solve the high resource usage problem caused by dllhost.exe:
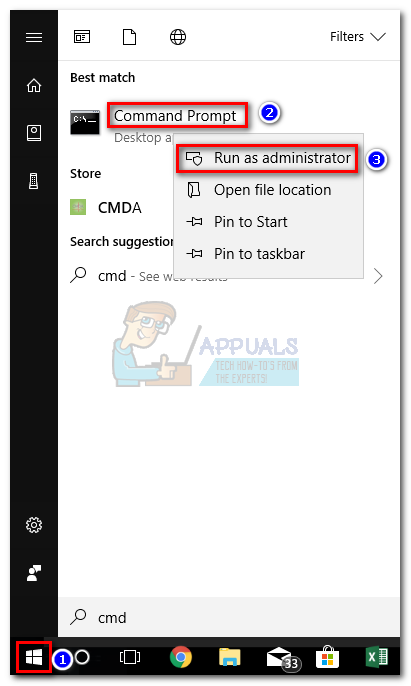
- Press the Win key to access the Windows start bar and type “cmd“. Then, right-click on Command Prompt and choose Run as Administrator in order to open an elevated Command Prompt.
- In the Elevated Command Prompt, type the following command and press Enter. This will trigger a DISM scan that uses Windows Update to fetch the files required to replace the corrupted ones. Please make sure you have a stable internet connection before starting the process.
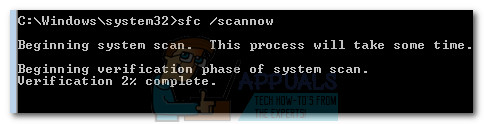
DISM.exe /Online /Cleanup-image /Restorehealth - Once the process is complete, type “sfc /scannow” and hit Enter to scan the protected system files and replace the corrupted files with a fresh copy from local backup.
sfc /scannow - Don’t close the elevated Command Prompt until the scan reaches 100%. Once the process is complete, close it and reboot your system.
Method 3: Creating a new Windows user account
Some users have managed to confirm that the issue is related to a corrupted Windows account profile. In their cases, the problem was resolved after they successfully created a new user account with administrative privileges and started using that instead of their regular account.
Here’s how you can do this:
Note: Keep in mind that the process of creating a new Windows user account will be different depending on your Windows version. If you have an older Windows version, please follow the second guide.
For Windows 10 users
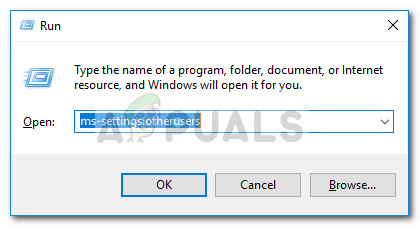
- Press Windows key + R to pop open a Run box. Then, type “ms-settings:otherusers” and hit Enter to open the Family & other people tab of Account settings.
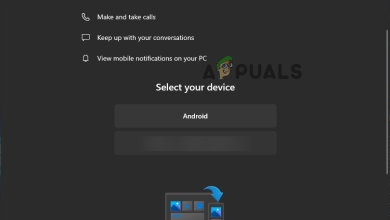
- In the Family & other people window, click on Add someone else to this PC (under Other people).

- Next, enter the name, password and password hint by following the on-screen prompts. Then, hit Next to complete the process of creating a new user.

- Once the new user has been created, reboot your computer and log into your new user account and see if the resource usage of dllhost.exe has gotten better. If you’re still experiencing the same behavior, move down to the final method.
For Windows 7 users
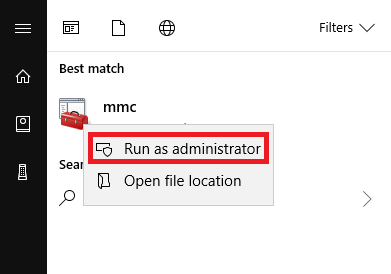
- Click on the Start button (or press the Win key) and type “mmc” to find the Microsoft Management Console. Then, right click on Microsoft Management Console and click on Run as Administrator.
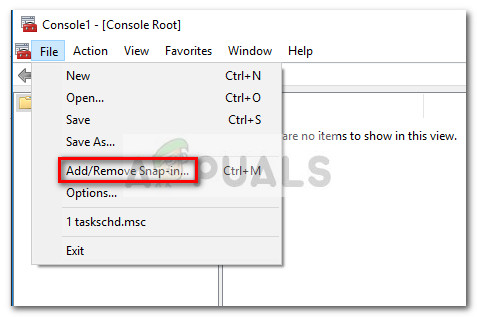
- In the Microsoft Management Console, go to the ribbon at the top, click on File and then choose Add / Remove Strap-in…
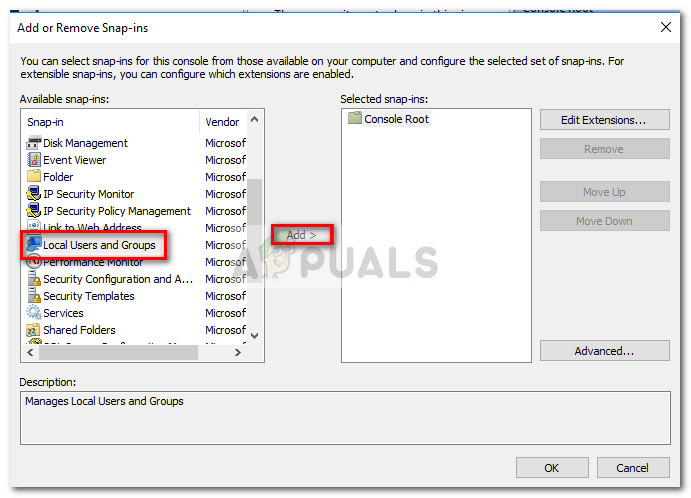
- In the Add or Remove Snap-ins window, click on Local Users and Groups to select it, then hit the Add button.
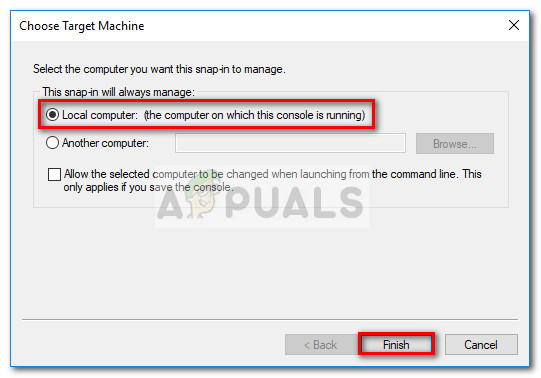
- In the Choose Target Machine window, select Local computer and hit the Finish button.
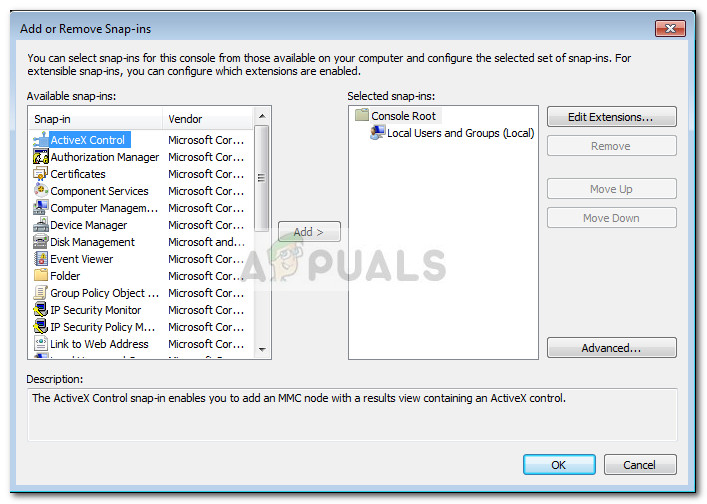
- Once the Local Users and Groups (Local) entry appears under Selected snap-ins, hit the OK button to close the window.
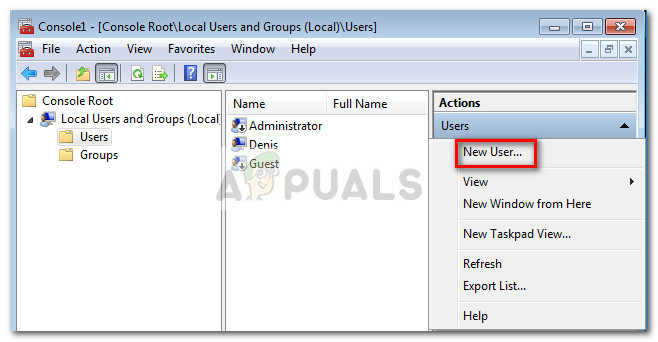
- Next, double-click on Local Users and Groups (local), then double click on Users. Then, use the action menu on the right-hand side and click on New User.
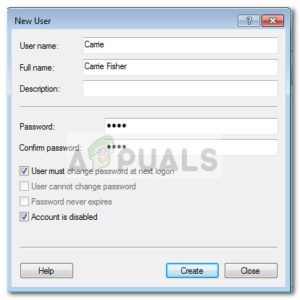
- In the New User, window, type in the Username and the other optional credentials and hit the Create button.
- Once the new user has been created, you can close the Microsoft Management Console and restart your PC.
- At the next restart, sign in with your newly created user account and see whether the high CPU & RAM usage of dllhost.exe has toned down. If it was successful, you can return to the Microsoft Management Console and delete the corrupted user profile that you no longer use.
Method 4: Doing a system restore
If all the methods above have proven to be ineffective in reducing the resource usage of the dllhost.exe, you have one last shot at resolving the issue before performing a reset.
Some users have successfully managed to resolve the issue after using a previous system restore point to revert the machine to a state where it was functioning properly.
Follow the guide down below for steps on reverting your machine to a previous system restore point:
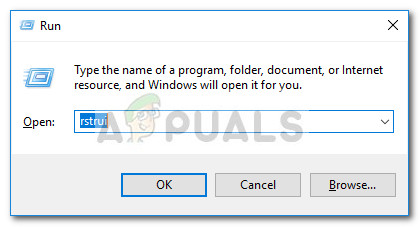
- Press Windows key + R to open up a Run command. In the newly opened Run box, type “rstrui” and hit Enter to open the System Restore wizard.
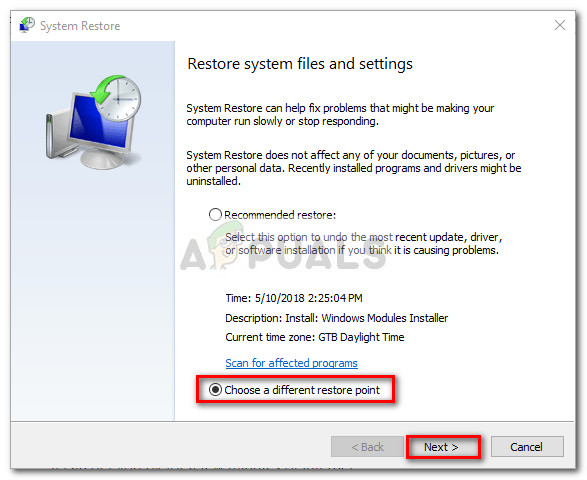
- At the next screen, select Choose a different restore point and hit the Next button.
- Select a restore point that is dated before you started experiencing high resource usage and hit the Next button again.
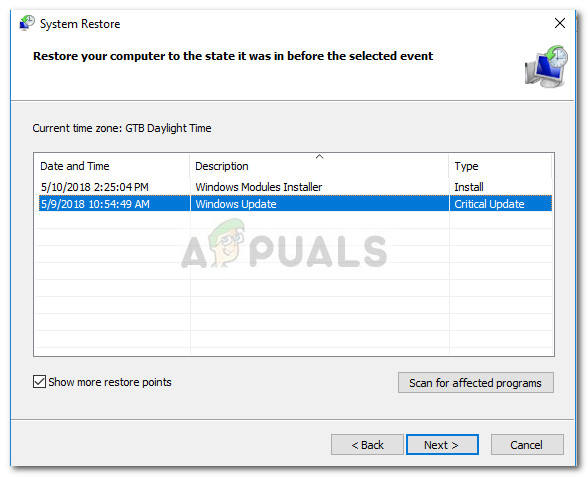
- Then, hit the Finish button to start the restoring process and wait for your PC to restart. At the next startup, you should no longer be experiencing high resource usage caused by the dllhost.exe process.