How to Fix the AMD-V is Disabled in the BIOS Error on VirtualBox?
AMD-V is disabled in the BIOS (or by the host OS) (VERR_SVM_DISABLED) error message appears when attempting to launch a virtual machine using VM VirtualBox.

Although this issue is mainly noted on Windows systems, it has also been reported on various Linux distributions.
Note: If you are encountering the VT-X is not available – VERR_VMX_NO_VMX error, refer to this troubleshooting guide (here) instead.
Through an investigation of various user reports, we have identified several scenarios that cause this particular issue. Below is a list of common reasons recognized by other affected users:
- AMD-V is disabled in BIOS settings – The error code VERR_SVM_DISABLED indicates that your PC supports AMD-V, but it’s currently disabled in the BIOS settings by the host.
- Microsoft Hyper-V is interfering with AMD-V technology – When enabled, Hyper-V automatically disables other virtualization technologies. Therefore, to use AMD-V, you would need to disable Hyper-V.
- VM VirtualBox Bug – There have been instances of this error occurring on machines capable of supporting hardware virtualization technology. Usually, modifying specific virtual machine settings can resolve this issue.
1. Enabling AMD-V in the BIOS settings
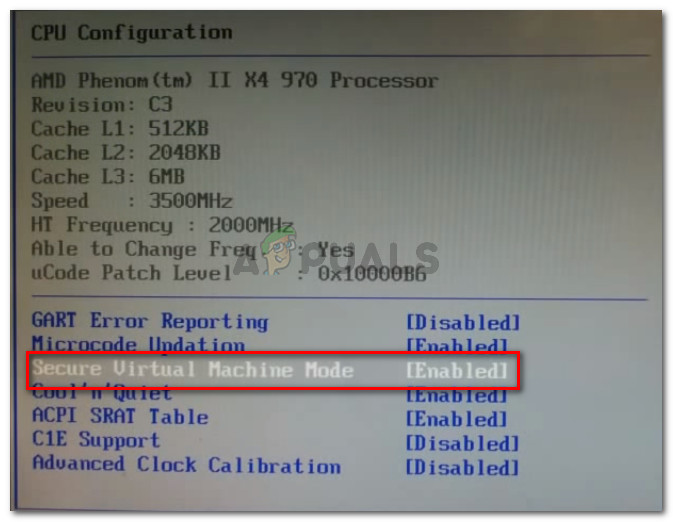
AMD-V, the trademark for Secure Virtual Machine Mode (SVM), is commonly disabled because the BIOS settings on the host PC have turned it off.
While this feature is typically enabled by default, third-party interference or manual adjustments may result in its deactivation on your device. You can re-enable AMD-V by entering your BIOS settings and turning on Secure Virtual Machine mode within the CPU Configuration settings.
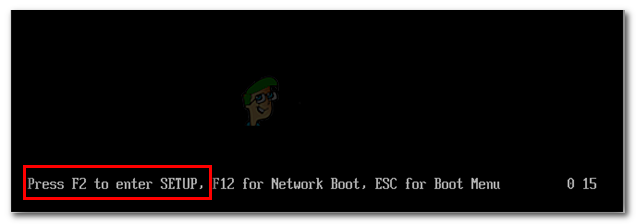
However, the process to access BIOS varies based on the motherboard manufacturer. During initial startup, press the Setup key – typically one of the F keys (F2, F4, F8, F10, F12) or the Del key (for Dell machines). If you cannot find the Setup key, look for a prompt during the startup sequence or search for instructions specific to your motherboard brand.
After entering BIOS, locate the Secure Virtual Machine Mode entry and make sure it’s set to Enabled. This option is typically found under Advanced > CPU Configuration. Save your changes and exit BIOS.
Note: The precise location of this option might differ depending on your motherboard model. If you cannot find Secure Virtual Machine Mode, look for AMD IOMMU and switch it to Enabled within the AMD I/O Virtualization Technology menu for users with Acer motherboards.
Remember that a simple restart won’t enforce the change; a cold boot is required. Power off your machine completely and allow it to boot from the beginning.
After rebooting, open the previously affected virtual machine within VM VirtualBox to check if the error has been resolved.
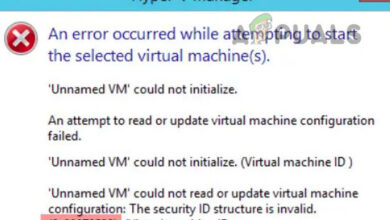
2. Disabling Windows Hyper-V
Several users have fixed the error by disabling the Microsoft Hyper-V feature from the Add/Remove Windows features panel.
Hyper-V, the native virtualization technology from Microsoft, is often enabled by default on newer versions of Windows, which can cause issues as it disables other virtualization technologies like AMD-V. Since VM VirtualBox relies on AMD-V or VT-X to operate a virtual machine, an error will occur in Hyper-V’s presence.
- Press Windows key + R to bring up a Run dialog box. Then, type “appwiz.cpl” and press Enter to open up Programs and Features.

Run dialog: appwiz.cpl - In Programs and Features, use the menu on the right to click on Turn Windows features On or Off.

In Programs and Features, click on Turn Windows Features On or Off - In the Windows Features window, locate the Hyper-V entry and make sure the box next to it is unchecked. Click Ok to confirm your changes.

Uncheck the box associated with Hyper-V - Restart your computer and check if the error has been fixed at the next startup.
3. Changing the number of CPU cores to 1
One potential solution to the issue is to adjust the number of CPU cores allocated to the virtual machine to 1. This can help remove the burden on the host’s virtualization capabilities, potentially resolving the error. By limiting the CPU cores, the system is better able to handle the virtualization demands, leading to a successful boot of the virtual machine.
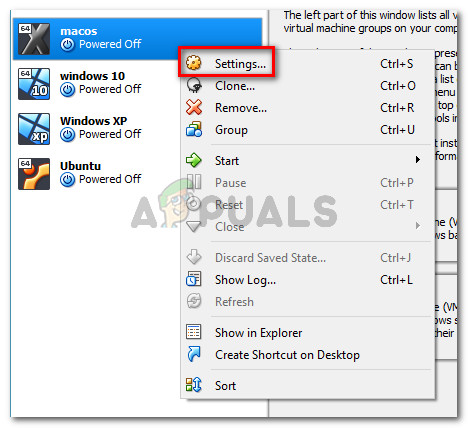
- Open Oracle VM VirtualBox, right-click on the malfunctioning machine, and select Settings.
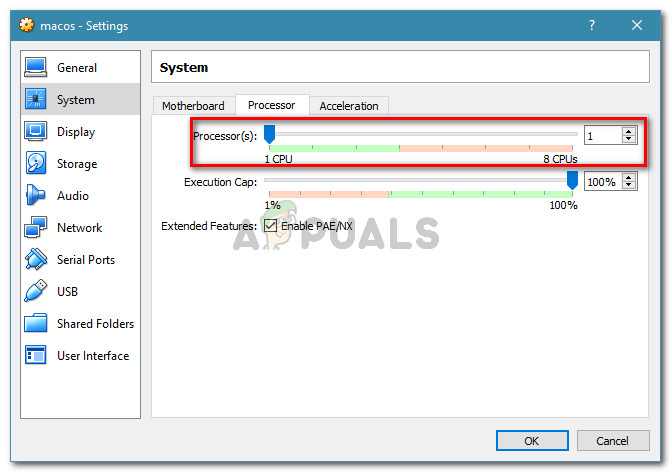
- In your virtual machine’s Settings, navigate to the System tab on the left-hand menu, then to the Processor tab. Drag the slider for Processor(s) to 1 CPU and click OK to save the change.
- Close the settings menu and restart your virtual machine, which should now boot without displaying the error.
4. Changing the Version to Windows 7 or Windows 2003 (if applicable)
Some Ubuntu (Linux) users running VM VirtualBox to emulate Windows XP or Windows 10 have encountered this error. They have successfully resolved the problem by adjusting the settings to specify the Guest OS version as either Windows 2003 or Windows 7. While there’s no specific reason why this fix is effective, it has proven helpful for many users.
- Launch VM VirtualBox and right-click on the machine affected by the error, then choose Settings.
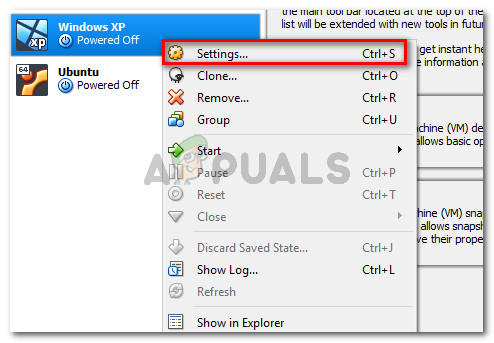
Right-click on the affected machine and click Settings - In the Settings menu, access the General sub-menu, then the Basic tab. Change the Version using the dropdown menu to either Windows 2003 or Windows 7 and click Ok to confirm the adjustments.
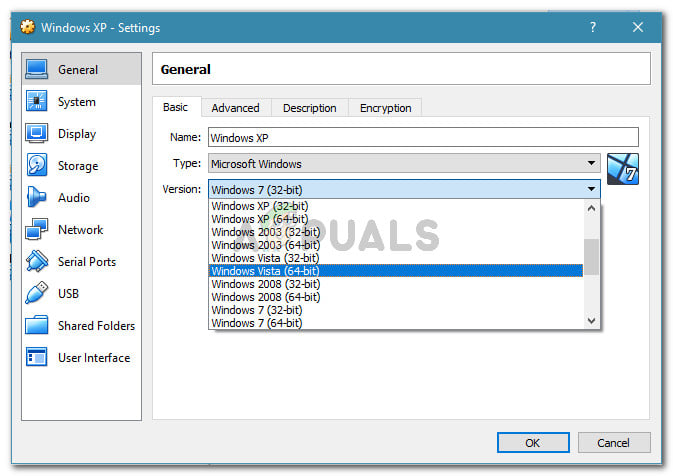
Changing the image version to Windows 7 or Windows 2003 - Try to start the virtual machine once more and check if the boot process completes without the error.