How to Create a Windows 11 Virtual Machine using Hyper-V
If you’re curious about what Windows 11 has to offer but you don’t want to jump the gun and upgrade before you give it a spin, one alternative is to install Windows 11 via a Hyper-V virtual machine. This way you can test it out before committing to a normal installation.
What is Hyper-V?
Hyper-V is a native virtual environment functionality developed by Microsoft that will allow you to run virtualized computer systems on top of a physical host. In this article, we’ll use Hyper-V to install Windows 11, but you can also use it to install Linux Distros, Windows Development versions, or any other PC operating system.
Hyper-V virtualization will enable quick deployment of computer systems and a facile way of restoring systems to a previously good state. You can also use it to migrate systems between different physical hosts.
Important: Hyper-V is ONLY natively available on 64-bit versions of Windows 10 PRO, Windows 10 Enterprise, and Windows 10 Education.
Requirements
First things first, you need to ensure that your current PC configuration meets the minimum requirements of Windows 11:
- Processor: 2 (or more) core compatible 64-bit processor equipped with 1 GHz (or faster) or System on a Chip (SoC)
- RAM: 4 GB or higher
- Storage: 64 GB Minimum or a larger internal storage device
- System firmware needs to support UEFI and Secure Boot
- Support for Trusted Platform Module (TPM) version 2.0
- The Graphics card needs to be compatible with DirectX 12 or later
- Support for WDDM 2.0 driver
- Display that supports 720p HQ with a size greater than 9″ diagonally with an 8 Bits/color pannel
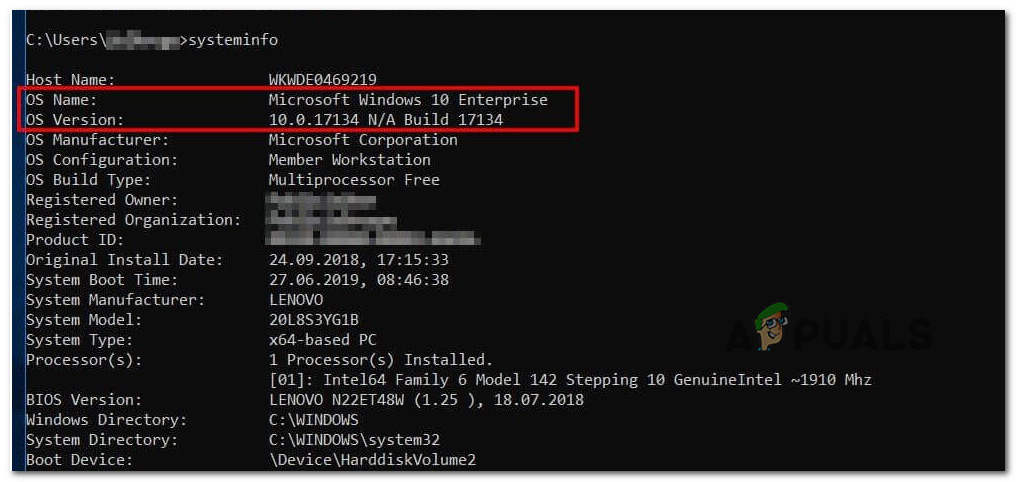
Also, you need to ensure that your Windows version supports Hyper-V. To check your current Windows version, press Windows key + R to open up a Run dialog box. Inside the new Run box, type ‘systeminfo’ and press Ctrl + Shift + Enter to open up an elevated CMD prompt.
Wait until the information is gathered, then check under OS Name to see your Windows version. If it says Home, you’re out of luck. If it says, PRO, Enterprise, or Education, Hyper-V should be available for you.
Once you’ve made sure that you meet all the requirements, you can start following the instructions below on setting up a Windows 11 Virtual Machine using Hyper-V.
How to Set up a Windows 11 Virtual machine via Hyper-V
First, we’ll need to get our hands on a window 11 ISO file (Step 1) that will later mount using the Hyper-V technology. If you already have the Windows 11 ISO copied locally and Hyper-V is already enabled on your computer, you can skip the first 2 steps and move directly to Step 3.
Create the Windows 11 ISO
First things first, you need to ensure that you’re using a viable Windows 11 ISO file. Our recommendation is to get an official build from UUP Dump. This is the most practical and easiest way to get ISOs for any released Windows Insider to build directly from Microsoft servers.
Note: You don’t have to join the Windows Insider Program to install and use Insider Builds.
Follow the instructions below to download and prepare the Windows 11 ISO:
- Open any browser on your PC and visit the home page of UUP Dump.
- Once you’re inside, click on the x64 bit button associated with the build version that you want to download.
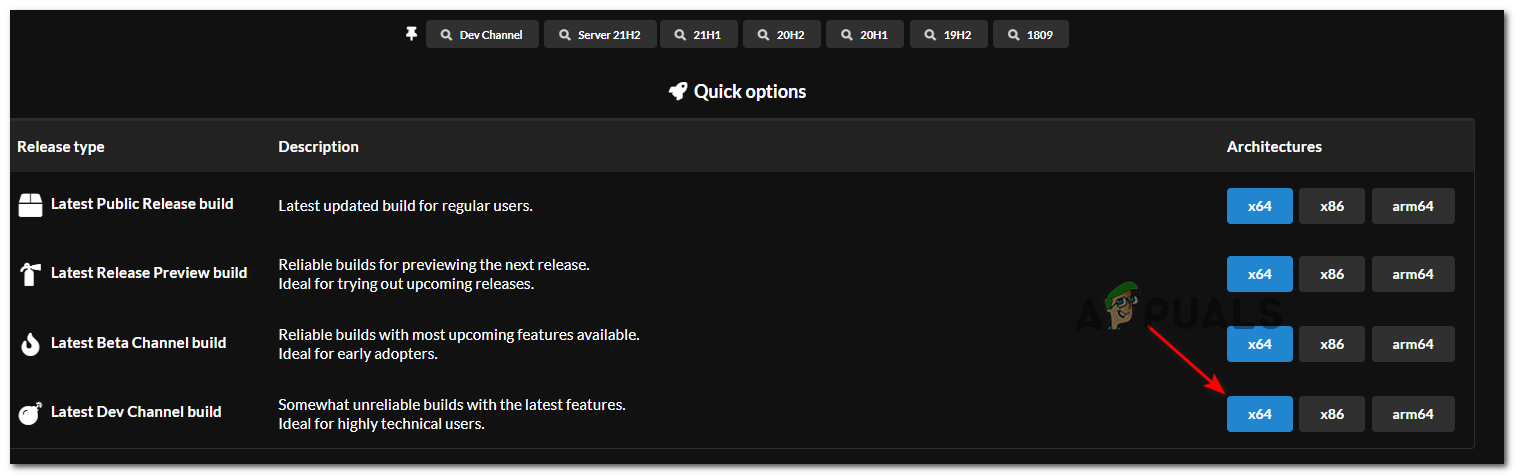
Downloading the Windows 11 Build Note: At the time of writing this article, Windows 11 is only available through the Dev Channel. However, this is scheduled to change as Windows 11 will make its way to the Beta Channel and then eventually as a Preview and Public release.
- From the following page, select the latest available build, then select your default language and hit Next.
- At the next screen, select the edition that you want to download. You can choose multiple options, but our recommendation is to download only one to keep things light. Ideally, you should download the PRO version.
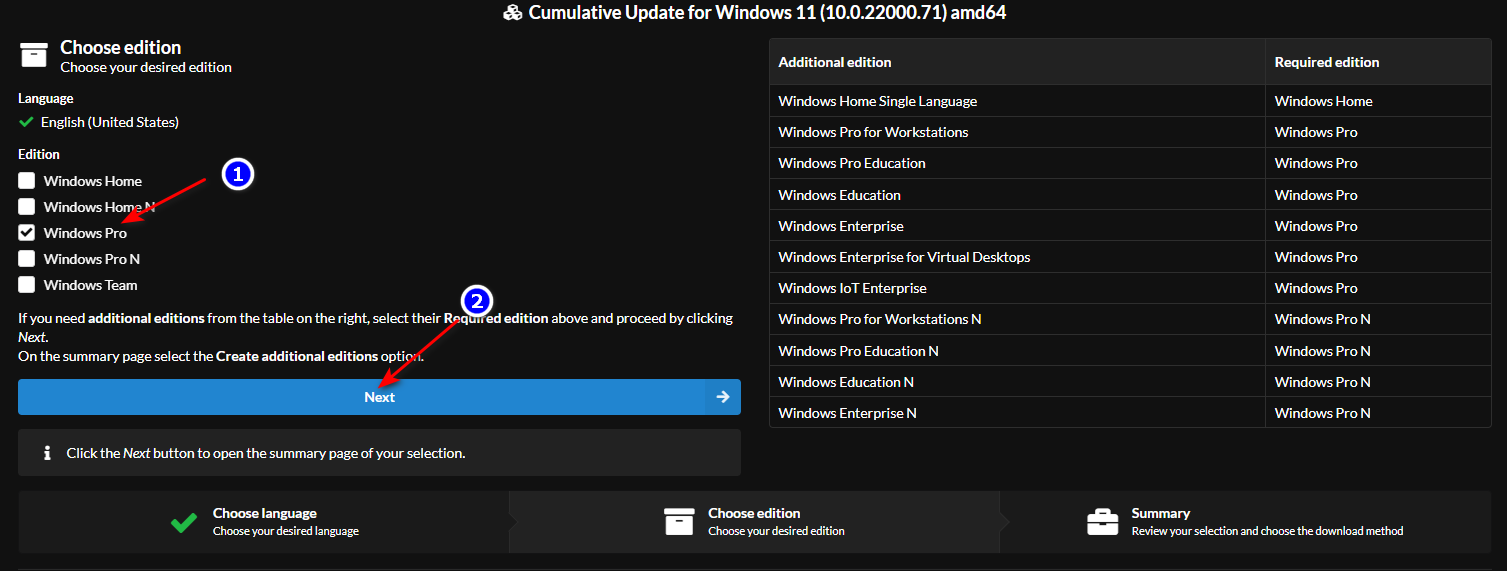
Configuring the Windows 11 build Note: N versions of Windows 11 are just like the normal versions but without the Media Player components. This will make things a bit lighter, but you need to understand that N Windows versions cannot be activated with standard Windows product keys.
- Once you’ve selected the correct Windows 11 build, click on Next one final time.
- At the next prompt, you will essentially see a summary of your previous choices. At this point, select the Download and convert to ISO toggle from the left-hand side menu, then check the box associated with Include updates and click on Create download package.
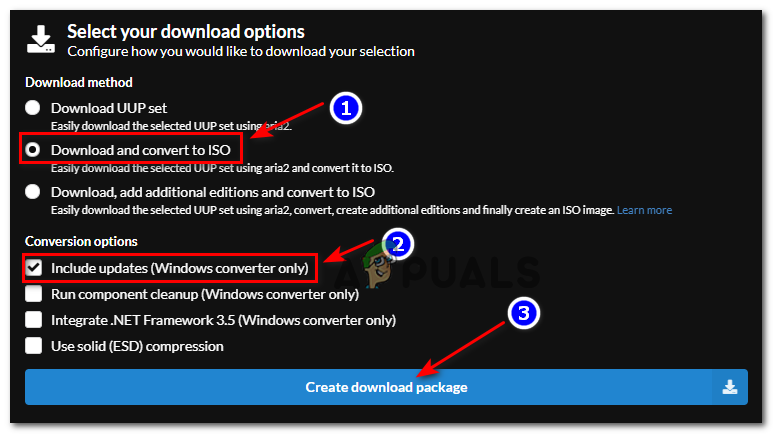
Creating the Windows 11 iso - Once the file is successfully downloaded, navigate to the location where the package was downloaded, then right-click on it and choose Properties from the context menu.
- Inside the Properties screen, go to the General tab and ensure that the file is unlocked by checking the box associated with Unblock. After you do this, click on Apply to save the changes that you just did.
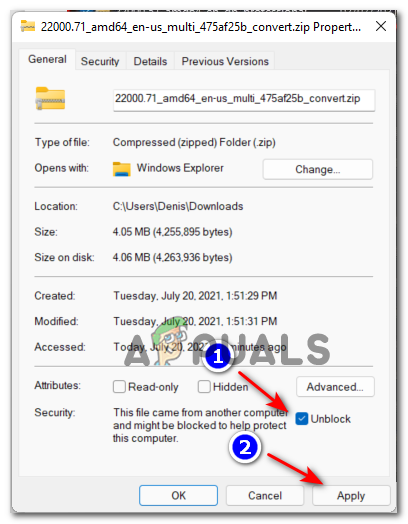
Unblocking the file - Once the UUP archive is successfully unblocked, right-click on it again and choose Extract All from the context menu that just appeared.
- Next, choose a viable location where you have plenty of free space left and click Extract to unpack the Windows 11 build files.

Extracting the Windows 11 builds - Once the extraction is complete, navigate to the location where you extracted the Win 11 files if Windows doesn’t take you there automatically.
- After you arrive inside the correct location, double-click on uup_download_windows.cmd to run the file and allow the UUP files to be locally downloaded.
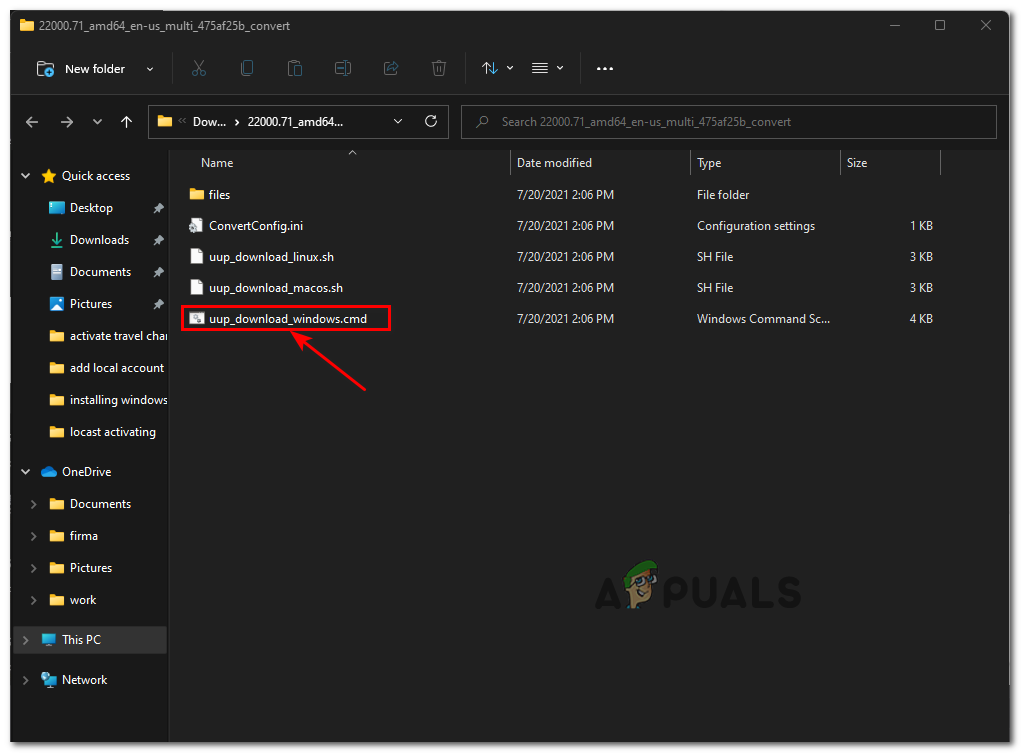
Running the UUP DOwnload Windows CMD file - If you’re stopped by the smart screen interface, click on the More hyperlink, then click on Run Anyway.

Getting past the SmartScreen interface - When you are prompted by the User Account Control (UAC) interface, click on Yes to grant admin access.
- Wait patiently until every file of the Windows 11 ISO is downloaded. Don’t close the elevated CMD prompt even if it looks as it froze.
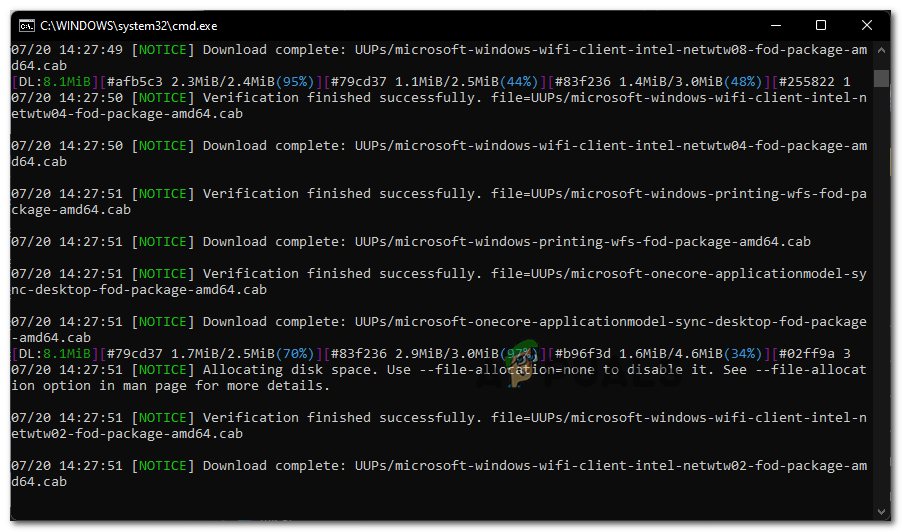
Downloading the Windows 11 files - After the download is finished, UUP Dump will automatically start building the Windows ISO using the file that it just downloaded.
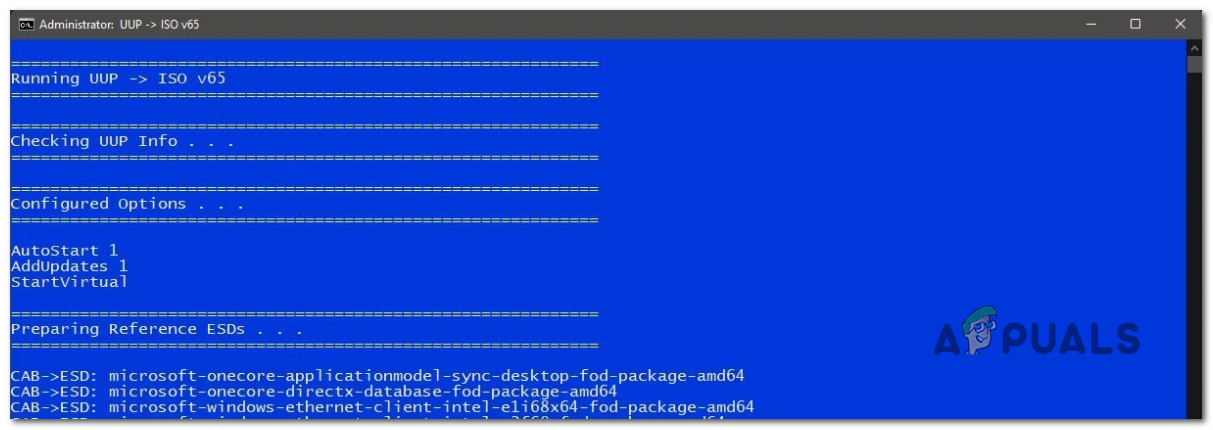
Screenshot during the Windows 11 ISO Building stage Note: You’ll know that the download was complete and the ISO building stage has commenced by looking at the background color. If it’s blue, the ISO building stage is already ongoing.
- Once the operation is complete, you’ll be able to find the new ISO file where you initially extracted the ZIP archive. Take note of its location as you’ll need it during STEP 3.
Enable Hyper-V
- Press Windows key + R to open up a Run dialog box. Next, type ‘appwiz’ inside the text box and press Enter to open up the Programs and Features menu. If you are prompted by the User Account Control, click Yes to grant admin access.
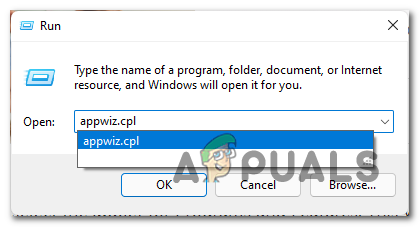
Opening the Programs and Features menu - Once you’re inside the Programs and Features window, use the side menu on the left to click on Turn Windows features on or off.
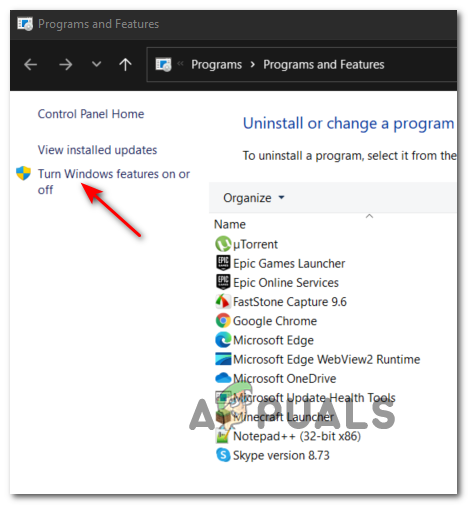
Opening the Windows Features utility Note: If you get asked by the UAC again, click Yes to grant yourself administrative privileges.
- Inside the Windows Features screen, scroll through the list of Windows features and check the box associated with Hyper-V to enable this feature, and click Ok to enforce the changes.
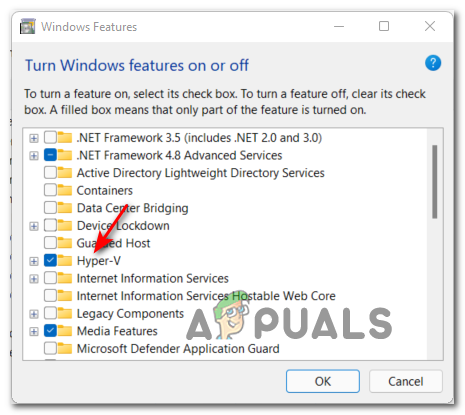
Enabling Hyper V Note: If Hyper-V is already enabled, skip directly to STEP 3.
- Wait until the native windows feature is correctly enabled, then restart your computer and wait for the next startup to complete.
Create the Windows 11 Virtual Machine
Now that you have your ISO created and you’ve enabled HyperV, you just need to put everything together using the Hyper-V Manager utility.
Follow the step-by-step instructions below to mount your ISO on a Virtual Machine powered by Hyper-V:
- Open up a Run dialog box by pressing Windows key + R. Inside the Run box, type ‘virtmgmt.msc’ and hit Enter to open up the Hyper-V Manager.
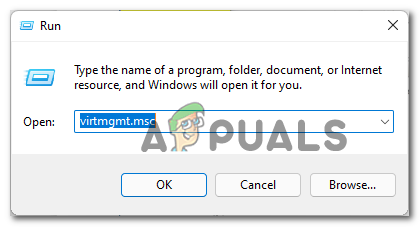
Opening up the Hyper-V Manager utility - When you are prompted by the User Account Control, click Yes to grant administrative access.
- Once you’re inside Hyper-V Manager, right-click on your computer name from the side menu on the left, then click on New > Virtual Machine from the context menu that just appeared.
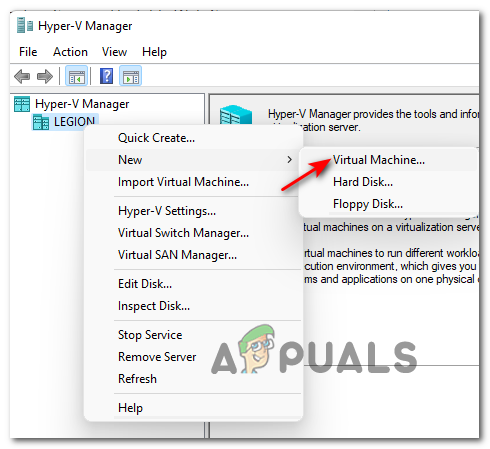
Creating a new virtual machine inside Hyper-V Manager - At the first New Virtual Machine Wizard prompt, click on Next.
- At the next step, use the menu on the right to establish a name for your new virtual machine.
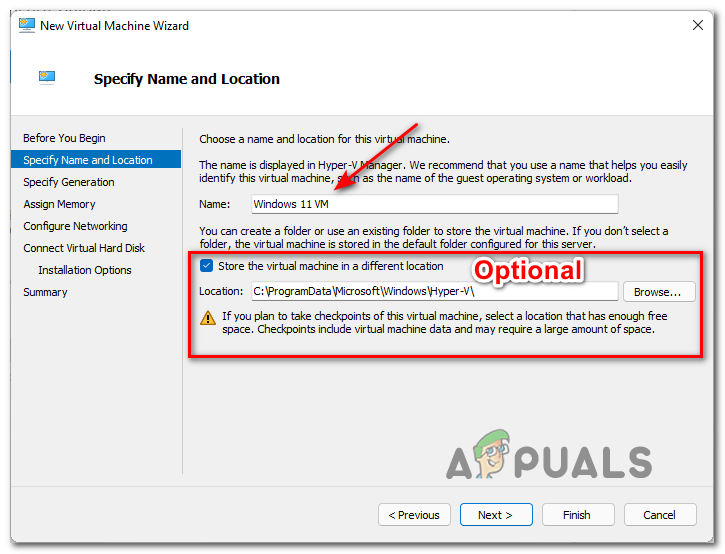
Setting a name for the Windows 11 VM Optional: If you wish to store the virtual machine in a custom location, check the box associated with Store the virtual machine in a different Location, then click on Browse and select an acceptable location.
- Once you are ready to advance, click on Next to advance forward.
- After you reach the Specify Generation stage, ensure that you select the Generation 2 toggle before clicking Next.
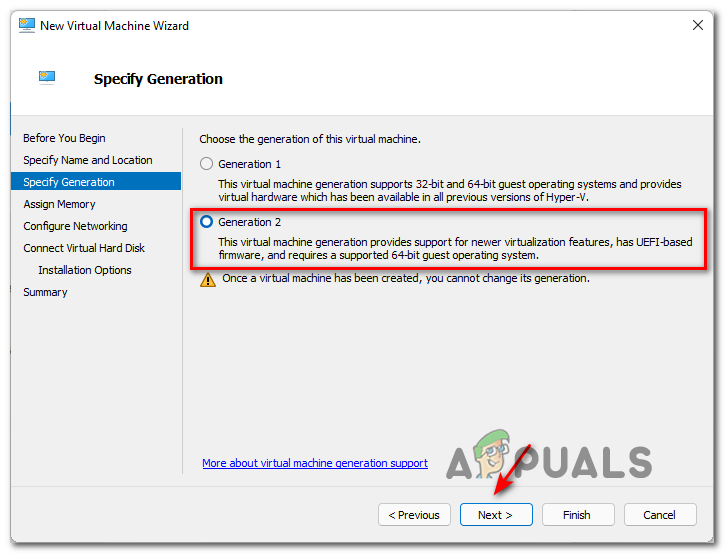
Using Generation 2 Virtualization Note: Selecting Generation 2 will ensure that the newest virtualization featured are supported as well as UEFI-Based firmware. You’ll likely not be able to install Windows 11 using Generation 1.
- At the Assign Memory tab, ensure that you specify a custom memory size of at least 4096 MB in order to meet the minimum requirements of Windows 11.
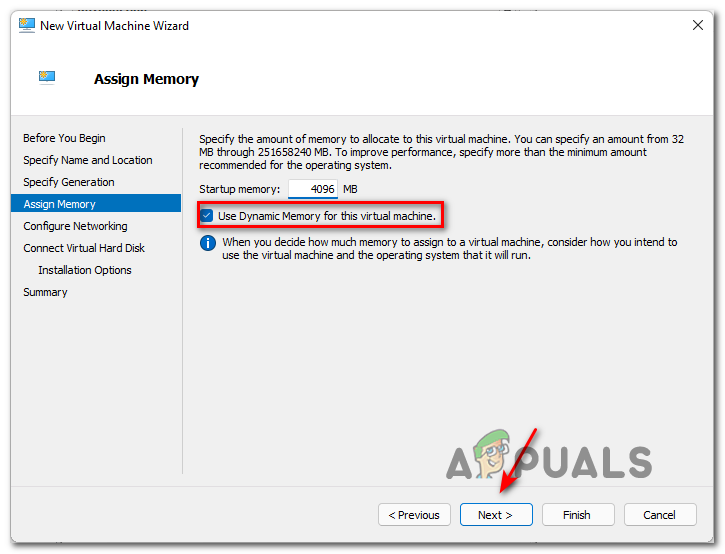
Assigning the correct memory Note: You can either check or uncheck the Use Dynamic Memory for this virtual machine. If you leave it unchecked, all the specified memory size is allocated from the host computer. If you check Dynamic Memory, the specified memory size will only be allocated from the host computer as needed. If you don’t have a lot of RAM at your disposal, leave Dynamic Memory checked.
- Once you get to the Configure Networking tab, set the Connection drop-down menu to Default Switch and click on Next.
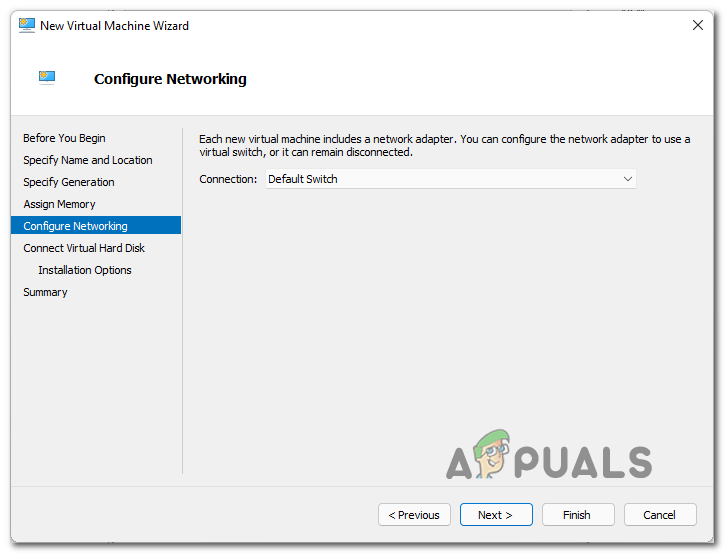
Using the default Switch as the network adapter - During the Virtual Hard Disk page, start by selecting the Create a virtual hard disk toggle and change the default location of the virtual storage space if you’re not happy with the default path.
- Finally, select the Install an operating system from a bootable image file toogle, then use the Browse button to find the ISO file you previously created at step 1, select the correct ISO file, and click on Next.
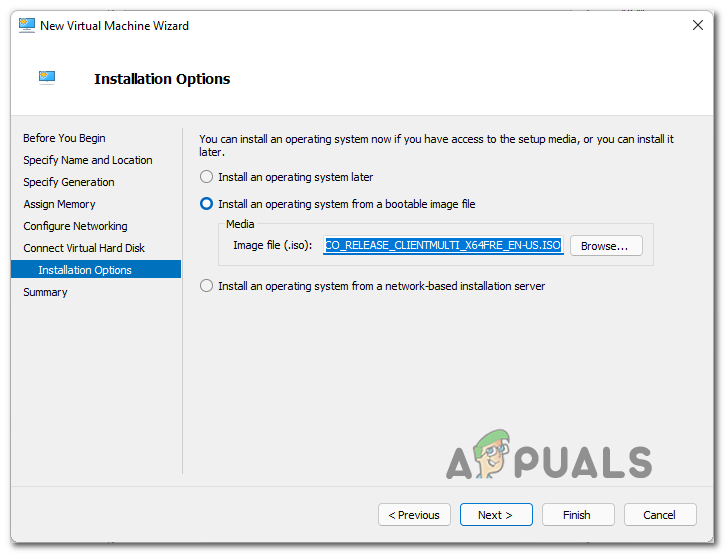
Mounting the ISO file - Now that the new Windows 11 virtual machine is all but configured, all you need to do is click Finish to complete the operation.
- Now, all that’s left to do is configure the virtual machine and ensure that every requirement is met. To do this, right-click on your Windows 11 VM that you’ve just created (from the center pane) and click on Settings from the context menu that just appeared.
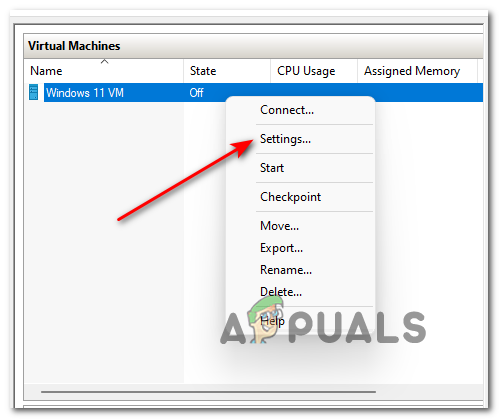
Opening the Settings screen of your Virtual Machine - Inside the Settings window, click on Security from the menu on the left, then go ahead and check the boxes related to Enable Secure Boot and Enable Trusted Platform module from the menu on the right. After you do so, click on Apply.
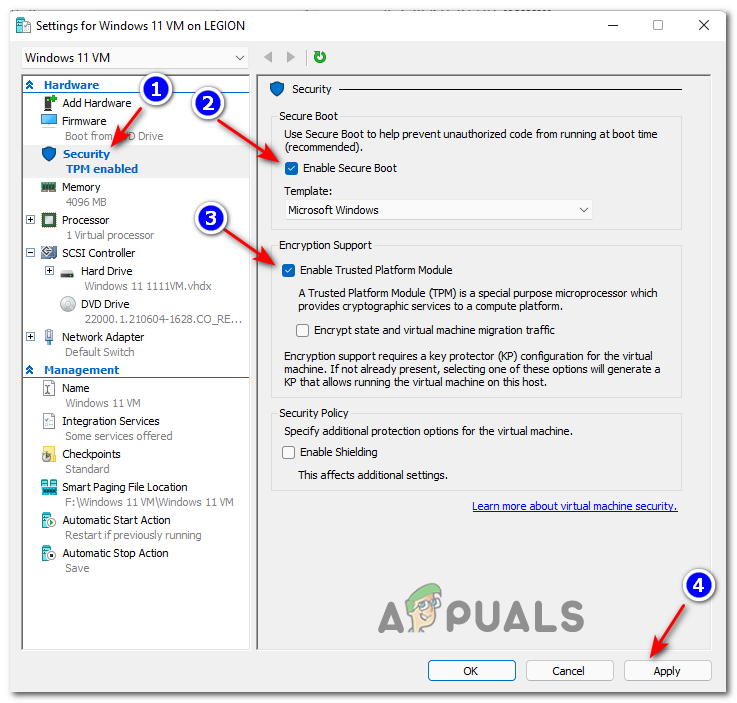
Enable Secure Boot and Encryption - Next, move to the Processor tab using the menu on the left, then move over to the right pane and set the Number of virtual processors to 2 before clicking Apply.
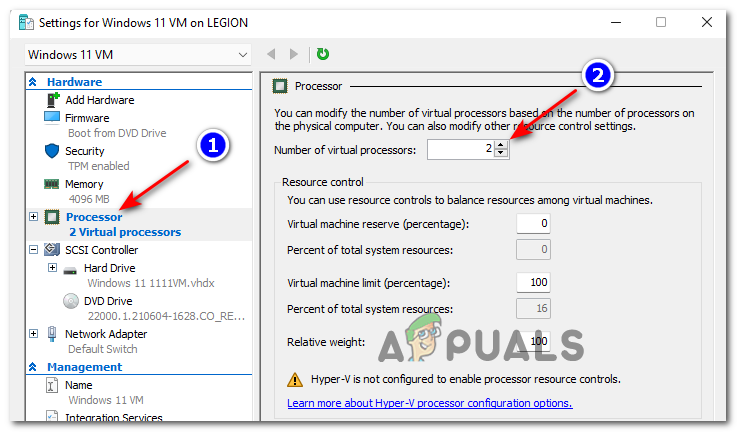
Configuring the virtual processes - And finally, go under Management and click on Checkpoints, then move over to the right-hand pane and check the Enable Checkbox box and click Ok on the bottom section of the window to save the changes.
- Finally, use the middle pane (Virtual Machines) of Hyper-V Manager to launch the Windows 11 Virtual machine that you’ve just configured.

Accessing the Windows 11 VM - Once the Virtual machine window opens up, click the Start button and wait patiently until the VM is initialized for the first time.
- When you are asked if you want to boot from VM, press any key.
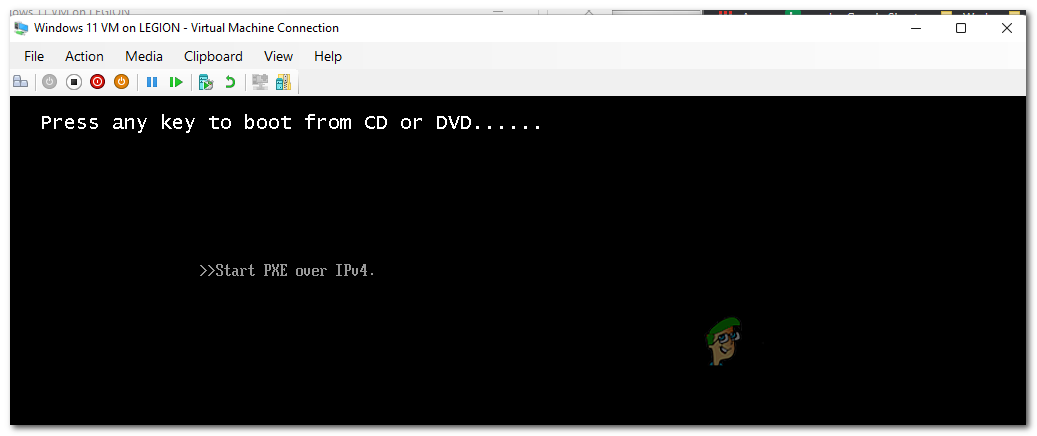
Booting from the Windows 11 ISO - Once the VM boots from the ISO file, follow the normal instructions to install the preferred version of Windows 11 on your VM from the Windows Setup wizard.