Configure Virtual Machine in the Oracle VM VirtualBox
In this article, we will walk you through the settings that are available within the virtual machine. Some of the settings will be changed based on our needs and for some of them, we will provide additional information. So, let’s start.
- Log on the Windows 10
- Open Oracle VM VirtualBox
- Select the virtual machine in the Oracle VM VirtualBox list. In our case, it is Windows 10 Pro.
- Right click on the virtual machine and then click Close and then click Power Off. We would need to power off the virtual machine in order to change some settings.
- Click Power Off to confirm powering off the virtual machine. Wait a few seconds until the virtual machine is powered off.
- Right click on the virtual machine and then click Settings…You can also open settings by selecting the virtual machine and pressing two keys on the keyboard (CTRL + S).
- Click on the General We have different options here including:
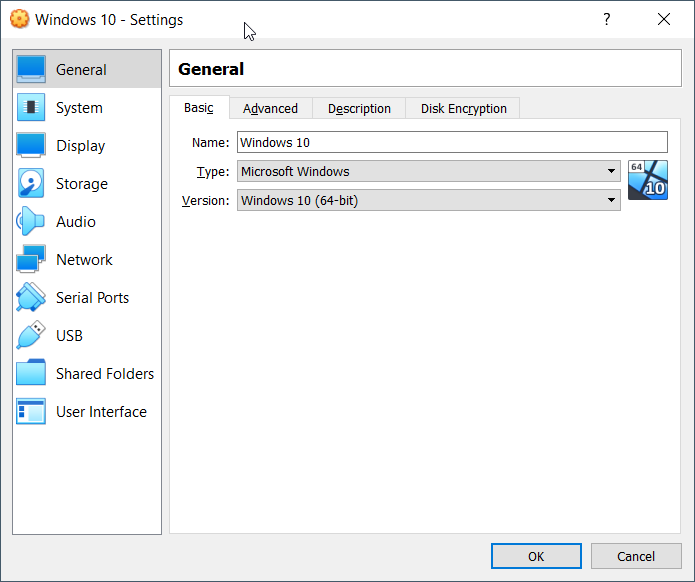
- Basic – change the name of the virtual machine, type and version you are running in the VirtualBox. We will change the name of the virtual machine to Windows 10.
- Advanced – change the location where Oracle VM VirtualBox stores the snapshot files. You can also enable Shared Clipboard and Drag´n´Drop We can enable them between host and guest and vice versa or we can enable it in both directions by clicking on Bidirectional. In our case, it will be Bidirectional.
- Description – please add some meaningful description for your virtual machine
- Disk Encryption – enable disk encryption. In order to do so please choose disk encryption cipher and create a password. In our case, we will not enable disk encryption.
- Click on the System. We have different options here including:
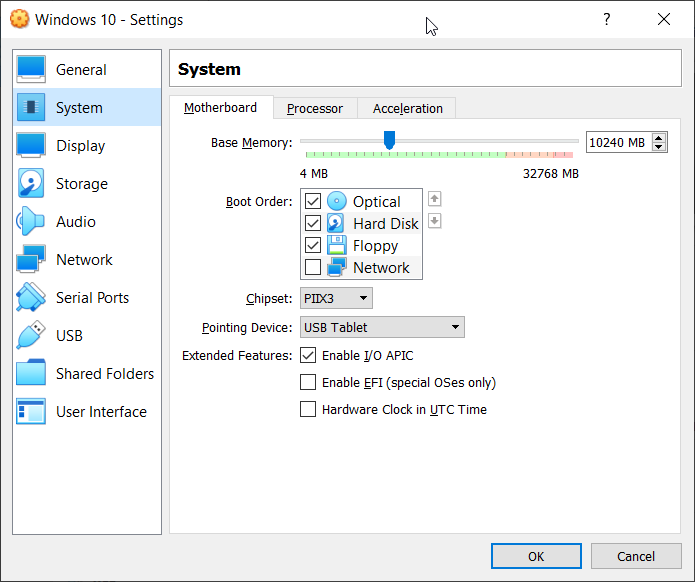
- Motherboard – allocate the physical memory to the virtual machine and change boot order. You can also allocate chipset, pointing device and enable extended features. In our case, we will keep the default settings., but increase physical memory to 10 GB.
- Processor – allocate processor resources to the virtual machine and enable nested virtualization. We will assign 4 vCPU for this virtual machine.
- Acceleration – Nebale paravirtualization interface and enable nested paging. In our case, we will keep the default settings.
- Click on Display. Here we can change different options including:
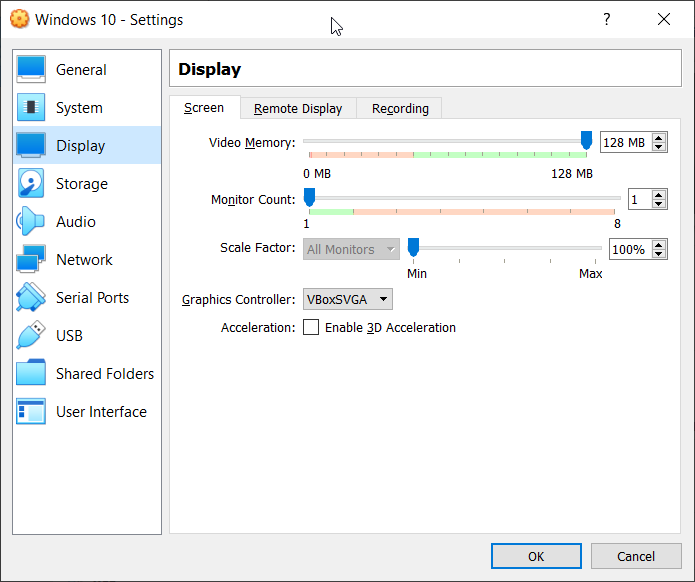
- Screen – change video memory and monitor count for the virtual machine. You can also change the graphics controller that is assigned to the virtual machine.
- Remote Display – enable remote display in order to remotely connect to the virtual machine
- Recording – enable recording for the virtual machine
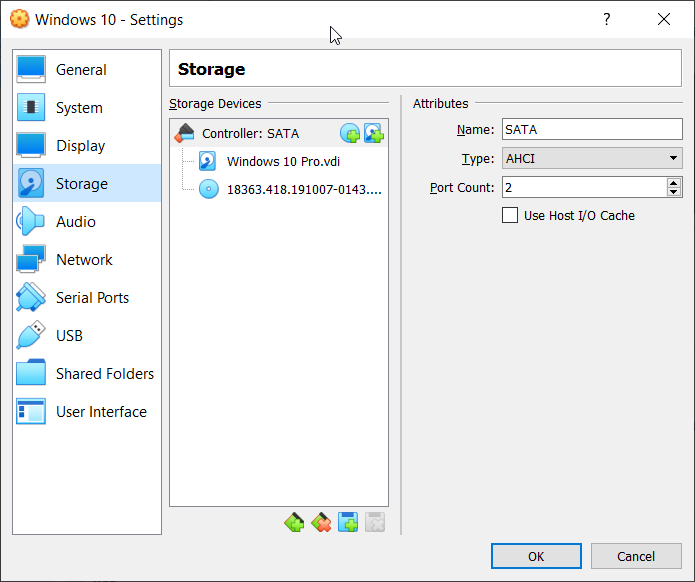
- Click on Storage. Here we can change the existing storage device or add a new storage device including virtual disk, drive or ISO file.
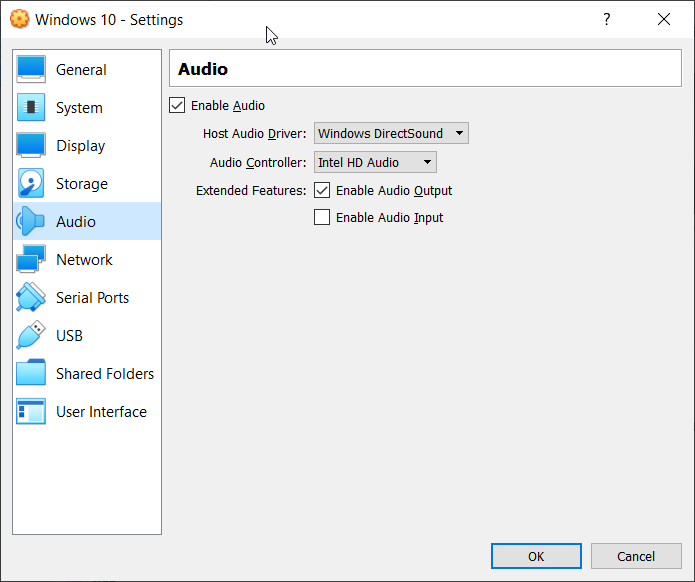
- Click on Audio. Here we can enable audio and select audio controller and audio driver for this virtual machine.
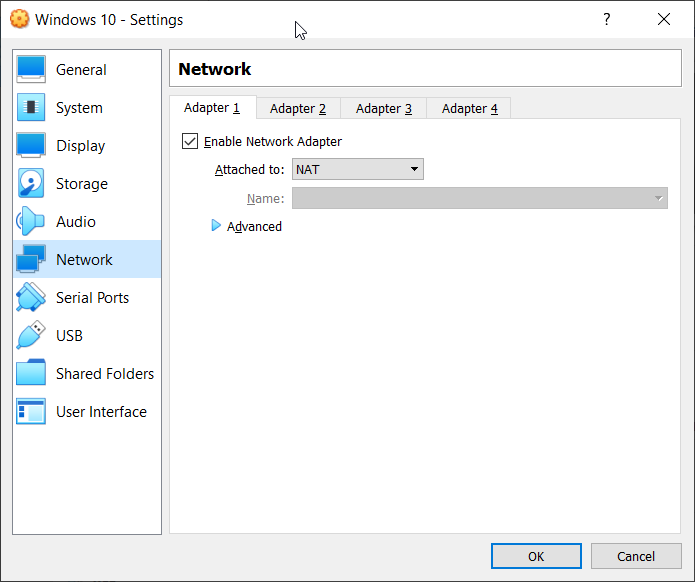
- Click on Network. Here we can enable or disable the network adapter and choose the type of the virtual network connection.
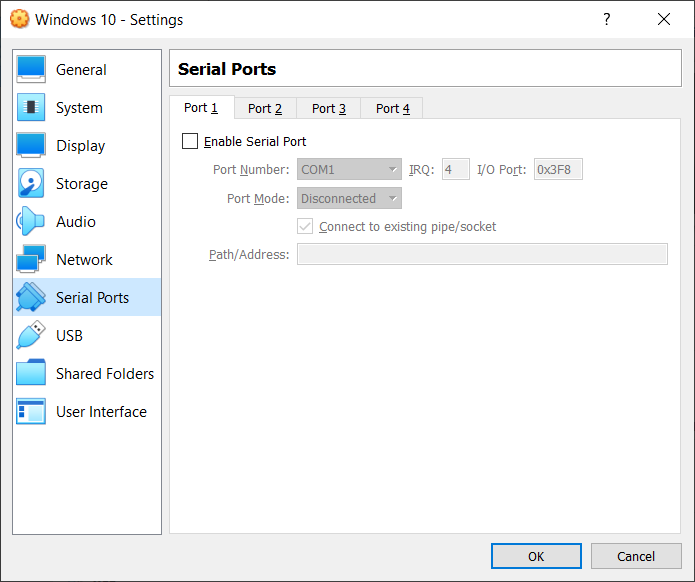
- Click on Serial Ports. Here we can enable Serial Ports and assign it to the virtual machine.
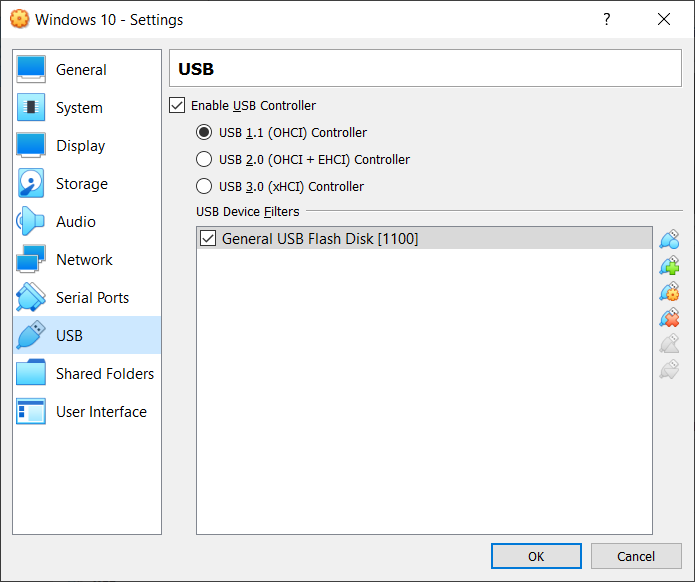
- Click on USB. Here we can enable USB Controller by selecting the version (1.1, 2.0 or 3.0) and assigning the USB device to the virtual machine
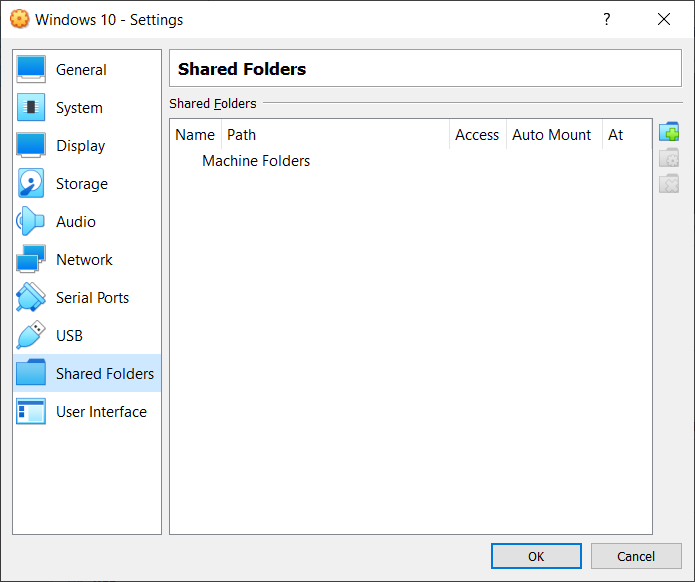
- Click on Shared Folders. Here we can create a folder and share it between host and guest operating systems.
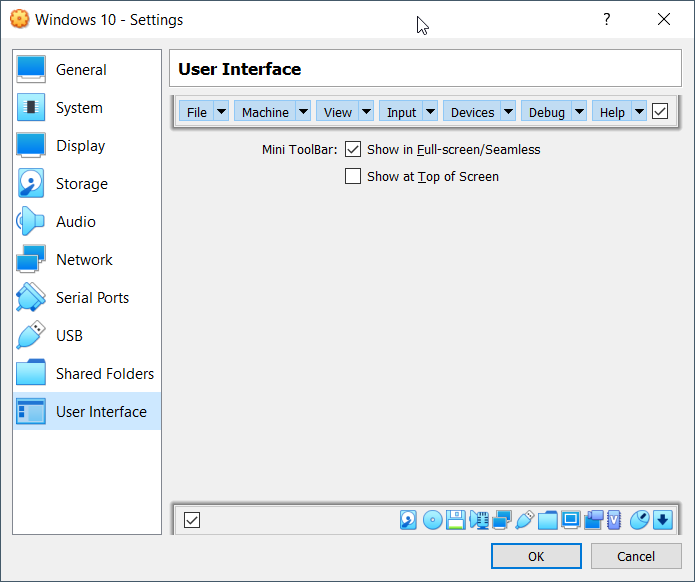
- Click on User Interfaces. Change the way how the user interface is shown in the Oracle VM Connection.
- Click OK to save changed settings
- Start the virtual machine by clicking on the Start button at the top of the window
- You have successfully changed some of the settings on the virtual machine, such as the name of the virtual machine, allocated physical memory and processor.