How to Capture Gifs and Record Videos with ScreenToGif?
There are several ways using which you can record your computer screen. Most of the recording software used for capturing often gives precedence to recording a video, so if you want to capture a GIF simply, you might find yourself wandering. All that goes away now since we will show you an easy method to help you achieve all of this and more.
ScreenToGif is an application that allows you to capture GIFs of your screen or even record a video. All in one place, along with a handful of other features. With the help of ScreenToGif, you can choose to record a specific area of your screen if you do not wish to show your whole screen for whatever reason. ScreenToGif also lets you record your facecam directly if you want to. The best part is that this does not come at a premium. Instead, you get it all for free.
This article will walk you through the whole process, from downloading and installing the program to capturing your first GIF and video. With that in mind, let us get right into it without further delay.
1. Download and Install ScreenToGif
As it turns out, the first thing you need to do before we start capturing our screens is to download and install the program. The installation process is quite straightforward and does not require any configuration.
You can download ScreenToGif via the official website by visiting this link or through the GitHub repository as well. After you download the installer, follow the instructions down below to get through the installation:
- First of all, start by running the installer file that you have downloaded from the website.
- On the first screen, you will have to choose the features you want to install. Tick all of the checkboxes and then click Next.
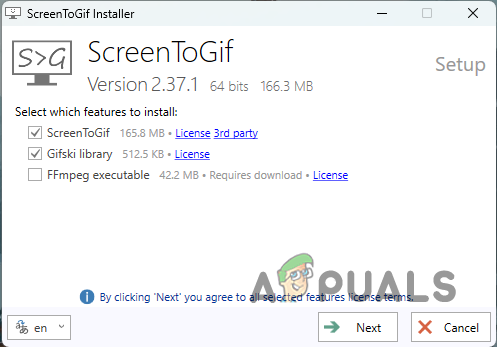
Selecting Features to Install - After that, choose the installation directory of the program. You can leave this as is if you want to. In addition to that, if you want to have desktop and start menu shortcuts, leave the respective checkboxes ticked.
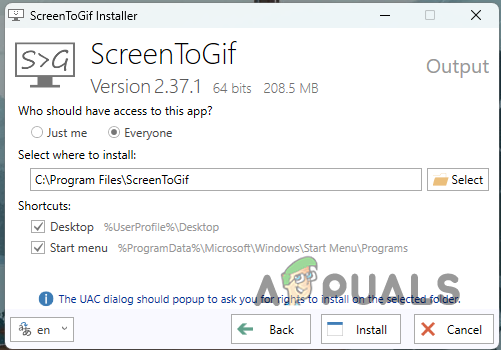
Choosing the Installation Location - Finally, click the Install button to start the installation process. Wait for the program to finish its installation.
2. Layout of ScreenToGif
After you install ScreenToGif on your computer, you need to have a general idea of how things work. We will take you through the program’s general layout before getting into the capturing and recording bits.
To start off, launch the application on your computer. When the program starts up, you will see a rectangular window with a few options. Let us start by going through them.
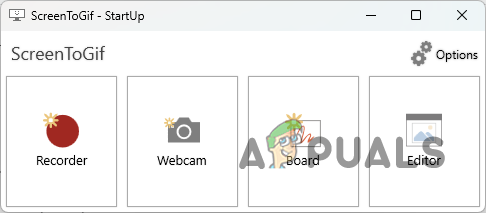
2.1. Recorder
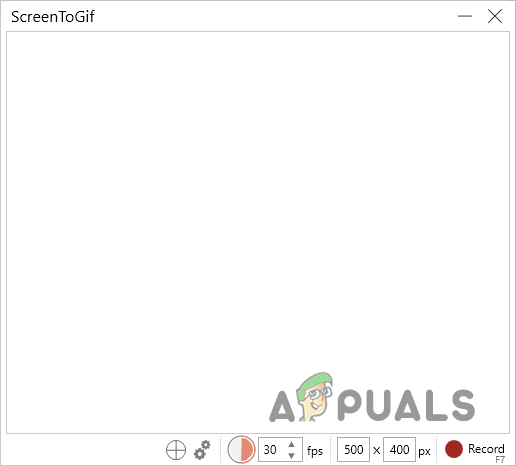
The first option on the start-up screen of ScreenToGif is Recorder. As evident from the name, this will allow you to capture your screen. If you click the Recorder option, a new window should appear with a blank screen in the middle. The middle area is the part of your screen that will be captured when you start recording.
At the bottom of the window, you will find several other options. These let you customize the Recorder window to your needs. To increase the size of the capture area, you can change the values of the height and width of the area, respectively. Furthermore, you can also change the frames per second (or frame rate) of your recording via the respective box.
The crosshair icon lets you snap the capture area to any window you click. This means the capture area will be adjusted as per the size of the window you click on.
Clicking on the Settings icon (two gears) brings up the Settings window. By default, you use the traditional or old layout of the Recorder. However, a new layout is available that lets you select the capture by drag and drop. If you want to switch to the new layout, choose the New layout option in the Settings window and click OK. For the changes to take effect, you will have to close the Recorder window and open it up again.
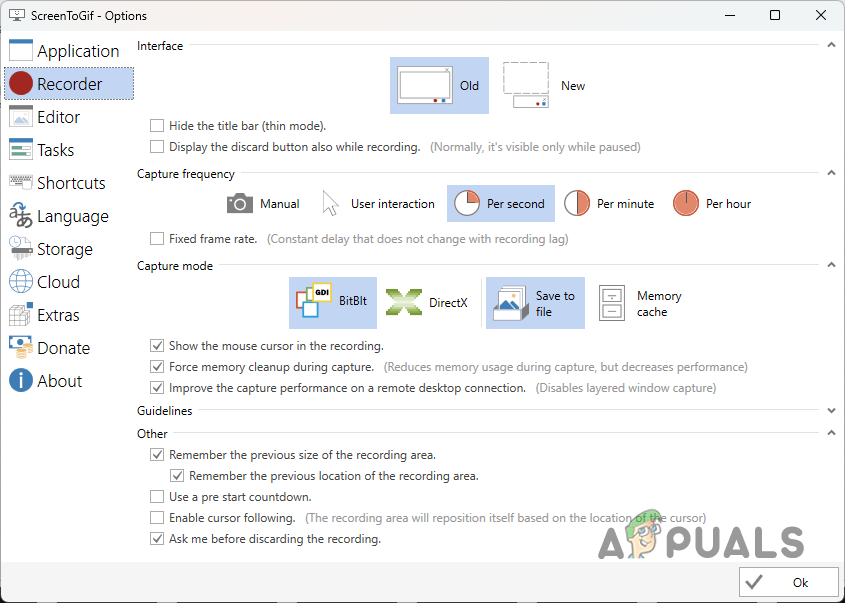
Furthermore, there are a lot of settings you can customize to fit your requirements in the Settings window of the Recorder, from choosing to display the cursor or not to enabling cursor following, a feature that forces the capture area to follow your cursor.
2.2. Webcam and Board
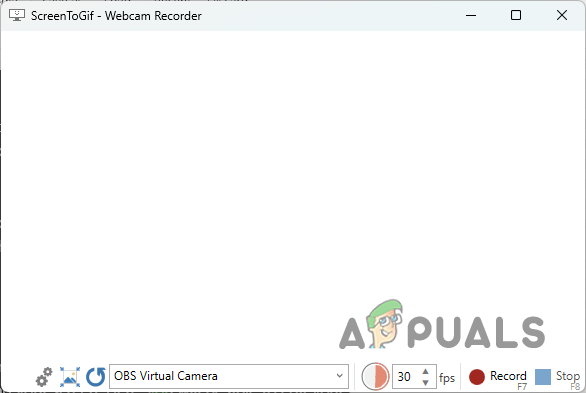
ScreenToGif gives you the functionality of capturing your facecam directly. If you have a facecam attached to your computer, you can check it by clicking on the Webcam option. This will bring up the Webcam Recorder window. You can choose the webcam you want to use from the drop-down menu at the bottom.
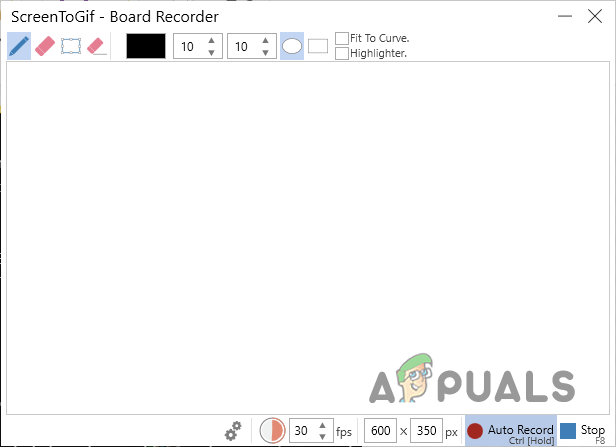
Another great feature of ScreenToGif is the Board Recorder. Using the Board Recorder, you can have the program record any board drawings or explanations. As it turns out, this is like having a small whiteboard for your videos, ready to go should you feel the need.
2.3. Editor
Finally, Editor is where all the magic happens once you have finished recording. The Editor window should open up automatically after you stop recording your screen. There, you will be able to edit your recordings and use various features available. This can include transitions, adding captions, applying a watermark, and much more.
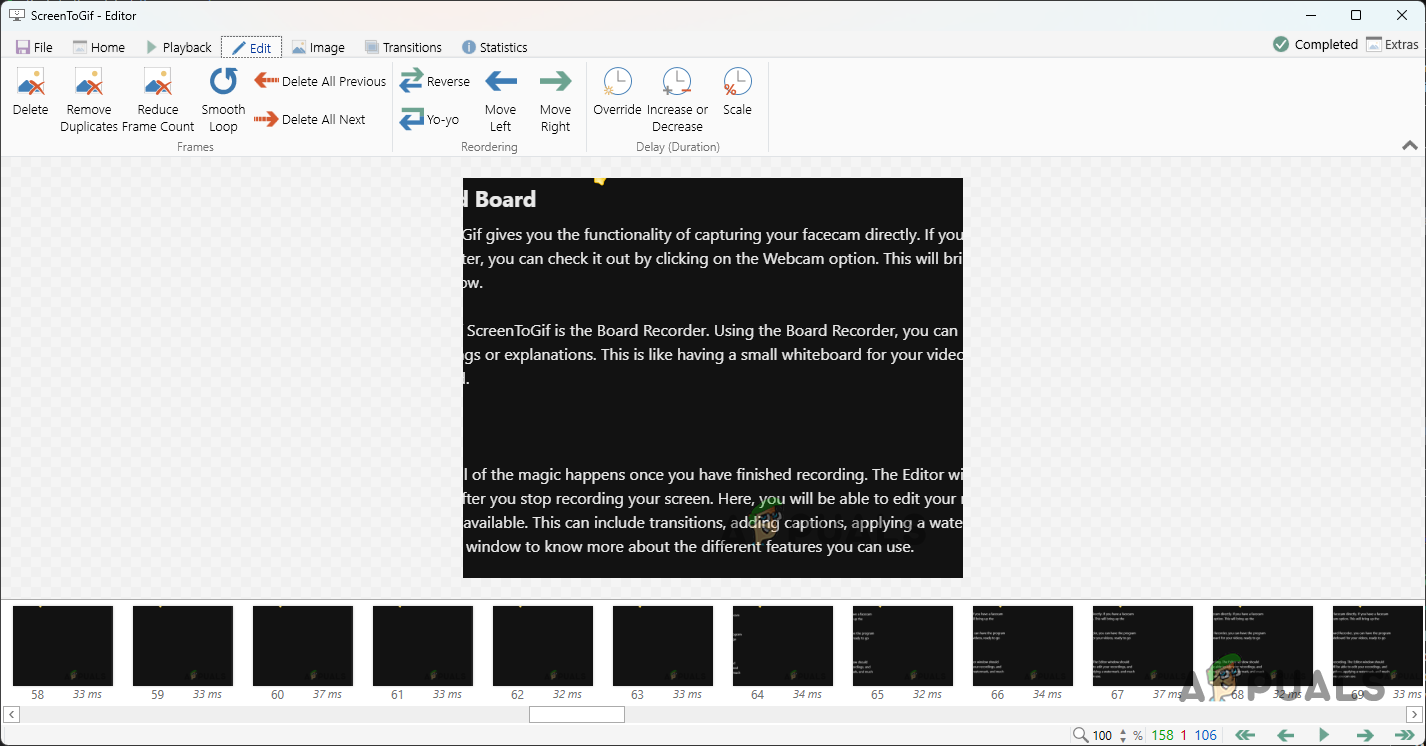
As it turns out, you will be taken to the Editor window after recording a video. Here, you can see all of the individual frames of your recording and edit your video accordingly. You can choose to delete separate frames or a portion of the video via the Edit tab.
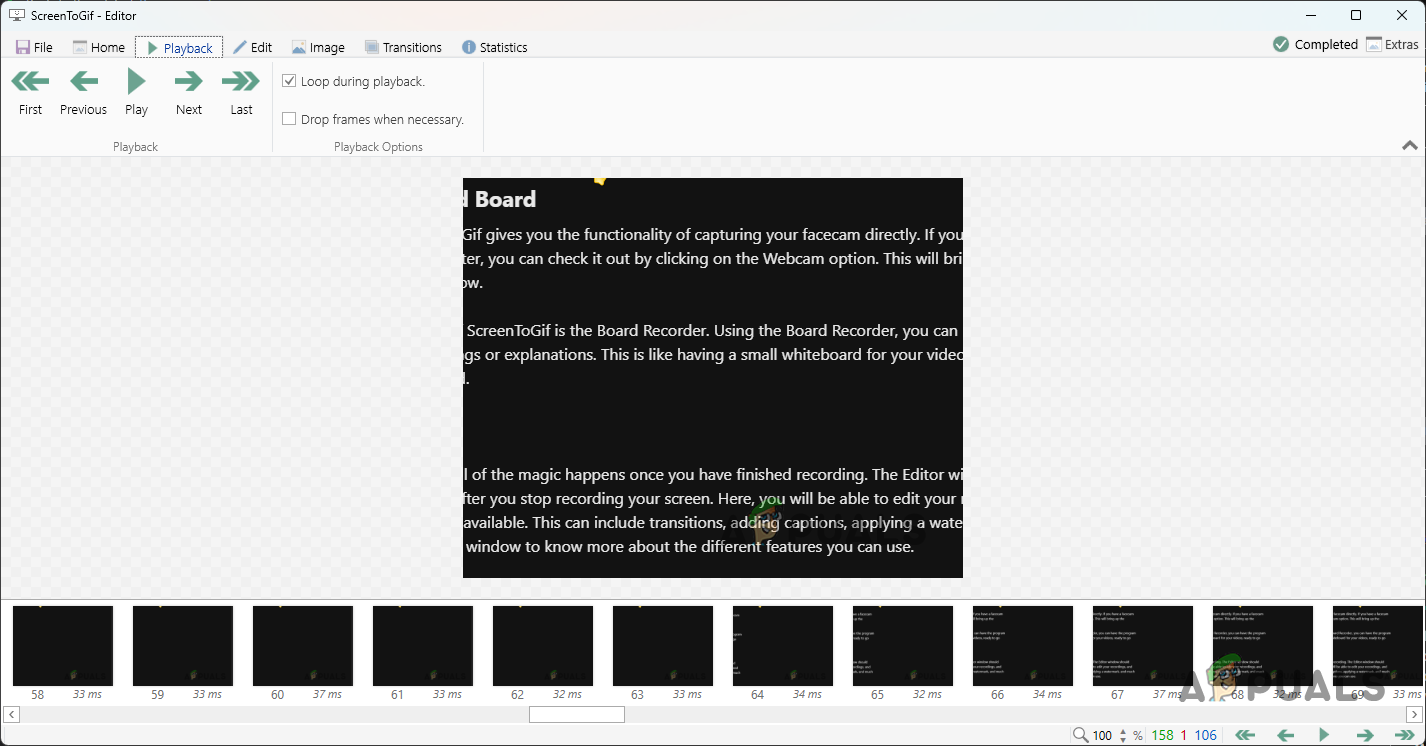
To play your recording, you have the Playback tab. As it turns out, you can also use the keyboard shortcut (Space) to play the video.
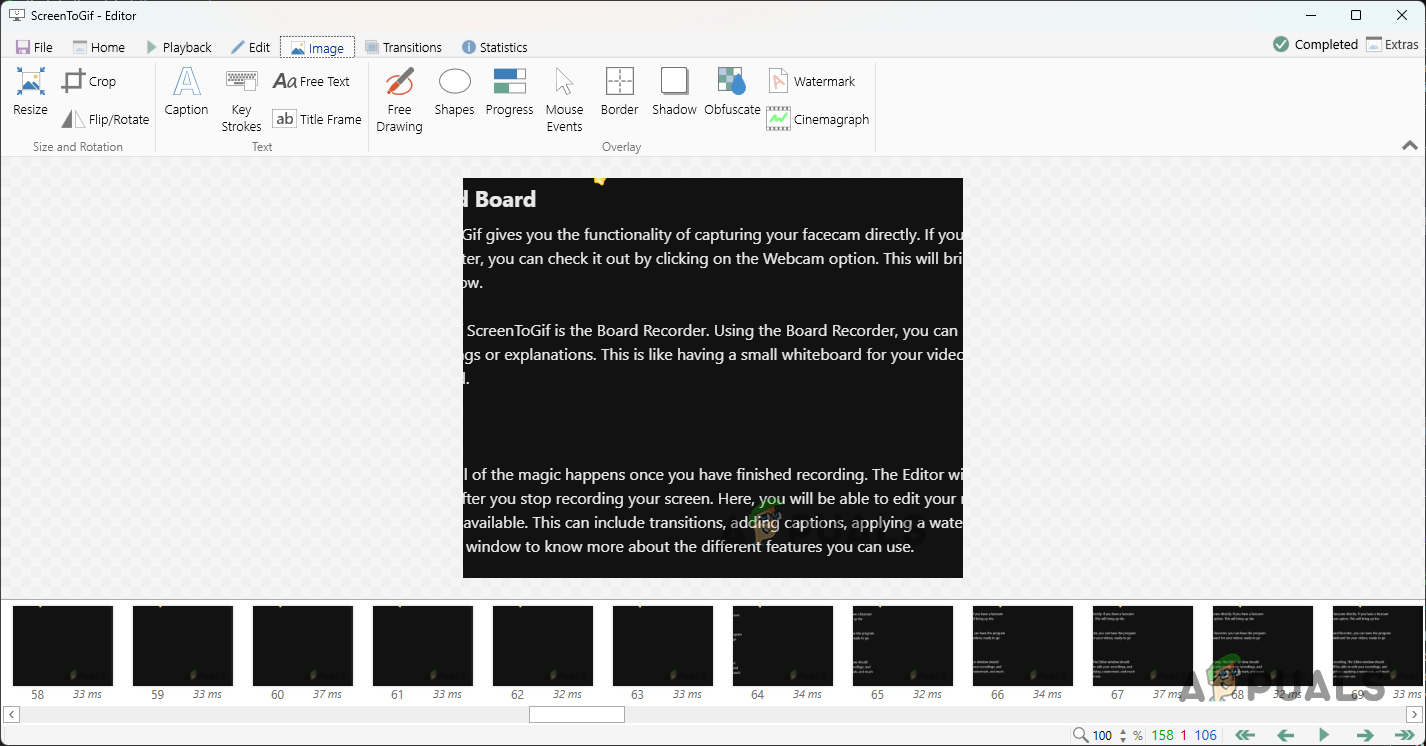
In case you want to edit a single frame or a number thereof, you can do so via the Image tab. From entering captions to applying a watermark, there is a good number of options available.
Explore the editor window to know more about the different features you can use.
3. Capture a GIF or Video with ScreenToGif
Now that we have gone through the different layouts of the application, it is time to show you how to record your screen and then save it as a GIF or video. Let us get right into it without any further ado.
- First of all, on the start-up screen of ScreenToGif, click on the Recorder option.
- After that, choose an area on your screen or a window you want to record on the Recorder window. You can use the crosshair icon on the old layout or the drag-and-drop option on the new one.
Recorder Window - Follow this up by setting a frame rate for your video.
- After you do that, click on the Record button to start recording. You can also use the F7 key on your keyboard as a shortcut.
- When you have finished recording a video, click the Stop recording button or press the F8 key on your keyboard.
- Once you do that, the Editor window should open up.
- You can edit your recording on the Editor window as per your needs. You can delete any frames you do not want by pressing the Delete key on your keyboard. Alternatively, you can use the Delete option under the Edit tab.
Editor Edit Tab - Explore the Image tab for more available options, such as adding captions, adding borders and more.
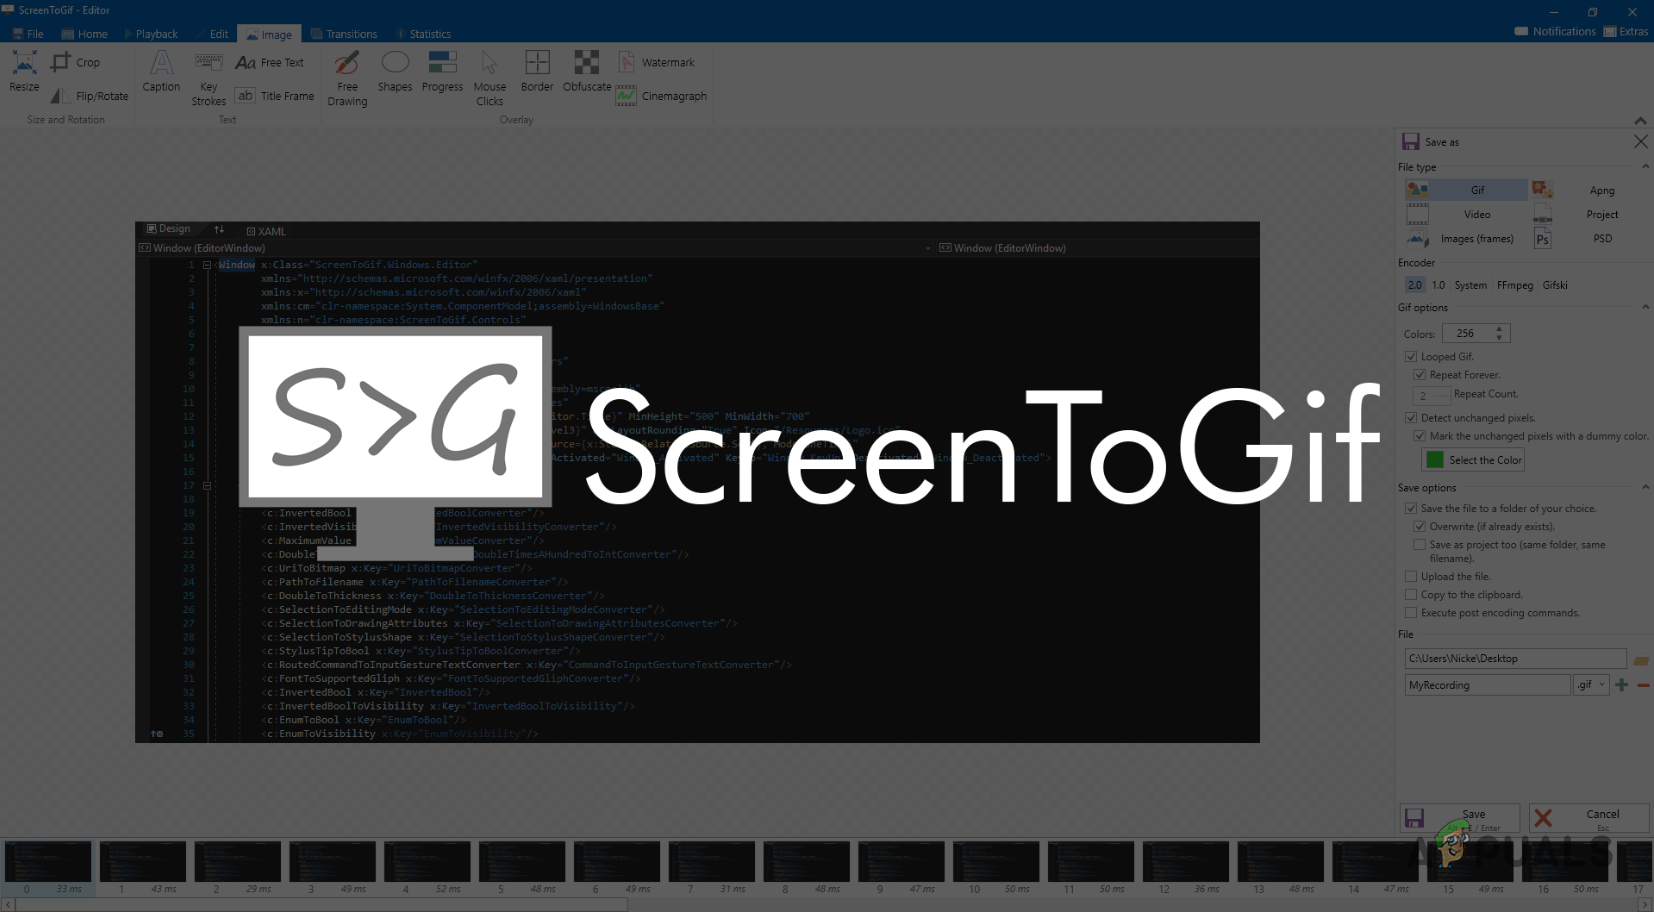
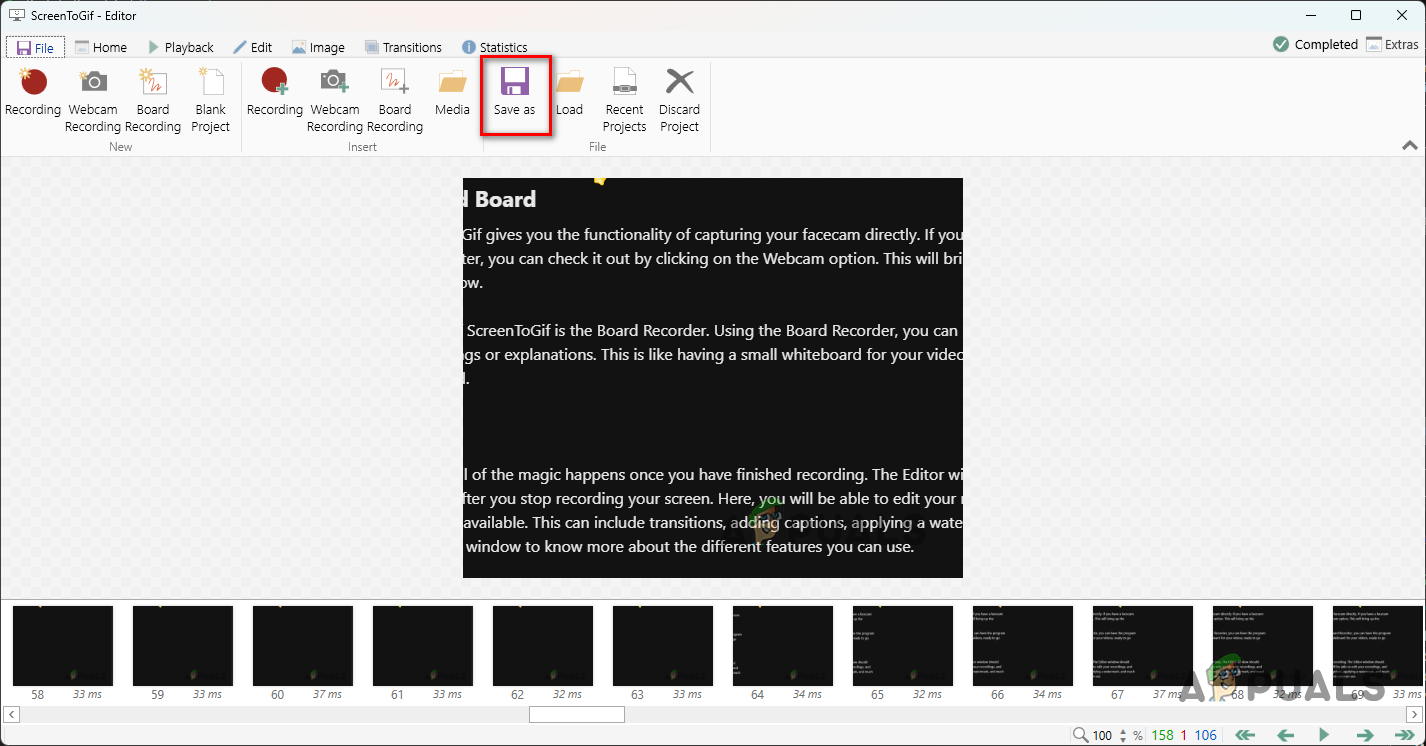
Editor Image Tab - Once you are done editing the video, it will be time to save it. Go to the File tab and click on the Save as option.
Saving the Project - A new menu on the right-hand side will appear. Now, you will have to choose whether you want it to be an animated GIF file or a video. Choose the File type from the respective drop-down menu.
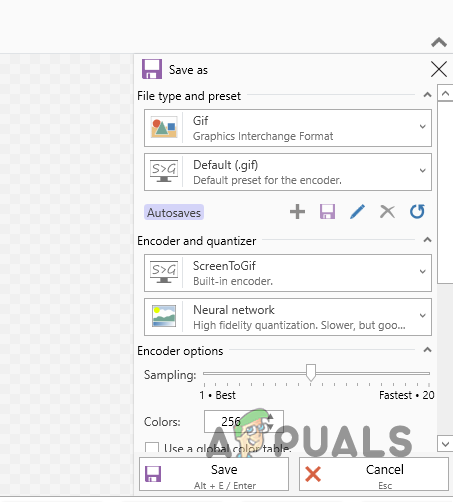
Export Options - Then, underneath the file type, you can choose the encoder preset you would like it to use. There are several options available here that you can go through.
- In addition, you can also choose the encoder to be used from the Encoder drop-down menu. Furthermore, you can go through various options and choose according to your needs.
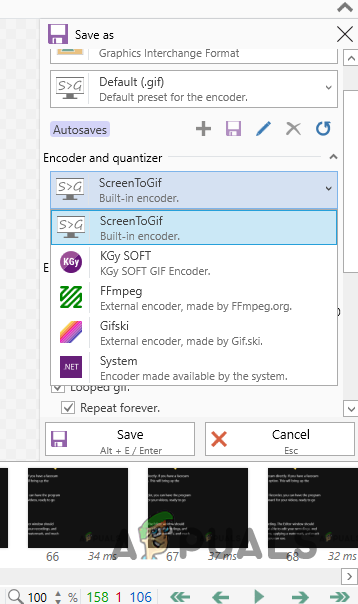
Choosing Encoder - Finally, click on the Save button once you are ready to export the video.
With that, you have successfully captured a video of your screen. As it turns out, capturing your screen is no longer an annoying feat but something that can be accomplished quite easily.