How to Fix ‘Installation Error’ in Bluestacks on Windows?
BlueStacks usually faces errors on PC which prevents it from properly installing and may cause an error message to pop up “Unfortunately, this app could not be installed”. This error occurs for several reasons such as interference from background processes and apps, an outdated Windows, incomplete file installation, and corrupt files on the system. However, there are other factors leading to this error as well.
In this guide, we will be showing you how to fix BlueStacks Installation Error.
Prerequisites: Check System Requirements
Before you try any methods to fix the BlueStacks Installation Error, make sure to verify if your computer is up-to-date with the system requirements of installing BlueStack. You can check your system’s specifications by following the steps given below:
- Open the Run Command by pressing the Win + R keys together.
- Open the Diagnostic Tool by typing “dxdiag” in the search box and clicking OK.
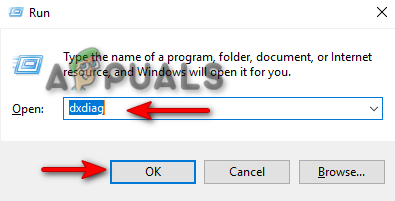
Opening the Diagnostic Tool - Now check the system information by clicking on the “System” tab.
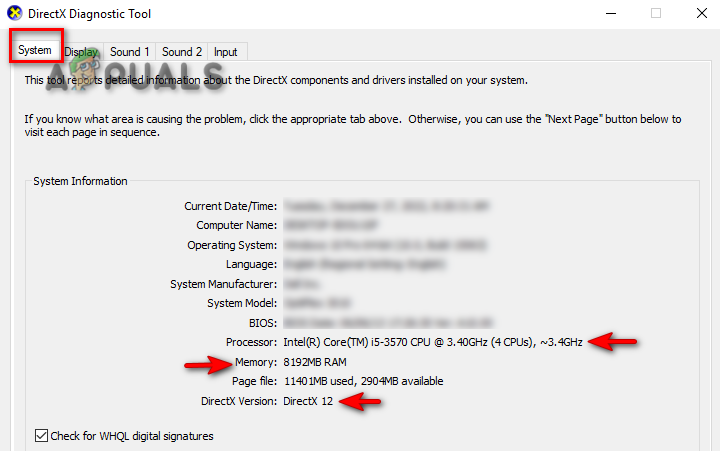
Checking System Information - To check the system graphics, click on the “Display” tab.
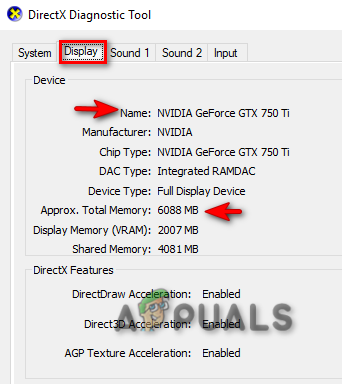
Checking System Display
Minimum Requirements
- OS: Microsoft Windows 7 and higher
- Processor: Intel/AMD Processor
- Graphics: Intel/Nvidia/ATI, Onboard or Discrete GPU with benchmark score >= 750
- RAM: 4GB or higher
- Storage: 5GB Free Disk Space
- Internet: Broadband network connection.
- Additional notes: You must be an administrator on your PC.
If you have confirmed that your system specifications meets the minimum requirements of running Bluestacks, then you can follow the methods shown below:
1. Check if your Internet is Connected
Make sure to see if your internet connection is turned on. In most cases when the internet connection is poor or disabled, Bluestacks may face an installation error. This happens because Bluestacks downloads some files before installation process and if it doesn’t have access to internet it won’t be able to download those files causing this Installation error.
2. End Unwanted Processes Running in the Background
One of the reasons why you may be facing the BlueStacks Installation Error is because of unwanted apps or background processes that are interfering with the installation of the app. Therefore, closing them may be helpful in fixing the error. Follow the steps below to see how to end unwanted programs in the background:
- Right-Click on the Windows Start Icon and select the “Task Manager” option.
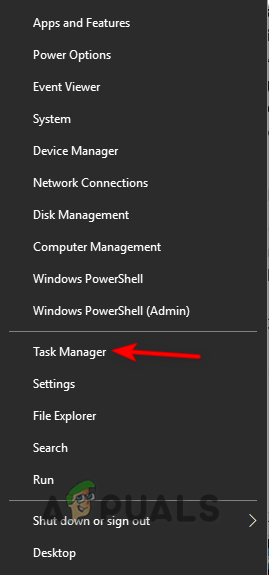
Opening Task Manager - Open the Process Tab and click on the unwanted background processes or apps that take too much memory.
- To end these processes and apps, click on the End Task button at the bottom right part of the Window.

Closing unwanted apps and processes
3. Run Bluestacks as an Administrator
You may not be able to install the Bluestacks due to lack of permissions to launch the installer. Since one of the requirements of the app is to have administrative control over the system, you can try running the Bluestacks app as an administrator to see if that was causing the installation issue. Follow the steps below to see how to run Bluestacks as an administrator:
- Right-Click on the Bluestacks setup and click on the properties option.
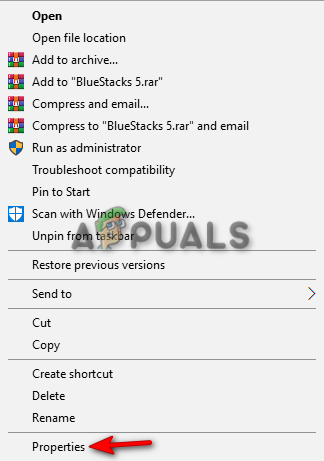
Opening BlueStacks properties - Click on the Compatibility tab and check the “Run this program in compatibility mode for” box under Compatibility mode.
- Select the type of Windows you prefer such as Windows 7/8.
- Check the “Run this program as an administrator” box under Settings and click Apply and OK.
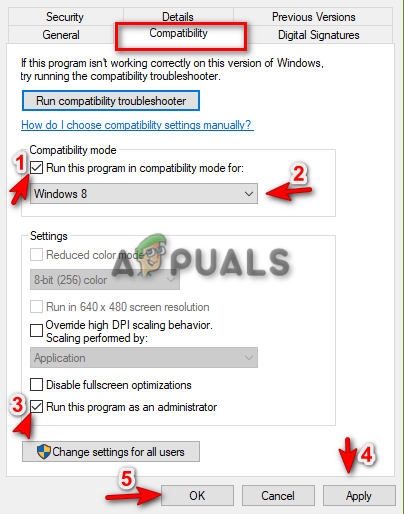
Running program as an Administrator - Run the installer and see if this fixed the error.
4. Disable Virtualization-Based Security Temporarily
Virtualization Based Security is a feature that additionally protects your system from threats. This feature may be interfering with the installation of the Bluestacks, because Bluestacks requires virtualization support to emulate android which might trigger VBS.
Therefore, you must disable it and see if it fixes the error. Follow the steps below to see how to disable Virtualization Based Security on your Windows:
- Press the Win + I keys together to open Windows Settings app.
- Now in the settings app, navigate to Privacy & Security > Windows Security > Device Security
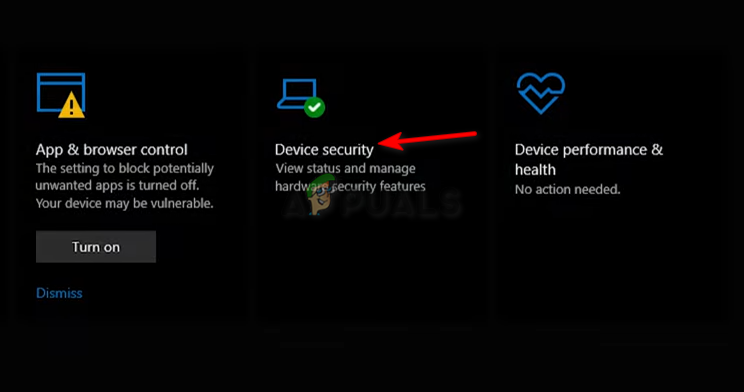
Opening Windows Device Security - Click on the “Core isolation details” option under Core Isolation.
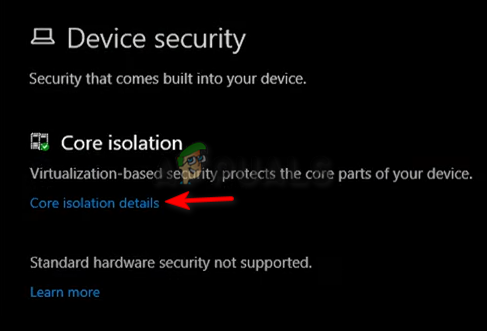
Opening Core Isolation details - Disable the Core Isolation feature by turning off the button under Memory integrity.
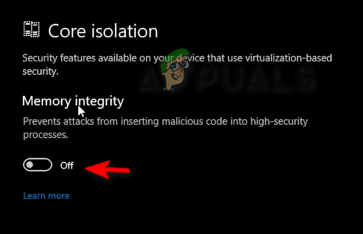
Disabling Core Isolation
Note: If you have an antivirus such as Avast installed on your system, you must disable the Virtualization-Based Security feature from there as well. Follow the steps below to learn how to disable the VBS feature from an antivirus software:
- Open the Antivirus software and click on the Menu option at the top of the screen and navigate to Settings > Troubleshooting.
- Uncheck the “Enable hardware-assisted virtualization” box and run the Bluestacks installer.
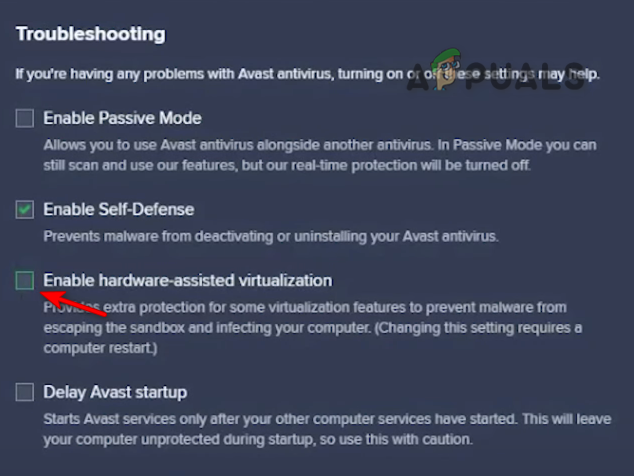
Turning off the Virtualization feature from the antivirus
5. Update Graphics Driver
An outdated Graphics card may also be one of the factors that lead to an installation error since Bluestacks cannot run below the minimum graphics requirement. Therefore, makes sure you have an up-to-date graphics driver installed. Following the steps below, you will learn how to update your Graphics driver.
- Open the Windows Start Menu by pressing the Win key.
- Type “ Device Manager” on the Windows Search Bar and open it.
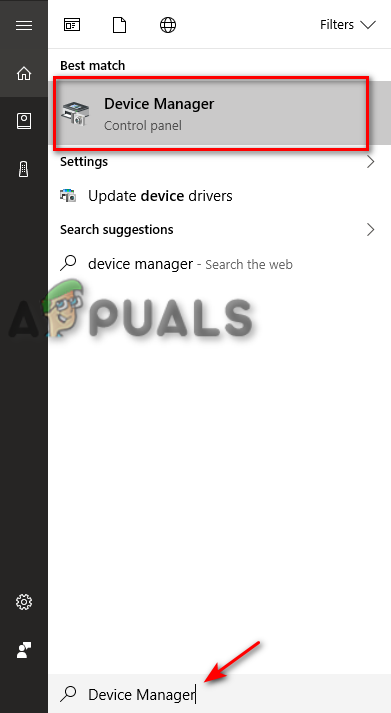
Opening Device Manager - On the Device Manager page, click on the Display adapters to view the installed graphics driver on your system.
- To update the Graphics Driver, right-click on the driver and click on the Update driver option.
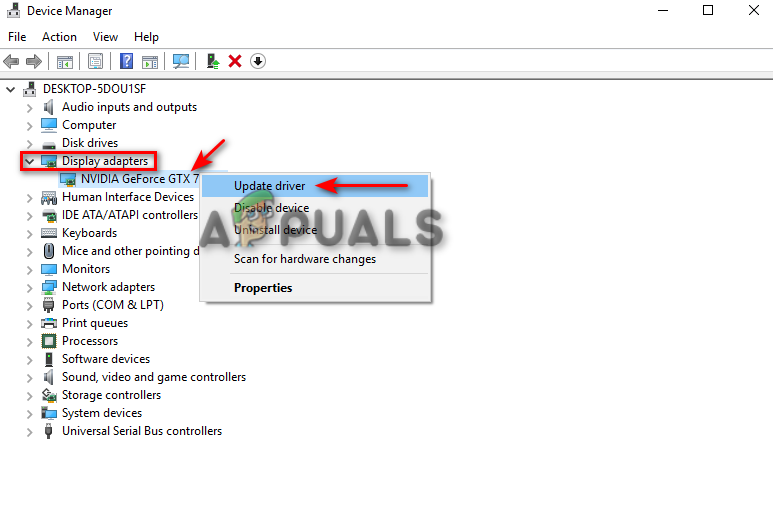
Updating Graphics Driver - Select the method you would like to choose.
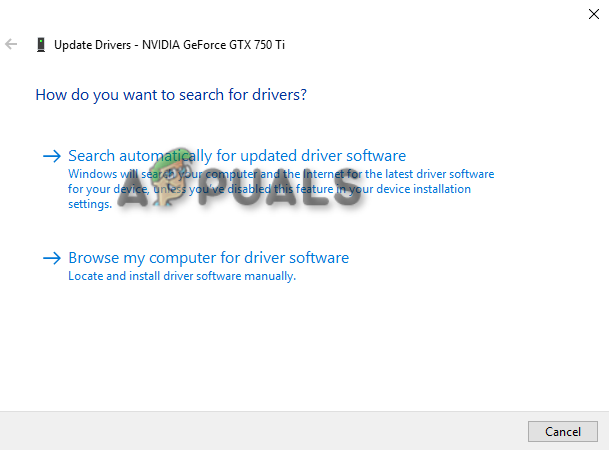
Selecting the Driver Updating method - Restart your computer after the Graphics Driver has been updated and see if this fixes the installation error.
6. Update your Windows
An outdated Windows update may also cause the error to occur. Therefore, check if you have an up-to-date Windows before Installing Bluestacks. If not, then you must install the latest Windows Update. Follow the steps below to see how to update your Windows:
- Open Windows Settings by pressing the Win + I keys together.
- Look if there is a Windows Update available by navigating to Windows Update and Security > Windows Security
- Click on the “Check for Updates” option.
- Click on the Download option if there is an update available and restart your computer after the Windows is updated.
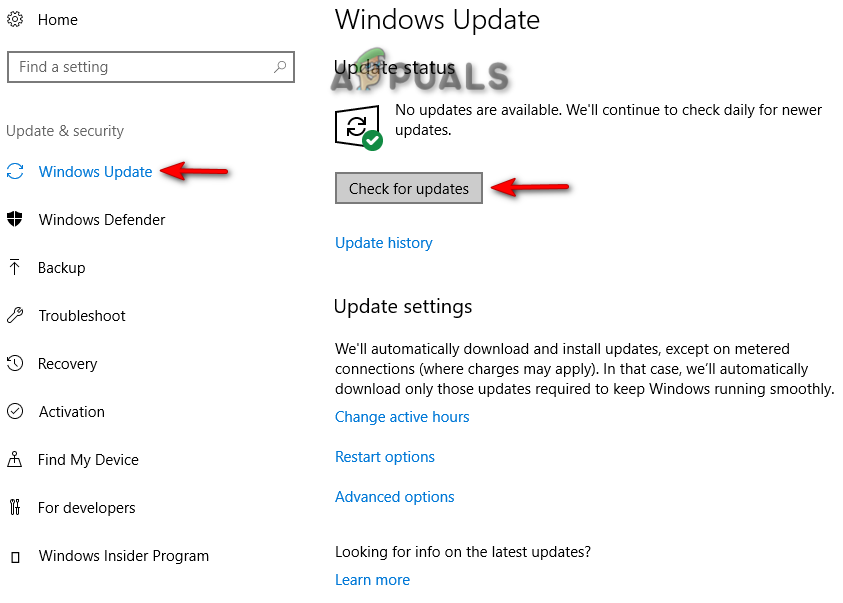
Checking Windows Update
Note: In some cases, you will not be notified about an available Windows Update. Therefore, you must download the update manually. Follow the steps below to download a Windows update manually:
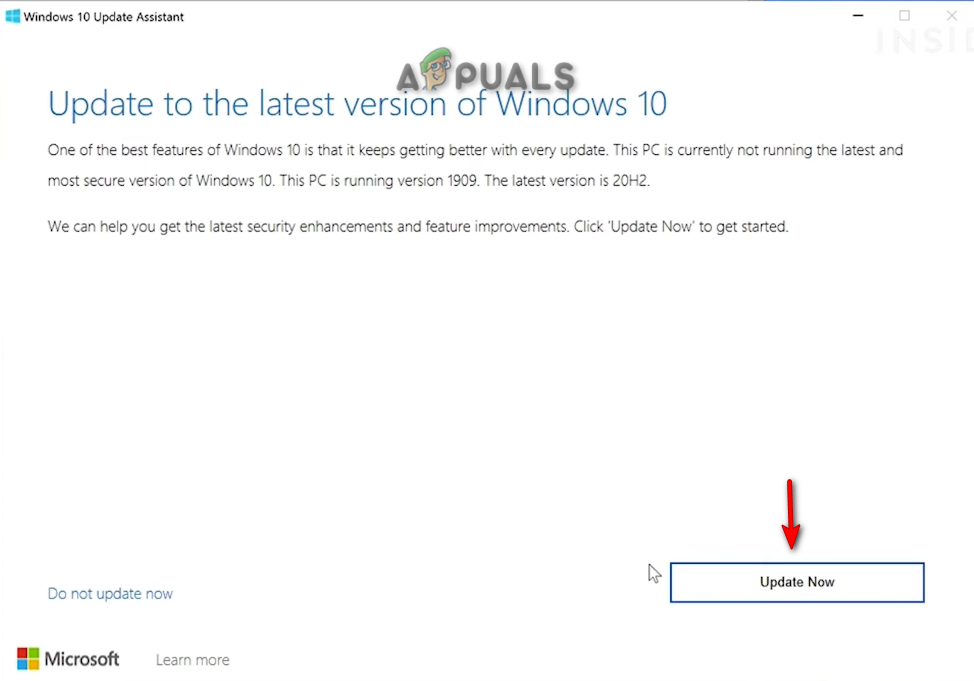
- Go to the Official Microsoft Web Page.
- Click on the “Update Now” option to download the Windows Update,
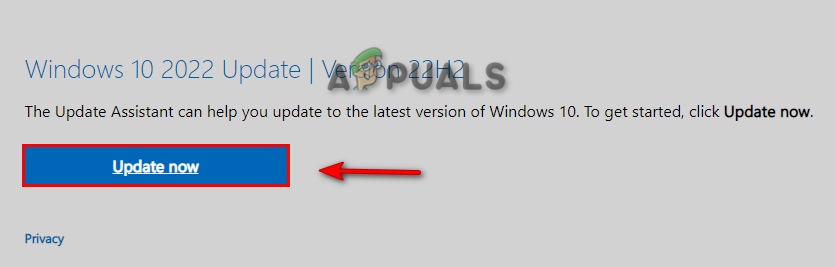
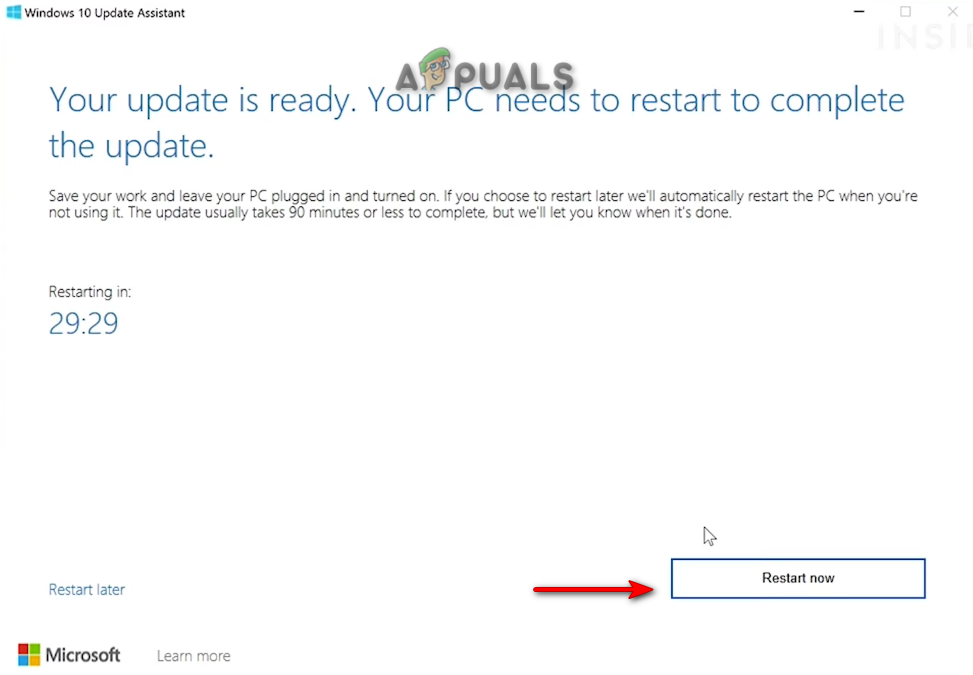
Downloading the Latest Windows Update - To Install the update, click on the “Update Now” option.
Installing Windows Update - Click on the Restart option after the installation is completed.
Restarting Computer
7. Run the System File Checker
Another reason why you may be facing this error is because of corrupted files on your system that may be interfering with the installation process. For this, you must perform a System File Checker which scans the corrupted files on your system and repairs them. Follow the steps below to perform a system file checker:
- Open the Windows Start Menu by pressing the Win key.
- Type “cmd” in the Windows Search bar.
- Right-click on the Command Prompt and click on the “Run as administrator” option.
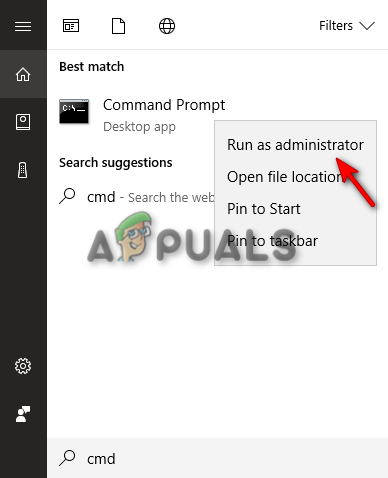
Running the Command Prompt as an administrator. - Type the following command in the Command Prompt while giving a space between “sfc” and “/.”
sfc /scannow
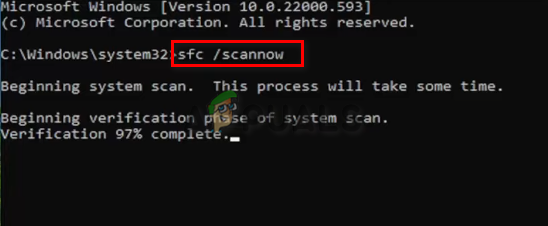
Running system file checker on the command prompt. - Once the scan is completed, the system file checker will repair the corrupted files automatically.
- Additionally, you must run the DISM Command by pasting the following command into the command prompt:
Dism.exe /online /cleanup-image /restorehealt
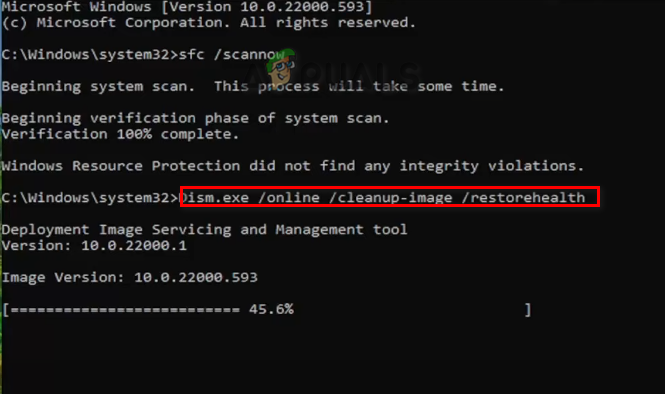
Running DISM Command on the Command Prompt - Restart your computer to see if this fixes the error.
8. Turn off Hyper-V
Hyper-V is a feature in Windows that lets you create a virtual machine. Bluestacks also has this feature available which when enabled may also be causing the error to occur. Therefore, you must try disabling this feature and then install the Bluestacks app. Follow the steps below to see how to turn off Hyper-V:
- Open the Run command by pressing the Win + R keys together.
- Open the Windows Features by typing “optionalfeatures.exe” in the search box and clicking OK.
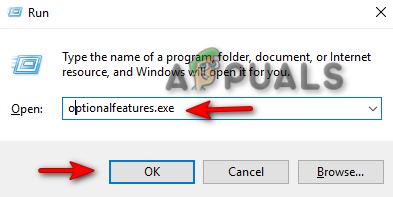
Opening Windows Features - Uncheck every “Hyper-V” related folder and click OK.
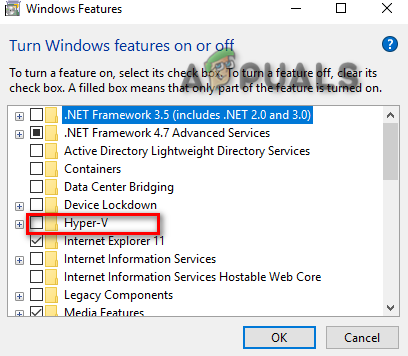
Turning off Hyper-V - Restart your computer by clicking on the “Restart Now” option to see if this fixes the error.
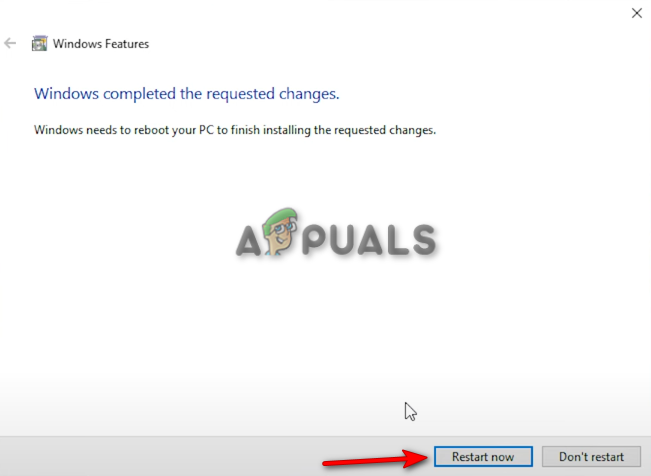
Restarting system
Note: Another way you can disable the Hyper-V feature is through the command prompt. Follow the steps below to do so:
- Open the Windows Start Menu by pressing the Win key.
- Type “cmd” in the Windows Search bar.
- Right-click on the Command Prompt and click on the “Run as administrator” option.
Running the Command Prompt as an administrator - Now, paste the following command into the command prompt and press the Enter key:
bcdedit /set hypervisorlaunchtype off
- Restart your computer manually from the Start Menu after the execution is completed.
9. Clean cache of Bluestacks Installer before proceeding
If you are still facing the Installation error, you must re-install the app as a last resort. Follow the steps below to perform a cleanup:
- Open the Run command by pressing the Win + R keys together.
- Open the “Temp” folder by typing “%temp%” in the search box.
Opening the Temp folder - Select all the unwanted files by pressing the Ctrl + A keys together.
- Delete all the files by pressing the Delete key.
- Now, download the BlueStacks Cleaner Tool.
- Open the Downloads option on your browser and click on “Show in Folder” to find the location of the cleaner.
Opening BlueStacks file directory - Double-click on the cleaner and it will start uninstalling BlueStacks entirely from your system.
Uninstalling BlueStacks - After the Uninstallation is completed, click OK and re-install the BlueStacks App from the Offical website.