[FIX] Bex64 Error with File Explorer and 3 Party Applications
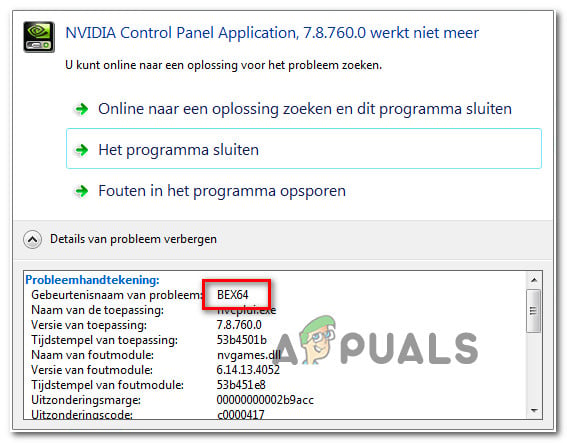
Crashes with the Event Name BEX64 are typically reported after File Explorer (Windows Explorer) crashes or after the crash of a 3rd party application or game. The majority of affected users are reporting that in their case, the crashes appear to occur randomly or when a demanding activity is performed.
As it turns out, there are several different potential culprits that might end up causing this problem:
- Interfering amBX service – If you’re seeing this error while attempting to launch the GTA V and you previously installed a custom lightning module like amBX, it’s very likely that you’re dealing with a conflict between two processes. In this case, you should be able to fix the problem by accessing the Services menu and disabling the amBX service.
- Different 3rd party interference – According to some affected users, this problem can also be spawned after an interference caused by an overprotective AV suite, MacType, DEDgear, AmBX, Razer Synapse, or Teamviewer. In this case, you clean boot your computer to identify the culprit then uninstall it using the official channels.
- Block imposed by the Data Execution Prevention filter – It’s also possible that the application that’s crashing is operating below the rules imposed by the DEP filter. If this scenario is applicable and you trust the application, you should probably be able to fix the problem by disabling the filter from an elevated CMD prompt.
Method 1: Disabling the amBX service (if applicable)
If you’re seeing this type of crash at each attempt to launch GTA V, chances are you’re actually dealing with a conflict between the game and amBX (the lightning system) or a similar service.
Several affected users that were facing the same problem have confirmed that they managed to fix the problem and launch the game normally after they accessed the Services screen and disabled the amBX service. After doing this and restarting their computer, most users have confirmed that the operation was resolved.
If you’re unsure on how to do this, follow the instructions below:
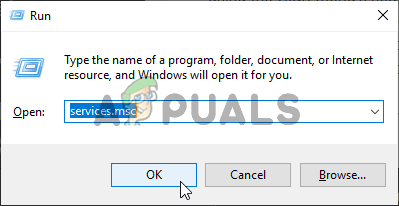
- Press Windows key + R to open up a Run dialog box. Inside the text box, type ‘services.msc’ and press Enter to open up the Services menu. If you’re prompted by the UAC (User Account Control), click Yes to grant admin access.
Running Services.msc - Once you’re inside the Services screen, scroll down through the list of services and locate the amBX service. When you see it, right-click on it and choose Properties from the newly appeared context menu.

Accessing the Properties menu - Inside the Properties menu, go to the general tab and change the startup type to Disabled before clicking Apply to save the changes.

Disabling the amBx service - Restart your computer, then launch GTA V (or the game that was previously crashing) once the next startup is complete.
In case the same problem was still occurring, move down to the next potential fix below.
Method 2: Eliminating the 3rd party interference
If you’re encountering this particular issue while using File Explorer or when attempting to launch an application, it’s possible that you end up seeing this BEX64 crash due to a second software that is interfering with the launcher binary on memory (or vice versa).
For some people, this was facilitated by an overprotective AV or firewall, while others blamed third-party themes and performance optimizers. A software called MacType (provides custom font rendering), DEDgear, AmBX, Razer Synapse and Teamviewer are most commonly reported for causing this type of crash.
If this scenario applies, the solution is to start uninstalling the ‘suspect’ software to make sure that it’s no longer allowed to interact with other programs.
In order to confirm if this is the case, you should start by achieving a clean boot state. if you can repeat the same action without seeing the BEX64 crash, you’ve just confirmed that the problem is indeed occurring due to a 3rd party process.
Booting your computer in clean boot mode, takes a bit of work since you’ll need to ensure that only native Windows processes and startup items are permitted to run.
If the clean boot state stops the same crash from occurring, you can begin to systematically re-enable the disabled items, coupled with frequent restarts to figure out which program is causing the problem.
Once you manage to find the culprit responsible for the issue, follow the instructions below to uninstall it from your system:
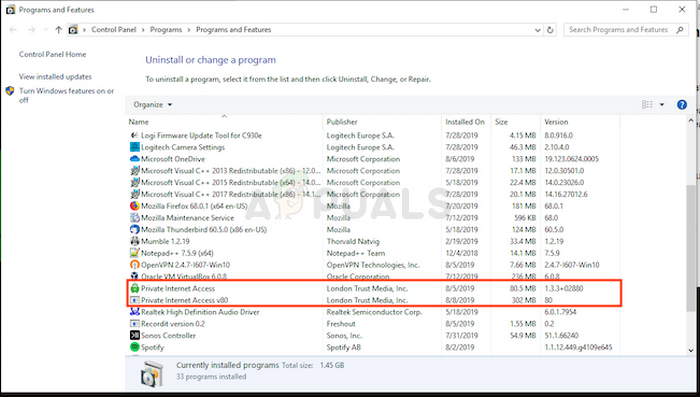
- Press Windows key + R to open up a Run dialog box. Inside the text box, type ‘appwiz.cpl’ and press Enter to open up the Programs and Files menu.

Type appwiz.cpl and Press Enter to Open Installed Programs List - Once you’re inside the Programs and Files menu, scroll down through the list of installed items and locate the piece of software that you want to uninstall.
- When you see it, right-click on it and click on Uninstall from the newly appeared context menu.
Uninstalling the problematic software - Inside the uninstallation screen, follow the on-screen instructions to complete the process, then restart your computer.
In case this scenario is not applicable or you’ve already uninstalled the problematic suite and you’re still facing the same issue, move down to the next potential fix below.
Method 3: Disable Data Execution Prevention
The data execution prevention filter is a set of software technologies that perform additional checks on the memory to prevent it from malicious code from running on a system. However, under certain circumstances, this security filter can become overprotective and prevent certain applications from functioning properly.
This problem is frequently reported when users attempt to launch certain games that are built in such a way that they end up conflicting with the DEP environment.
If this scenario is applicable, you should be able to fix the problem by disabling the data execution prevention filter with a swift CMD command:
- Press Windows key + R to open up a Run dialog box. Next, type ‘cmd’ inside the text box and press Ctrl + Shift + Enter to open up an elevated Command Prompt. When prompted by the UAC (User Account Control), click Yes to grant admin access.
Running the Command Prompt - Once you’re inside the elevated CMD prompt, type the following g command and press Enter to run it:
bcdedit.exe /set {current} nx AlwaysOff - After the command is processed successfully, you have disabled the data execution prevention filter.
- Restart your PC, wait for it to boot back up, then repeat the action that was previously causing the problem and see if the problem is now resolved.