Fix: Couldn’t Load XPCOM
The error ‘Couldn’t load XPCOM’ is usually caused by Windows updates. Though there are several methods on the internet to fix the issue, the one in this guide is by far the easiest I’ve found.
In order to proceed with this method, you will need to use Internet Explorer (which is there by default) or another browser if you have it installed.
If you cannot locate or find Internet Explorer, simply hold the Windows key on your keyboard and press R to open the Run dialog. In the Run dialog, type ‘iexplore.exe’ and click OK.

Method 1: Simply Upgrade or Reinstall.
This method has worked for most users and is very easy to follow. Once you are in Internet Explorer or another browser, simply head over to the following address to download the latest setup file for Firefox, run it, and install: https://www.mozilla.org/en-US/firefox/new/?product=firefox-3.6.8&os=osx&lang=en-US.
Method 2: Back Up and Perform a Clean Install
Before you begin, if you would like to back up Firefox, you can also choose to export certain items such as your history, passwords, or bookmarks. You can then import these bookmarks later from Chrome or other browsers.
- Download the 30-day trial version of Revo Uninstaller by visiting www.revouninstaller.com and clicking the respective button on the site.
2. By now, you should have the Revo setup file. Open it and proceed with the installation. Once installed, the RevoUninstaller icon will appear on your desktop. Open Revo Uninstaller and select Firefox.
3. Now, click ‘Uninstall,’ then select ‘Advanced,’ and follow the prompts on the screen to uninstall Firefox.
4. Then, select Advanced and click ‘Scan’ on Revo Uninstaller.
5. The next screen will present you with leftover files, as seen in the screen below. Select all of them and click “Delete.

6. First, go to C:\Program Files, delete the Mozilla Firefox folder, and also check C:\Program Files (x86).
7. Press “Windows” + “R” and type in “%temp%”.
8. Press “CTRL” + “A” and then press “Shift” + “Delete” to clear this folder.
9. Reinstall Firefox and check to see if the issue persists.
Note: If this is happening in the Tor browser, run it as an administrator and try disabling your antivirus temporarily. It is also recommended to uninstall GeForce Experience if you have it installed on your computer, as it is known to cause conflicts with the application in certain cases.
Method 3: Run as an Administrator.
In some cases, the issue can be simply fixed by running the browser as an administrator. Administrative privileges are required by some software to bypass certain hardware/security limitations. Therefore, in this step, we will be running the browser as an administrator and then checking if that resolves the issue. To do this:
- Right-click on the browser’s executable on the desktop.
- Click on the “Properties” option and then select the “Compatibility” tab.
- In the Compatibility tab, check the “Run this Program as an Administrator” option, and click on “Apply“, followed by “OK.
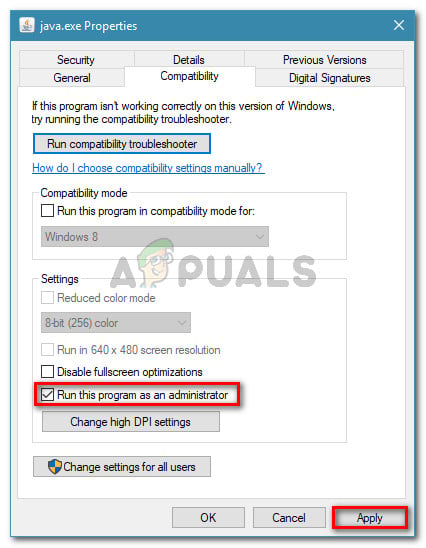
go to Compatibility tab and enable Run this program as an administrator - Run the browser afterwards, and check to see if the issue persists.
Method 4: Using Firefox for the Tor Network.
In some cases, this issue occurs with the Tor browser and doesn’t seem to go away using any workaround or fix. Therefore, in this step, we will use the Firefox browser to connect with the Tor network instead of using the Tor browser itself. This fix works for most users and is quite easy to apply. To do so:
- Download and install the Mozilla Firefox browser from here.
- Now, navigate to the Tor browser installation folder, which is usually on the desktop, and its address should look something like this:
Desktop\Tor Browser\Tor (full path "C:\Users\your-username\Desktop\Tor Browser\Tor")
- There should be a ‘tor.exe’ at the bottom of the folder. Right-click on this executable and select ‘Pin to Taskbar.’
- Now, start up Tor and wait for it to fully connect to its network.
- After starting Tor, launch the standalone Firefox browser that we installed in step 1, not the one included in the Tor bundle.
- Click on the “Settings” icon in the top right corner of the Firefox bar and select “Options” from the list.
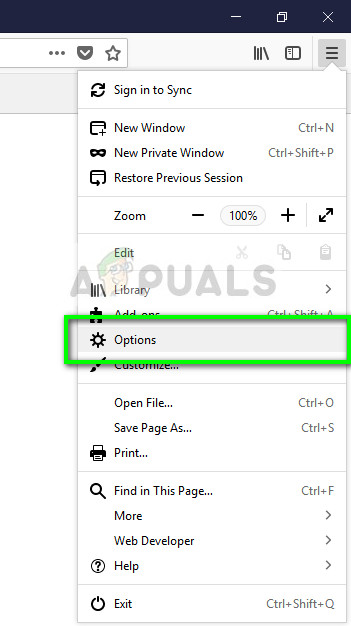
Options – Firefox - Click on the “Network” tab and then select the “Settings” option.
- Click on the “Manual Proxy Configuration” option and enter the following line there:
SOCKS Host: 127.0.0.1 Port: 9050
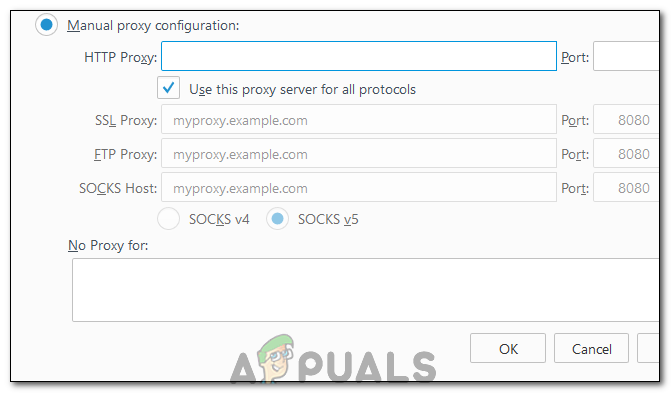
Entering the Manual Proxy Configuration - Click on “OK” to save your changes.
- Type “about:config” in the address bar and confirm the “I’ll be careful” prompt.
- Type “network.proxy.socks_remote_dns” into the search bar and toggle it to be set as TRUE.
- Restart Firefox and enter the following in the address bar.
https://check.torproject.org/
- It should now say that you are configured to run Tor.
- The issue should now be fixed completely.