How to Fix Update Error 0x8007000D in Windows 10/11?
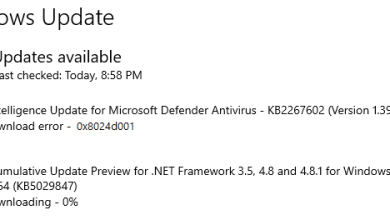
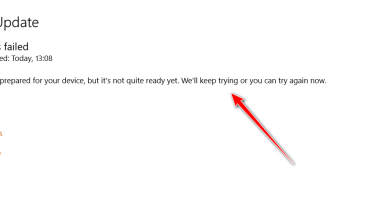
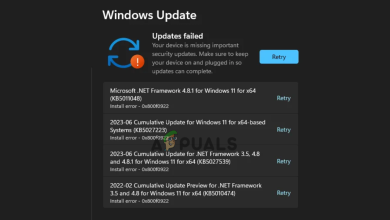
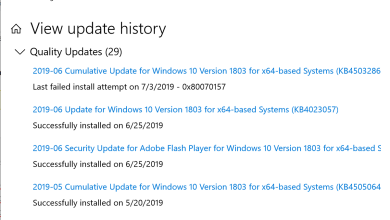
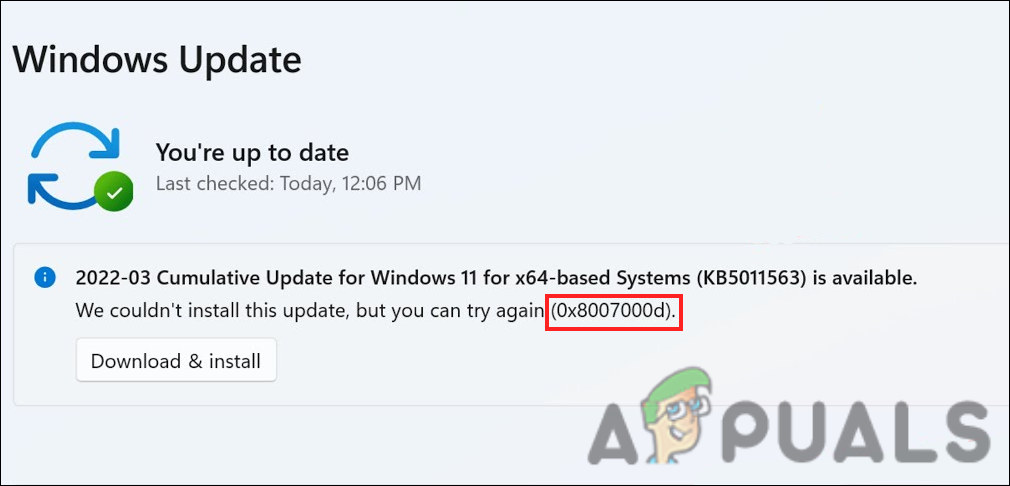
The error code 0x8007000D occurs when the users attempt to install a new Windows 11 update. According to the reports, the update seems to install, then the system reboots, but upon reboot, an error occurs that states, ‘We couldn’t install this update.
1. Run the Windows Update Troubleshooter
Windows update troubleshooter aims to determine if any issues within the system prevent the installation of the updates.
Follow these steps to start Windows Update troubleshooter:
- Open Windows Settings by pressing the Win + I keys together.
- Select System from the left pane and then click Troubleshoot > Other troubleshooters.
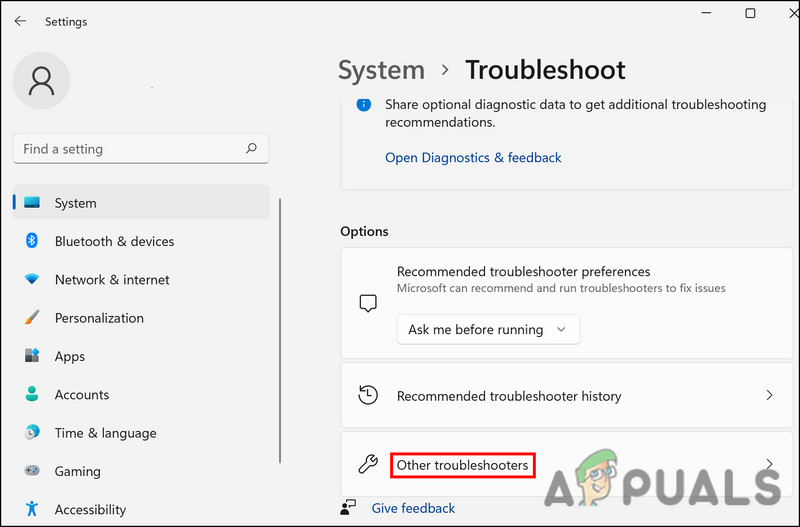
Click on the Other troubleshooters button - Find Windows Update troubleshooter, Press Run.
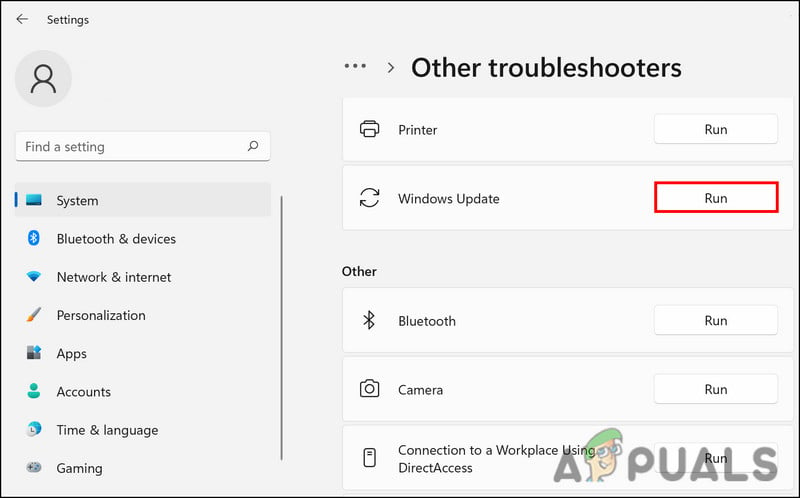
Run windows update - Wait for the process to complete, and then check the results.
- If problems are found, and the troubleshooter suggests a fix, click on Apply this fix.
- If the utility fails to find the problem, click on Close the troubleshooter.
2. Uninstall Nvidia Components (If Applicable)
Another fix that worked for users was uninstalling the Nvidia components (Control Panel and Experience). These components might be interrupting with the system’s process, preventing Windows from finishing the update installation.
Here is how you can do that as well:
- Press Win + R to open Run.
- Type control in Run and click Enter.
- In the following window, click on Uninstall a program button.

Click Uninstall a program - You will now be presented with a list of all the apps and programs installed on your system. Locate the Nvidia Control Panel.
- Right-click on it and choose Uninstall.
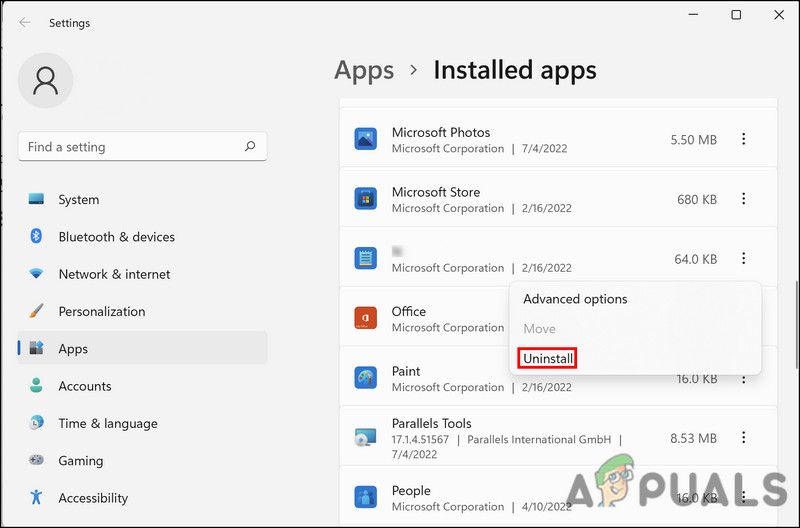
Click Uninstall - Follow the on-screen instructions to complete the process.
- Perform the same steps for Nvidia Experience and then restart your computer. Hopefully, upon reboot, you will be able to install the update without any problems.
3. Reset Windows Update Services and Cache
This problem may also arise because of the corruption of the Windows update services or update cache files.
To counter this issue, we will reset the Windows Update services and cache files using a batch file. All that you need to do is download the file and run it as an administrator to fix the problem. The file will stop and then restart all the Windows update services and other similar components.
Once the restore point is created, follow these steps:
- Click on this link to download the file.
- Once the file is downloaded, right-click on it and choose Run as administrator from the menu.
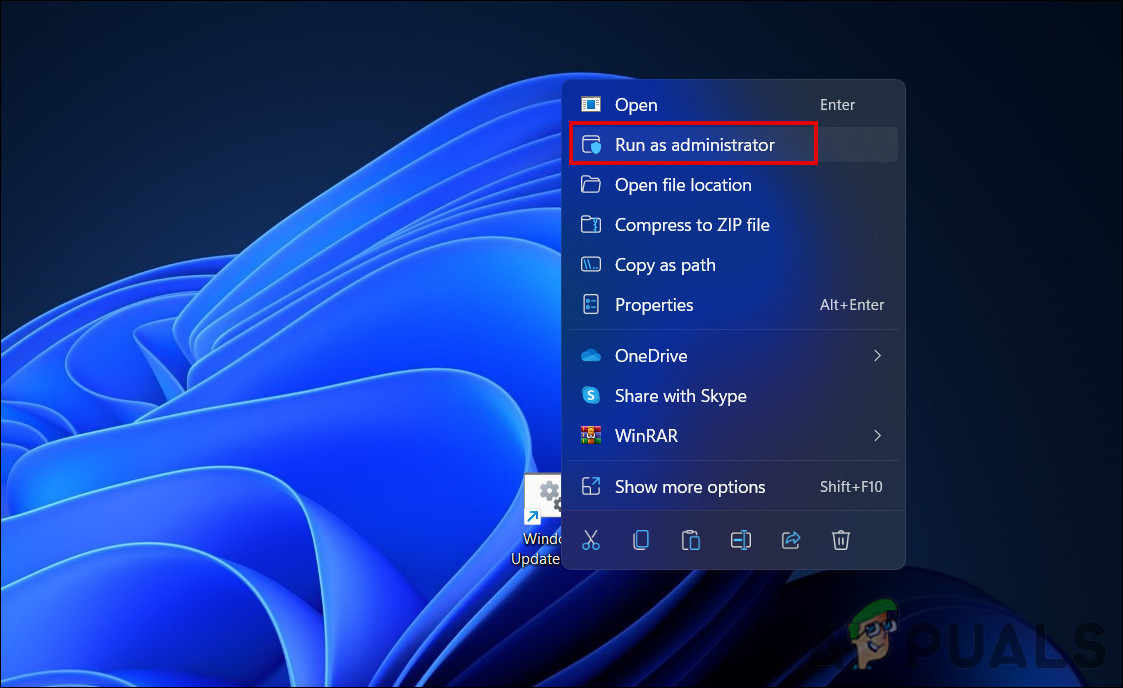
Run the bat file as administrator - In the following dialog, click on More info > Run anyways.
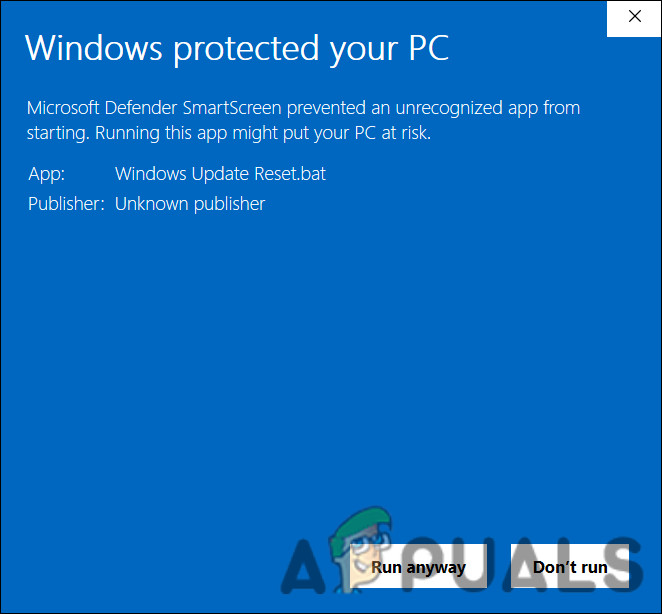
Run the bat file - Click Yes in the User Account Control prompt.
- The file will now begin repairing files. Wait for the process to complete, and then restart your computer.
Upon reboot, check if the issue is resolved.
4. Run System Scans
If the troubleshooter fails to identify issues within the system, then you can also use other system troubleshooter utilities like SFC and DISM.
During the scan, the System File Checker (SFC) will look for any inconsistencies within the protected system files. In the event that SFC finds a corrupt file, it will replace it with its healthier cached version. In contrast, DISM repairs the system image.
Before proceeding, make sure you are logged into Windows as an administrator because we will be using the Command Prompt to run these tools:
Here is all that you need to do:
- Open Command Prompt as an administrator.
- Click Yes in the User Account Control prompt.
- In the Command Prompt window, type the command mentioned below and hit Enter.
sfc /scannow
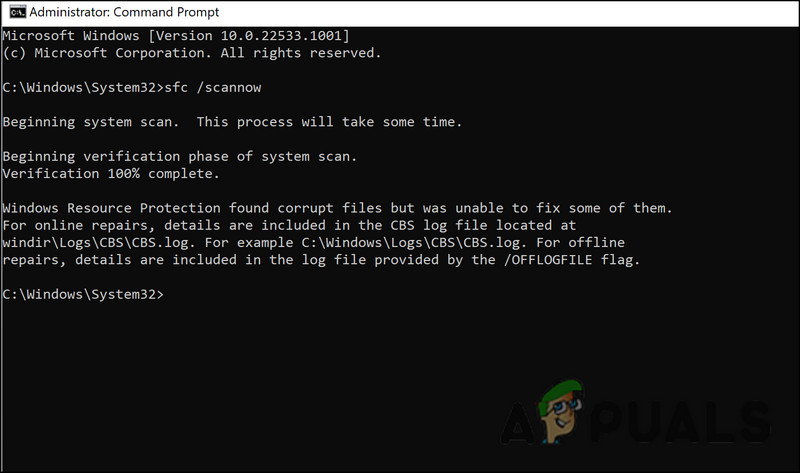
Run the SFC scan - Wait for the command to execute, and then execute the following command:
Dism /Online /Cleanup-Image /ScanHealth
- Next, proceed with the following command:
Dism /Online /Cleanup-Image /RestoreHealth
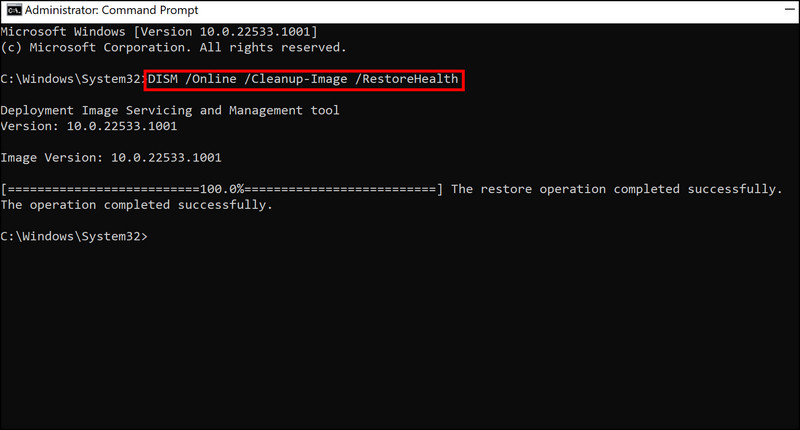
Run the RestoreHealth Command
Once this command is executed, close the Command Prompt window and check if you can now download the targeted updates.
5. Install the Update Manually
If the system cannot install the update automatically, you can also try to install it manually using the Microsoft Update Catalog. Since installing the update from the catalog skip the download process, you will be able to dodge the error.
Here is how you can do that:
- Launch your browser and head over to the Microsoft Update Catalog.
- Type the targeted update’s KB number in the search field at the top right.
- Click Enter and then locate the most appropriate update option according to your device specifications.
- Click on the Download button for the update.
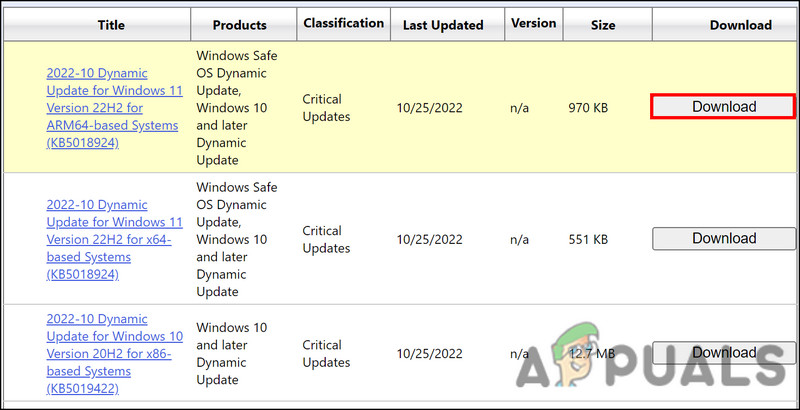
Download the update - Once the file is downloaded, click on it and follow the on-screen instructions to complete the installation process.