Fix: VIDEO_TDR_FAILURE (ATIKMPAG.SYS) IN WINDOWS 8.1/10
Video_tdr_failure (atikmpag.sys) is a blue screen error triggered by a faulty, incompatible or corrupt graphic driver. Users face this error after their system has been upgraded or after the drivers have been updated. The good thing is that this BSOD provides you the file name that is triggering the BSOD, which points out where the problem has originated from. Whatever, it is a quick google search will tell where it has originated from. However, this article is related to the atikmpag.sys which is an AMD driver.
This error usually starts if Windows runs an automatic update, or if you have manually updated the graphic’s drivers or if you have just upgraded to windows 8 or 10 from a prior version. In all cases, it is the driver and this is what we will troubleshoot in this guide.
If you are unable to login to Windows due to this error or if the error continuously interrupts while logged in then it’s best to boot to safe mode where a basic graphic driver with minimal load is loaded. You can view steps on booting windows in safe mode (here)
Use an Older Version of AMD Drivers
The latest drivers are not always the best way to go. In this case, they can be the cause of this error. But we can use an older version of the AMD driver that was not causing this issue.
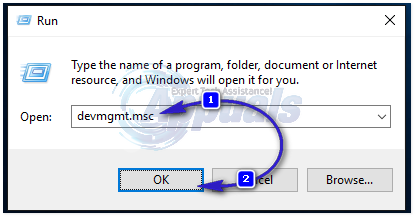
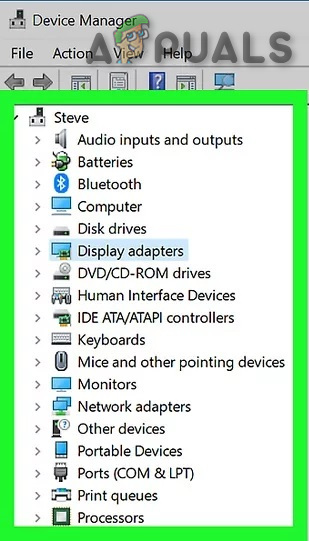
- To do that, hold down Windows key and press R. Type devmgmt.msc and press Enter.
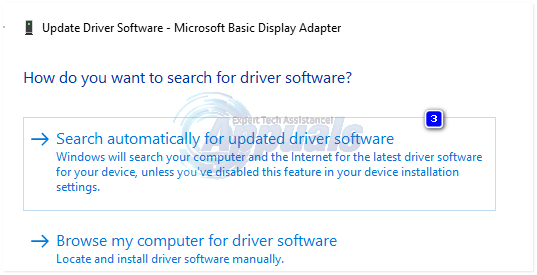
- Double click Display adapters and right-click on your AMD display adapter. Click Update Driver Software. Click on Browse my computer for driver software.
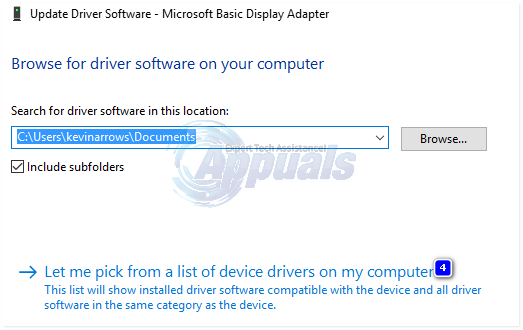
- Then click Let me pick from a list of device drivers in my computer.
- Under Model, select an older version of your AMD driver. The version date will be written against all of them. Then click Next. Restart your system and check if the issue persists. Next, we need to disable Microsoft from automatically updating it again.
- For Windows 10 – Download Microsoft’s update Hider from this link. Run it. For Windows 8/8.1, Go to Control Panel -> Windows Updates -> Optional/Pending Updates -> Right-click and chose Hide.
- Uncheck the drivers for your AMD card to be installed. Reboot and Test. If the error still comes up, then proceed with replacing atikmpag.sys
Replace ATIKMPAG.SYS
In this solution, we will replace the file in question atikmpag.sys with a fresh one. If in the error you are getting the file atikmdag.sys, and then simply replace all the files named atikmpag below with atikmdag.
- Hold the Windows Key and Press R. In the run dialog, type
C:\Windows\System32
- Find the file named atikmpag.sys and rename it to atikmpag.sys.bak.
- Then, Hold the Windows Key and Press R again. In the run dialog, type C:\ and Click OK.
- Look for a folder called ATI. In ATI, there will be a file named atikmpag.sy_ there. You can search it by typing its name in the search box.
- Once you find it, copy that file to your desktop.
- Hold Windows key and press X. Click Command Prompt (Administrator).
- In the black window, type chdir desktop and press Enter.
- Now type
expand.exe atikmdag.sy_ atikmdag.sys
OR
expand -r atikmdag.sy_atikmdag.sys
- Press Enter. Once the command is complete, copy the newly created atikmdag.sys from the desktop and paste it in C:\Windows\System32.
- Restart your system to check if the issue appears now.
- If this still won’t work, then give the method another try after doing a clean install. To do a clean install, you’ll first need to completely uninstall the existing drivers, using the DDU Utility from here
Method 4: Update Integrated Graphics and AMD drivers
With the arrival of Windows 8.1/10, a whole lot of bunch of problems took birth with it. Drivers are the most crucial and affected ones. Your AMD GPU may be causing this problem alone, or together with the integrated GPU on your motherboard. Integrated GPU is a graphics processing unit that is embedded on your motherboard.
- First, we will have to uninstall the currently installed drivers. After logging in, hold down Windows key and press R. Type devmgmt.msc and press Enter adapters in the left pane.
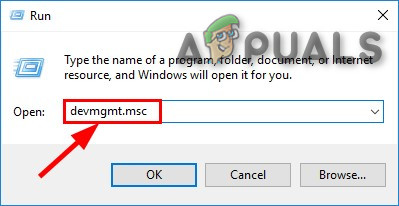
Run devmgmt.msc - Double click on Display adapters.
Display Adapters in Device Manager - Right-click on your Video card driver show by its name.
- Right-click on your adapter their and click Uninstall.
- Check the Delete the driver software for this device and click OK.
- Repeat the process if you have more than two display adapters installed.
- If you have AMD Catalyst™ Control Center installed, you will have to remove it too. Hold Windows key and press R. In the run dialog type appwiz.cpl and press Enter.
Type “appwiz.cpl” into the Run dialog and press Enter - In the program list, find AMD Catalyst™ Control Center. Right-click on it and click Uninstall. Follow the on-screen instructions to remove it.
- To get the latest Intel Integrated drivers for your system, you can use their automated tool to check for latest driver updates. Download the tool from here. Run it.
- Follow the instructions on the screen to install the tool. After installation, click the Launch button to start the tool.
- Click Start Scan. It will start searching for the drivers.
- After scanning, it will show you all the outdated or uninstalled drivers. Click Install to start downloading them. Once downloaded, click Install to start installing them.
- After installing one, a restart may be required.
- To manual update your drivers, first you will have to know the model name of your system. To do that, hold down Windows key and press R. Type msinfo32 and press Enter. Your model will be next to System Model and note down the system type too that will be either x64 for 64 bit and x86 for 32 bit.
- Once on the web page, navigate to your model’s page by specifying your system model and download and install Graphic/Video drivers for your operating system (Windows 10).
- To download AMD auto detect utility, click here. Download the file and run it.
- It will automatically detect the AMD hardware for your operating system. Follow the on-screen instruction to download and install the drivers.
- To manually get the latest drivers, go to https://www.amd.com/en/support.
- Scroll down to Manually Select Your Driver.
- In Step 1, choose Desktop graphics if you are using a desktop and Notebook graphics if you’re on a laptop.
- Select your GPU series and its exact model name in Step 2 and 3 respectively.
- Select Windows 10 64 bit or 32 bit according to what you noted earlier in Step 2. Then click Display Results.
Method 5: Downgrade to 120hz
Hertz is a measure of the monitor’s refresh rate. Sometimes, even if your monitor supports 144hz, it can face issues while running on that refresh rate. Therefore, it is always a good idea to try and downgrade the refresh rate to 120hz and check to see if the issue persists. In order to do that:
- Right–click anywhere on the desktop and select “Display Settings“.
Right-clicking and selecting “Display Settings”. - Click on the “Advanced Display Settings” option.
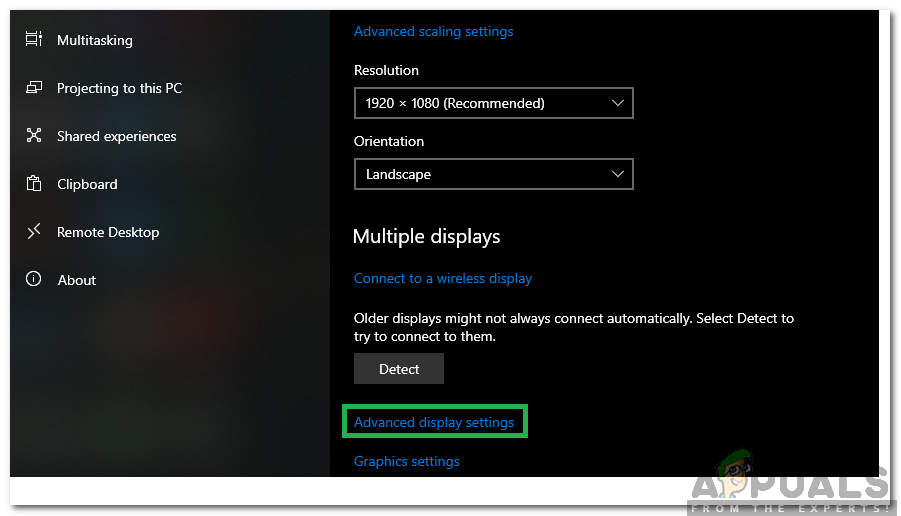
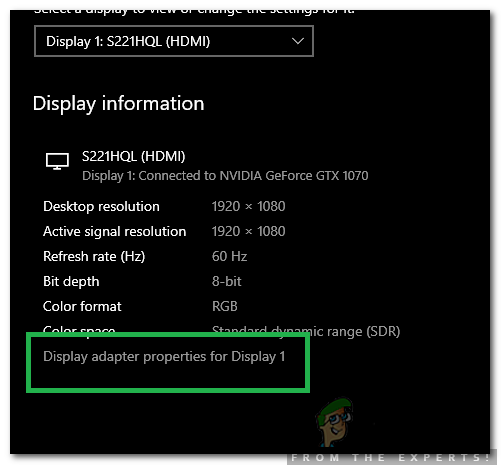
Clicking on the “Advanced Display Settings” option - Select “Display Adapter Properties for Display 1” and click on the “Monitor” tab in the popup.
Clicking on the “Advanced Display Adapter Properties” option - Click on the “Screen Refresh Rate” drop-down and select “120hz” from it.
- Click on “Apply” and then on “OK“.
In the results, scroll down and click Download against Catalyst Software Suite to start downloading the drivers and the management software. Once downloaded, run the file and follow the on-screen instruction to install them.
Method 6: Change Bios Boot Mode to UEFI
In some cases, you might’ve selected the wrong startup mode from the Bios due to which this issue is being triggered on your computer. Therefore, restart your computer and depending upon your board manufacturer, press the “DEL” or the “F12” key to boot into the Bios, once in the Bios, change the Boot mode to UEFI and save your changes. Exit out of the Bios after saving the changes and check to see if doing so fixes the issue.