Fix: This Nvidia Graphics Driver Is Not Compatiable with This Version of Windows
It is beyond a reasonable doubt that NVidia makes some of the best graphic processing units (GPU) the market has ever seen. For years NVidia has been meeting the needs of video editors, graphic designers, animators, PC gaming enthusiasts, and other GPU hungry professions out there. When a user, therefore, gets an error that “This NVidia graphics driver is not compatible with this version of Windows”, it becomes a cause of panic.
This issue is seen during an attempt to install the NVidia drivers. The end result is that the user is, therefore, unable to make any good of the NVidia GPU since the drivers will not install. Does this mean that NVidia does not support your version of Windows, or you need another graphics card? Do not panic; if you are going through such a problem, you’ve come to the right place. We will explain why this error occurs, what it means, and how it can be remedied.
Why your NVIDIA driver is not Compatible with your version of Windows?
This problem has been reported numerously by Windows 10 users, with Windows 7 users also making an appearance. As the error starts, the drivers you are trying to install are not meant for the current operating system you are running; simple as that. The hardware or the NVidia GPU is not to blame here. This lies squarely between the drivers and your Windows OS.
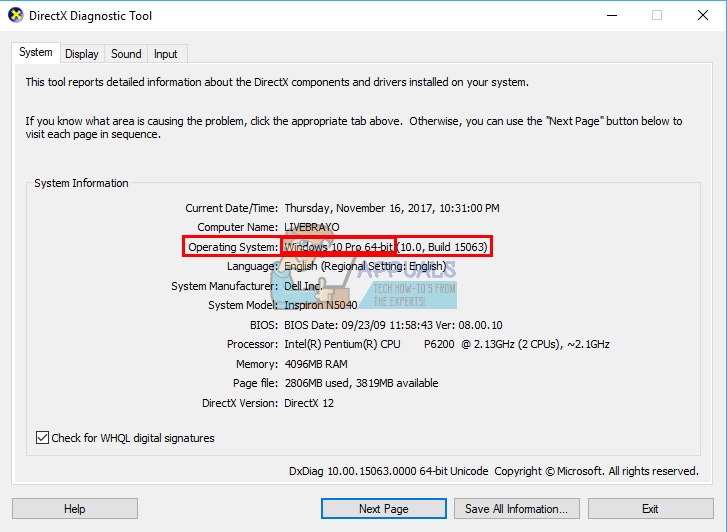
One reason for this problem is that you might be trying to install a 32-bit driver on a 64-bit operating system, or a 64-bit driver on a 32-bit operating system. Since the architecture of these two systems is different, they need a different driver for NVidia to function. These drivers are not interchangeable in any way. Open Direct X Diagnostics to know the operating system you are running (Run > type ‘dxdiag’ > OK > Display).
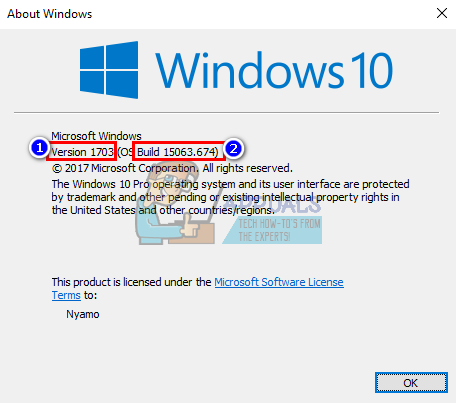
The second reason that has been bugging a lot of Windows 10 users lies in the version/build of Windows 10 they are running. NVidia drivers are not supported in any version of Windows before the Windows 10 Threshold 2 version 1511. In fact, the only supported versions are from the Threshold 2 version (1511), Anniversary version (1607), and the Fall Creators version (1703). In terms of builds, the first retail build (build 10240) is not supported. Only builds from 10586 are supported. To check your version of Windows, press Windows Key + R, type ‘Winver’ in the run box, and press enter. The first box shows your version, and the second red box shows your Windows build.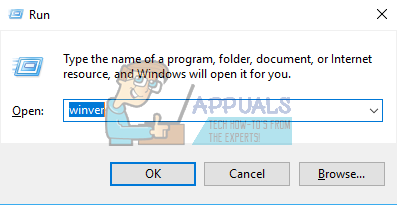
Here is how you can resolve this problem. If the first method does not work for you, try the next method.
Method 1: Uninstall your Graphics Drivers with DDU and Manually download your NVIDIA Drivers for your OS.
DDU (Display Drivers Uninstaller) will help remove any bad drivers that were installed for your NVidia GPU. You must then carefully find the correct NVidia drivers on the GeForce website and install them.
Step 1: Uninstall NVidia graphics using DDU. If you have not installed anything yet, skip this step
- Disconnect from the internet if you have connected because it might automatically prompt a driver install if they go missing.
- Download Display Drivers Uninstaller from here
- Run the downloaded file to install DDU
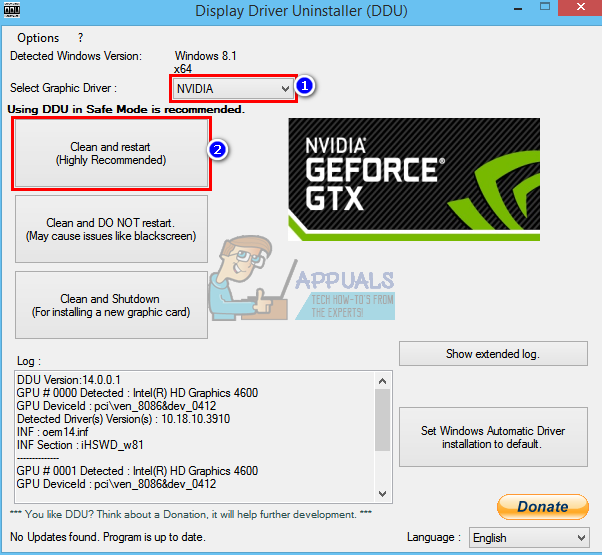
- After the installation is complete, open DDU from your start menu
- From the drop-down menu select your NVIDIA driver
- Click on ‘Clean and restart (Highly Recommended)’ to clean the driver. This will restart your PC
Step 2: Find the correct drivers of GeForce manually
- Go to the NVidia drivers download page here
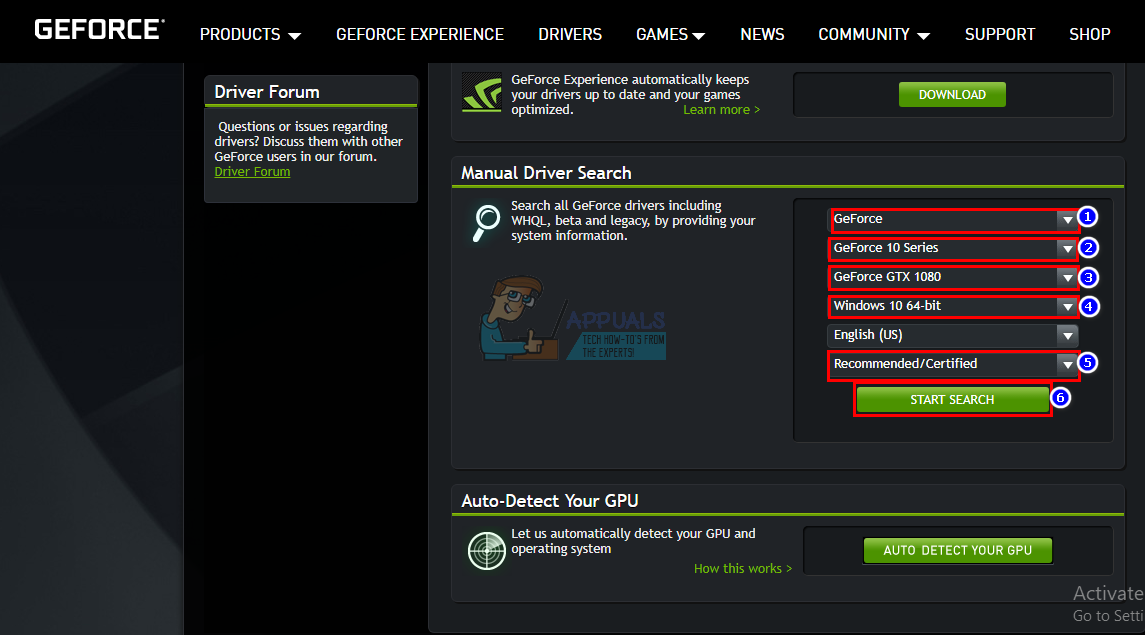
- In the manual search section, select your graphic card type (e.g. GeForce), select your graphics card series (e.g. series 900 if your graphics card is between 900 – 999 or select series 10 if your card is 1080, 1020 etc.). Select the notebook versions if you are using a laptop.
- More importantly, select your operating system e.g. Windows 10 64-Bit or Windows 7 32-Bit. To know which OS you are running, press Windows Key + R to open Run, type ‘dxdiag’ (without quotes) and hit enter. You will see your system information in the ‘System’ tab.
- Finally, make sure you select “Recommended/Certified” drivers since ‘Beta’ drivers are unstable and might not work.
- Click ‘Start Search’ to begin your search
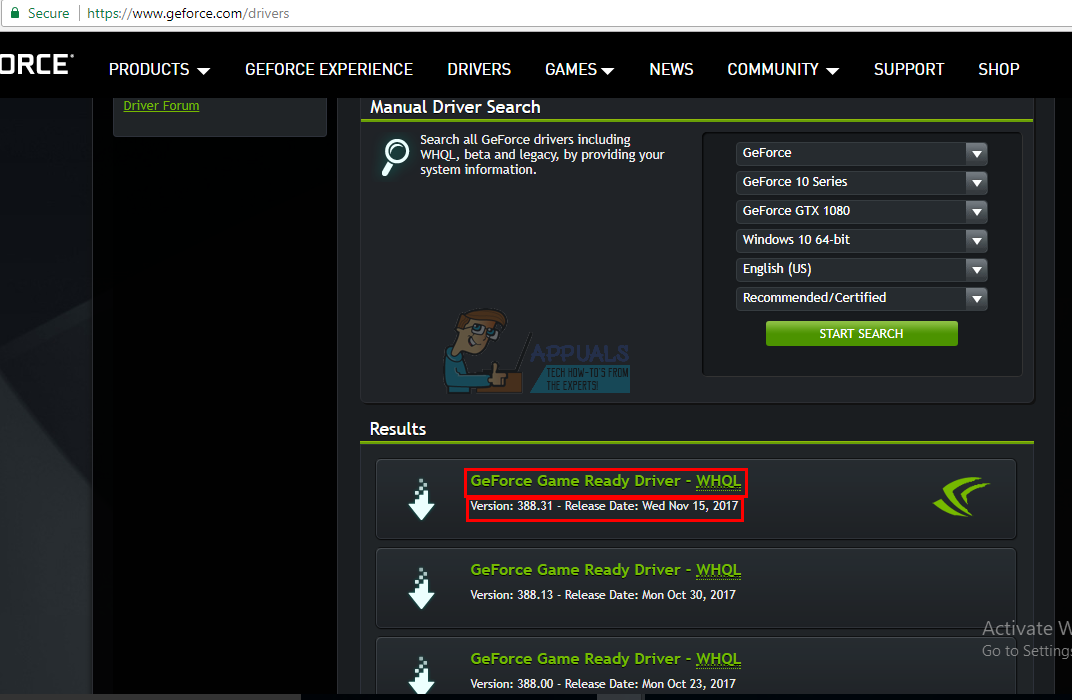
- Download the first driver in the list that comes up. This is the latest driver available for your GPU for your OS.
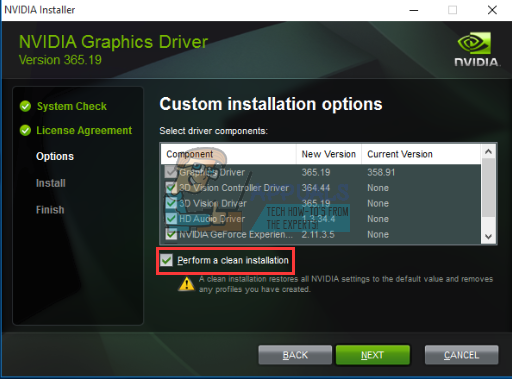
- After the download is complete, run the file and install your drivers. Make sure you perform a clean install by checking ‘Perform clean install’ in the NVidia installation window.
- Restart your PC
Method 2: Update or Upgrade your version of Windows.
To check your version of Windows, press Windows Key + R, type ‘Winver’ in the run box, and press enter. Your version of Windows must be 1511 or higher for NVidia drivers to install. To update Windows 10:
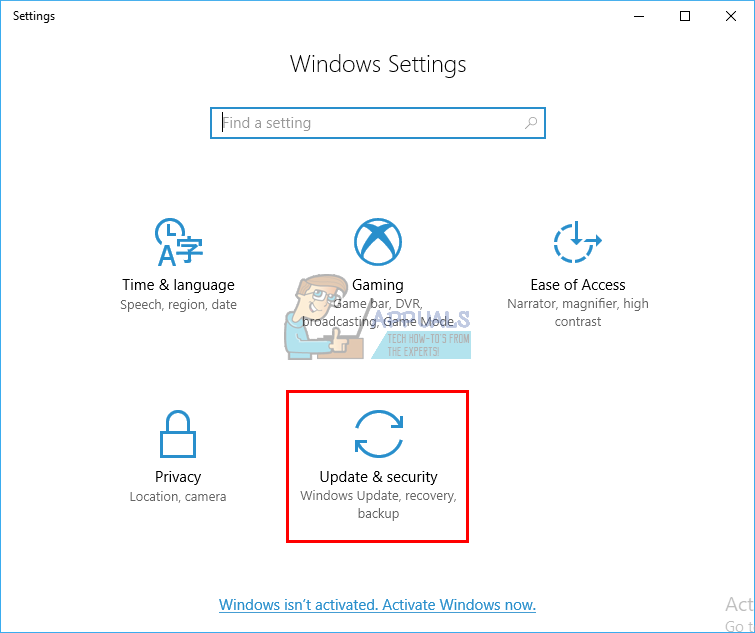
- Press Windows Key + I to open Windows 10 settings
- Scroll down and click on Update & Security
- In the Windows Update tab, click on ‘check for updates’
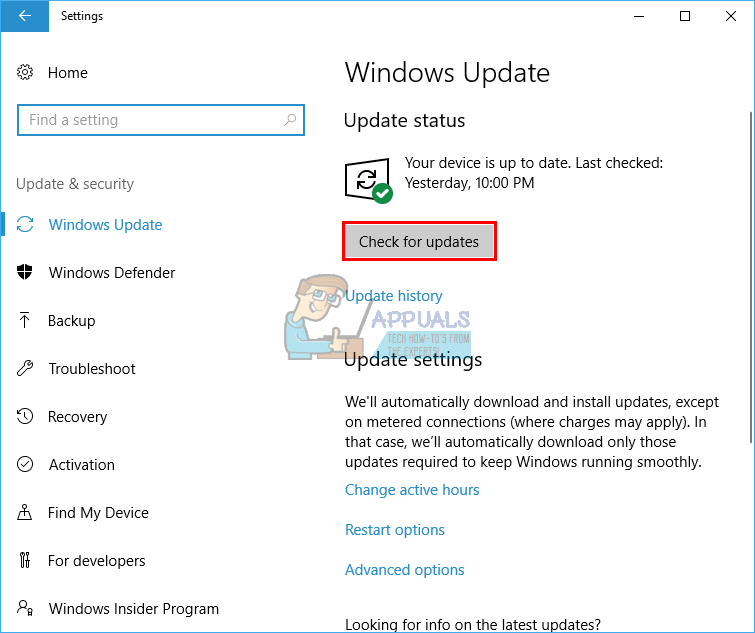
- Accept the installation of all updates you find
- Windows might restart a few times during these updates, do not interrupt it.
The Windows Student or Education edition and preview editions of Windows 10 will not update to the Threshold 2, Anniversary, or Fall Creators versions so you will need to clean install the Anniversary or Fall Creators versions. See install windows 10 on how to clean install Windows 10 if you already have a license key, ignore the step on getting one. You can find useful information about installing Windows 10 at clean install windows 10 and using bootable RUFUS.
Method 3: Use GeForce Experience to download your NVidia driver
Although Direct X Diagnostics (Run > type ‘dxdiag’ > OK > Display) will tell you which NVidia GPU you are using, it might not show the full information if the drivers are not installed. If you are not sure which NVidia/GeForce GPU you are running on, then GeForce Experience will help get the drivers for you.
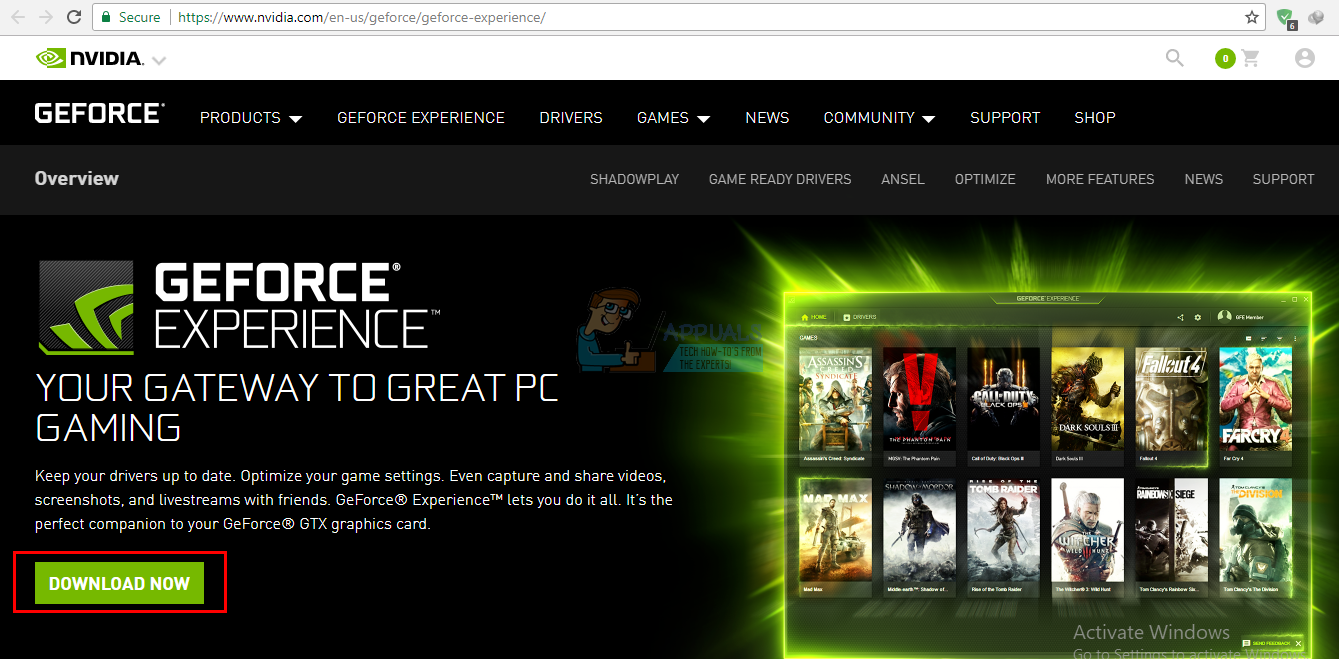
- Go to the GeForce website here
- Download the GeForce Experience application and install it
- Make sure you have connected your monitor via the NVidia GPU if you are on a desktop computer.
- Start the GeForce Experience program. If you are asked to update it, accept the update otherwise you might run into trouble.
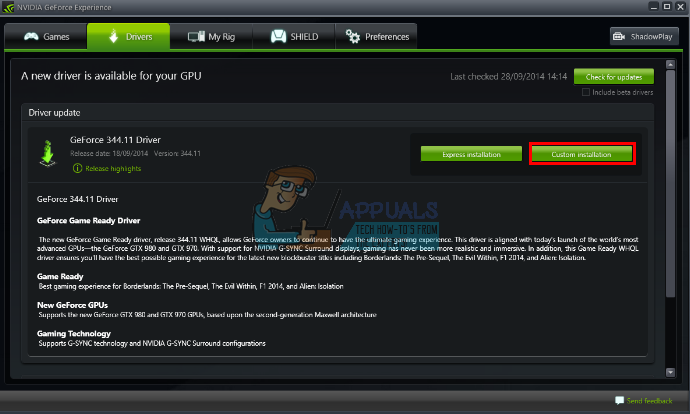
- Click on the “Drivers” tab. Any updates on your drivers will be found. You can click on “Check for Updates” on the far right to manually begin a search.
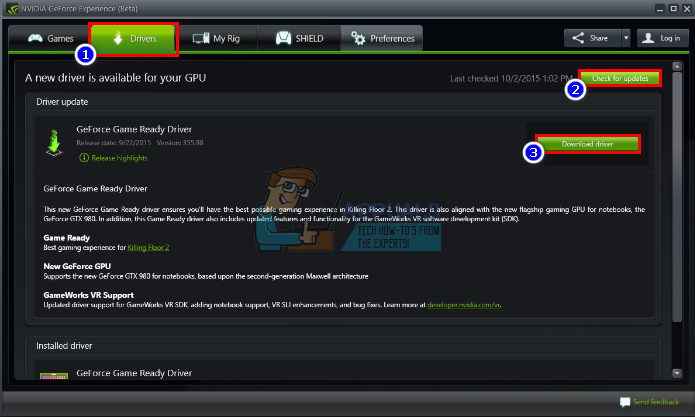
- When your latest drivers are found, they will be listed. Click on “Custom Install” to open the file (You can use express installation if you want but it will not let you choose the installation options).
- The drivers file will launch. Make sure you perform a clean install by checking ‘Perform clean install’ in the NVidia installation window. Finish the installation.
- Restart your PC
If this is too much trouble to you, there is an auto-detect feature on the GeForce website here that you can use instead of the manual search. This will automatically detect your GPU and present you with the latest drivers.