How to Record Phone Calls on iPhone – Detailed Guide
 Reviewed by Huzaifa Haroon
If you’ve stumbled upon here, you might be facing issues with recording phone calls on your iPhone as Apple has a strict policy of user privacy, and generally, it is impossible for any third-party software to access the iPhone’s microphone.
This article will help you with recording both incoming and outgoing calls on your iPhone. The following methods are a bit time-consuming, but worth it in the long-run if the conversation is really important to record.
Recording incoming calls via Google Voice
Google Voice allows users to use several of its features on iPhones for free, including call recording. Keep in mind that the person on the other side of the line will be informed that the call is being recorded.
To get started:
Install the Google Voice app which offers free voice mail
You need to activate it. For this go to Settings > Calls > Incoming call options
Move the incoming call option slider to on/blue. You can opt for the device on which you want to receive and record the call.
That’s it! You are now all set to be able to record calls on your iPhone.
You can tap the number 4 on your keypad to start the recording. An automated voice will indicate that it has started. To stop the recording, simply press 4 on the keypad again and the recording will be saved.
Do note that the mentioned process can only be used for incoming calls as Google Voice doesn’t support the recording of outgoing calls.
Merits and demerits of using Google Voice
- Google Voice provides the most convenient and hassle-free way of call recording on iPhone.
- Unwanted phone calls can be easily blocked by using this app.
- It offers not just a free voicemail, but a free phone number in case you want to keep your main number free from unwanted calls.
- Moreover, it manages voice mails on the computer. Voicemail recordings can be automatically emailed to you and even transcribed into text.
- The demerit of using the app is that it doesn’t provide cellular services. Your device needs to have it built in there already.
Recording iPhone calls using another device
If you have access to two different devices, an iPhone and any other device with a microphone (most likely another phone), consider yourself lucky as you’ve just unlocked a super easy way of recording phone calls. As you could probably tell, this is more of a jerry-rigged solution but, hey, it works!
We will use the secondary device to manually record the call on the iPhone, transmitted via the speaker. This way, the conversation is nice and loud enough for the other device to pick it up clearly.
This can be done by:
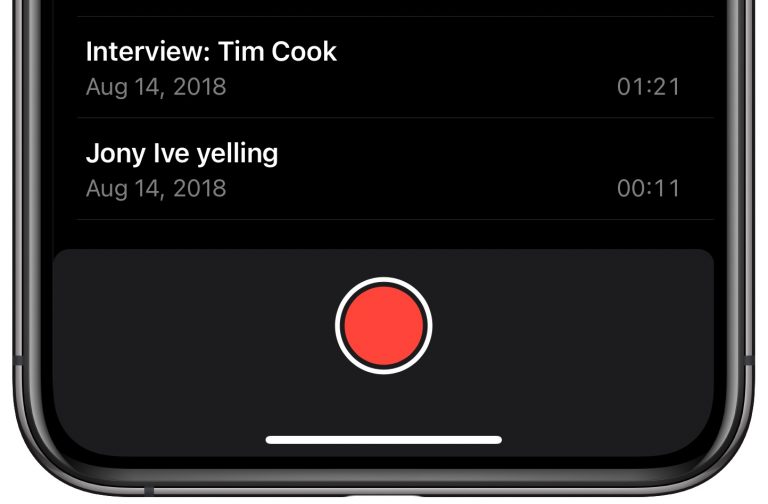
- Opening the Voice Memos app on your recording iPhone or any other voice recording app in case you’re using an Android device.
- Next, tap the large red button to initiate the recording. Your Android device should have something similar as well.
- Simultaneously make a call using your iPhone that you want to record.
- Once the call has connected, tap the Speaker icon to switch the audio from the earpiece to the speaker.
The call should now be recording on the secondary device. You can pause and resume the recording if you want, by pulling up the recording pane. Once you’re done with the conversation, you can simply tap the red button again to stop and save the recording.
Tip: Keeping both devices closer to each other will provide a clearer call recording.
Using Voicemail to record calls
Using Voicemail can be a free and simple way of preserving your conversation with someone. Although, before following these steps, make sure you have the access to downloading your voicemail messages otherwise you will be required to use your voicemail calling feature each time you play the recording back.
These simple steps are:
- Make a call to your contact and seek permission to start the recording as it’s a two-party consent.
- To initiate a three-way conversation, hit the add call icon on your iPhone.
- Make a call to your personal phone number and click the merge calls to begin the conference.
- Once you end the call, the recorded conversation is saved as a message in your voicemail inbox.
Other Solutions
If you face trouble using the previous methods or are in search of something even more straightforward, several apps are available for recording your phone conversation.
Rev Voice Recorder
Rev offers a free voice recording application for iOS users that can be used to work out the recording issue on iPhone in an easy, one-and-done manner. Users will be required to install the app from the App Store and set it up by entering their phone numbers.
Once that gets verified through an SMS, you can click on the Start Recorded Call option available on the bottom center of your iPhone’s screen. A pop-up will then appear asking to select the call as outgoing or incoming. That’s it, you can then select the merge Merge calls option to start the process.
TapeACall
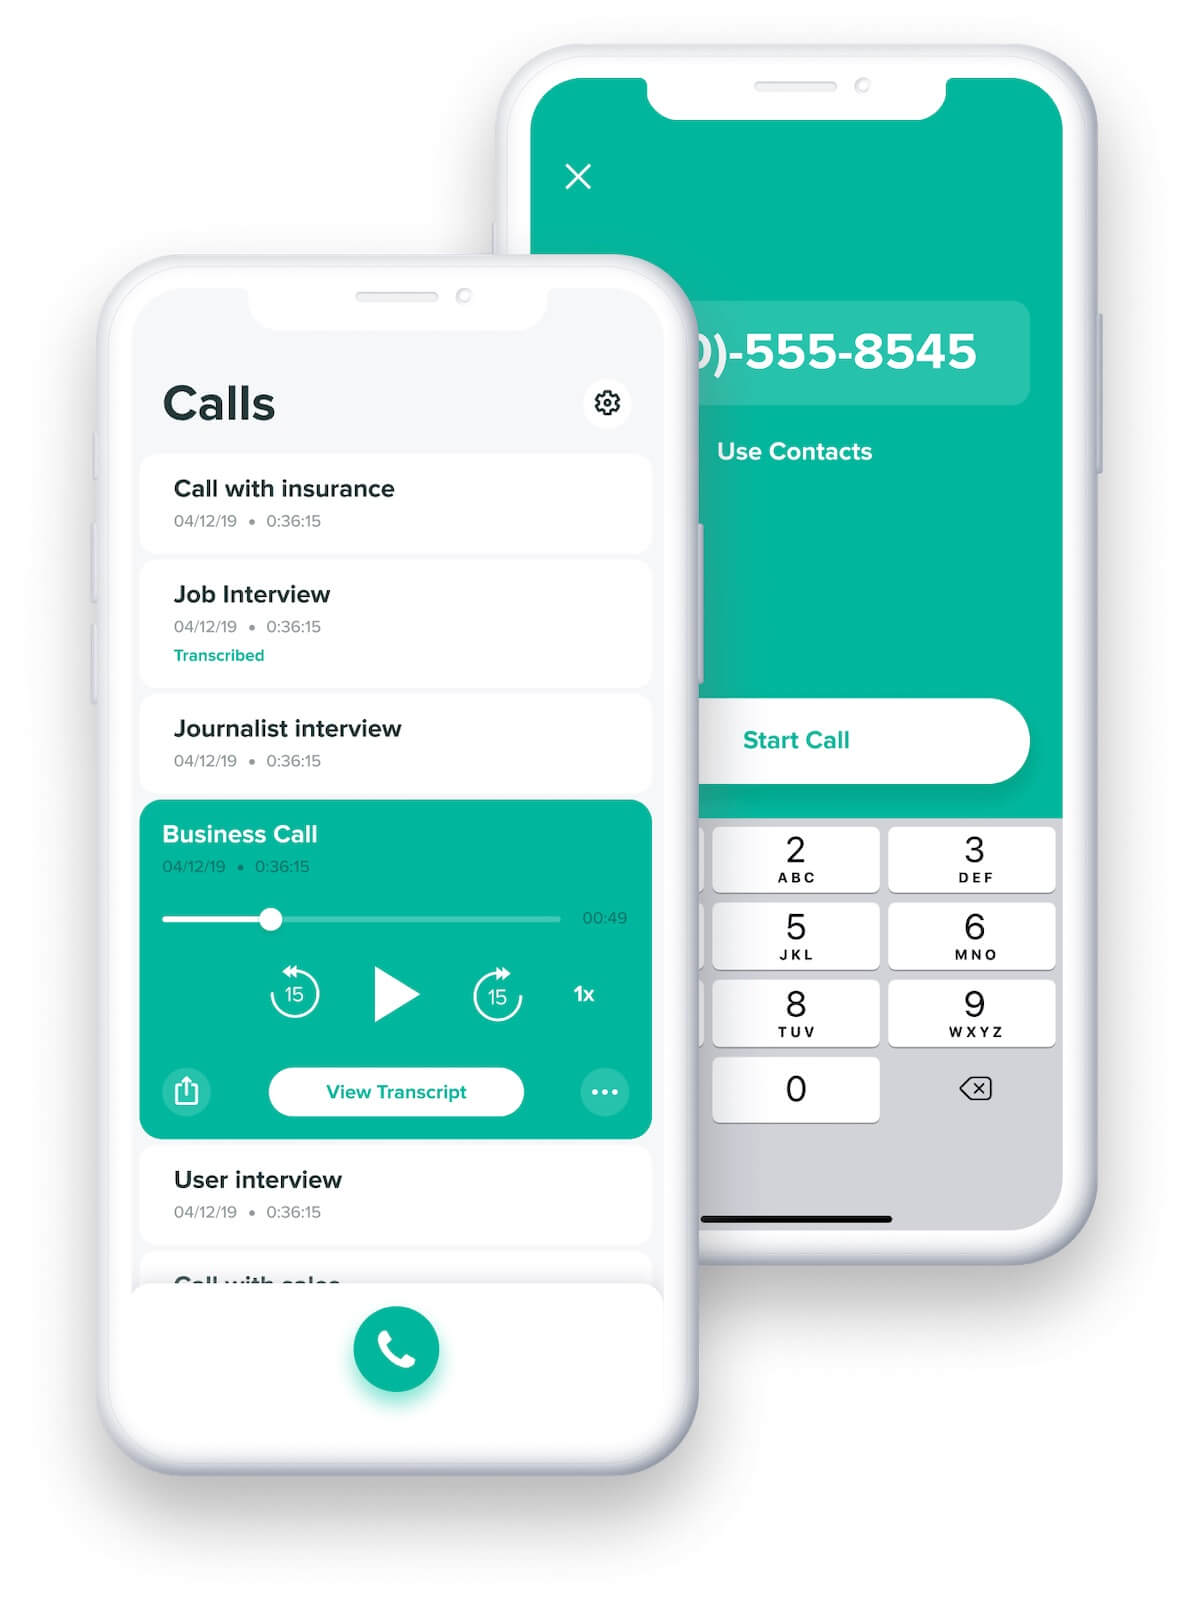
Another app that makes recording calls on iPhone easy is TapeACall. It lets you record both outgoing and incoming calls but comes under a paid service that can be tested out through a free trial. The process is very much similar to the Voicemail solution as you will first have to use the TapeACall line feature to begin the process.

Next, dial the receiver’s phone number and merge them into a three-way conversation. Once the call gets connected, the recording will begin. If you require a more detailed guide to using the TapeACall recording feature, you can find it here.
Closing Thoughts
After going through this article, you can now decide which tool is suitable for your iOS device as per your need, convenience, and compatibility with other devices you may use. Moreover, keep in mind that for recording a two-party conversation, you must inform the other person on phone to avoid any legal complications.
Reviewed by Huzaifa Haroon