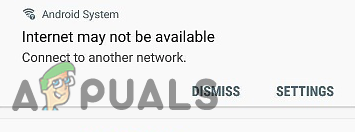
Fix the ‘Internet May not be Available’ Error on Android Devices
The “Internet May Not be Available” error on Android is shown whenever the user connects to the internet and this is usually caused due to an error with the network configurations which the mobile is using to connect to the internet. It might also be caused due to incorrect DNS Settings.
What Causes the “Internet May Not be Available” Error on Android?
We found the underlying causes to be:
- DHCP: In the DHCP connection mode, the phone automatically detects certain settings and uses them to connect to the internet. However, this can sometimes fail and the phone might be unable to automatically detect the proper settings.
- DNS Settings: DNS Settings are crucial in establishing a connection with a website. Now, there are many DNS servers that you can use to connect to a website and if these DNS Servers are blocked by the website, the connection will also be blocked.
- Updates: In some cases, the phone might have important updates that need to be installed before the Wi-Fi connection is established again.
- Application Interference: It is possible that another application might be interfering with the Wi-Fi functionality of the mobile due to which the error is being triggered. Some applications can go rogue and cause this error.
- Wrong Configuration: When you connect to a Wi-Fi router it assigns you a specific IP address and certain DNS settings. By default, this configuration is set to run the Wifi Connection in the “DHCP” mode which means that the IP address does not remain the same and keeps on changing. The configurations become invalid if the IP address changes due to which the router does not let you connect to the Wi-Fi. Certain DNS and Ip configuration settings have to be changed in order to change this issue.
Before Proceeding: Make sure to Forget the Wi-Fi network one time and restart the phone.
Solution 1: Check your Date/Time
Sometimes it’s possible that your date and time isn’t set correctly which causes your internet to stop working until you fix your date manually or turn on the automatic date and time option. This happens due to security reasons as most of the programs use date and time as part of their checking. Here is how you can fix this issue.
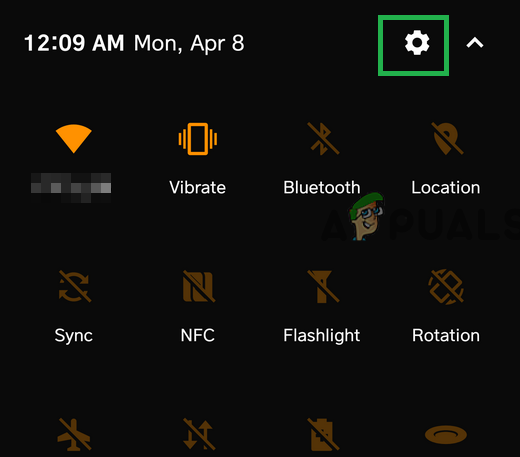
- Drag down the notifications panel and click on the Settings icon.

Opening Settings - Scroll down till you find “System Settings” then tap on it.
- Now head over to “Date and Time Settings“. (If you are having trouble finding it you can search for it)
- Now find the option named “Use network-provided time” and “Use network-provided time zone“. Make sure they are turned on.
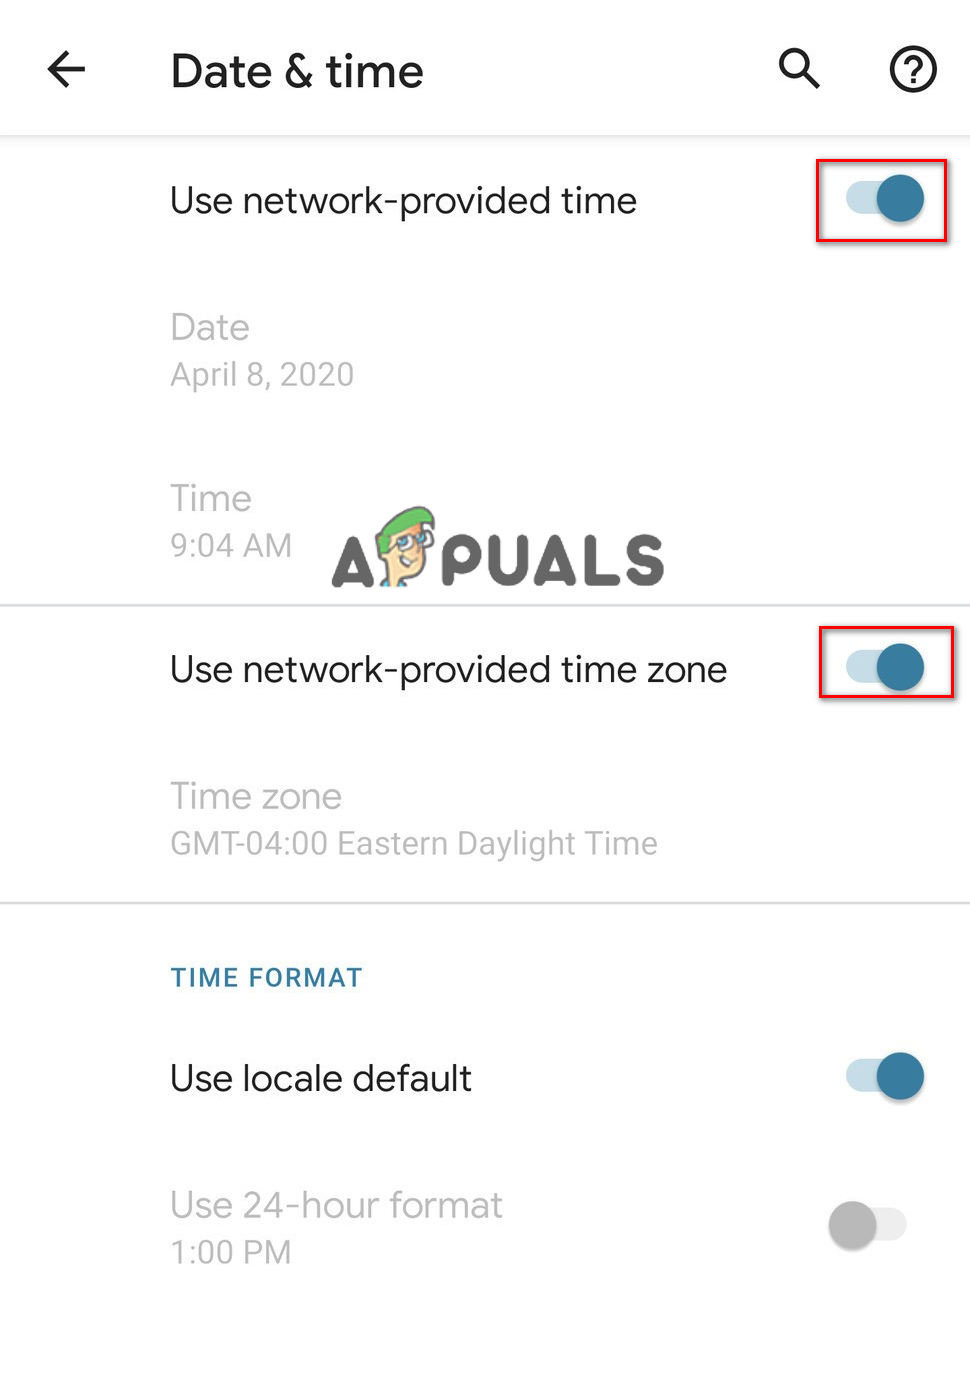
Turning on options. - Check to see if the problem still persists.
Solution 2: Changing DHCP Mode
Since the error is caused because of the incorrect detection of the Wifi settings, we will be manually changing some configurations and then check if it fixes the issue. For that:
- Drag down the notifications panel and click on the settings icon.
- Select the “Wireless and Networks” option and click on “Wifi”.
- Press and hold the wifi connection that you are trying to connect to.
- Select the “Modify Network” button and click on the “Show Advanced Options” button.
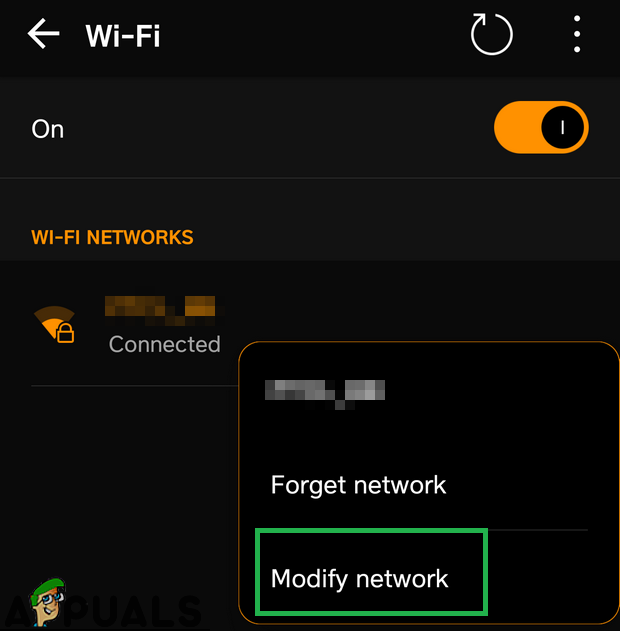
Long pressing on the Wifi which we are connected to and tapping on the Modify Network option - Click on the “IP Settings” option and select the “Static” option.
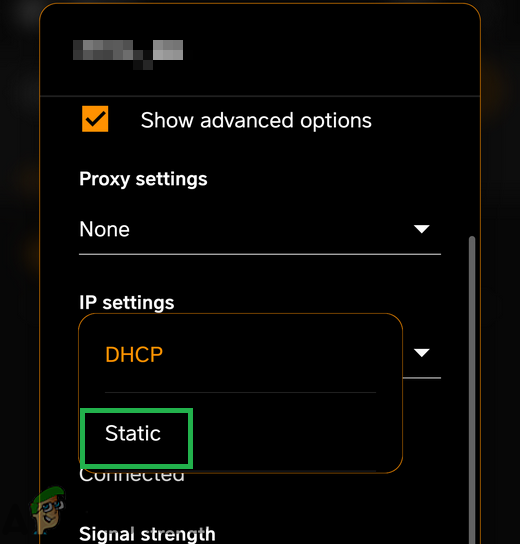
Selecting “Static” in the IP settings - Navigate down and click on the “DNS 1″ option.
- Type in “8.8.8.8” as the first DNS address and then click on the “DNS 2” option.
- Type in “8.8.4.4” as the second DNS Address.
- Click on “Save” and try to connect to the Wi-Fi.
- Check to see if the issue persists
Solution 3: Checking for Updates
In some cases, an available update might be preventing you from being able to connect to a Wifi Network. Therefore, it is recommended to turn on the mobile data and proceed with the solution below.
- Drag down the notifications panel and click on the “Settings” icon.
Dragging down the notifications panel and tapping on the “Settings” option - Scroll down, click on the “System” option and select the “Software Update” button.
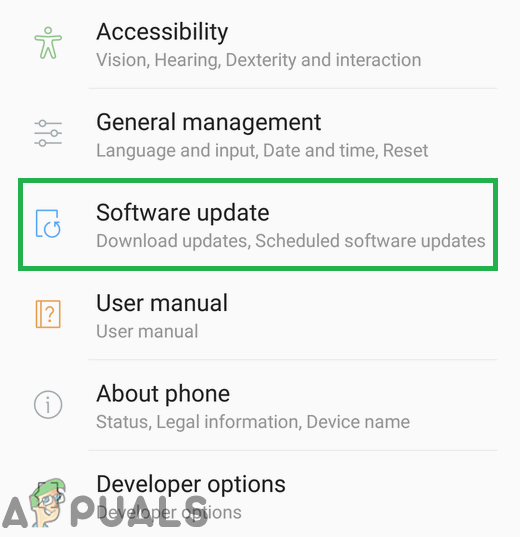
Tapping on the “Software Updates” option - Click on the “Check for Updates” button and wait for the mobile to complete the checking process.
- Click on the “Download and Install” button once it becomes available.
- Wait for the update to be downloaded and installed.
- Check to see if the issue persists.
Solution 4: Clearing Cache Partition
It is possible that the cache is stored by a certain application might be preventing the Wifi from being able to connect. Therefore, in this step, we will be wiping the cache partition. For that:
- Press and hold the “Power” button and select the “Power Off” button to power down your mobile.
- Press and hold the “Power” + “Volume Down” button to turn it on.
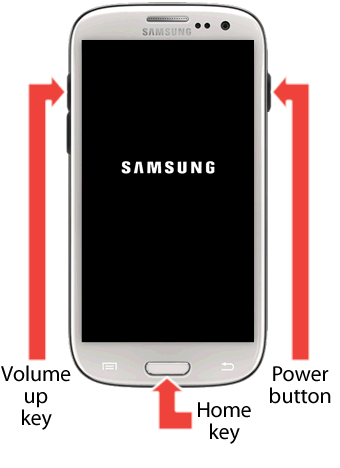
Button orientation - Wait for the mobile to power on and for the logo to be displayed.
- Leave the “Power” button at the mobile developers’ logo and the “Volume Down” button when the “Android Logo” is displayed.
- Use the “Volume Down” key to navigate down the list and highlight the “Wipe Cache Partition” option.
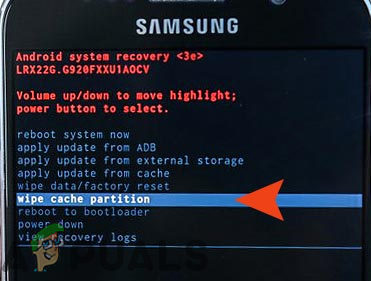
Highlighting the Wipe Cache Partition option and pressing the power button - Use the “Power” key to select the option and wait for the cache to be cleared.
- Once the cache is cleared, highlight and choose the “Reboot” option and wait for the phone to be rebooted.
- Check to see if the issue persists after the reboot.
Solution 5: Safe Mode
In some cases, a background application or service might be preventing the phone from being able to access the Wi-Fi. Therefore, in this step, we will be launching the phone in the Safe Mode to fix this issue. For that:
- Press and hold the “Power” button.
- Press and hold the “Power Off” option when it is displayed.
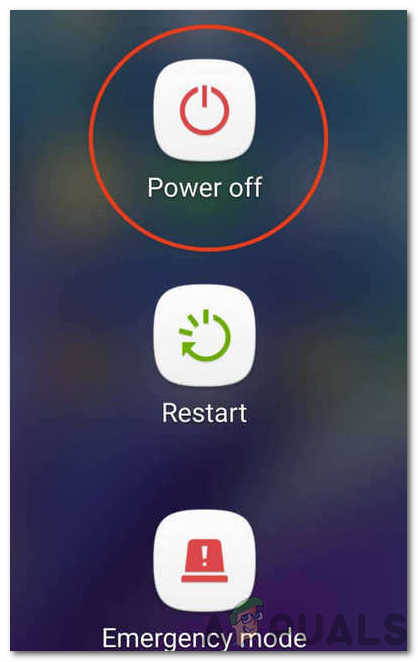
Clicking on the Power Off button - Select the “Launch in Safe Mode” option.
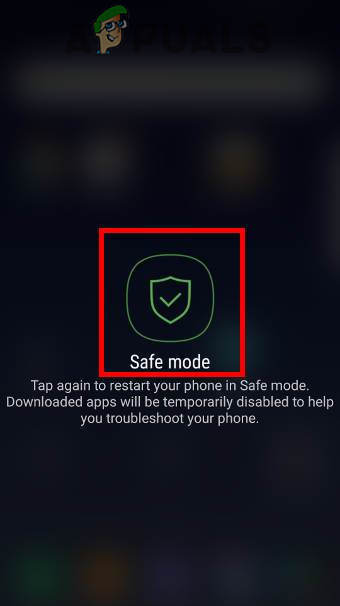
Tapping on the “Safe Mode” option to launch the device in the Safe Mode - The phone will now be restarted, check if the Wifi connects in Safe mode.
- If it does, start enabling the applications one by one and check which one of them makes the error come back.
- Either delete the problematic application or update it to fix this issue.