How to Fix the Windows File Sharing not Working Problem?
The File Sharing option on Windows 10 enables users to quickly share files inside the local network they create. However, many users have reported that some of the most recent Windows 10 builds have ruined this feature and users have been unable to use it properly.
Either the computers can’t see each other on the network or they can access another’s files because of permissions settings. Either way, the feature is broken and users are desperate for a working method. Luckily, there have been quite a few working methods suggested by users so we recommend you check them out below!
What Causes Windows 10 File Sharing Not to Work?
There are plenty of different causes to this problem and we decided to include methods based upon as many causes as were confirmed by users online. Determining the correct cause is the first step in successful troubleshooting as it enables you to determine the proper methods more quickly. Check out the list below!
- Related services are not running – File sharing on Windows 10 depends on a couple of services which absolutely need to be running when you attempt to share files. Make sure you start these services and make sure they start up automatically.
- Lacking ownership and permissions on the target computer – If the problem appears when trying to access a specific folder on a specific computer, it might be a problem with permissions and ownership. Make sure the file’s properties enable it to be shared!
- No Windows Credentials – Access among different computers is not enabled to everyone and you will probably need to add credentials for the target computers in order for it to be recognized on the network as trustworthy. Alternatively, you can use regedit to enable everyone to access the computer.
- IPv6 – many users have reported that disabling IPv6 on their computers managed to resolve the problem so make sure you try it out.
- SMB 1.0/CIFS File Sharing Support is disabled – This feature is often disabled by new Windows updates but many networking protocols and actions still depend on it to be enabled so make sure you enable this Windows feature.
- Latest updates not installed – If you don’t have the latest Windows updates, you are missing out on many new bug fixes and security patches and one of the updates may as well provide a fix to this problem. Make sure you run the latest version of Windows!
Solution 1: Make Sure Certain Services are Running Properly
File sharing, like any other feature in Windows 10, depends on certain services to run properly. In this case, the services are called Function Discovery Provider Host and Function Discovery Resource Publication. These services need to be started and the need to run constantly. Follow the steps below in order to achieve that on your computer!
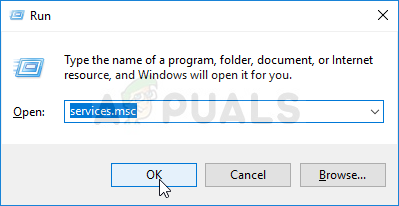
- Open the Run utility by using the Windows Key + R key combination on your keyboard (press these keys at the same time. Type “services.msc” in the newly opened box without the quotation marks and click OK in order to open the Services tool.
- The alternative way is to open the Control Panel by locating it in the Start menu. You can also search for it using the Start menu’s search button.
- After the Control Panel window opens, change the “View by” option at the top right part of the window to “Large Icons” and scroll down until you locate the Administrative Tools Click on it and locate the Services shortcut at the bottom. Click on it to open it as well.
- Locate the Function Discovery Provider Host and Function Discovery Resource Publication services on the list, right-click on each one and select Properties from the context menu which appears.
- If the service is started (you can check that just next to the Service status message), you should stop it for now by clicking the Stop button in the middle of the window. If it is stopped, leave it stopped until we proceed.

- Make sure that the option under the Startup type menu in the service’s properties window is set to Automatic before you proceed with other steps. Confirm any dialogue boxes which may appear when changing the startup type. Click on the Start button in the middle of the window before exiting. Make sure you repeat the same process for all services we mentioned.
You may receive the following error message when you click on Start:
Windows could not start the service on Local Computer. Error 1079: The account specified for this service differs from the account specified for other services running in the same process.
If this happens, follow the instructions below to fix it.
- Follow the steps 1-3 from the instructions above in order to open the service’s properties window. Navigate to the Log On tab and click on the Browse…
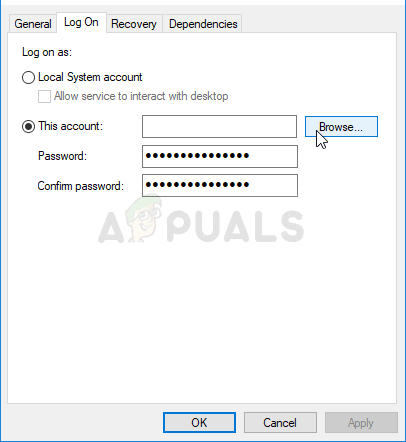
- Under the “Enter the object name to select” entry box, type in your account’s name, click on Check Names and wait for the name to become available.
- Click OK when you are finished and type in the password in the Password box when you are prompted with it if you have set up a password. Windows 10 File sharing should now work properly!
Solution 2: Provide Ownership and Permissions for the Problematic Folders
If this problem occurs with certain files or folders, you should make sure that the computer trying to access it has the necessary permissions. If it doesn’t, you should provide for the files and folders which are problematic.
- Open Libraries entry on the problematic PC or open any folder on the computer and click the This PC option from the left side menu.
- Navigate to the problematic folder which can’t be accessed for File sharing. Make sure you repeat the same process for each problematic folder.

- You will need to take ownership of the folder before proceeding. Right-click the folder, click Properties, and then click the Security Click the Advanced button. The “Advanced Security Settings” window will appear. Here you need to change the Owner of the key.
- Click the Change link next to the “Owner:” label The Select User or Group window will appear.
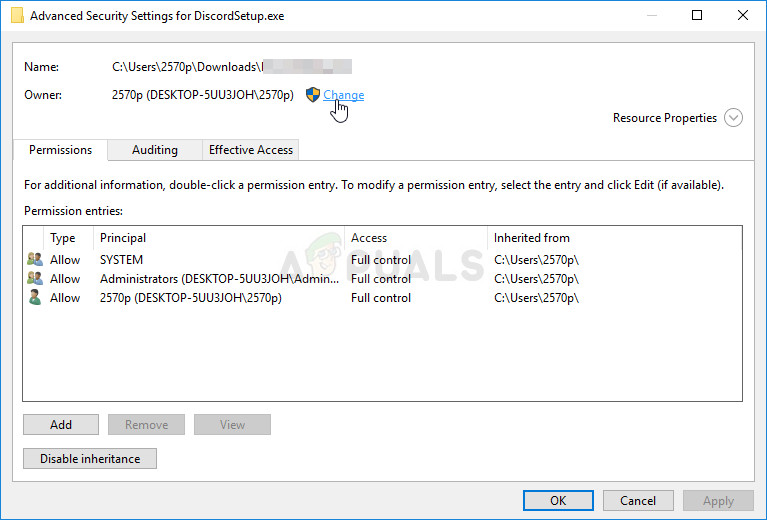
- Select the user account via the Advanced button or just type your user account in the area which says ‘Enter the object name to select’ and click OK. Add the Everyone
- Optionally, to change the owner of all subfolders and files inside the folder, select the checkbox “Replace owner on subcontainers and objects” in the “Advanced Security Settings” window.
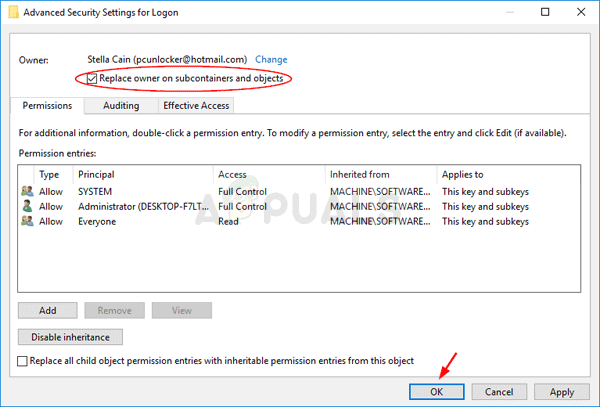
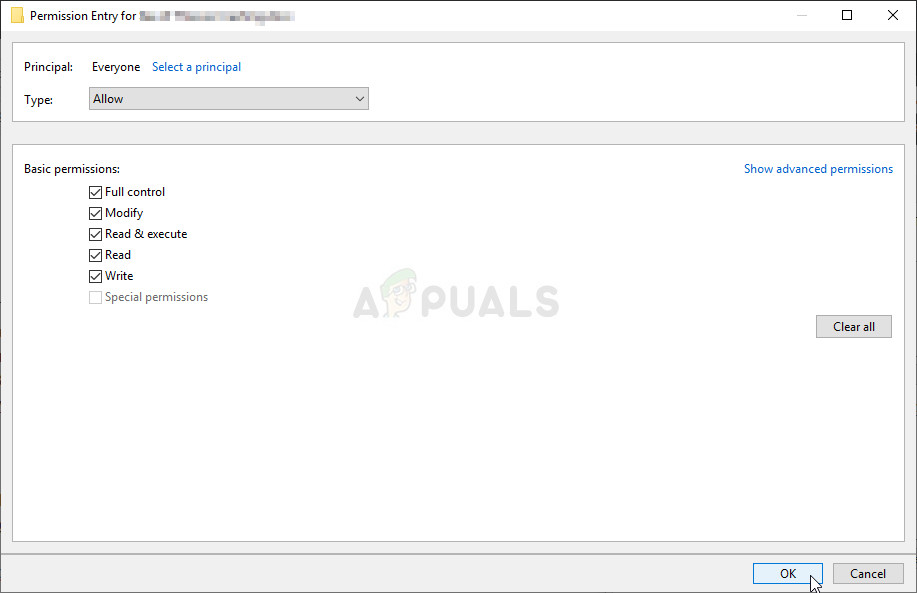
- Click the Add button below and follow it up by clicking the Select a principal button at the top. Select the user account via the Advanced button or just type your user account in the area which says ‘Enter the object name to select‘ and click OK. Add the Everyone
- Under the Basic permissions section, make sure you choose Full control before applying the changes you have made.
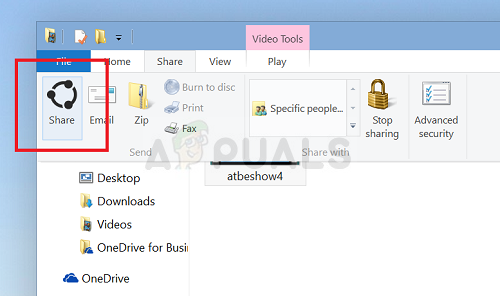
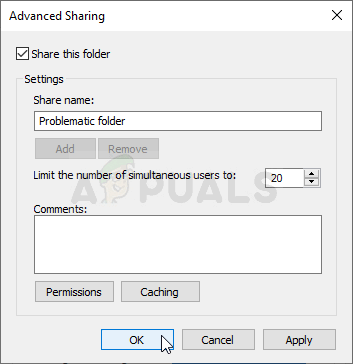
- Finally, navigate to the Sharing tab and click the Advanced Sharing Check the box next to the Share this folder entry in the window which will appear.
- Restart both computers and check to see if the file sharing option is able to access the folder on the problematic computer!
Solution 3: Add a Windows Credential
If you are trying to connect to a remote server computer and you fail to access a certain folder for File sharing, you might want to add a credential which will stop Windows from preventing this connection. In order to proceed, you will need to know the network address, username, and password of the remote computer or server.
- Open up Control Panel by searching for the utility in the Start button or by clicking the Search button (Cortana) button at the left part of your taskbar (bottom left part of your screen.
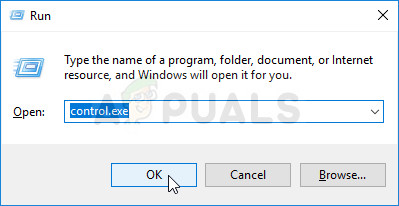
- You can also use the Windows Key + R key combo where you should type “control.exe” and click Run which will also open Control Panel directly.
- Change the View by option to Large icons at the top right part of the Control Panel window and try to locate the Credentials Manager
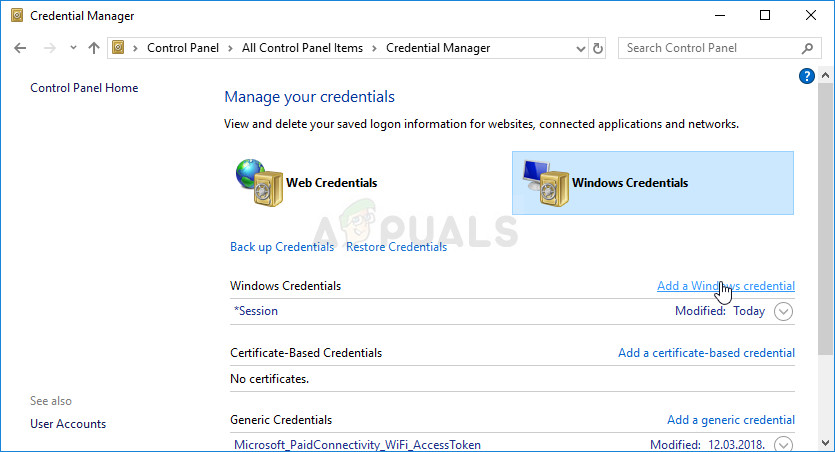
- Switch the view from Web Credentials to Windows Credentials and click the Add a Windows credential button under the respective section.
- Enter the computer’s name (IP address) in the Internet or network address, and enter User name and Password respectively. This will ensure the computer is properly recognized and it will hopefully resolve the problem with File sharing.
Solution 4: Disable IPv6
Disabling Internet Protocol version 6 connectivity on the computers connected in the network you have set up for file sharing managed to resolve the problem for many users and it’s definitely an easy way to resolve the problem. This makes this method worthy and you shouldn’t skip it during your troubleshooting process.
- Use the Windows + R key combo which should immediately open the Run dialog box where you should type ‘ncpa.cpl’ in the bar and click OK in order to open the Internet Connection settings item in Control Panel.
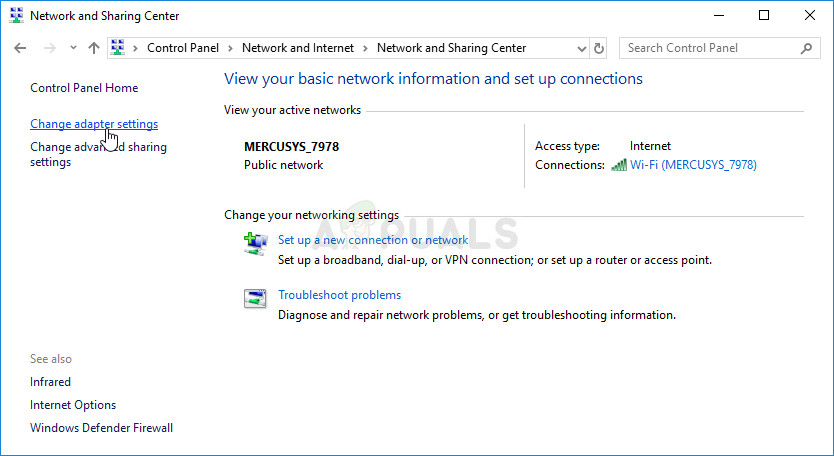
- The same process can also be done by manually opening the Control Panel. Switch the View by setting at the top right section of the window to Category and click on Network and Internet at the top. Click the Network and Sharing center button in order to open it. Try to locate the Change adapter settings button at the left menu and click on it.
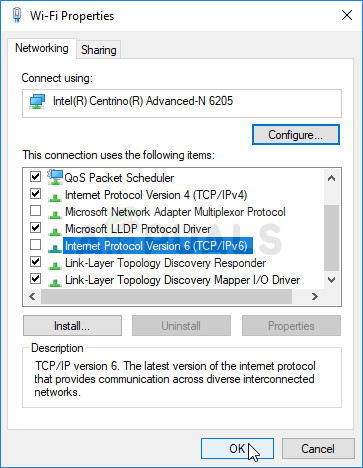
- When the Internet Connection window opens, double-click on your active Network Adapter.
- Then click Properties and locate the Internet Protocol Version 6 entry on the list. Disable the checkbox next to this entry and click OK. Restart your computer in order to confirm the changes and check to see if the problem persists.
Solution 5: Enable the SMB 1.0/CIFS File Sharing Support
It seems that a recent Windows 10 update has disabled the SMB feature which is responsible for file sharing and it has definitely surprised users who started receiving this annoying error. Luckily, the problem can be fixed as easily as turning on SMB 1.0 in the Windows Features window. Follow the steps below in order to do so!
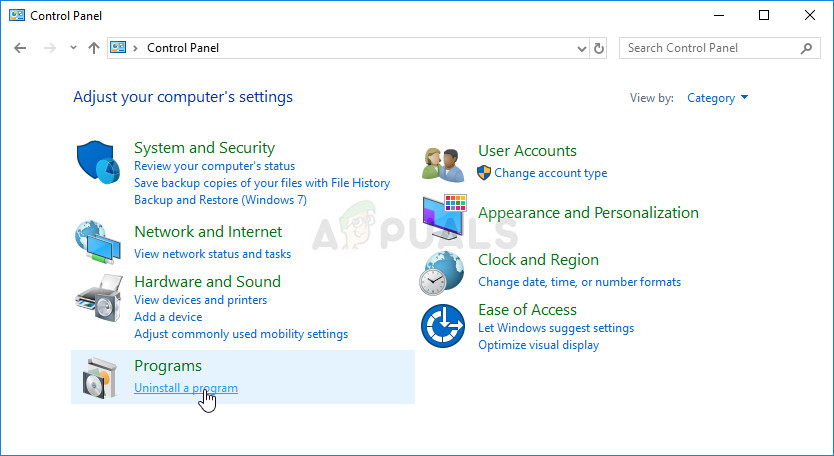
- Click the Start menu button and type in “Control Panel” when it opens. Click on the first result in order to open the Control Panel. You can also click Windows Key + R keys at the same time and type in “control.exe” in the Run dialog box.
- Make sure you change the view in Control Panel to View by: Category and click on Uninstall a program under the Programs section.
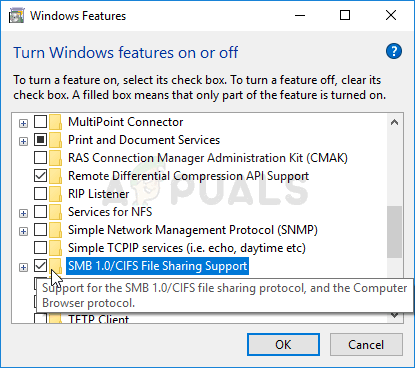
- In this window, locate the Turn Windows features on or off option at the left pane, click on it, and scroll down until you locate the SMB 1.0/CIFS File Sharing Support.
- If the checkbox next to SMB 1.0/CIFS File Sharing Support is not enabled, enable it by clicking the box. Click OK to close the Windows Features window and reboot the computer.
- Check to see if the problem is gone when trying to share files on Windows 10!
Solution 6: Update Windows to the Latest Version
The latest versions of Windows 10 seem to have resolved this problem for good as long as it wasn’t caused by some third-party services or programs. Even though the problem was often caused by a new Windows Update, Windows has released fixes afterward in order to get rid of the problem. File sharing can be re-enabled by updating Windows to the latest version so make sure you try it out below!
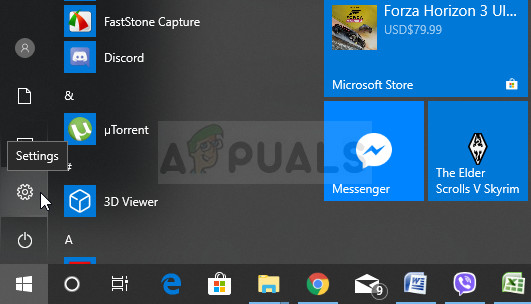
- Use the Windows Key + I key combination in order to open Settings on your Windows PC. Alternatively, you can search for “Settings” by using the search bar located at the taskbar or simply click the cog icon.
- Locate and open the “Update & security” section in the Settings Stay in the Windows Update tab and click on the Check for updates button under the Update status in order to check whether there is a new version of Windows available.
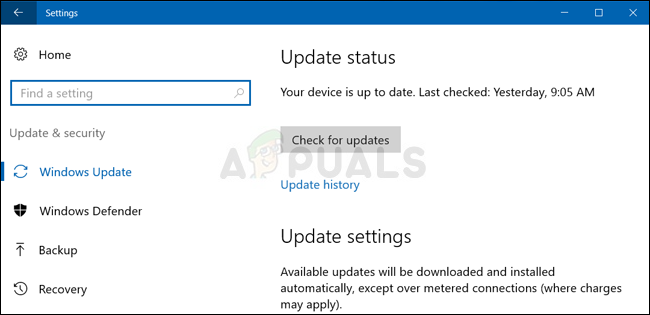
- If there is one, Windows should install the update immediately and you will be prompted to restart your computer afterward.
Solution 7: Allow Access Using Regedit
The method below is useful if you want to be able to establish a connection with PCs in your network without having to use credentials. This is recommended for networks where all computers are secure and there is no chance of someone else connecting to the same network. Follow the steps below for this neat regedit fix!
- Since you are going to edit a registry key, we recommend you check out this article we have published for you to safely backup your registry to prevent other problems. Still, nothing wrong will occur if you follow the steps carefully and correctly.
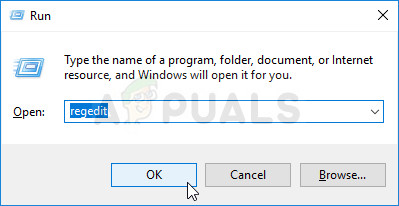
- Open the Registry Editor window by typing “regedit” in the search bar, the Start menu, or the Run dialog box which can be accessed with the Windows Key + R key combination. Navigate to the following key in your registry by navigating at the left pane:
HKEY_LOCAL_MACHINE\SYSTEM\CurrentControlSet\Services\LanmanWorkstation\Parameters
- Click on this key and try to locate an entry named AllowInsecureGuestAuth. If it’s not there, create a new DWORD Value entry called AllowInsecureGuestAuth by right-clicking at the right side of the window and choosing New >> DWORD (32-bit) Value. Right-click on it, and choose the Modify option from the context menu.

- In the Edit window, under the Value data section change the value to 1 and apply the changes you have made. Make sure the Base is set to Decimal. Confirm any security dialogs which may appear during this process.
- You can now manually restart your computer by clicking Start menu >> Power button >> Restart and check to see if the problem is gone. This will probably resolve the problem immediately.