How to Create Slideshows Using Filmora 9
Filmora 9, a slideshow making software that you might want to download right now because it is going to make your life easier if you are someone who has to make slideshows every now and then. When looking for a slieshow maker, one always wants the best of all, transitions, effects, usability and easy access. And Filmora 9 is that for all of you.
When you use something that is new, and you have not used it ever before, you often feel a little hesitant about whether you should purchase this item or not. But because this software is user-friendly, I would suggest you must give it a try. Here are the steps as to how you can make a slideshow on your Filmora 9, and how easily accessible are all its features.
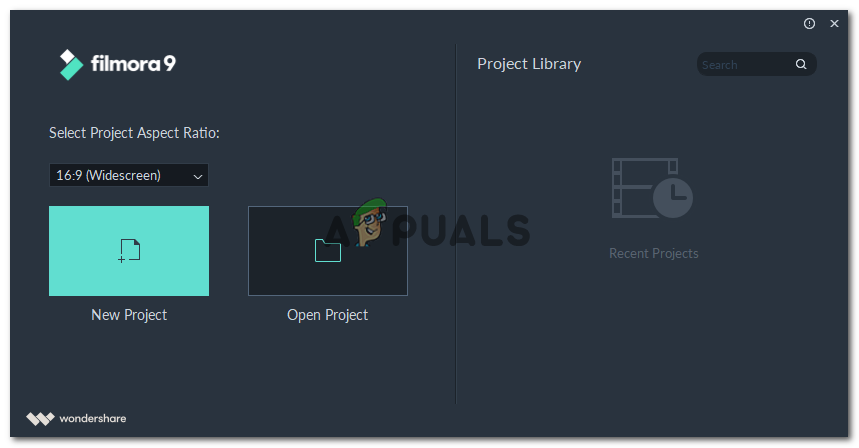
- When you click on the icon for Filmora 9, the following window is what appears on the screen. You can choose the tab for New Project to start working on an entirely new project. You can choose the Aspect Ratio from the dropdown list that will appear once you click on the downward facing arrow for the tab which says ’16:9 (Widescreen)’ in the following image.
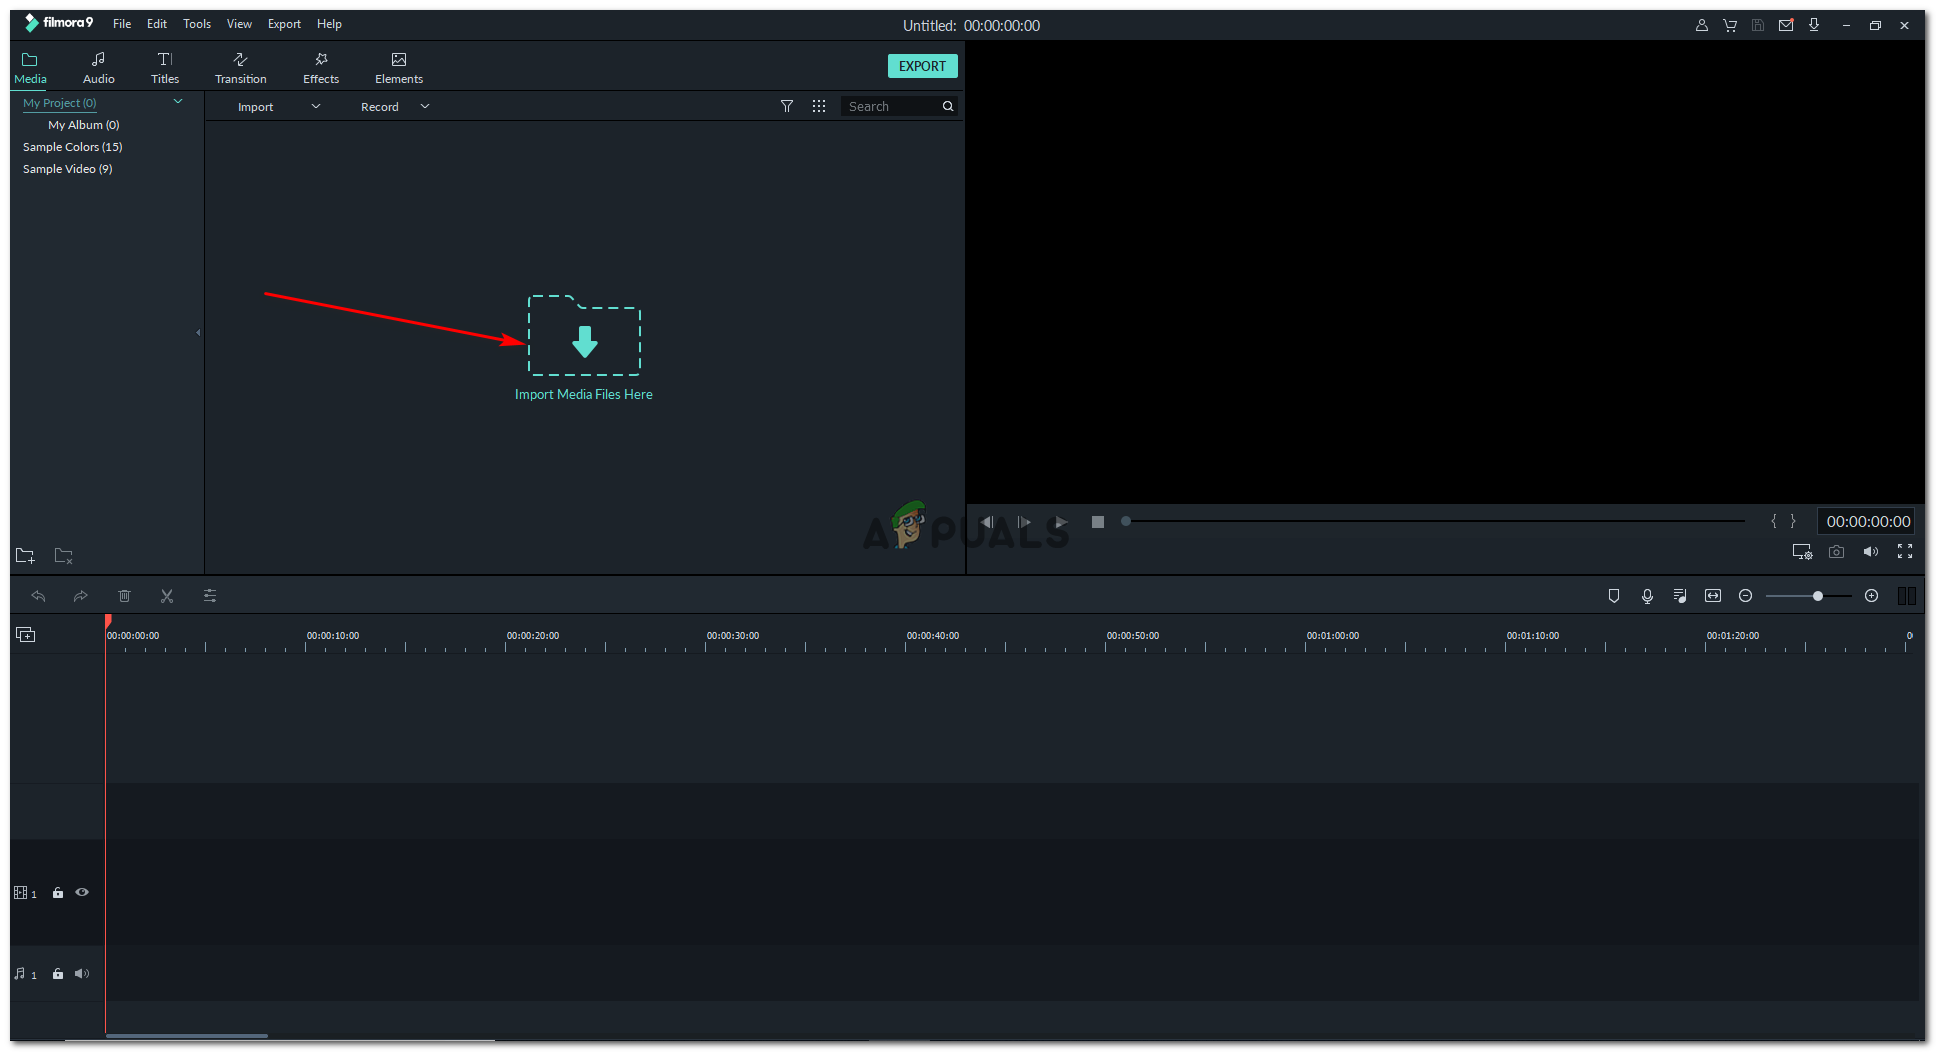
Wondershare Filmora9: an amazing product to use for making super awesome slideshows with videos, images and audio running in the background. - You will be directed to the workspace for Filmora 9, where you can see a number of features including Import Media Files, Transitions, Effects,Titles and others can be seen in the image below.
To add an image or video to your slideshow, this Folder/Arrow icon, as highlighted in the image is what you need to click on. You can also use this to add you music track as well. - You will browse your computers folders now, and access them through this window. Here, you will now select the videos and images that you want to add to your slideshow. This is like adding a collection of files to FIlmora 9 so that you don’t have to browse the computer again and again for the same task. Add a track for the background of your video here as well if you already have a music track ready for this.
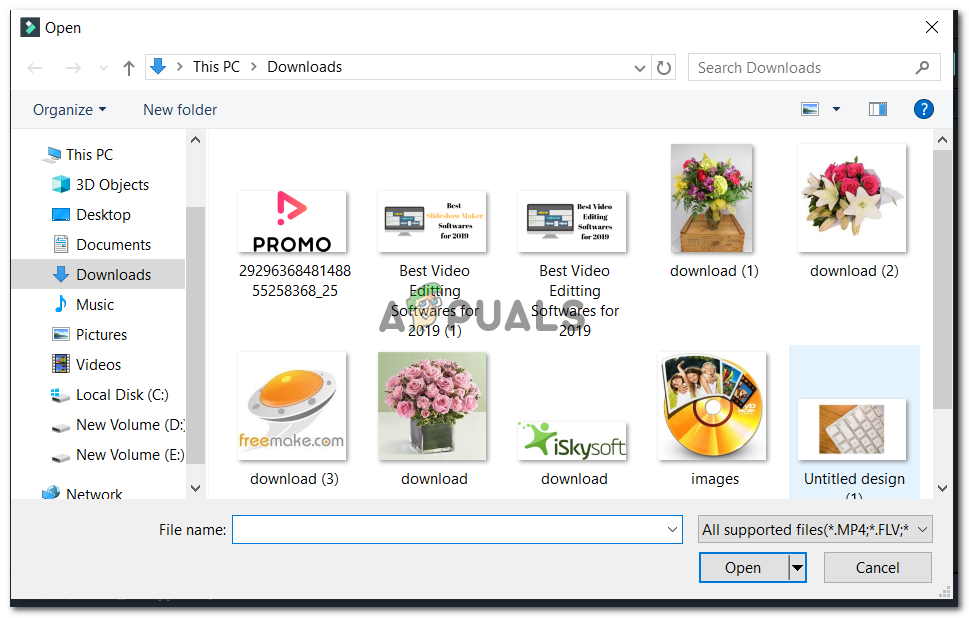
Selecting the images and videos on your computer to finally begin with making a slideshow. - This is how your workspace on Filmora 9 will look like once all the needed images,videos and music tracks have been added to it following the previous steps as mentioned above.
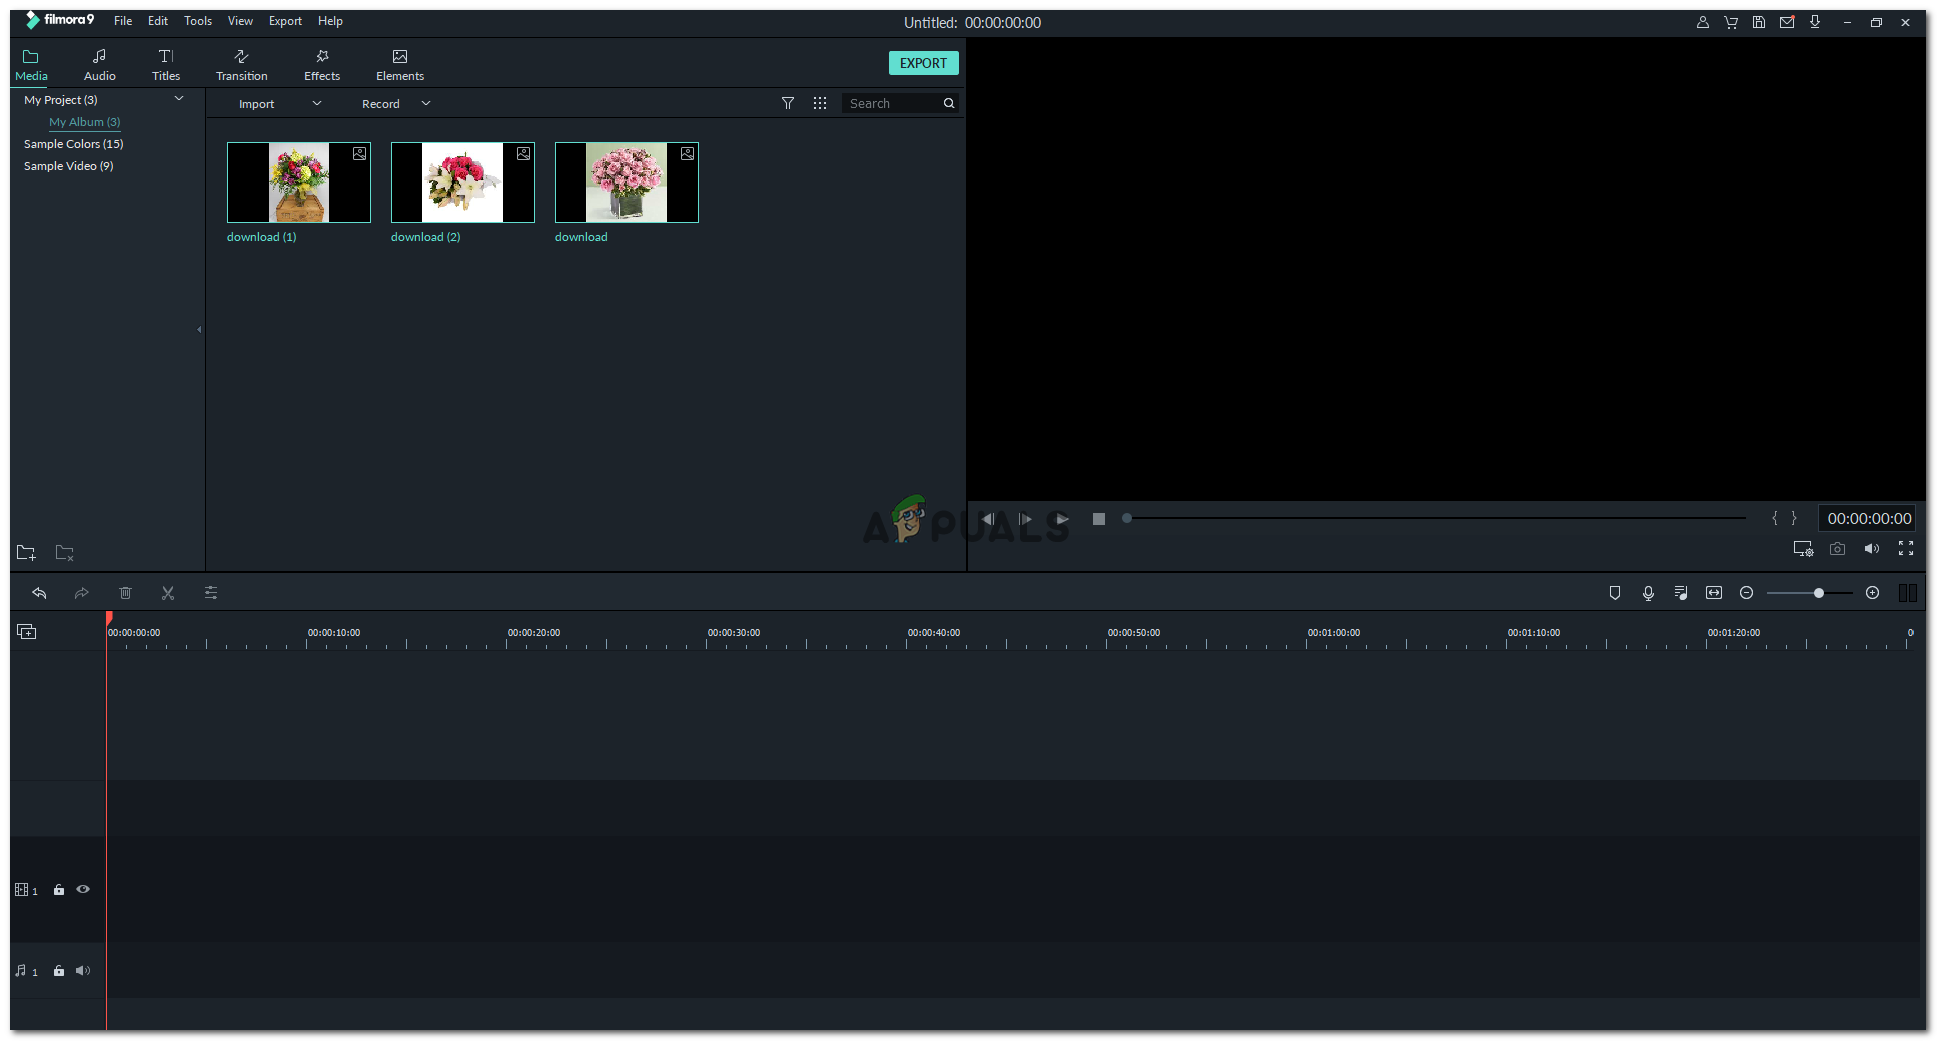
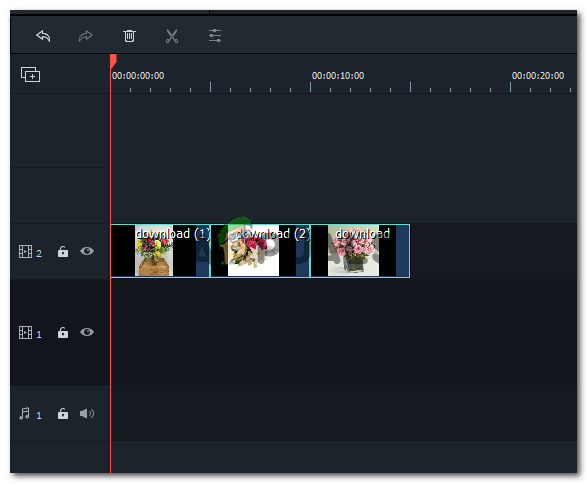
All the files needed to make your slideshow right here. - To make the slideshow, you now have to simply drag and drop your image, or video in the timeline-sort space which is present right at the end of this screen. Here, Filmora 9 helps you keep your time for the slideshow sorted. Use your cursor to place the images and videos where ever you need to place them on this timeline, which will show you the duration of your work right next to the red line as shown in the image below.
Drag and drop your files here. - Moving on to the additional features of Filmora 9, where you can explore so many options to choose from for your slideshow and make it perfect.
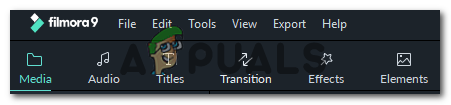
The top panel of Filmora 9 which will work like magic for your slideshow. - So we have already worked under the tab for media, now we will move on to Audio.
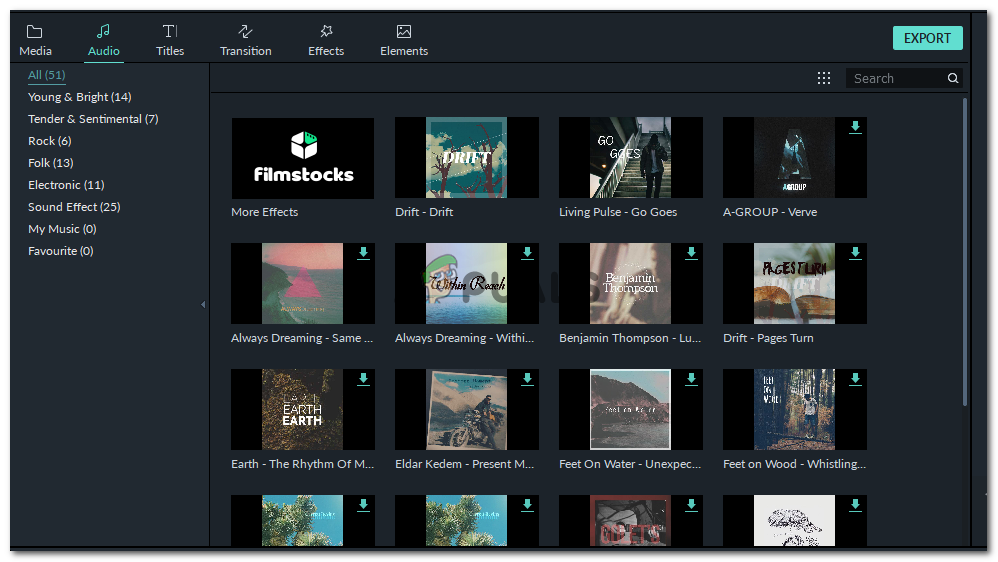
All these music tracks are present in Filmora 9. You can choose from any of these tracks, and use it for your slideshow. - You can also add your own music track which is saved on your computer by clicking on the left option which says ‘My Music’. This will show you another Folder/Arrow like icon in the center of the page which can be clicked on to add a music track.
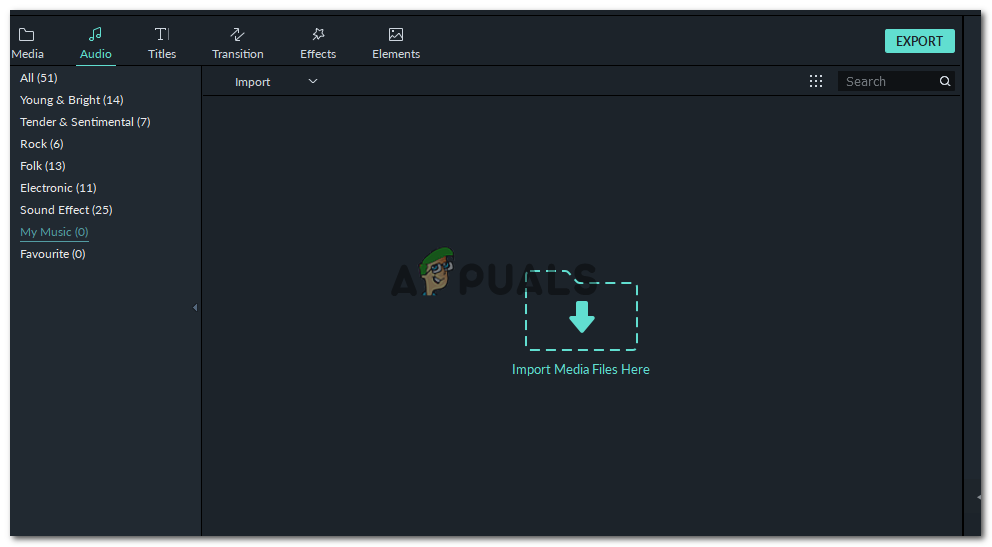
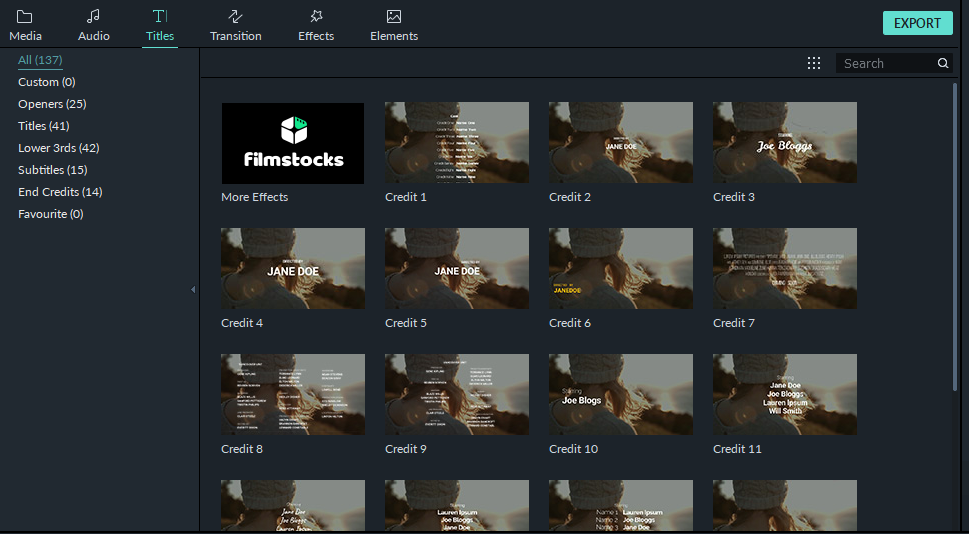
Adding a Music Track from your computer. - Titles. Titles basically is the text which will be showing in the slideshow in the form of credits, or in the form of subtitles, depending on what the user needs for their slideshow. These are present in FIlmora 9 in different stlyes, which gives the user a wide variety to choose from.
Titles for Filmora 9 - Transition and Effects. Adding a transition to one image or the entire slideshow, helps make the transition of one image to another more interesting. For example, if there are two images and there is not transition effect added to it, the slideshow might not look very appealing in comparison to a slideshow which has a transition effect after every image, whether it is same or different. Effects, on the other hand, are more ‘image’ related. This is basically the colors of the screen and how the image will look like when it is being played in a slideshow. Just how yo edit an image, say on Instagram. You can add various effect on your images and videos, adding more value to your slideshow.
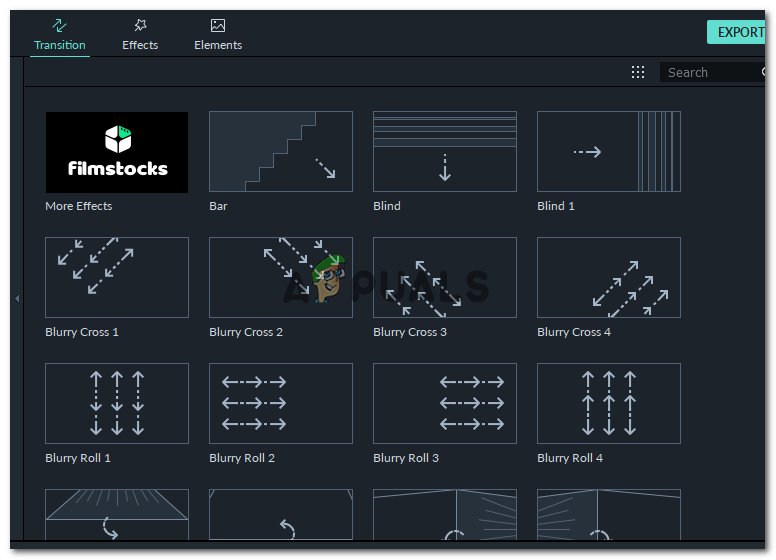
Variety of Transitions on Filmora 9 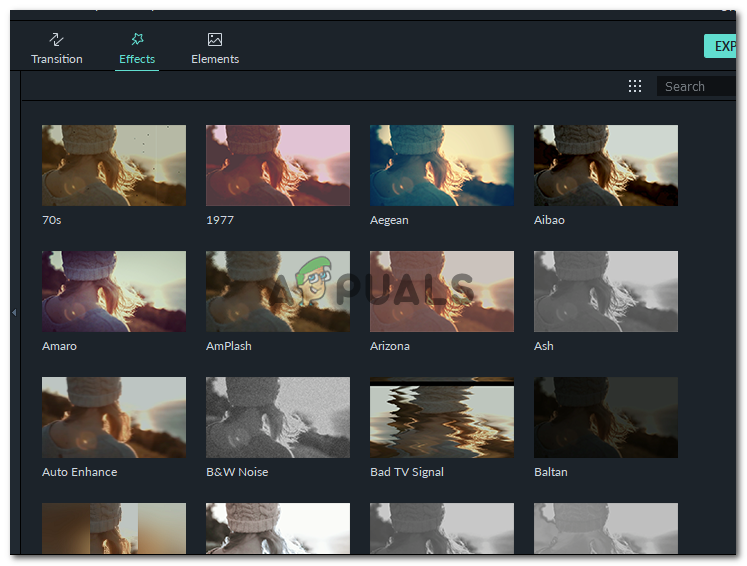
Effects on Filmora 9 - Elements. This is the part of Filmora that really attracts me now. You can add some really cool graphics to your slideshow, where these elements can be used as offered by Filmora 9.
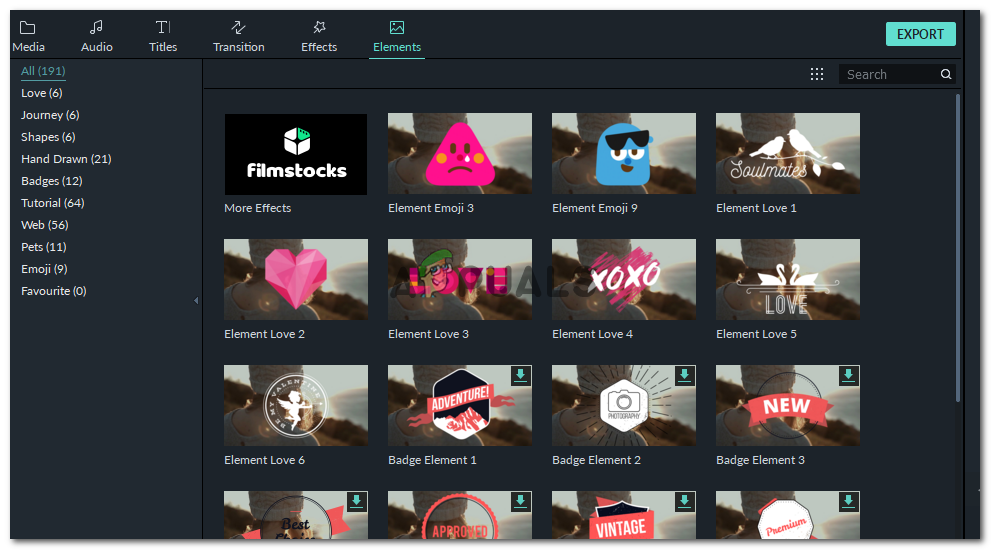
So many Elements on Filmora 9 to choose from.
I hope this helps you use Filmora 9 even better. But just in case, here is a short tutorial for you to show you how the software works…