How to Fix High CPU & Disk Usage by CompatTelRunner.exe
CompatTelRunner.exe is a process that is used to upgrade your system to the latest OS version or other Service Pack upgrades. It is also used to perform diagnostics on your computer to determine if there is the possibility of compatibility issues and collects program telemetry information if opted-in to the Microsoft Customer Experience Improvement Program. It allows Microsoft to ensure compatibility when you want to install the latest version of Windows OS.

This process is part of a Windows Update, specifically the KB2977759 one, which stands as the Compatibility update for Windows 7 RTM (Release to Manufacturer). The update is one of the many that serve as a preparation to upgrade to the latest OS version, and will
This process takes up storage bandwidth which may slow down your PC, and you will most likely want to get rid of it. Users complained of multiple CompatTellRunner.exe files showing up in the Task Manager consuming CPU and Disk Usage.
Though this process isn’t really necessary and can be deleted. If you do want Microsoft to diagnose your system by itself and run the compatibility checks, then let it run. This can be a privacy concern for some.
The CompatTelRunner.exe file is located in the System32 folder and is owned by the TrustedInstaller any modifications you try to do to it will be met with an “Access is denied” error, which means that you can’t modify or delete it in any way. This is because the process is owned by TrustedInstaller, and everything else only has Read-Only permission over it and you can’t modify it.
There is a solution for the issue, and it involves taking ownership of the process, after which you can delete it without deleting the entire Windows update and save yourself from problems OR you can let the program stay, and just disable Scheduled Tasks which launches the program.
Method 1: Take Ownership And Then Delete the CompatTellRunner.exe
The process is a fairly straightforward one, but make sure not to skip steps and keep in mind that you should be logged in as an administrator. First of all, open your Start menu by pressing the Windows key on your keyboard, or by clicking the Windows icon at the end of the taskbar.
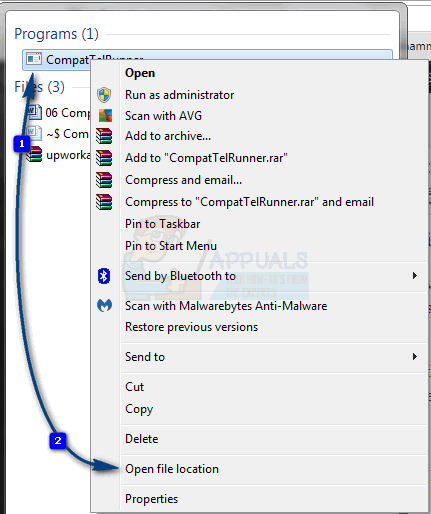
Type compattelrunner.exe in the search box, but don’t open the result, which is a file named compattelrunner, and instead right-click on it and select Open file location from the dropdown menu
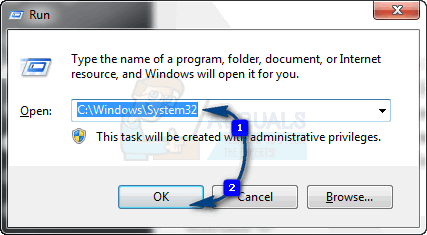
OR Hold the Windows Key and Press R. Type C:\Windows\System32 and type CompatTelRunner.exe in the search bar on the top right.
Once inside the folder, right-click the Compattelrunner.exe file within it, and select Properties from the menu. In the window that opens, you will notice a Security tab, select it and click on the Advanced button inside. Once the window opens, find the Owner tab, and select Change owner. This will give you a list of new owners, after which you should select the account you are using, and click Apply. You will be met with a prompt that warns you to close all Properties windows that are currently open to change the ownership, so close them.
When you’ve changed the owner of the file, next you should change the permissions. To do that, right-click the Compattelrunner.exe file again, and open Properties. Go to the Security tab and click Advanced once again. Within the window, select Permissions, and from the list that pops out, select the account you are using. You will see a new window with options about the permissions. At the top, under the Allow column, select Full Control and click Apply.
When you’re done with this, you are the owner of the file, not TrustedInstaller, and you have full control over it, meaning you can delete it without being met with the Access is denied error. Feel free to do so, and you won’t see it taking over much-needed resources from your system.
While there are some solutions you might run into that will tell you to delete the entire update, KB2977759, doing so is not a smart idea as this will mess with the entire schedule of Windows Updates, and you might have bigger issues in the future. Follow the aforementioned steps to safely delete the file and you will have your computer running again in no time.
Method 2: Disable CompatTelTunner.exe from Task Scheduler
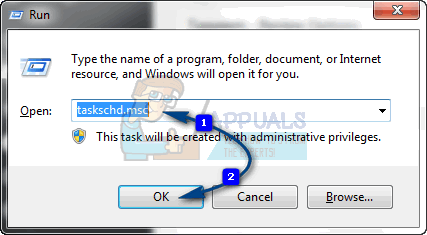
Hold the Windows Key and Press R. Type taskschd.msc and click OK.
Expand Task Scheduler Library -> Microsoft -> Windows -> Application Experience
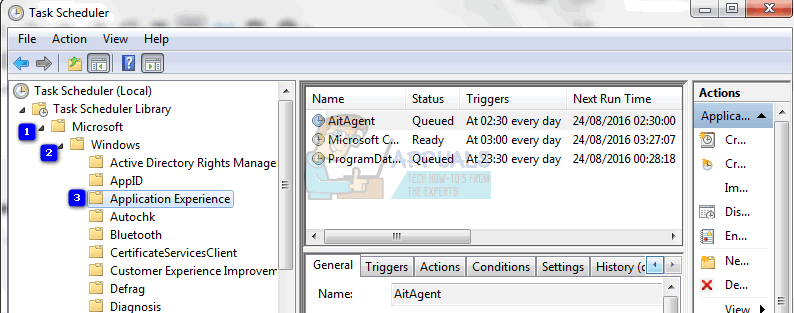
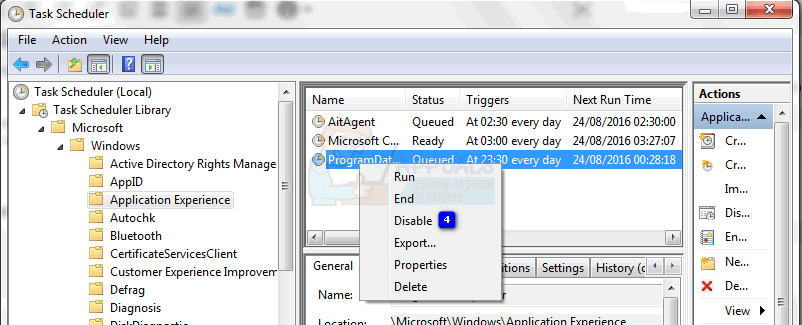
Right-click on any of the tasks listed as Microsoft Compatibility Appraiser and choose Disable.
Method 3: Switch Feedback and Diagnostics to Basic
CompatTelRunner.exe uses the Feedback and Diagnostics data to update your system to the latest version. If Feedback and Diagnostics setting is enabled fully, then CompatTelRunner.exe may use excessive system resources. In that case, changing Feedback and Diagnostics settings to basic may solve the problem.
- Press the Windows button, type “Feedback & Diagnostics.
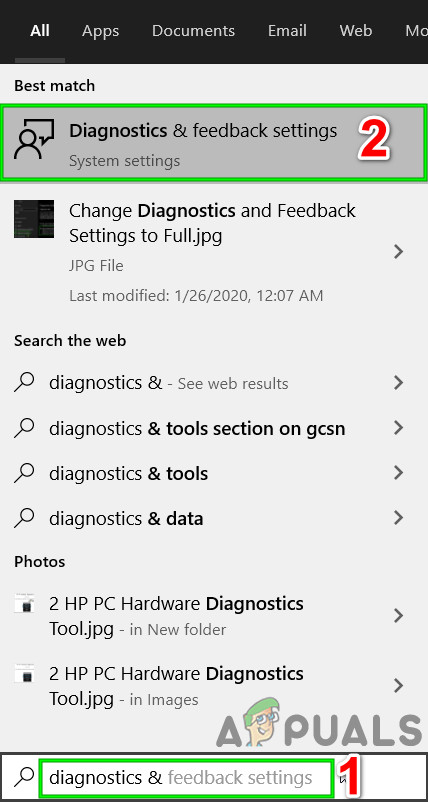
Open Diagnostics & Feedback Settings - Now in the right pane of the window, select “Basic“.
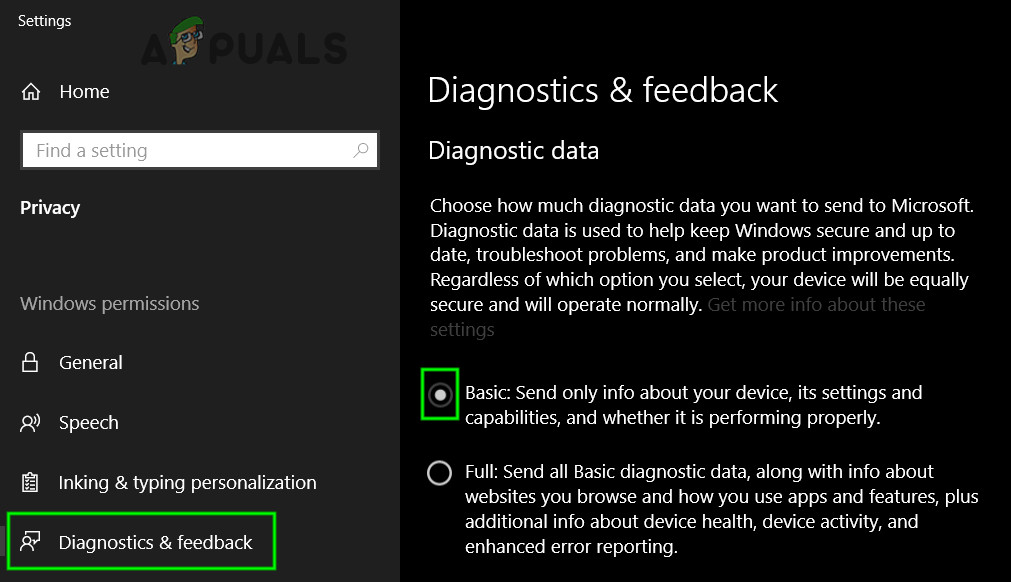
Change Diagnostics & Feedback to Basic - Now restart the system and check if your system’s usage has decreased.
Method 4: Disable Connected User Experiences and Telemetry Service
Previously called Diagnostics Tracking or DiagTracK, now called “Connected User Experiences and Telemetry“, is a Windows service that runs in the background to automatically send data to Microsoft. This service is responsible for the transmission of diagnostic and usage information to Microsoft. Disabling this service may solve the problem of high CPU usage.
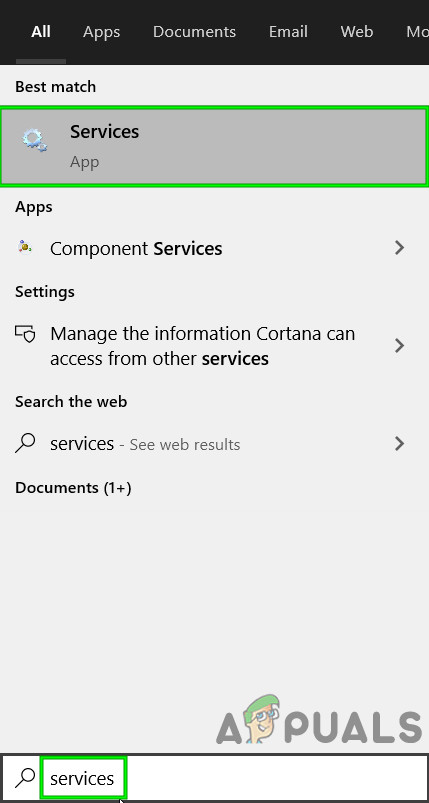
- Press Windows key, type Services and in the resulting list, click on Services.
Open Services - In the Services window, find and right-click Connected User Experiences and Telemetry service and then click on Properties.

Open Properties of Connected User Experience and Telemetry - Now in the General tab, click on the dropdown box of Startup type and then select Disabled. Now click on Apply and OK.
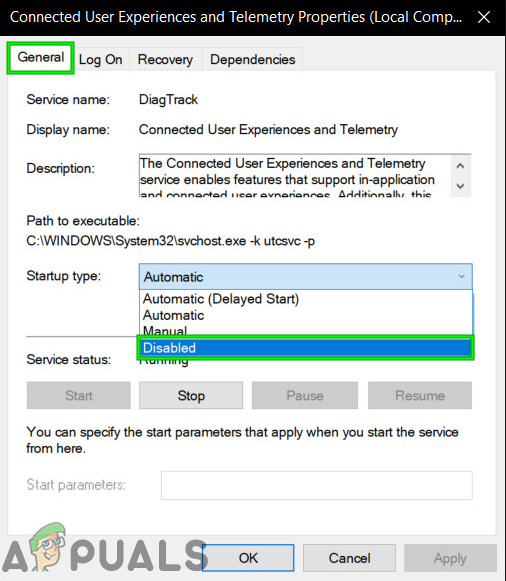
Change Startup Type of User Experience and Telemetry. to Disabled - Restart your computer.
Method 5: Removing Telemetry and Data Collection
If none of the methods above solved this problem for you, you will have to use a Telemetry Disabling script file that we have created for you. It will decrease the load on your computer and increase your privacy by disabling some of the diagnostic and telemetry services of Windows 10. Follow the steps below:-
- Download the script from this Google Drive link (here).
- Once you have downloaded the script you can right-click on it and click “run as administrator”.
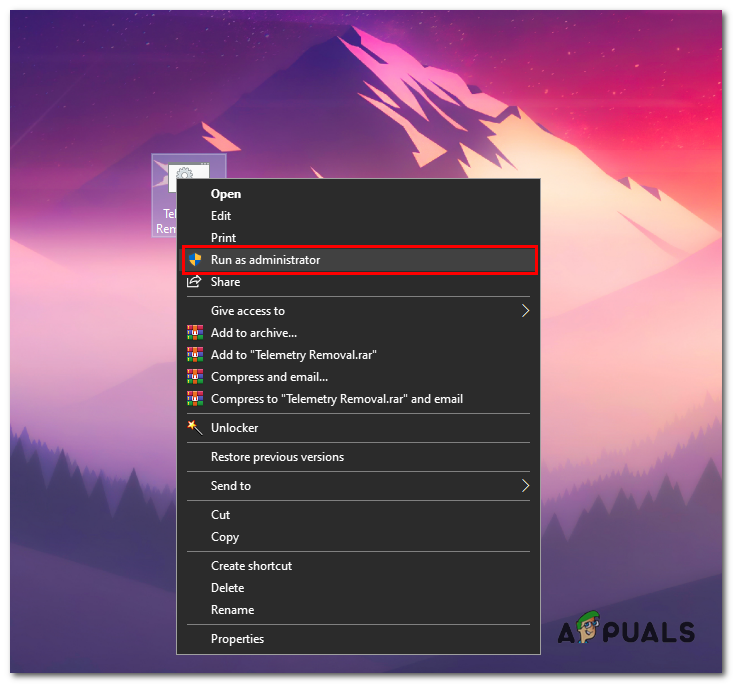
Running the file as administrator - Wait for the script to close and then restart your computer.
- Check to see if the usage is still high or not.