Fix: Destiny Error Code Guitar
The error code Guitar is probably one of the less-known error codes which you can encounter while playing Destiny or Destiny 2 and Bungie is yet to post any information regarding the error code except that they are currently investigating the issue themselves.
There is not a lot of info online on how to successfully prevent the error from occurring but folks have recommended a few methods which were enough for them. The error code is somewhat annoying as it often kicks you out mid-game, making you forfeit the match and lose your progress. Follow the solutions below to fix this issue successfully.
Solution 1: Restart Your Console
This solution has helped quite a few people deal with their Guitar error code and this solution is quite a general method for fixing almost all Xbox-related issues. Naturally, this method can only be applied to users playing Destiny on Xbox.
However, make sure all of your games are synced online and backed up since this process may end up deleting them from your local Xbox One memory. There are two ways to delete the cache on Xbox One and reset your console completely:
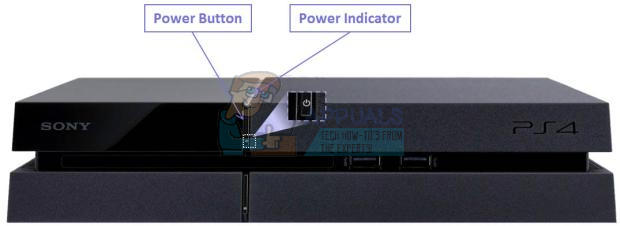
- Press and hold the power button at the front of the Xbox console until it shuts down completely.
- Unplug the power brick from the back of the Xbox. Press and hold the power button on the Xbox several times to make sure there is no remaining power and this will actually clean the cache.
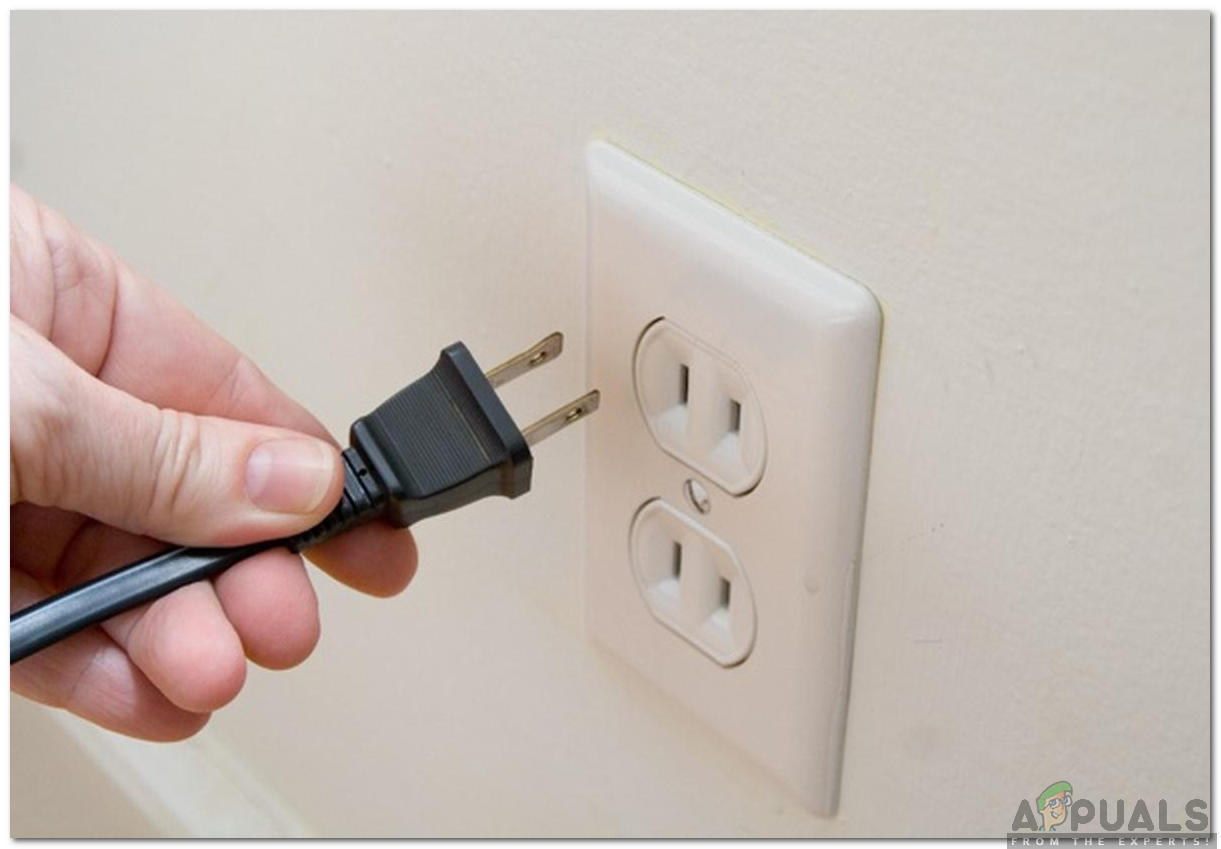
Unplugging from the socket - Plugin the power brick and wait for the light located on the power brick to change its color from white to orange.
- Turn the Xbox back on as you would do normally and check to see if the Tapir error code still appears when you start Destiny or Destiny 2.
Alternative for Xbox One:
- Navigate to your Xbox One settings and click on Network >> Advanced Settings.
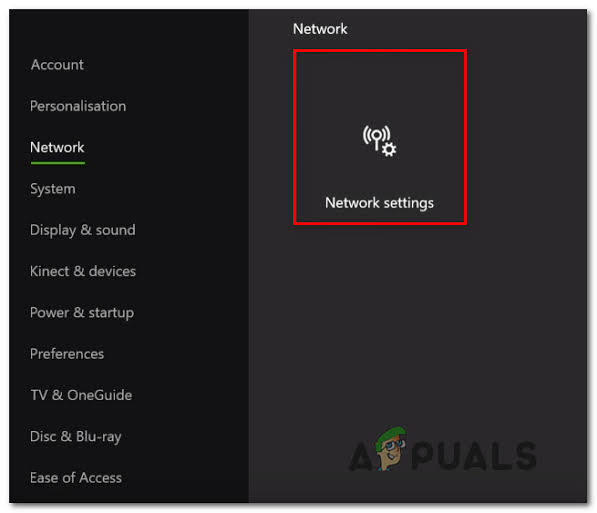
Network settings Xbox one - Scroll down to Alternate Mac Address option and choose the Clear option which appears.
- You will be prompted with a choice to really do this as your console will be restarted. Respond affirmatively and your cache should now be cleared. Open Destiny or Destiny 2 after the console has restarted and check to see if the Tapir error code still appears.
If you are using a PlayStation 4 to play Destiny, make sure you follow the instructions below to hard reset your PlayStation 4 but before this, try to reset the PS4 cache.
- Completely turn off the PlayStation 4.
- Once the console is completely shut down, unplug the power cord from the back of the console.
- Let the console stay unplugged for at least a couple of minutes.
- Plug the power cord back into the PS4 and turn it on the way you normally do.
Solution 2: Restart Destiny
Restarting Destiny, which means closing and reopening the game has also proven to be enough when dealing with this rare error code so please make sure you have tried this out before giving up. Restarting the game sometimes fails to resolve the issue completely and it’s not a 100% fix but it may well save you from frustration.
Xbox Users:
- Pause the game if you are in-game by simply clicking the Xbox logo button located on your game controller.
- Navigate to the right pane and locate the game you are currently playing. It should be below the Guide pane.

- When you have selected Destiny from the list, click the Start button and choose the Quit option in order to exit the game.
- Reopen the game after a while and check to see if the issue is resolved now.
PlayStation Users:
- Pause the game if you are in-game by simply clicking the PlayStation logo button located on your game controller.
- Locate the game from the tile showing that the game is running and click the options button in order to stop the game immediately.
- You can also open the menu in-game, navigate to Options and choose the Log Out option.
Solution 3: Reinstall the Game
Reinstalling the game usually fixes these types of issues even though the whole problem can sometimes be quite lengthy. Several users have suggested that uninstalling and reinstalling works so make sure you try it out as soon as possible.
Reinstalling the Game on PlayStation 4:
- Turn on the PlayStation 4 system and sign in to your PSN profile.
- Press up on the D-pad and navigate to the Settings menu and click on the System Storage Management menu.
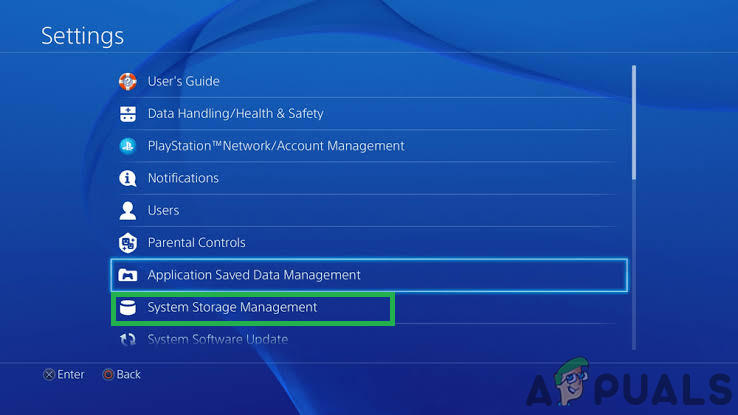
Clicking on “System Storage management” - Click on the Applications menu and press the Options button when Destiny is highlighted. Click on Delete >> Select All and press Delete to uninstall the game.
- Select OK to confirm the deletion of the selected application and the game will be completely removed from the hard drive.
- Clearing the console cache after uninstalling Destiny helps ensure that there are no temporary files stored in the console’s cache that could impact the new installation of Destiny. Here are the recommended steps on clearing the console cache:
- Completely turn off the PlayStation 4.
- Once the console is completely shut down, unplug the power cord from the back of the console.
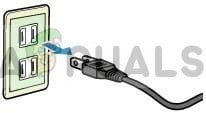
Unplugging power from the equipment - Let the console stay unplugged for at least a couple of minutes.
- Plug the power cord back into the PS4 and turn it on the way you normally do.
Reinstalling the game on PS4 can be done using the physical game disc:
- Turn on the PlayStation 4 system and sign in to your PSN profile.
- Insert the original game disc you used to install the game in the first place and the installation should begin automatically. You can follow the progress on the progress bar.
You can also install the game by downloading it using your PlayStation and your Internet connection. It’s recommended to use a wired connection while downloading a game this way.
- Turn on the PlayStation 4 system and sign in to your PSN profile.
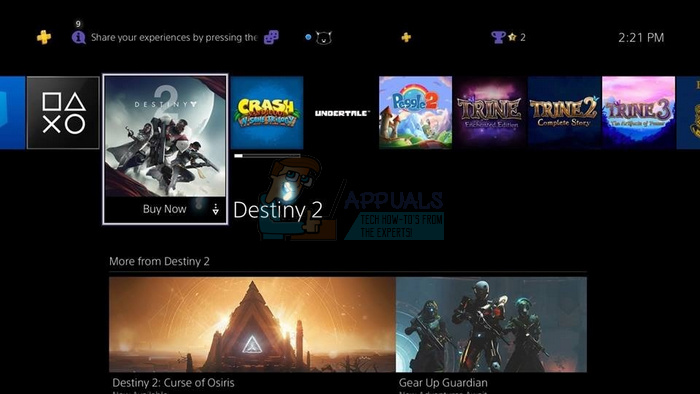
- Open Library item from the home screen, locate Destiny from the list and select the Download button.
- A progress bar will appear while the game is being installed on the console hard drive.
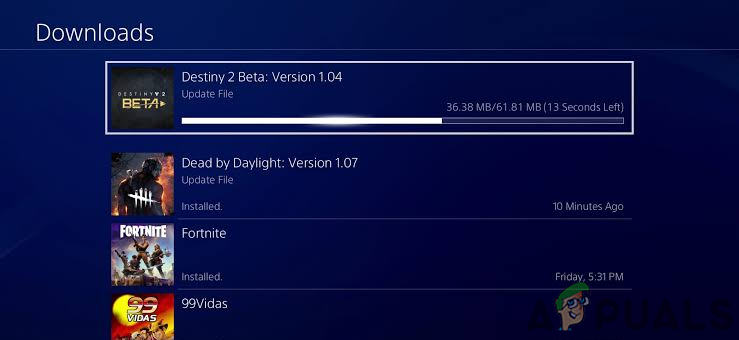
Downloading destiny
Reinstalling the game on Xbox One:
- Turn on the Xbox One console and sign in to the desired Xbox One profile.
- On the Xbox Home menu window, select My Games and Apps, press games and highlight Destiny.
- Tap the Menu button and choose the Manage Game option >> Uninstall All. Click on Uninstall again to confirm your choice on the next screen.
- After a moment, the game will be removed from the hard drive.
Clearing the console cache after deleting Destiny helps ensure that there are no temporary files stored in the cache that could affect the new installation of Destiny. Here are the recommended steps on clearing the console cache:
- Press and hold the power button at the front of the Xbox console until it shuts down completely.
- Unplug the power brick from the back of the Xbox. Press and hold the power button on the Xbox several times to make sure there is no remaining power and this will actually clean the cache.
Reinstalling the game on Xbox One can be done using the physical game disc:
- Turn on the Xbox One console and sign in to the desired Xbox One profile.
- Insert the game disc into the disc drive and the installation process should begin automatically. You will be able to follow the progress until the game is installed.
You can also install the game by downloading it using your PlayStation and your Internet connection. It’s recommended to use a wired connection while downloading a game this way.
- Turn on the Xbox One console and sign in to the desired Xbox One profile.
- Navigate to the Ready to Install section of the menu, locate Destiny and select the Install option.
- Download and install progress can be viewed in the Queue section of the menu
- A progress bar will appear while the game is being installed on the console hard drive
Workaround:
A user on Reddit found a common workaround that is used to temporarily get rid of this issue.
When my team did a Petras Run we did some things to maybe help out. After we completed Vault we picked up all ammo that was on the ground. Did Riven like normal. On queenswalk, whoever was was chosen stayed and the rest went to orbit. They all rejoined together and we did queenswalk. That worked for us.
Disabling Emblem Tracking:
Choose an Emblem from the options that doesn’t track anything because it is most likely an issue with the Emblem tracking. Make sure to select the emblem that isn’t tracking anything while playing.