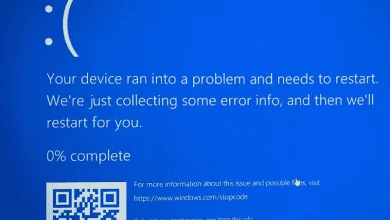
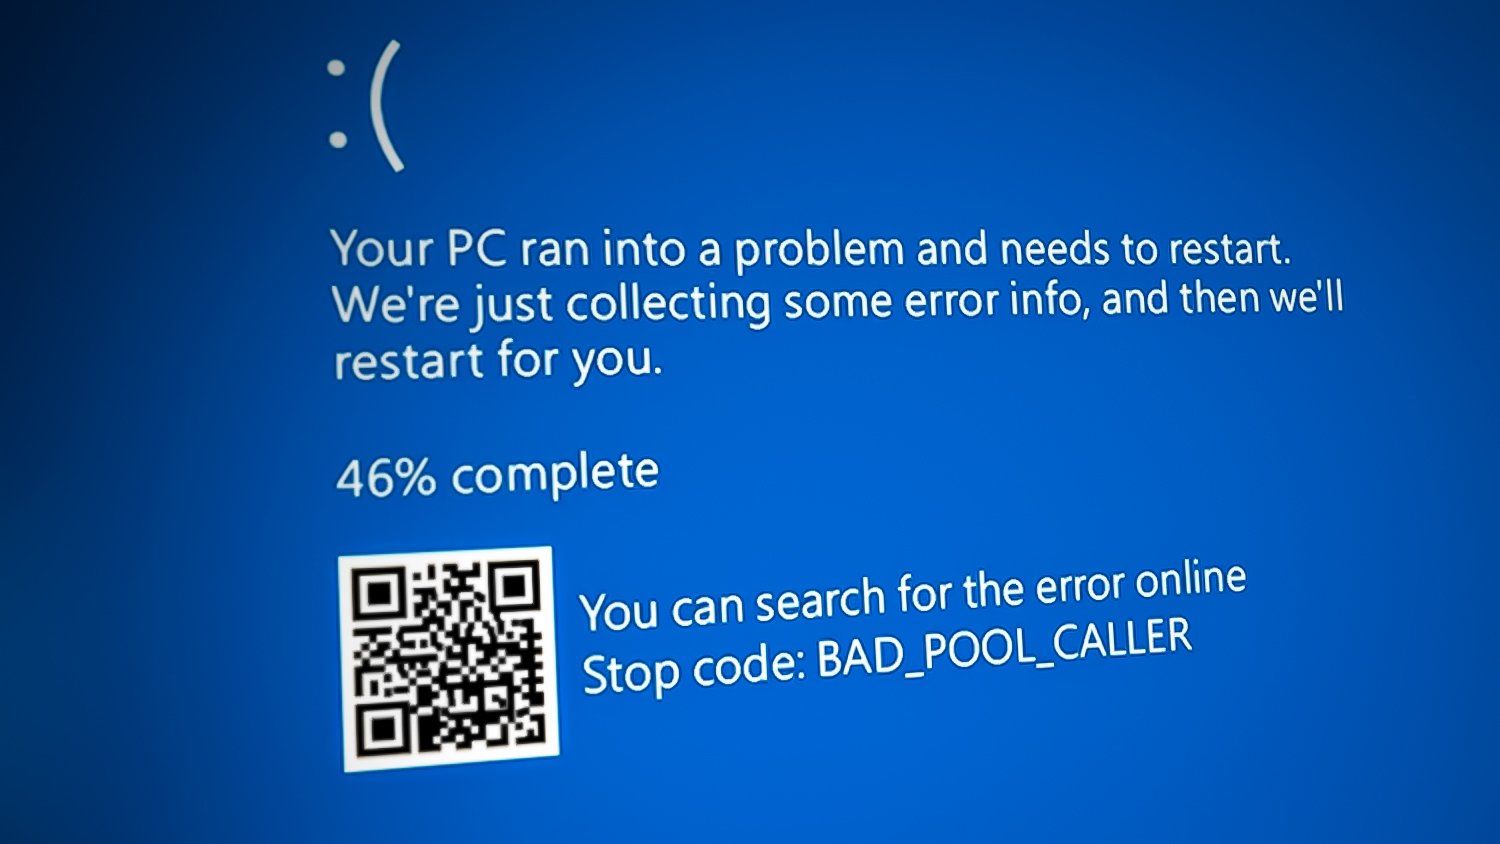
How to Fix ‘BAD_POOL_CALLER’ BSOD Error in Windows?
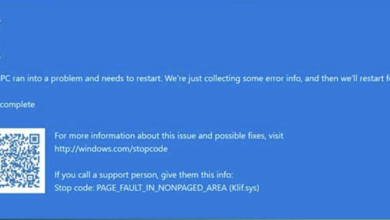
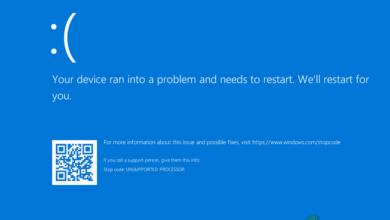
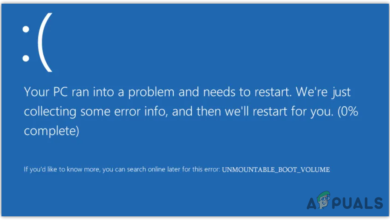
The BAD_POOL_CALLER Blue Screen Of Death (BSOD) error occurs when an incompatible or corrupted driver is installed on your Windows. To fix this BSOD error, you will have to figure out which driver is causing this issue. Once you find the driver, uninstalling it will fix this issue. However, if you fail to find the corrupted driver, then using a system restore utility and randomly updating drivers from the device manager might help fix this issue.
Since this issue often occurs while doing GPU-intensive tasks, the corrupted Graphics driver might be causing this issue. Another possible factor is an incompatible driver, which might have been installed through the Windows update utility. You can check the Windows update history from Settings to find which driver gets updated recently and when. If the driver’s name is not mentioned there, you can analyze the minidump file by following the 2nd method to find the culprit driver. Once you find the driver, rolling back that driver to its previous version from the device manager will fix this issue.
The other reason for this BSOD error can be peripheral devices. If you recently connected a new peripheral device to your computer, there is a high chance that you are getting this BSOD error due to that connected device.
All devices connected to the computer require drivers to communicate with the hardware. If the driver is corrupted or incompatible, this BAD_POOL_CALLER error can be seen.
Besides, overclocking of any hardware can also cause this BSOD error to occur. In some cases, overclocking causes hardware components to overheat, which can lead to BSOD errors.
Boot Windows in Safe Mode (If Required)
This method is only for users stuck in a restart loop or if their Windows is not starting properly even after force shutdown. Because you are not able to use your Windows normally. You need to boot your Windows in safe mode. It is a boot mode that disables the drivers, unnecessary services, and applications at the startup.
- Hold the Power button till the computer completely shutdowns.
- Then, turn on your computer, and when you see the Windows logo, turn off your computer.
- Repeat this process until you see Please Wait or Preparing Automatic Repair Window.
- Once you reach the options screen, navigate to Troubleshoot > Advanced Options > Startup Settings.
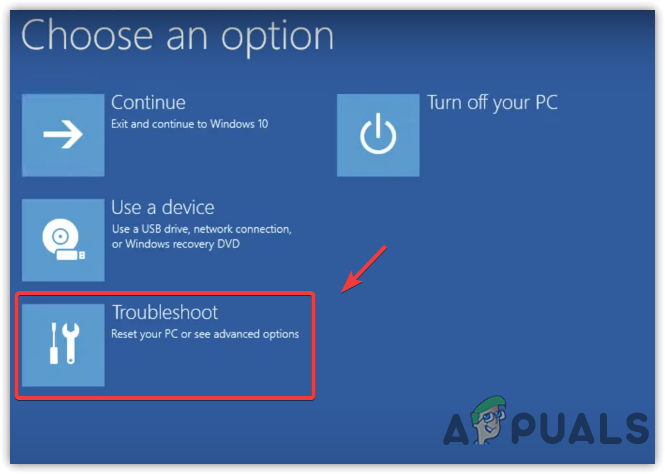
Navigate to Troubleshoot - Click Restart to open the Windows in safe mode.
- After restarting the system, you will see the options which you can use to boot Windows.
- Press 4 on the keyboard to boot the Safe Mode.
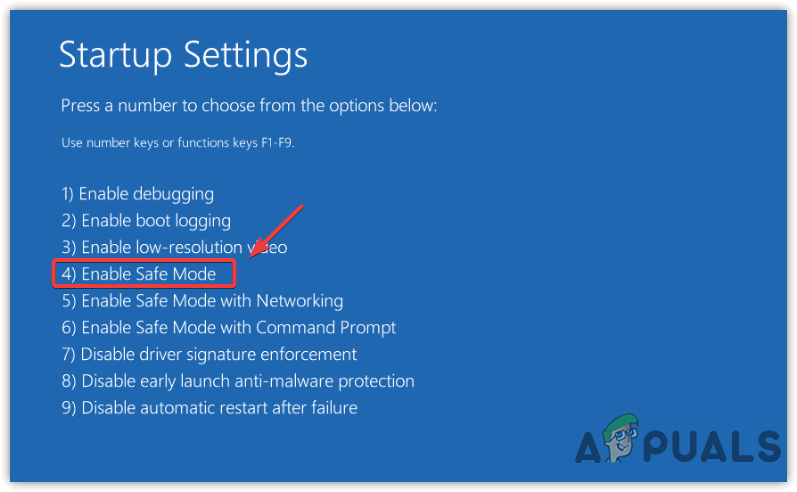
Enabling Safe Mode
If you cannot boot into safe mode or facing this BSOD error after booting into safe mode, your Windows might be corrupted, or you are encountering hardware issues. Both situations are critical and require a clean installation of Windows.
1. Clean Installation Of Graphics Driver
If you have a corrupted graphics driver installed on your computer, it can cause BAD_POOL_CALLER BSOD. Performing a clean installation of your graphics driver can fix this BSOD error.
If you are facing this issue while starting your computer, you need to boot your Windows in safe mode by following the above method. If the issue occurs randomly, you can proceed with the following steps.
- Download Display Driver Uninstaller.
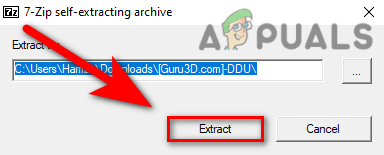
- Once the downloading is finished, right-click the DDU ZIP folder and click Extract to DDU.
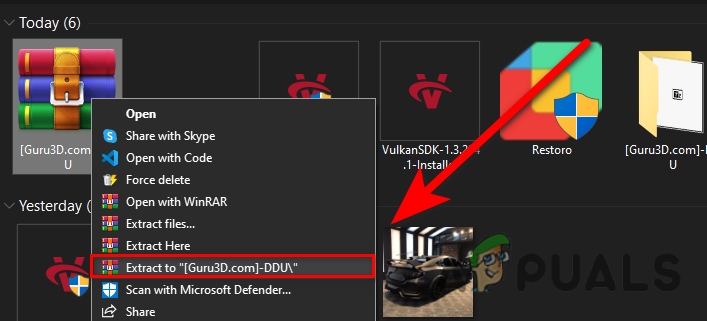
Extracting DDU ZIP Folder - Once the extraction process is finished, navigate to the folder and double-click the Display Driver Uninstaller.exe file.
- A short Window will pop up. Click Extract and go to the DDU folder and run the Display Driver Uninstaller application.
Extracting DDU EXE File - Select GPU from the device type on the right pane.
- Then, select Device from the other dropdown.
- Once done, click Clean & Restart.
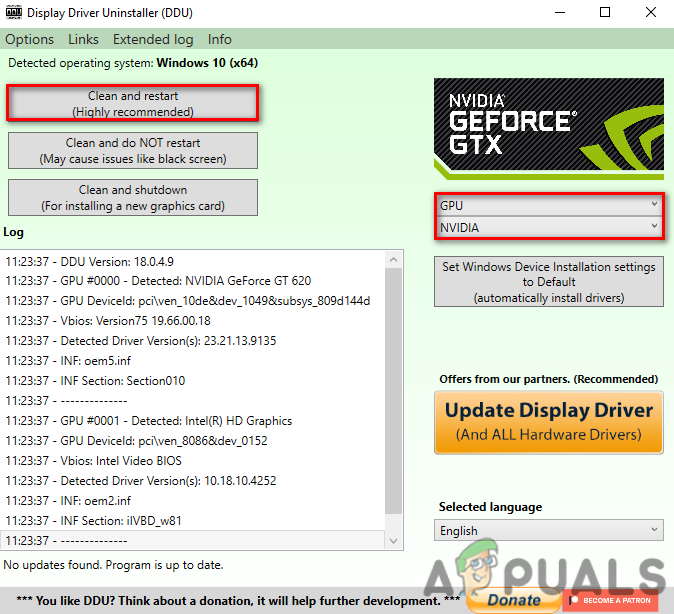
Removing Drivers With Registry Files - If the issue does not occur, that means the driver was corrupted. Installing a Graphics driver from the official website will fix your issue.
- Go to the official manufacturer’s website of your Graphics Card.
- Search the driver with your Graphics card name.
- Download the latest Graphics card driver.
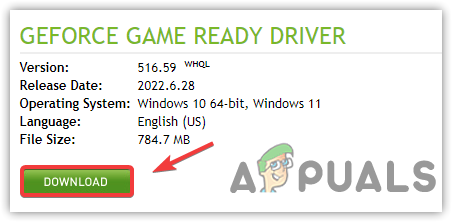
Downloading Graphics Card Driver - Once done, double-click on the driver installer and follow the further steps to install the driver completely to resolve this issue.
2. Uninstall Problematic Drivers
WhoCrashed is software that analyses the dump file to provide information about the suspected root of this problem. The software shows the drivers that are crashing your computer. Here are the steps:
- Download and install WhoCrashed from the link.
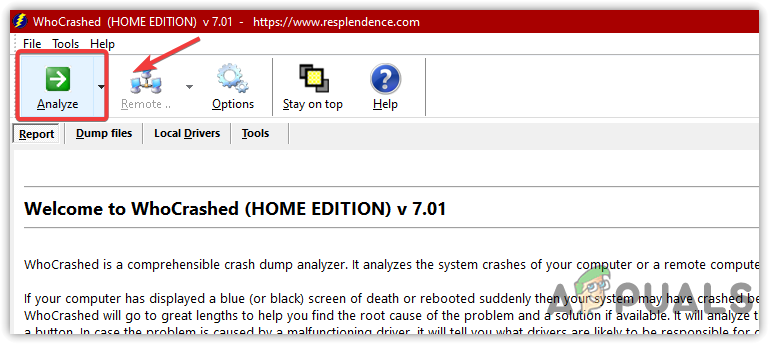
- Once done, open the WhoCrashed application.
- .Navigate to the Dump Files from the top.
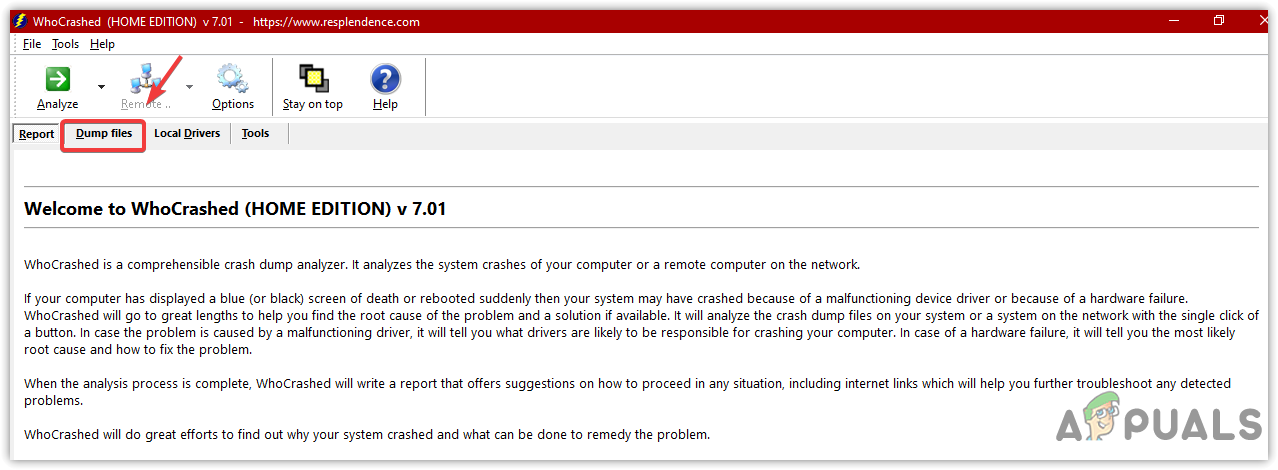
Clicking Dump Files - Click on Analyze.
Analyzing Dump Files - Wait for some time for it to be finished.
- A short Windows will appear; just click OK.
- Then, scroll down to the Crash Dump Analysis and copy the description of the report, which is probably a driver.
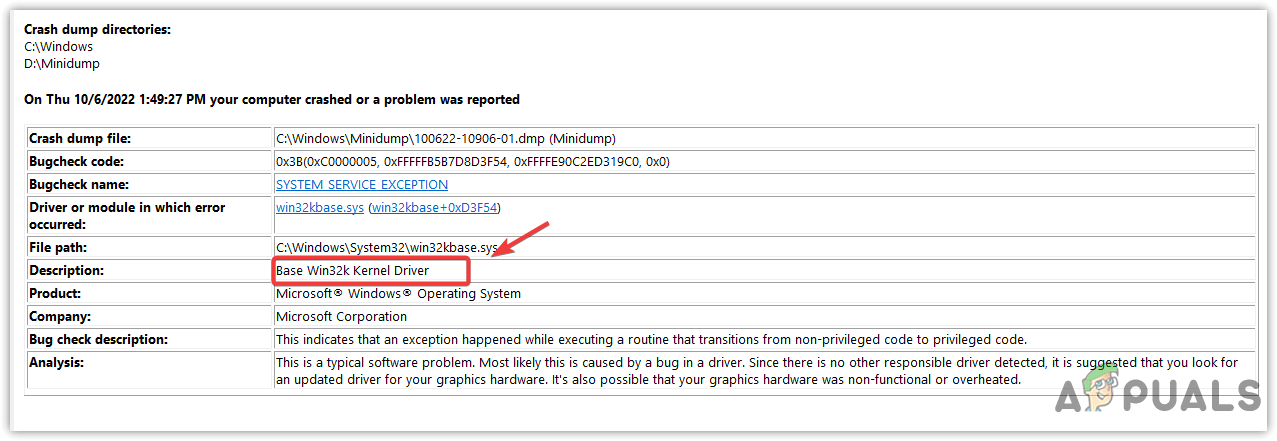
Checking Analysis Report - Search that driver in Google and check where it belongs
- If it belongs to the Graphics Driver, uninstall the driver and reinstall it from the official website.
3. Update Components Drivers
This error can also be caused by outdated unsigned, or corrupted components drivers such as sound cards, network adapters, and USB drivers. If you want to know which driver is causing this issue, you can simply find it by following the method below.
- Once your computer booted into safe mode, right-click the Start Menu and click Device Manager to open.
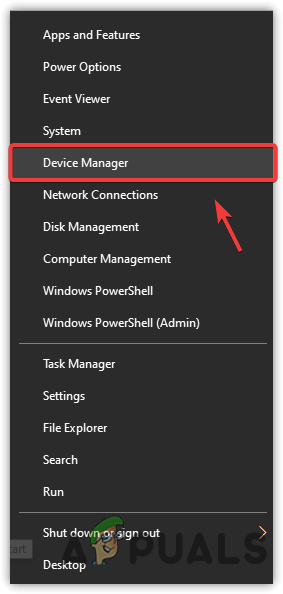
Opening Device Manager From Start Menu - Expand the Display Adapters, and right-click the current driver.
- Click Update Driver.
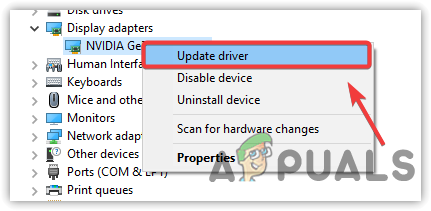
Updating Driver - Choose Search Automatically For Drivers and update your drivers if Windows finds the latest driver. You can also uninstall the drivers because the driver might be corrupted.
- Once you update the driver, right-click the network driver and click Update
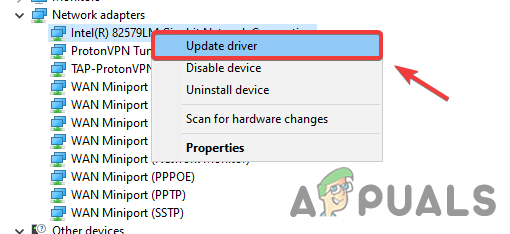
Updating Network Driver - If Windows found the driver, update it, then expand the Human Interface Devices.
- Right-click the USB Input Device and click Update Driver.
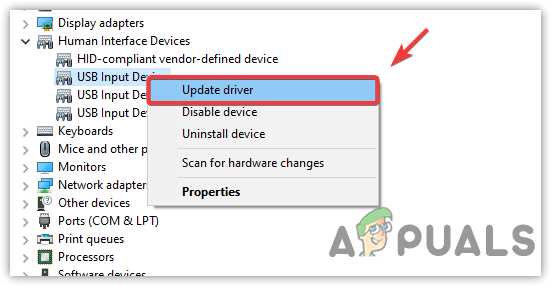
Updating Peripherals Driver - Repeat this process with audio drivers.
- Once you have updated all your drivers, restart your computer and check if the issue is fixed.
4. Uninstall Third-party Antivirus Software
Sometimes third-party antivirus software interferes with the unsigned drivers and essential services, which can cause a conflict and cause your Windows to shut down. Therefore, it is recommended to uninstall third-party antivirus software by following the instructions.
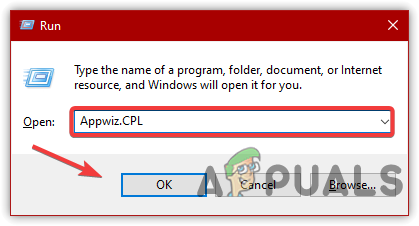
- Press the Win + R keys to open Run Window.
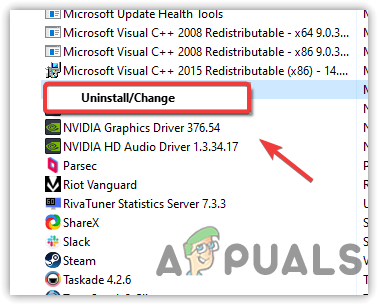
- Type Appwiz.CPL to open the Control Panel Programs & Features.
Navigating to Uninstall Programs Window - Right-click on the Malwarebytes application and click Uninstall.
Uninstalling Malwarebytes Program - Once done, check if it fixes this issue.
5. Disable Overclocking
If you are using any overclocking application to overclock your Graphics Card and RAM, then we recommend either uninstalling overclock application or resetting the overclock settings because it sometimes overheats components and causes BSOD errors. To do so:
The following steps show how you can revert overclock settings from the MSI Afterburner. However, if you are using other applications, such as NZXT, you can follow their steps to revert your overclocking.
- Open the MSI Afterburner and click on the Reset button to revert all your overclock settings to default.
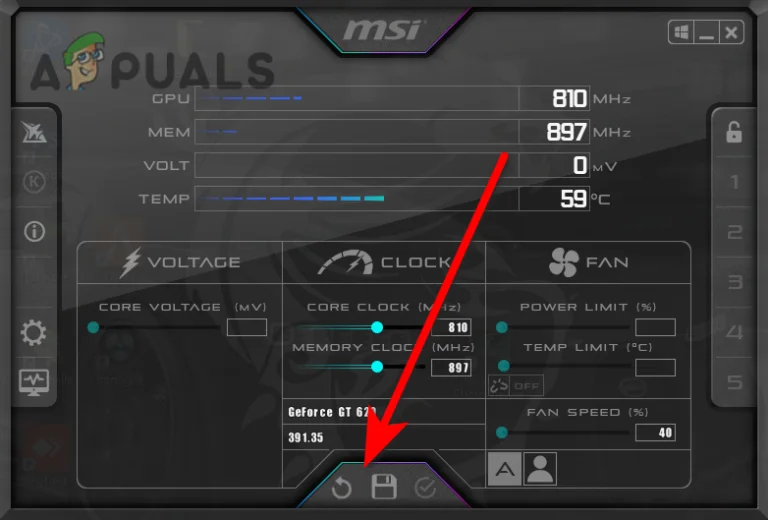
Resetting Overclock Graphics Card Settings - If you want to delete, open Settings by pressing Win + I on the keyboard.
- Navigate to Apps & Features.
- Search for your overclock application.
- Select the application and click Uninstall.
- Again, click Uninstall to remove the application from the system.

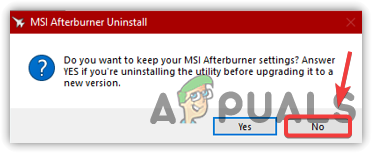
Uninstalling MSI Afterburner - The application will ask if you want to keep the overclock settings. Click No.
Reverting Overclock Settings - Once done, check if the issue is resolved.
6. Use System Restore
If you are still encountering this issue, you can try restoring your computer to an earlier state when the issue was not occurring. However, this method requires a restore point, but if you have not created a restore point, you can at least try checking if the restore point is created as the third-party application that downloads the driver creates a restore point for the future if something bad happens, such as driver corruption.
- Click Start Menu and type rstrui.
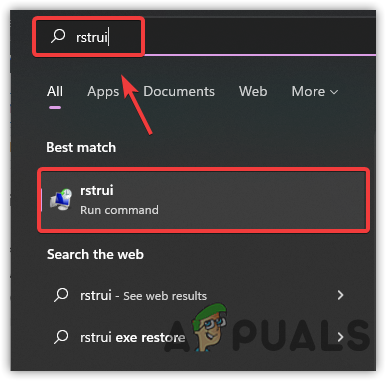
Opening System Restore Settings - Open the system restore settings, and click Next.
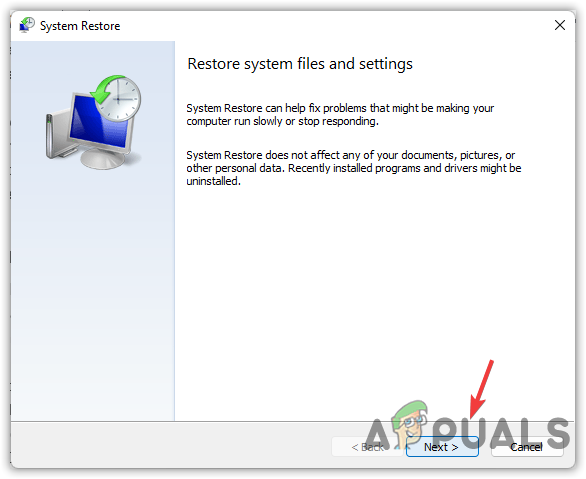
- Then, choose a recently created restore point and click Next.
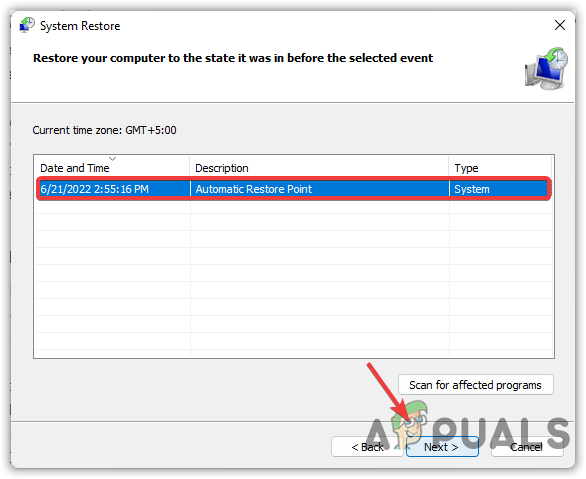
Selecting Restore Point - Once done, click Finish to start the restore process.
We have mentioned all the solutions above to help you fix this issue. However, if none of the methods work, it is probably a hardware issue. You can confirm this by reinstalling or resetting the Windows.