How to Enable Night Mode on Chrome OS
For some years now, Chromebook owners have been requesting the Chrome OS team to add a ‘Night mode’ feature in the operating system to make the screen easier on their eyes. This little feature, now available on a lot of smartphones, adds a tint to the screen in order to filter blue light coming off the screen. The filter allows the user to work on their devices for long durations with less than adequate lighting without causing eye-irritation.
With the latest update to Chrome OS Canary channel, the Chrome OS team has finally started experimenting with this requested feature, calling it ‘Night Light’. If you are willing to experiment with your Chromebook a little bit, you can get it too! Just follow the steps in this tutorial.
Before we start the tutorial, though, it is important to note that you will have to switch to the Canary channel of Chrome OS to access this feature. Chrome OS Canary is an experimental channel, where Chrome OS developers push their latest ‘experiments’ for Chrome OS. Some of these experiments turn into features pushed to all Chromebooks via updates. Because of its experimental nature, the Canary channel is extremely unstable and has a lot of bugs. We do not recommend this switch if Chrome OS is your primary computer, as the bugs might make it difficult to work on it.
If you are unfettered by this warning, the process to get the night light feature is relatively easy. Here’s how you can do it.
Enable Developer Mode
First, you will have to enable Developer mode on your Chromebook. Follow the steps in this tutorial in order to do that, and then proceed to the next step.
Don’t worry, this won’t permanently harm your Chromebook in any way, and you can disable it whenever you like. Enabling Developer Mode will factory reset your Chromebook though, so make sure to backup any locally stored files and folders.
Switch to Chrome OS Canary
Step 1 – Open the Chrome terminal by pressing Ctrl + Alt + T while in a Chrome tab. The terminal will open up in a new tab.
Step 2 – Type ‘shell’ and press enter.
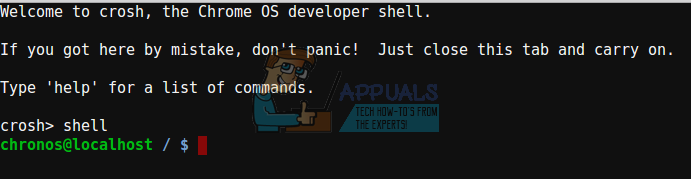
Step 3 – Now, enter sudo su to get root access on the terminal.

Step 4 – Use this command to switch to Canary channel and download the required update-
update_engine_client –channel=canary-channel –update
After you execute this command, the OTA update will be downloaded. Once that’s done, you will be prompted to restart your computer, and doing so will apply the update. Congrats, you have now successfully switched to the experimental Canary Channel, and have access to the latest features on Chrome OS, including Night Light.
Toggle Night Light
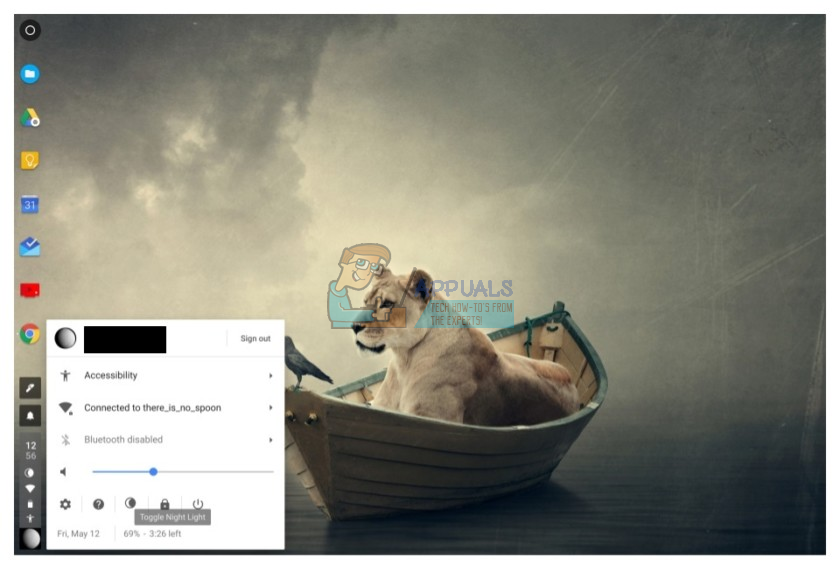
You will notice that night light toggle is available in your settings panel, and you can enable/disable it by clicking on the moon symbol, as indicated below.
More advanced settings, such as customizing the intensity of the filter and scheduling it to automatically turn on at specific times can be found under the display settings. You can access the display settings by going to chrome://settings/display through the Chrome browser.
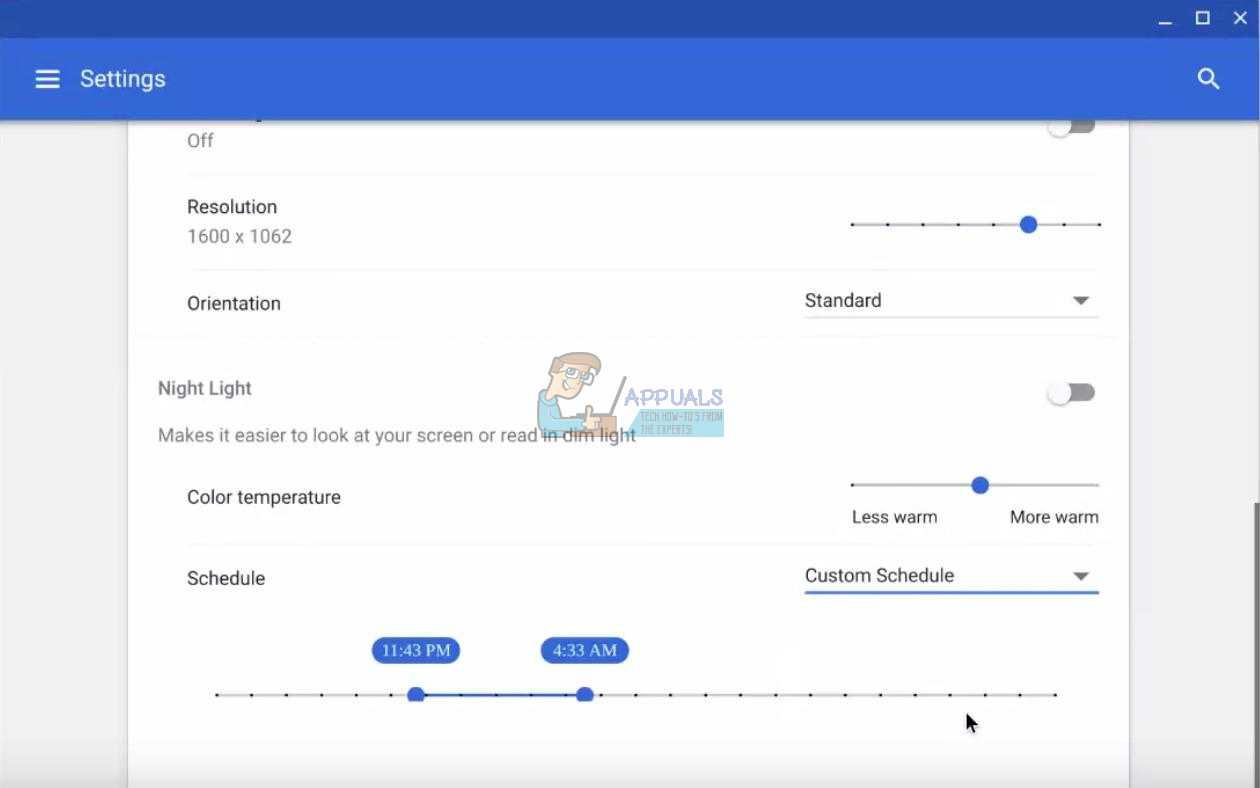
As you can see, the advanced Night Light settings are available, including scheduling and intensity settings.
Switched to Canary and Still Don’t see Night Light?
Because developers keep experimenting with features on Chrome OS Canary, they sometimes roll back certain features that they bring to the forefront. There have been reports of Night Light being removed from the settings panel, but there’s no reason to worry. If you’re on the Canary build, you can enable Night Light manually by following these steps –
Step 1 – Go to chrome://flags and find ‘Night light’ on the page using Ctrl + F.
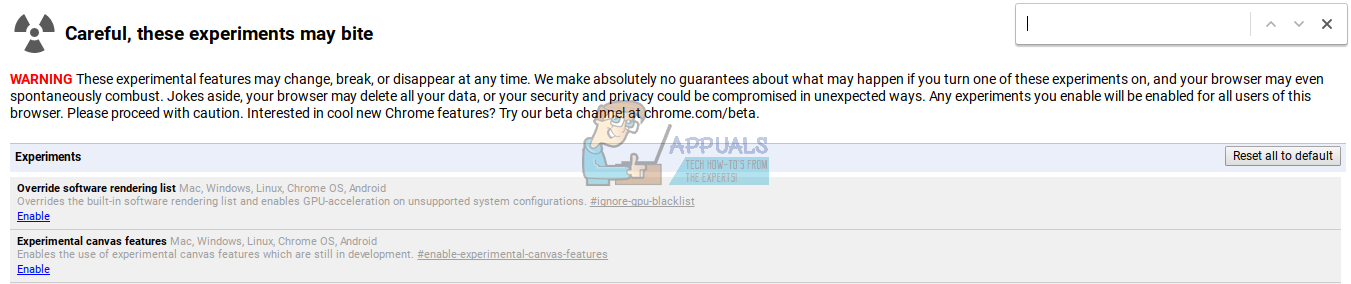
Step 2 – Once you spot the ‘Enable Night Light’ setting, enable it by clicking the blue enable link right below it.

Night Light should now be enabled on your Chromebook.
Switch back to the Stable Channel
If you used Night Light and did not find it worth all the bugs that come alongside the Canary channel, you can always switch back to the old Stable channel. Night Light should be available on stable channels soon, anyway. Here’s how to switch back to the Stable channel.
Step 1 – Open the terminal by pressing Ctrl + Alt + T, enter ‘shell’ and then ‘sudo su’, like you did to switch to Canary channel.
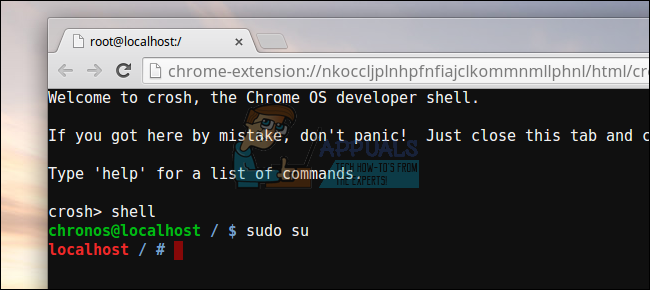
Step 2 – Once your screen looks like the one above, enter this command –
update_engine_client –channel=stable-channel -update
Your channel will be changed again, and an update will be downloaded for Chrome OS on the stable channel. Restart your Chromebook, and you will be running your Chromebook on the stable channel.
If you want to disable Developer mode as well, just press space-bar on the ‘OS Verification is off’ warning when you switch on your Chromebook. After disabling developer mode, your Chromebook will return to being the computer that ‘just works’.